**My phone screen is cracked and the camera is craptastic at the moment. I apologize for the terrible pics since my new OnePlus One phone hasn't come yet, and I didn't have the big DSLR rig at this garage during the project. I will update these and get better ones if yall want to see anything****
Needed to get some fab work done so we spent the last couple days working on that. *(Not pictured) I used a unibit to drill 2 holes in the reinforcement on the inner firewall, but not through the firewall itself. That way I could tap in a pair of hex nuts and weld them in blind. This allows the DBW pedal base to easily install into its new location without visible hardware or having to use something less secure like a self tapping screw. *
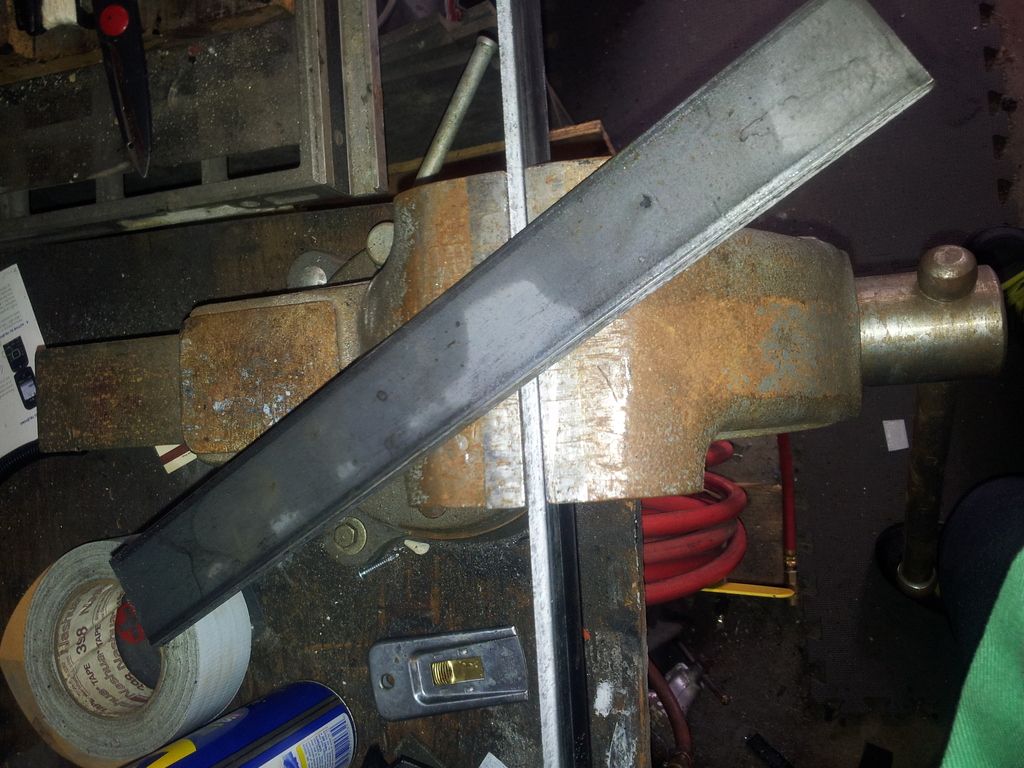
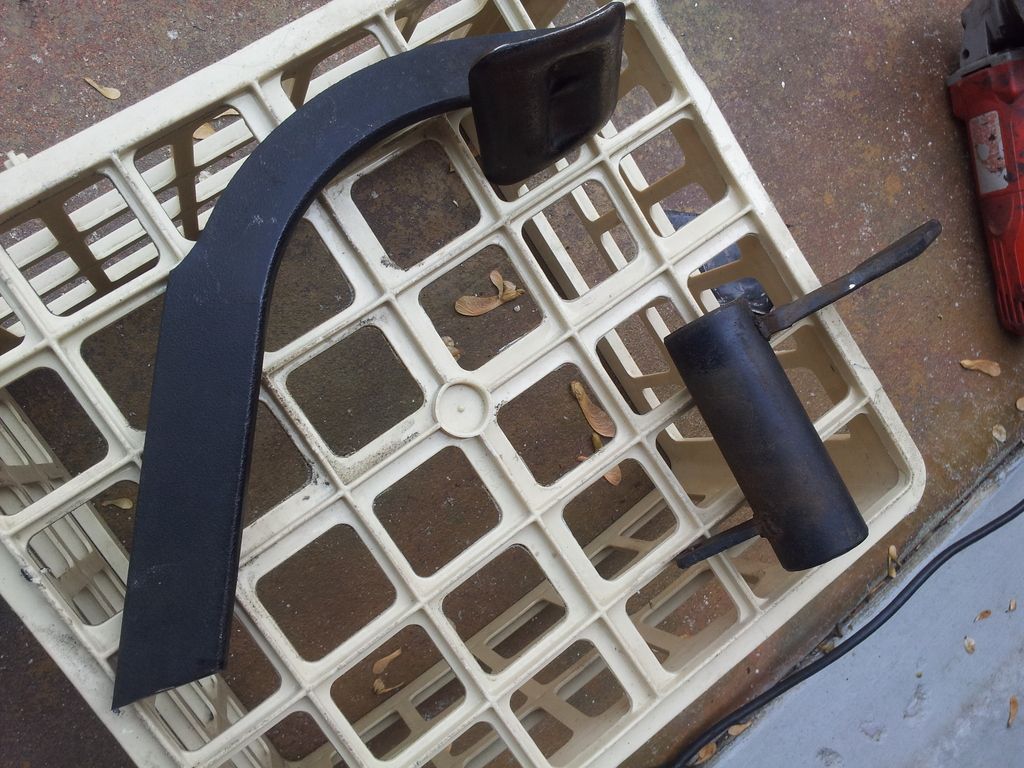
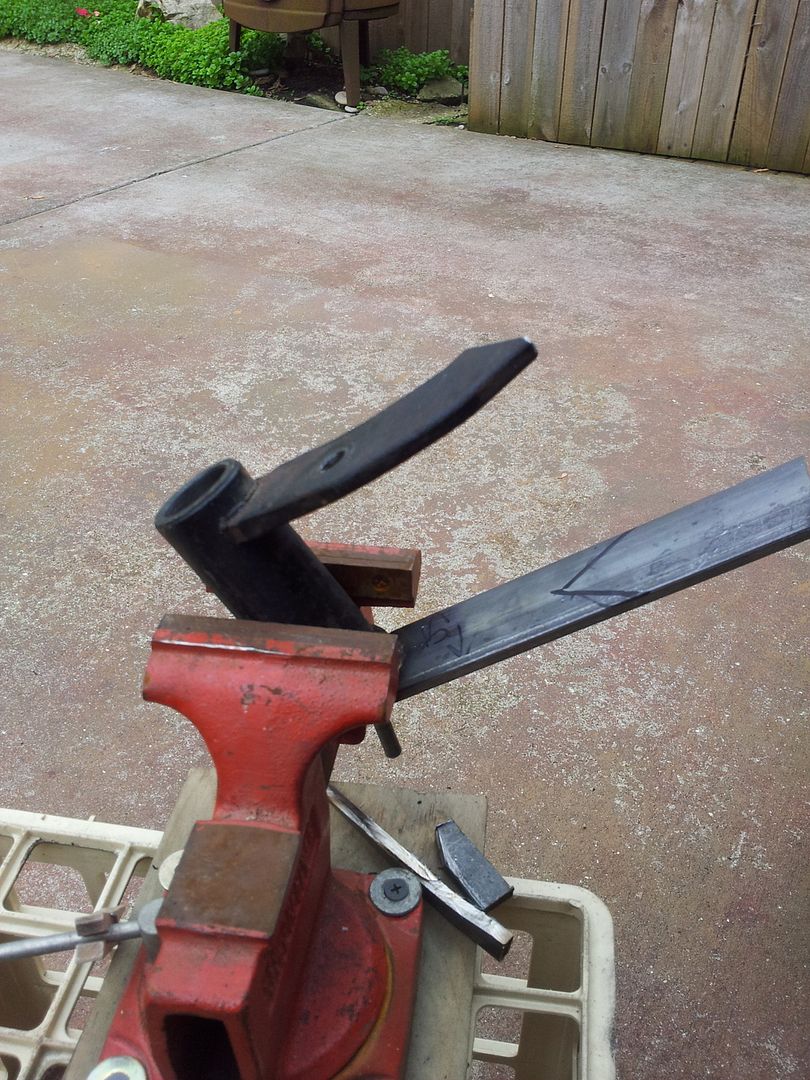
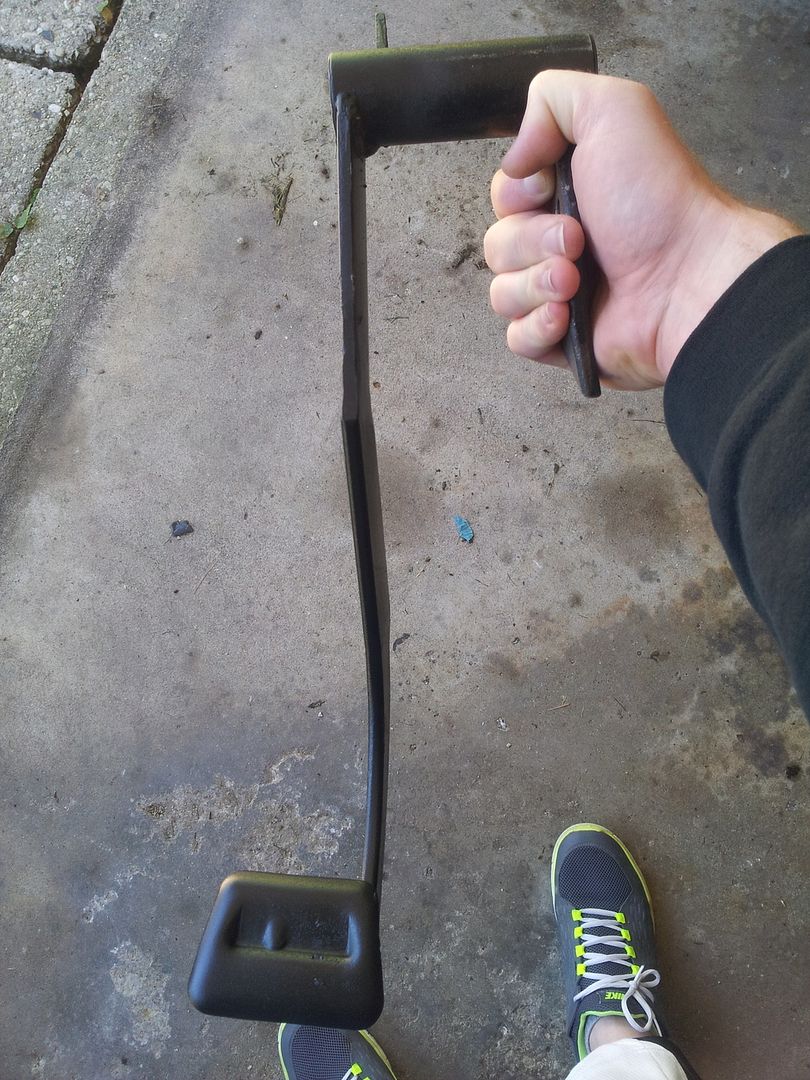
My old shotgun barrel gas pedal arm was cut free. Then I took some measurements and did some mental sketches, before grabbing some 1/4" x1 steel bar stock to start working with. It was trimmed to length, then sectioned slightly to have a lighter and more compact profile while still being full-thickness metal.
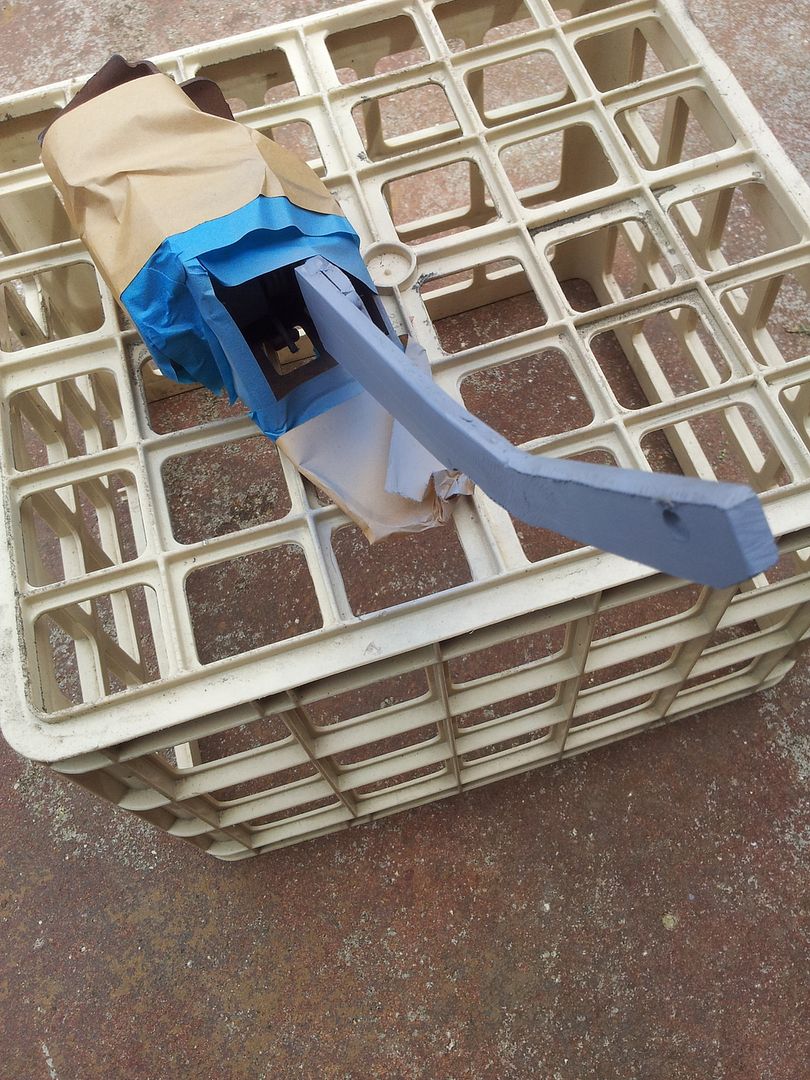
It was pie cut and angled, re-welded, then had a more natural contour hammered into it while still hot. I also drilled a hole in the base to continue using the 2004 pedal-face I've been using since the swap. Then grinding/blending, primer sealer, and low gloss black enamel for a clean factory look. I need to get some better pics unmasked, with the pedal on and installed!
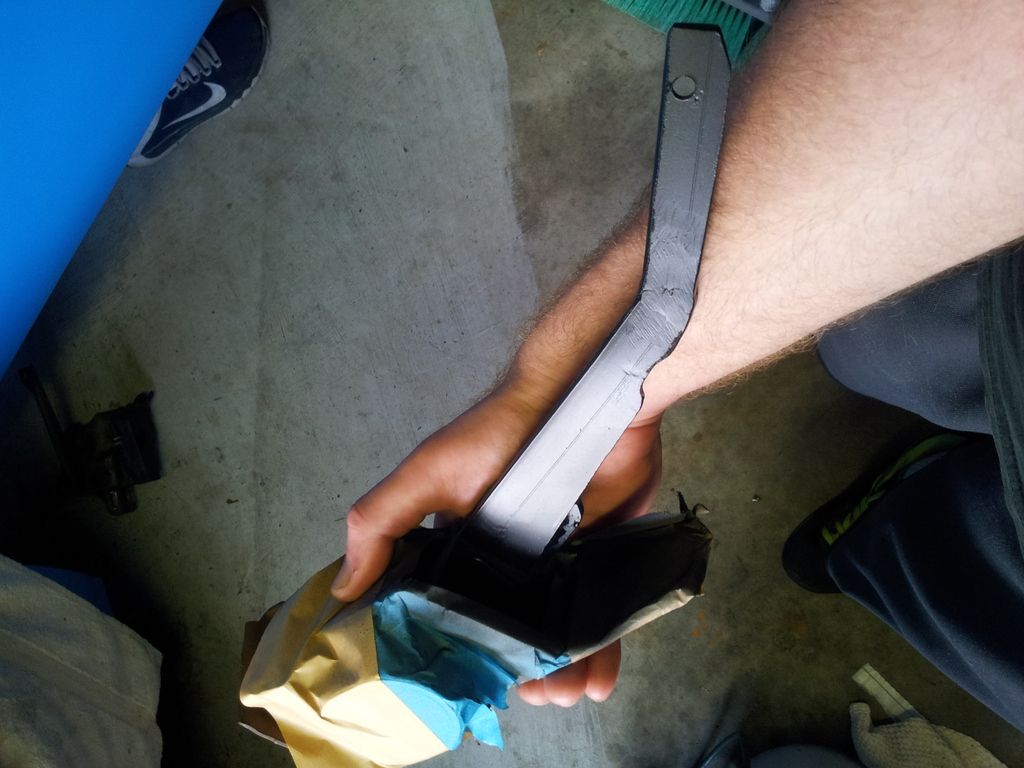
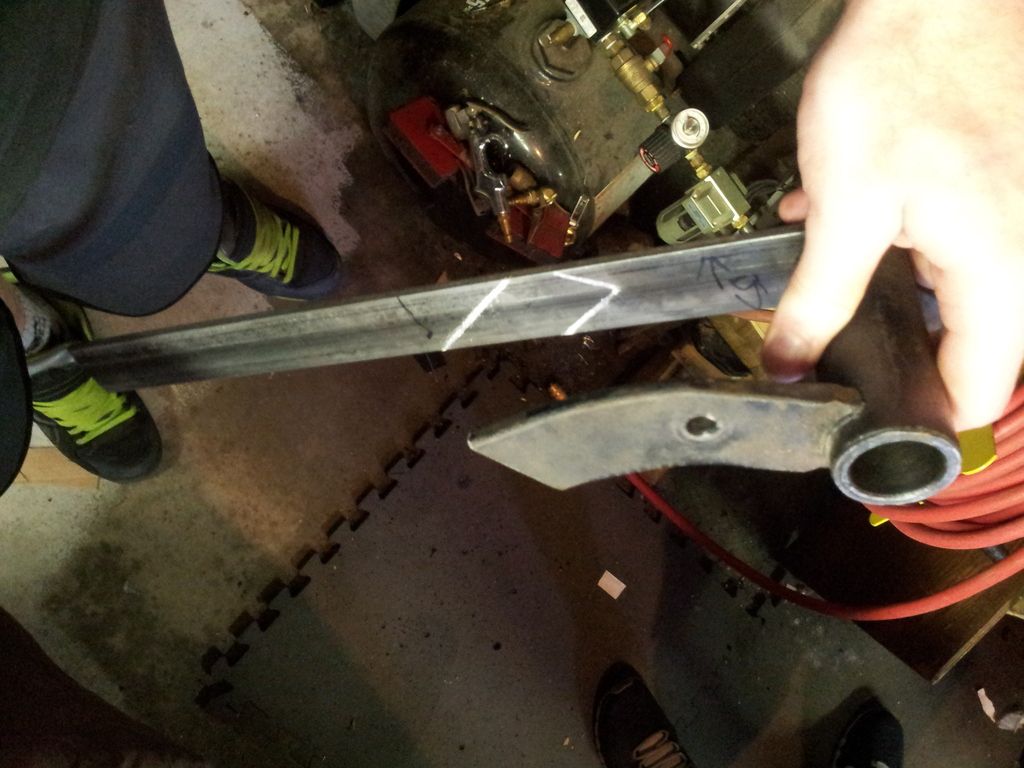
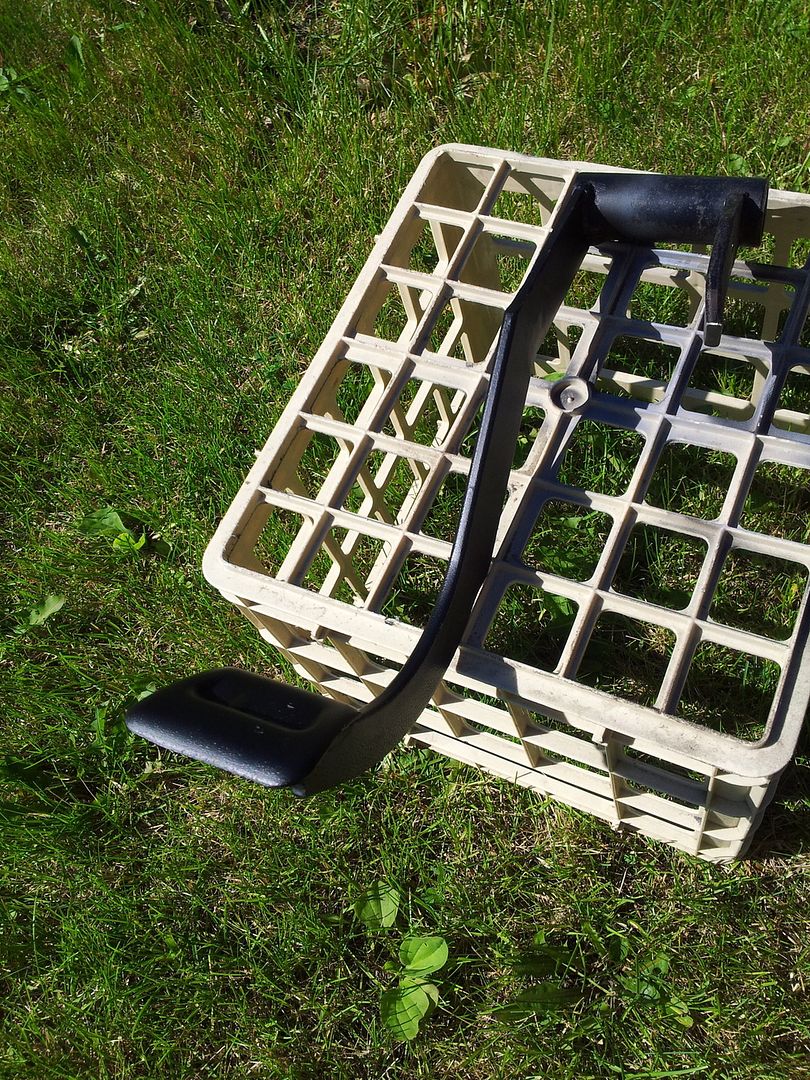
Then it was on to the task of the brake pedal. The column bracket was trimmed to allow the new pedal to exit in about the o.e. clutch pedal location, and make use of its bumpstop. The factory pedal arm was cut just after the bumpstop, so it does still use that stop as well as the standard pedal pushrod location and the standard stop switch location. A new upper-arm was made, radius'd to fit and solidly welded to the stock pedal pivot.
We used clamps to find min/max movement, then marked the upper arm as well as the old lower pedal to match. This gave us proper pedal travel and a decent angle, while allowing for a weld with a good amount of surface area and force distribution. The sections were tac'd, then hammered to contour before a stout finish welding.

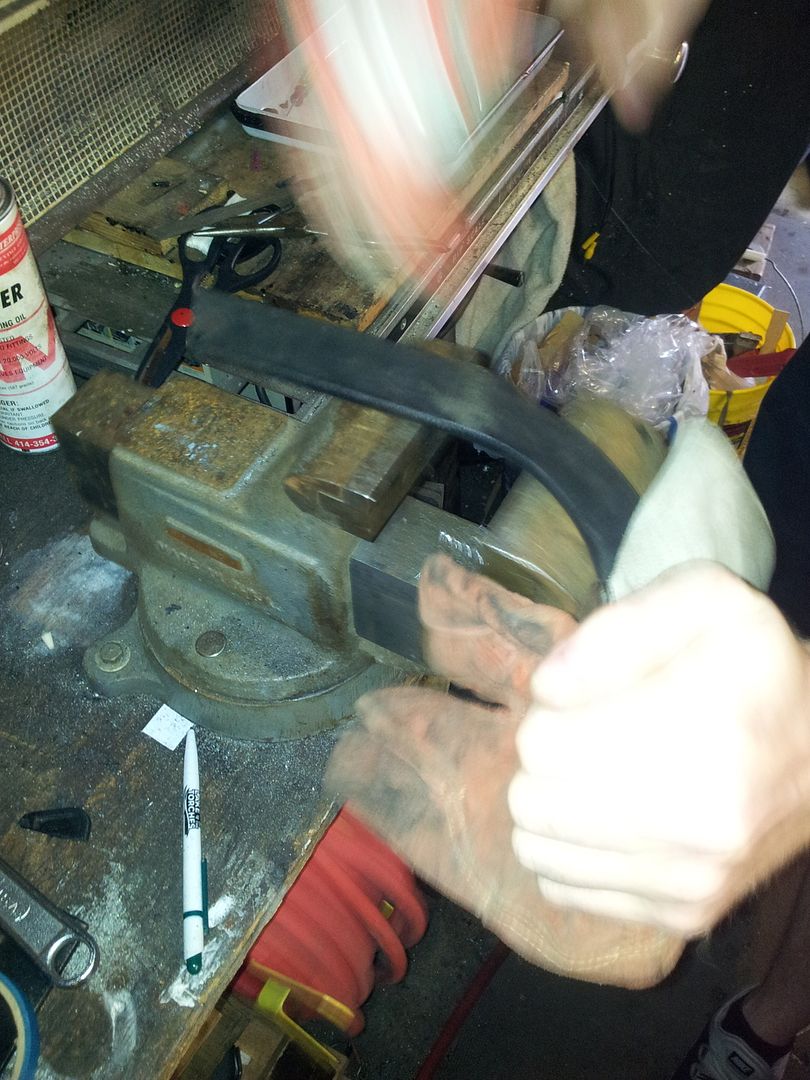
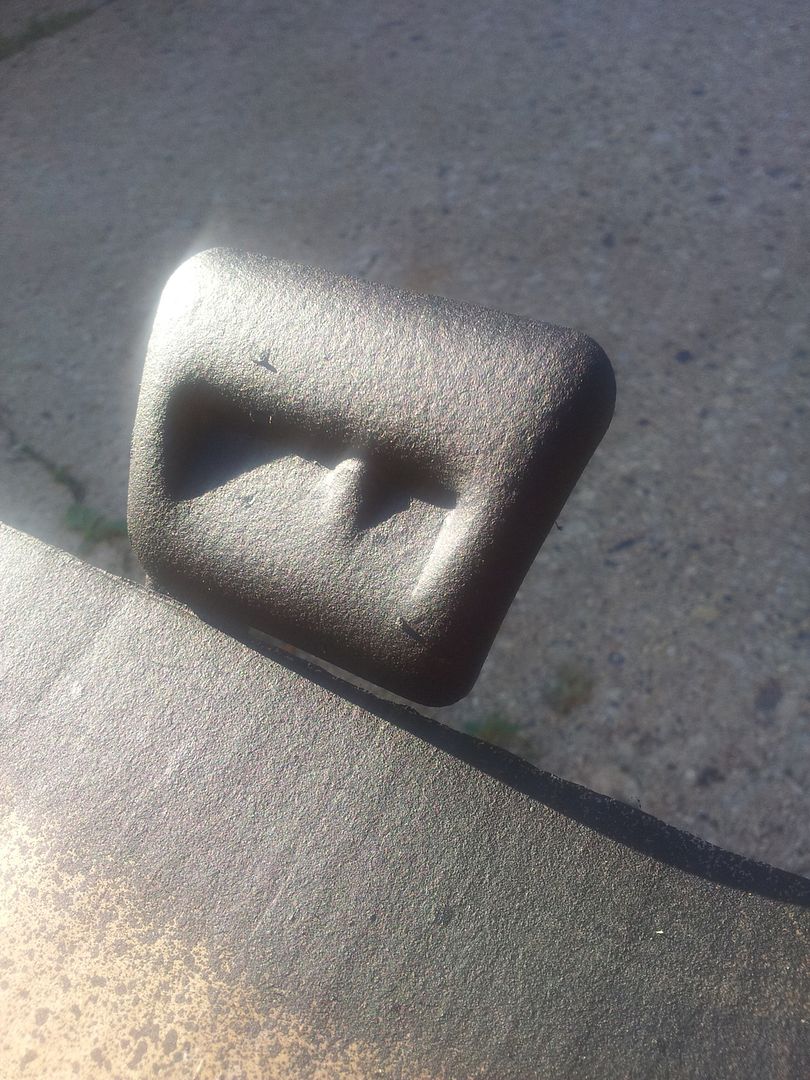
The pedal face was flipped and offset, and I added a reinforcing bar on the backside just in case. The whole thing was blended, primed, and hit with the same low gloss enamel. Since I don't like rubber pedal pads (but understand their anti-slip usefulness), I decided to go ahead and start layering bed liner onto the pedal contact surface. This should work as a built-in effective pad. I need to add some finished pics of that part, and some detail pics of the pedal itself installed.

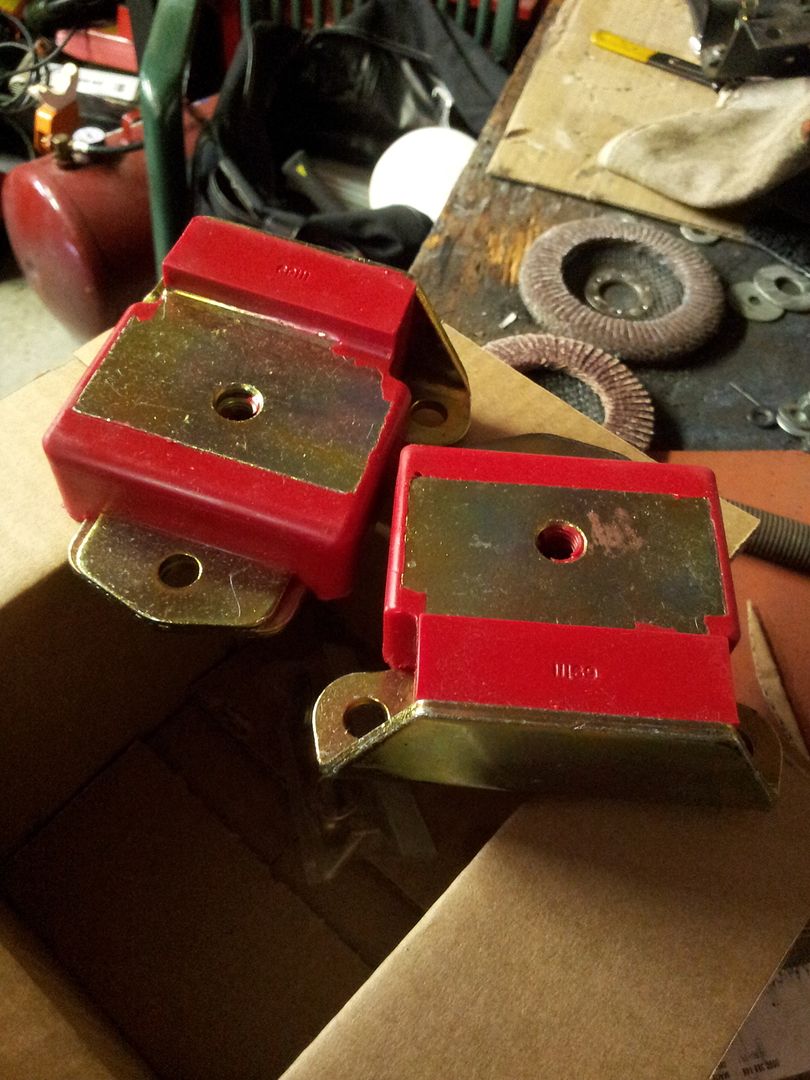
And a side note, I picked up some Prothane Red Poly motor mounts which I'm hoping to toss in while the front all off of it. They should help with the motor twisting, I'm just worried about how much it'll suck to put em in. Clearances are tight, and that stuff hasn't been pulled out since the swap...and was hella tightened down at the time!