I admit it, I've been slacking since the new goodies arrived. Between other commitments and late summer heat, I've gotten little done.
My blank cowl panel and cab corner arrived a few weeks ago. I did pull the old rust and chrome cowl panel out and vacuumed out the area inside to remove as much debris as possible. Even with the louvres, there was a surprising amount of twigs and leaves deteriorating health n the void between the firewall and the engine compartment.
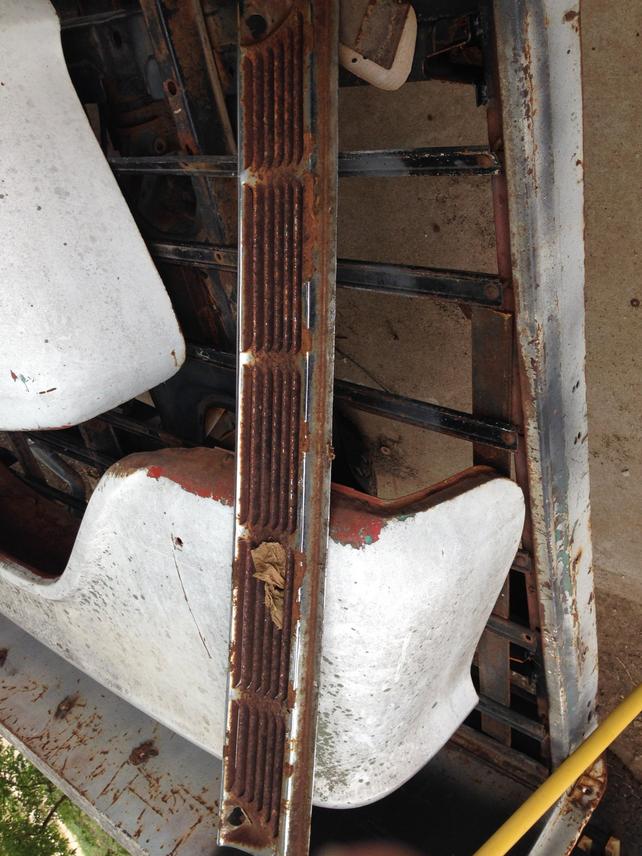
This piece had been chromed, (poorly), by a previous owner some time in the past 59 years. In spite of the rust, the remaining metal is still in decent shape. Still, I wanted a blank panel, sans louvres, to keep debris out and minimize future rust issues.
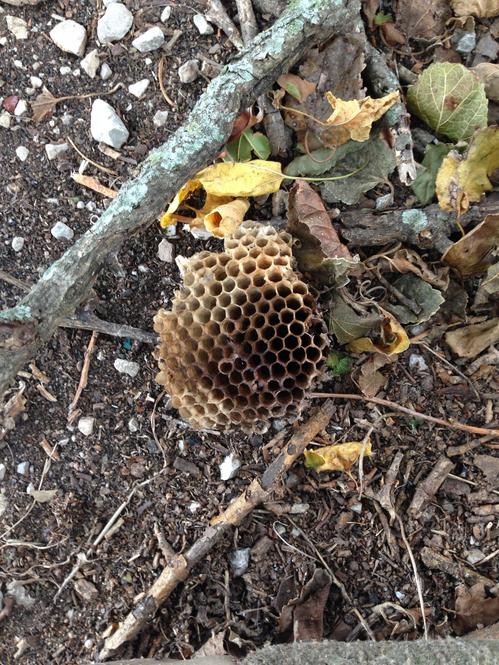
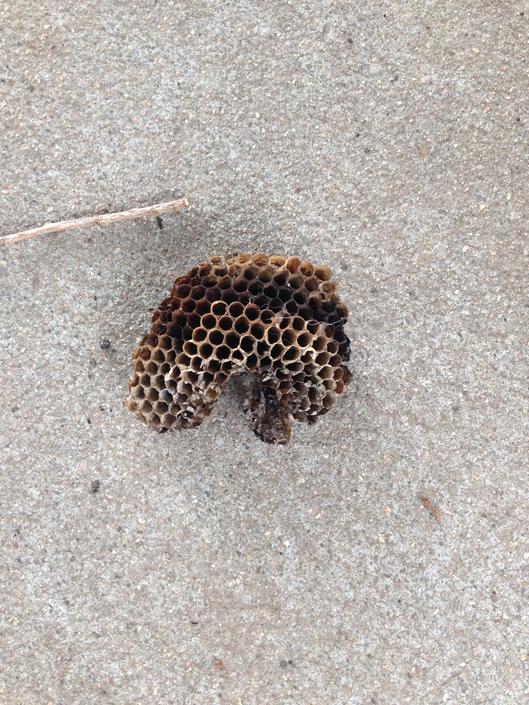
Each side of the cowl void had its own nest, down in the hing pockets for the doors. This area supplies air to the kick panel vents, though with the blank panel in place, there won't be much air coming in to the cab there anymore. These nests are less than two years old, as I had flushed this area out somewhat recently.
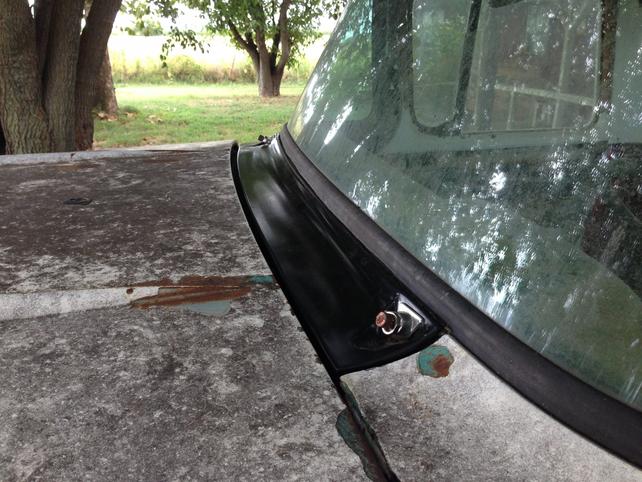
Here is the blank panel in place. The fit isn't stellar, made in China, but it keeps the debris out. I may see about combining this piece with the OEM part for a better fit. For now though, the operation is as desired.
Now that the State Fair is in town, the weather should be starting to turn. I'd like to get my cab corners done in the next month or so and maybe a bit more, assuming all else goes well.
The other morning, while trying to get back to sleep, I had a moment of brilliance. The idea of how exactly to mark the steel plate for mounting holes in the bed floor was a bit sketchy, initially. I was going to mark the location of the cross sills inside the box and take measurements to draw a grid on the floor to mark the hole locations. This could work, but if one measurement was off the slightest bit, at least two holes would be out of alignment with the mounting holes in the frame. Likewise, it isn't possible to drill from the bottom-up, because there is no room inside the frame for the drill and bit.
All of the sudden, there it was...since a previous owner has bonded the angle strips to the side walls of the bed, and the angle strips are punched for bed bolts and cross sills, I can use them to locate everything. My plan it to build two saw horses about 40" tall. Then flip the bed over on to the saw horses so it is resting upside down. I can then lay the 3/16" plate floor on to the angle strips, though I expect they will require some support in the middle. With the flat plate in place on the angle strips, I can work from the under side (inside) of the bed, drilling through the punched holes in the angle strips. Then, I can mount the cross sills and drill my mounting holes for the bed to frame bolts.
I have no idea why I didn't think of this before. As long as I keep the cross sills in the same orientation as they currently are, it should be stupid simple. I feel really dumb for not thinking of this earlier.
Okay, it's been a while since I did anything with the project. The summer heat has finally broken and I ended up with two days off that didn't require me to be someplace else. I decided to finish off a small project that I started last year when I was working on the frame, the winch mount.
I have a good sized piece of scrap 3/16" diamond plate steel that I had already intending on using to attach the winch, which I have yet to purchase. I pulled out the tape measure and marked off a 9" wide, 35" long section to cut and went at it with my Skil saw and a metal cutting blade.
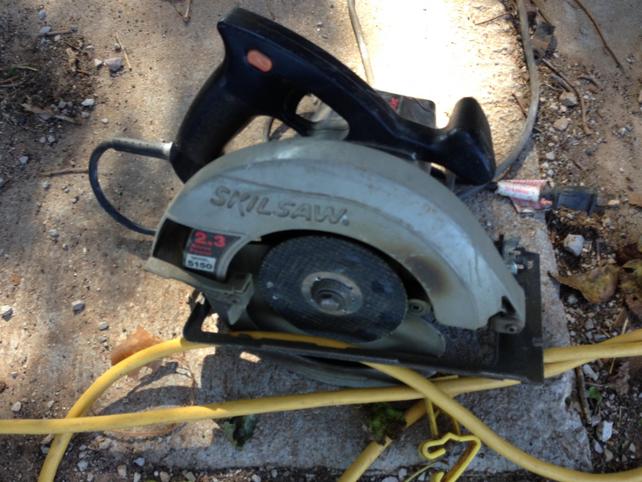
I've had this saw for 22 years now and have used it to cut everything from lumber to tar wrapped gas pipe and concrete. Today, five inches from completing the long cut, the Magic Smoke leaked out and the blade quit turning. :cry I ended up having to finish the cuts with my no-name backup saw.
(Pic pending)
I welded two pieces of 2" 11ga steel square tube between the stub extensions that are bolted into the frame to attach and support the diamond plate. The front piece is on a 45* angle to match the cuts on the ends of the stubs. I bent the diamond plate down to match the contour of the square tube to minimize the chance that the winch cable would drag against the leading edge.
(Pic pending)
Once everything was done, I covered it in a coat of gray implement paint today.
(Pic pending)
(Pic pending)
Getting the tow hooks mounted this afternoon. I think these were in the donor Dodge when I got it. There were only two mounting bolts of proper length, so I'm going to hit Tractor Supply up tomorrow for four matching bolts. I also started finishing up the flange around the transmission cover, since the patch panel didn't include the flange. No pics of that yet. It's something small, but will need to be done.
Two more days and a bit more done. When I put the floor panel in on the passenger side, I found the flange for the transmission cover was not part of the patch panel. I salvaged part of the old floor section with the flange and got it welded in.
(Pic pending)
Once that was done, I used a touch of filler to finish it out and rattled on some primer to keep the rust away while I'm still working.
I also cut the hole for the transfer case shifter in the transmission cover and installed the inner dust boot.
(Pic pending)
Finally, I filled a hole in the trim line on the cab that I kept forgetting about. Somewhere back in time, a previous owner drilled a hole behind the driver's door, most likely for an antenna cable of some sort, based on the size of the hole. It was behind the double wall, but not so far that I couldn't reach inside with a welding spoon. There are no pics of the before or work being done, just the end result.
(Pic pending)
No more rain water getting in through that little hole. Now I just need to cut a proper steel patch for the old filler neck hole so I can weld it shut. The aluminum piece is doing a decent job of keeping the bulk of it out, but I really need to finish it right.
-Joe