The Bodywork
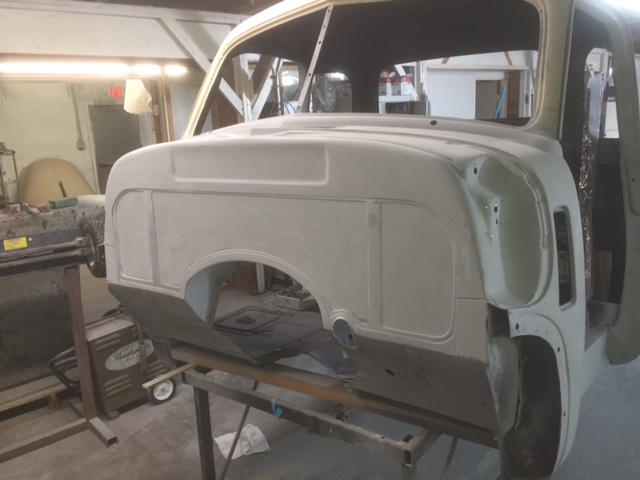
After trailering the disassembled truck to Phoenix, I took all the sheet metal to a local blaster that did a lot of work for car restoration projects to do as little damage as possible to the steel. I tried having the doors and running boards chemically dipped, but didnt like the idea of residual chemical in the seams and corners, and had the dipped parts blasted too. Here's the cab in Southern Poly epoxy primer just after blasting-
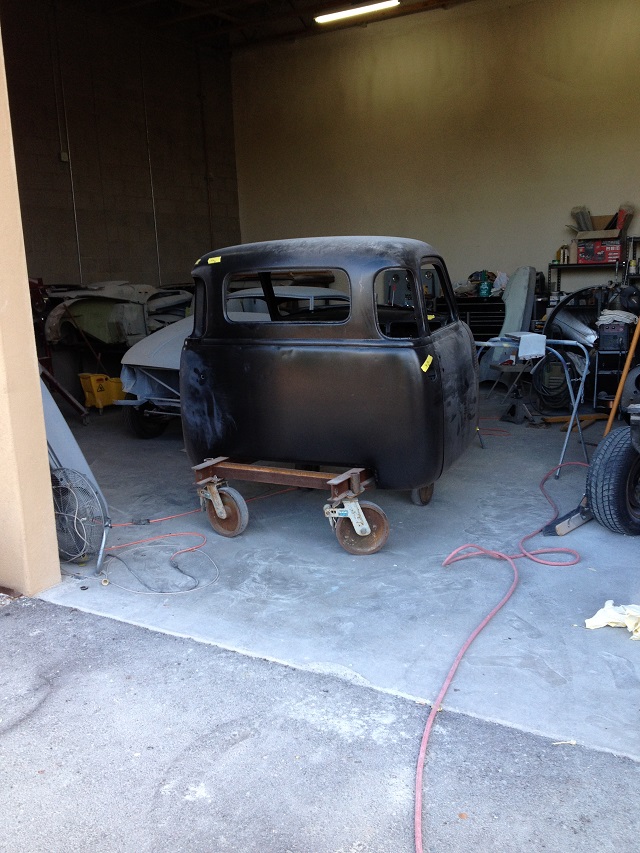
The results of the blasting showed just what condition the cab and doors were in. The bottoms of the door pillars were rusted out, the drivers and passenger side floor was pretty much gone and one of the cab corners needed replacing. There were holes in the bottom of the doors on the inside panel. Previous owners had punched holes in various places in the cab, including what must have been an antenna in the roof and a big hole in the dash where theyd shoved a tach or something into. I like to do paint and bodywork, but this truck was going to take a lot of time. I still work full time and was remodeling/selling my house, so I decided that Id hire the metal work done, or this project was going to take a long time to finish.
The sandblast shop recommended I talk to Wyatts Rod Shop in Mesa and when I got there a mid-40s GMC COE sitting on a custom chassis with a Corvette suspension with Wyatts Rod Shop painted on the door was sitting outside.
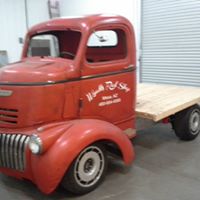
I found Wyatt making a rear fender for a Chevy sedan delivery on an English wheel and knew Id probably come to the right place. We struck a deal to do all the sheet metal work on the 49.
All the following work is Wyatt Tichenors, done at his shop, Tichenor Coach Works-
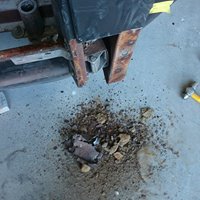
Replacing and repairing sheet metal is pretty standard on this site, so I wont bore you with more, but heres a picture of the dirt that came out of the door pillar that no doubt held the moisture in and caused it to rust, even in the desert.
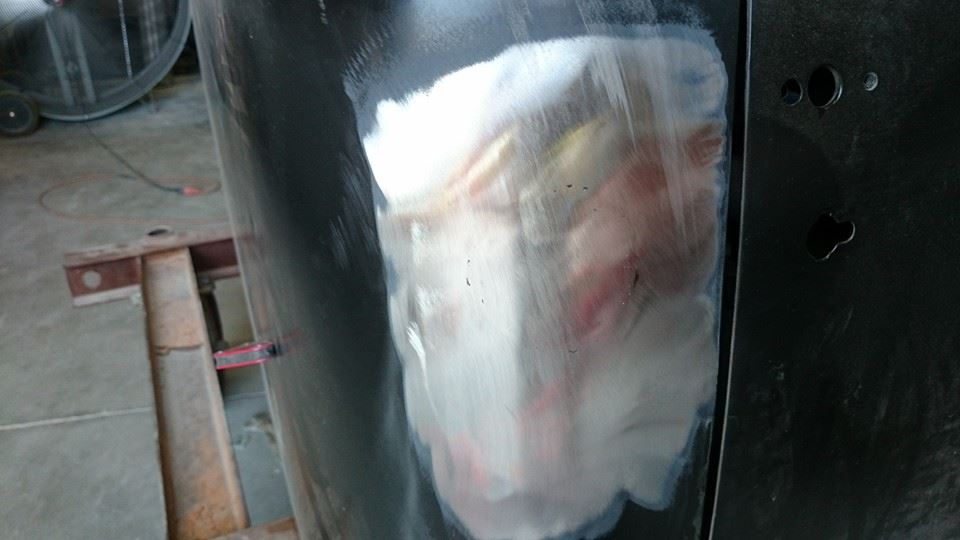
The gas tank filler hole was closed off since I plan on relocating the tank to behind the differential.
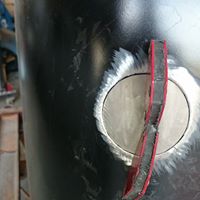
Gas tank filler patched finished
The dents, welds, and imperfections were bumped out with a hammer and dolly and the metal finished to a degree where it didnt require any filler, only Feather-fill high build primer.
There were a couple of areas that required a skim coat of bondo to level the surface, but only sparingly.
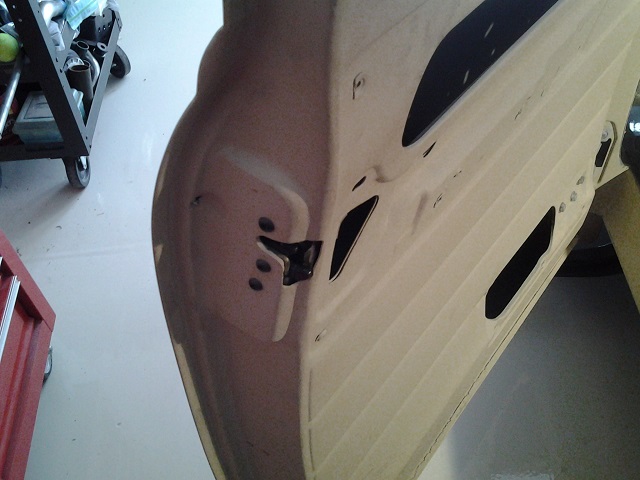
I rebuilt the door hinges, but had heard too many stories about doors popping open using the original latch and striker plate. After showing Wyatt the Altman bear claw latches for the AD trucks, he said that he could make it a lot more pleasing to look at with a custom bear claw latch. Heres how it ended up-

The stock door handle no longer engaged the lock mechanism so I had to fabricate some linkage to get from the door handle, around the glass channel and into the new bear claw.
I wanted to replace the stock cardboard door cards with aluminum ones with a pattern on them from the bead roller. Wyatt convinced me that I should upholster the panel instead of running bare aluminum, but to get the panel to lay flush to the door, I either had to bump out the panel for the arm rest or shave it off and figure out how to put the angle back in the armrest.
I made the arm rest mount flush with the door panel.
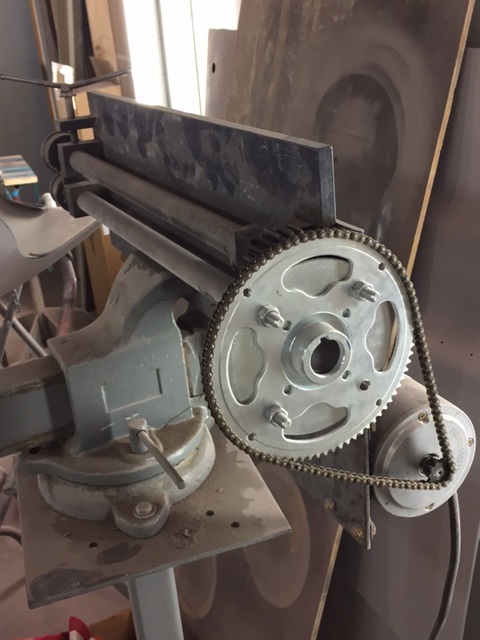
I got sidetracked for a while figuring out how to motorize my bead roller so I could make my aluminum door cards by myself. Heres a foto of it it has a 40 amp 12VDC electric scooter motor with a 8:1 speed reduction through some sprockets that use a #25 chain. A 20 amp LED power supply is modulated with a PWM to vary the rollers speed with a potentiometer. A junk guitar Cry Baby foot pedal houses the pot that allows me to use both hands to guide the metal through the dies and control the speed with my foot. So far Ive not used it.
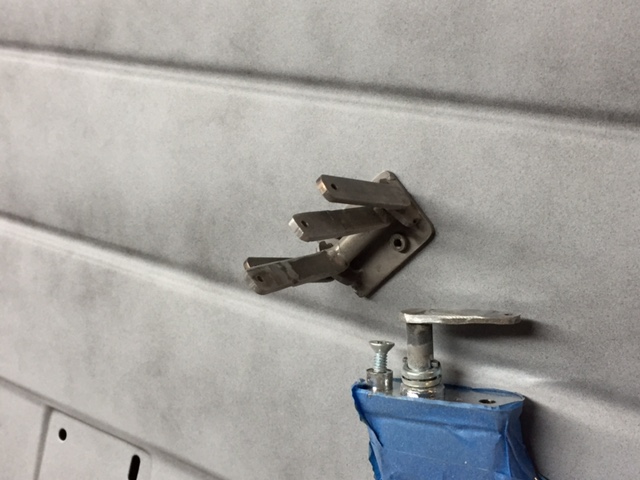
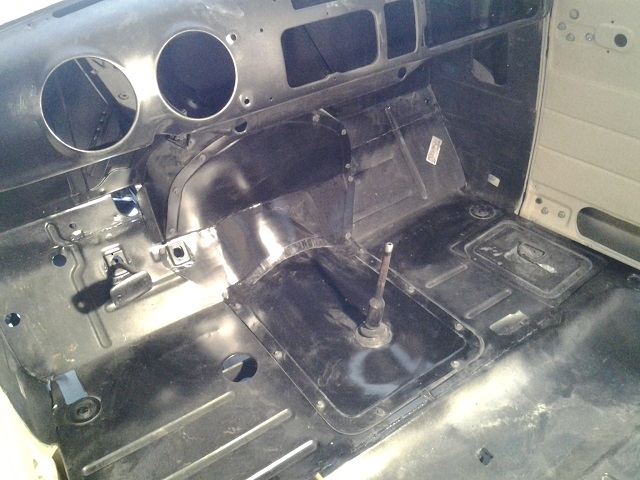
I wanted to move the LS engine as far back as I could in the engine bay, and Wyatt suggested that while he was replacing the floors, we should think about a custom firewall that would let the engine come back another couple of inches. The labor to build a new firewall wasnt all that much more than fixing all holes in the old one and smoothing it out. I wanted a finished firewall with nothing on it so he drilled all spot welds out of the inner panel and made a new one from sheet stock using a bead roller to mimic the old factory panel, but with an indent for a V8 instead of an inline 6. To get to the bolts on the bell housing to allow changing the clutch without pulling the motor and accommodate a modern manual transmission, Wyatt made a removable cover for the inside of the cab one for the trans and the other for the bell
housing. My plan is to put the ECU in the cab and Ill run the wires through the top access cover and mount the ECU under the dash. Borrowed a dummy Vintage Air evap housing/blower to make sure it would still fit after the firewall modification it did.
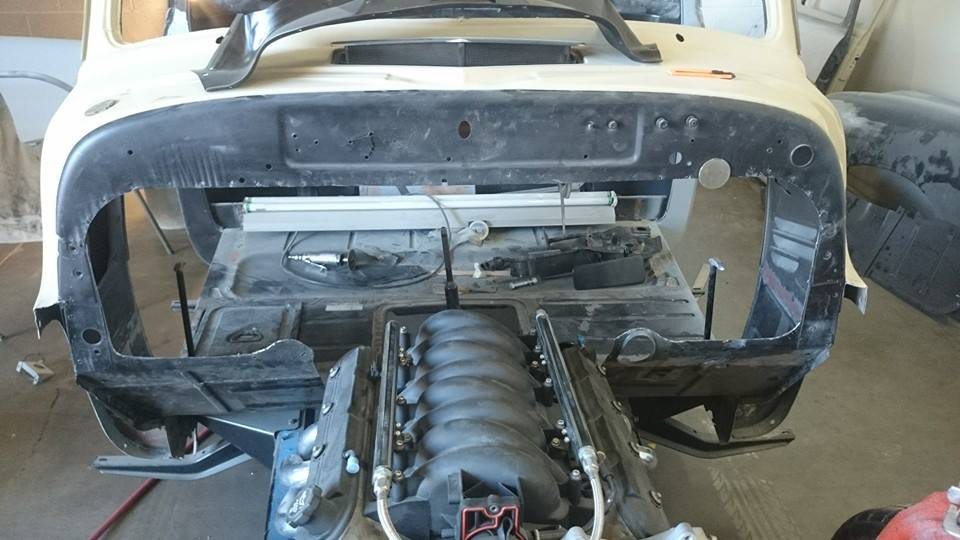
This is the mockup phase with the engine installed. The engine pushed back like this gives me room to run cheap truck accessories
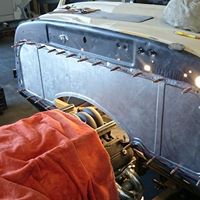
Heres the nearly finished V8 firewall.
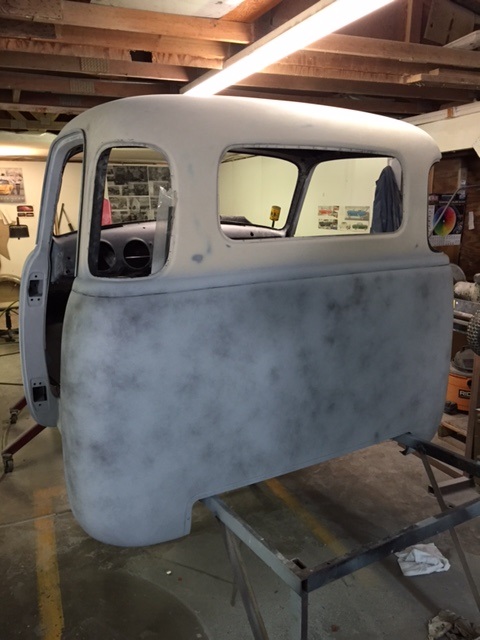
Currently, the cab is nearing completion.The bottom half is in urethane primer and Im doing the final block-out with 400 grit (adult supervision from Wyatt)
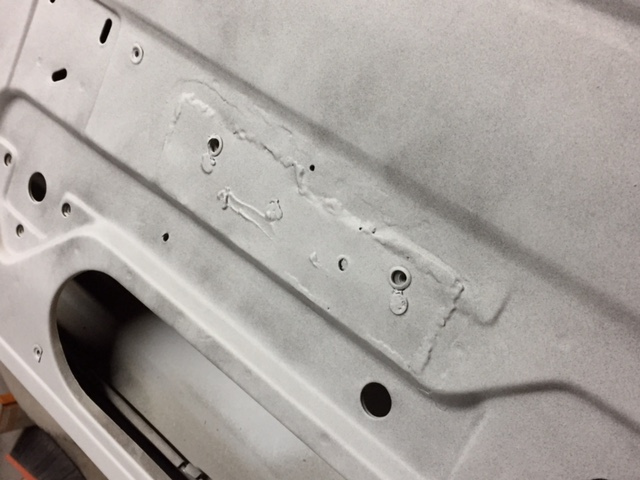
I want a clean engine compartment, free of hoses and electrical wiring to the greatest extent possible. At one time this truck had the battery moved into the engine bay and they hacked the battery tray into the inner fender with welds that looked like petrified bubblegum. They were beyond economical repair, so I bought some reproductions. They looked pretty decent when they
came out of the box, but when I started blocking them out, they had a lot of ripples and dents. Wyatt filled all the extra holes with weld and I skinned them with bondo to smooth them out.
Here they are waiting for a coat of feather-fill to block them out again for primer. Planning on painting them body color

The truck came without a bed or rear fenders when I bought it. Joe (Mother Trucker) in Tucson had a nice set of rear fenders and I bought them from him. A trial fit of the fenders with the wheels I wanted to use showed the fenders wouldnt accommodate the width of the wheel, so I had to either widen the fenders, narrow the rear end or install tubs. Since I wanted to keep the stock appearance as much as possible, I nixed widening the fenders in favor of mini tubs and narrowing the Jag IRS. I sliced some trailer fenders in half and tigd on a skirt and Wyatt fabed some L-section on a stretcher/shrinker so the mini-tubs could be spot welded to the new MarK bed sides. Wyatt put a flange on the tubs so they would fit tight to the bed wood for a factory look.

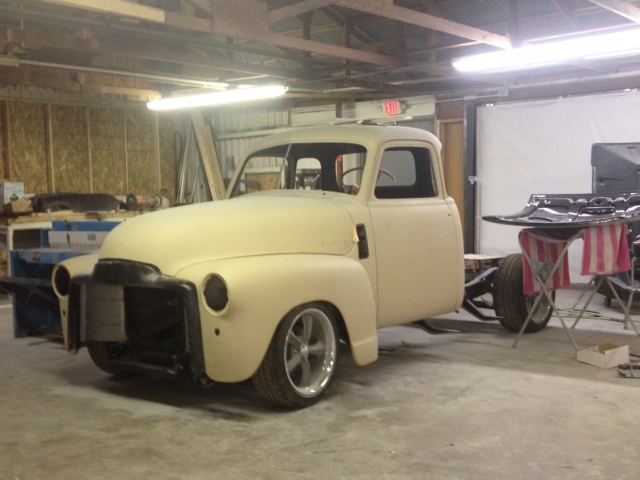
Heres what the truck looked like at the first mock-up of the body panels after the metal work was done and in Feather-fill
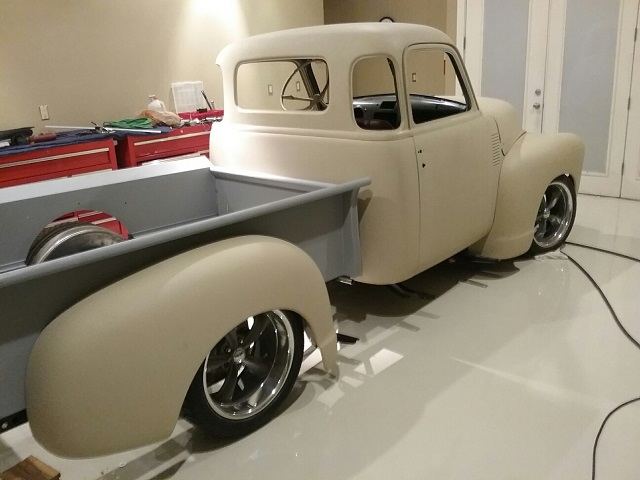
With the bed on the chassis at home-
I jumped the gun a little bit and had Wyatt paint the rear fenders when he had some slack time at his shop. Hes since stopped painting top coats at his shop to focus on just metalwork.
Heres the fenders sitting in my living room at home. The color is a sage green from the latest Fiat 500s, of all things its the first color that my wife and I could agree on.

Im shooting for a final fit of the chassis to the cab/fenders/hood at Wyatts shop in the next month. Hes already shut down his paint booth, so Rob at Drew Brothers Customs in Chandler has agreed to do the work. The truck with cab, fenders, hood grill will be trailered to his shop, disassembled, painted, then reassembled and back on the chassis. Ill put the bed and rear
fenders on at home.