Thanks Greg!
More progress on the (second) fan shroud, but I had a request to show the process in greater detail.. So we'll start with the beginning.
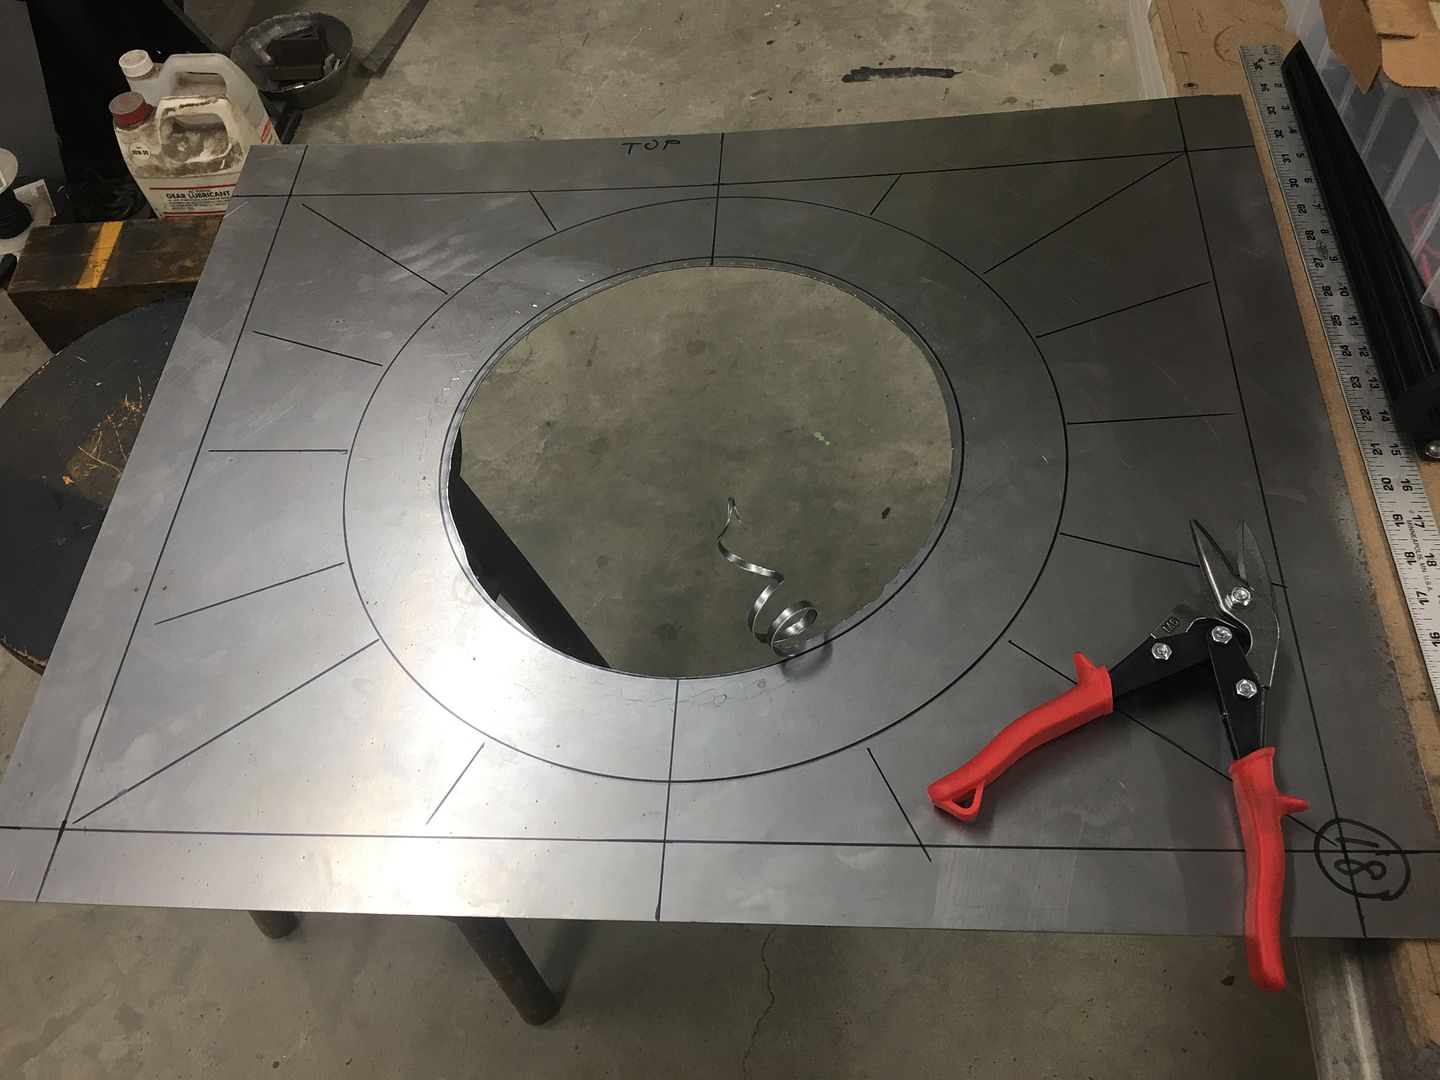
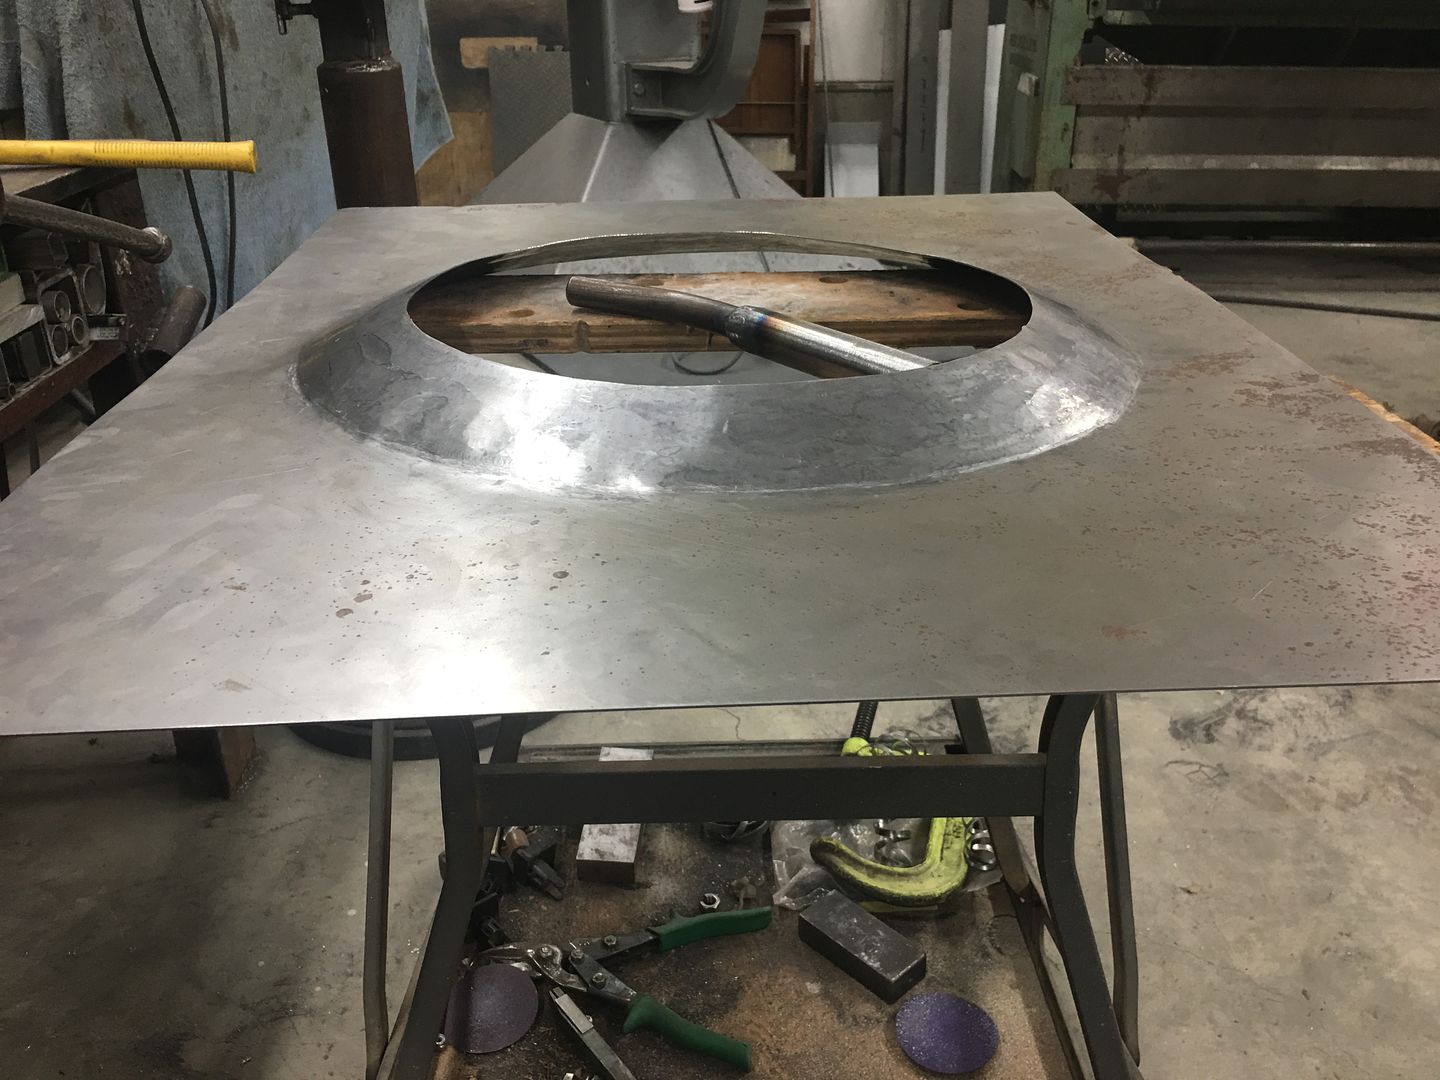
First was the layout of the bend line, and then the cut line was located about 3" inside of that. (I'm using some of the pictures from our first attempt as our shop photographer missed some the second time around)
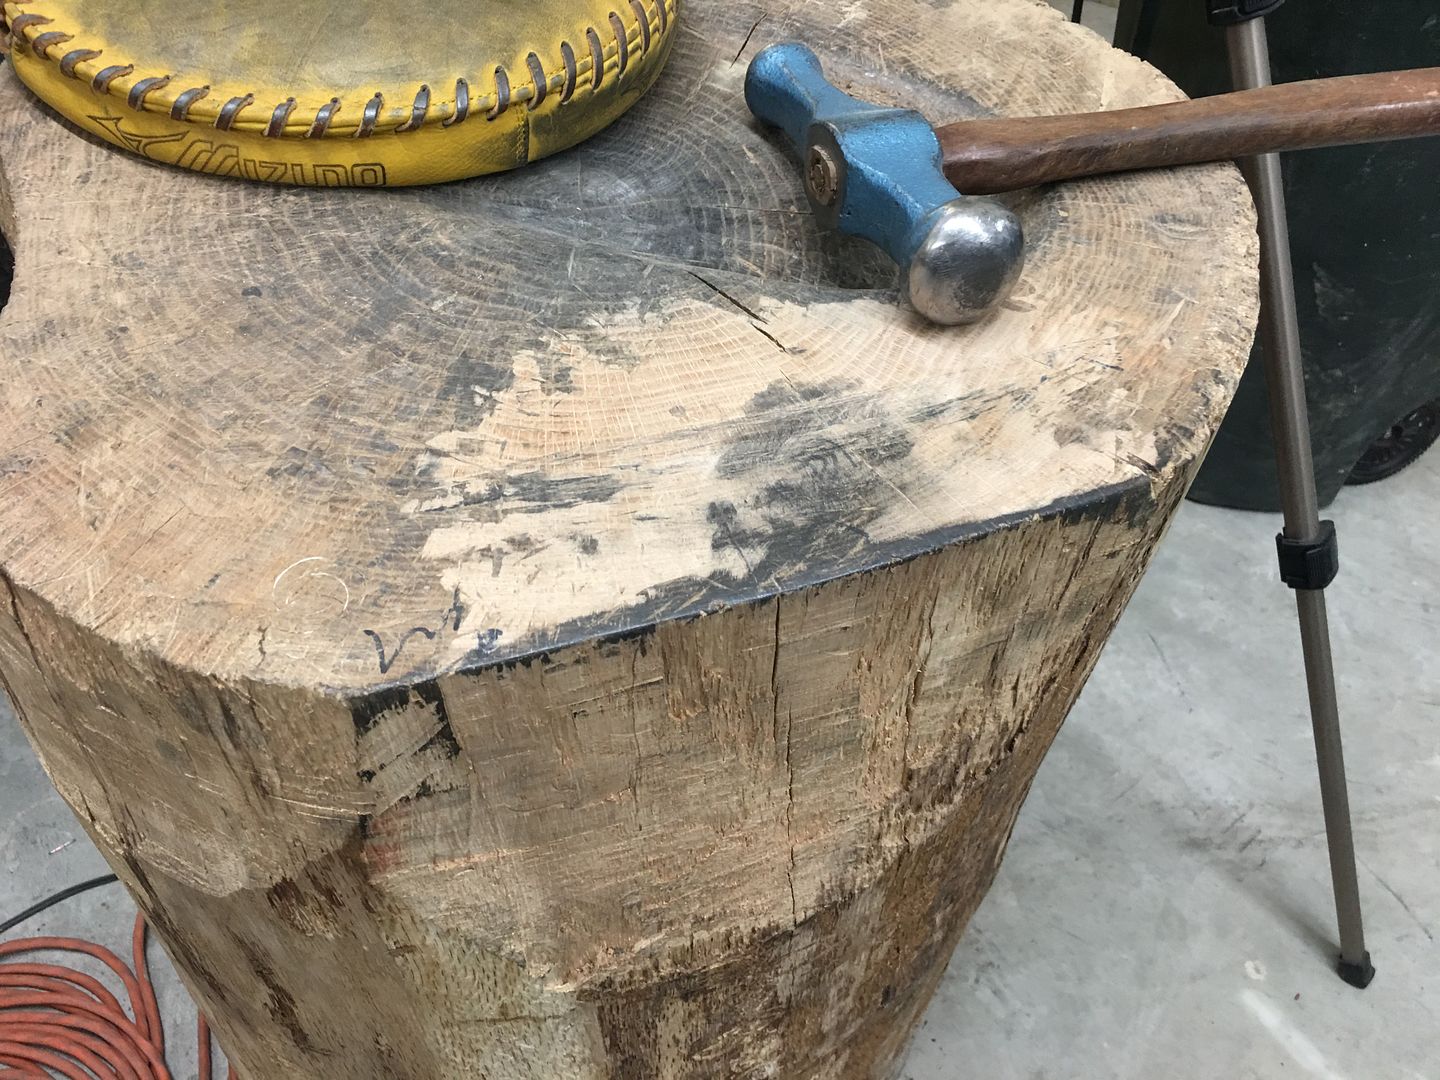
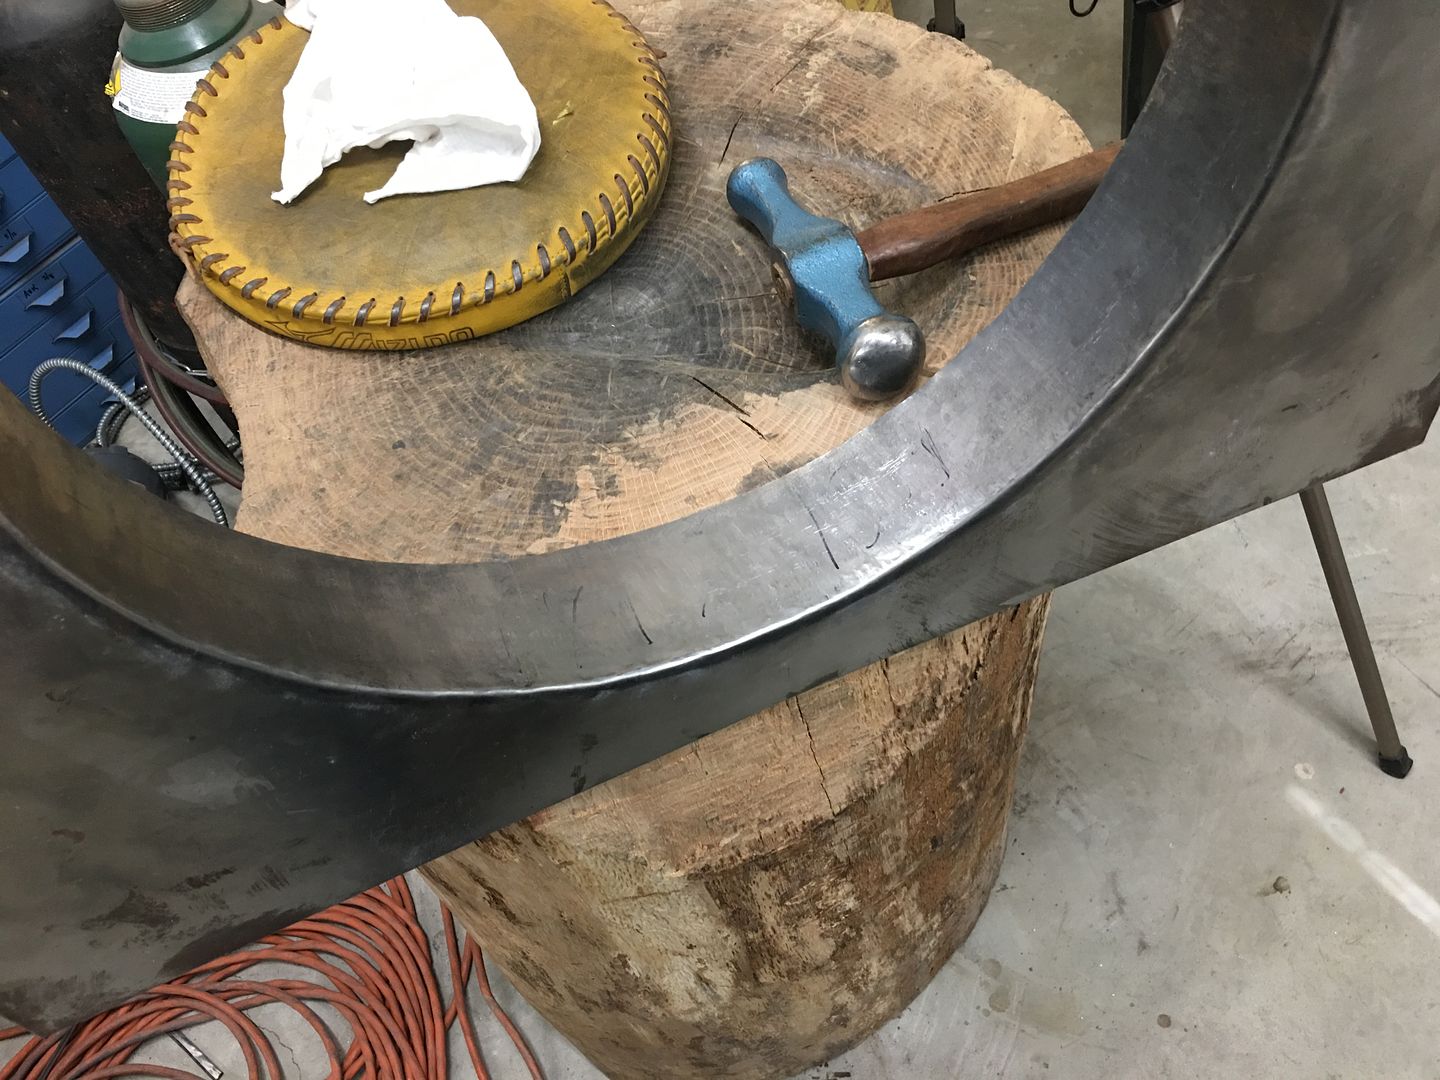
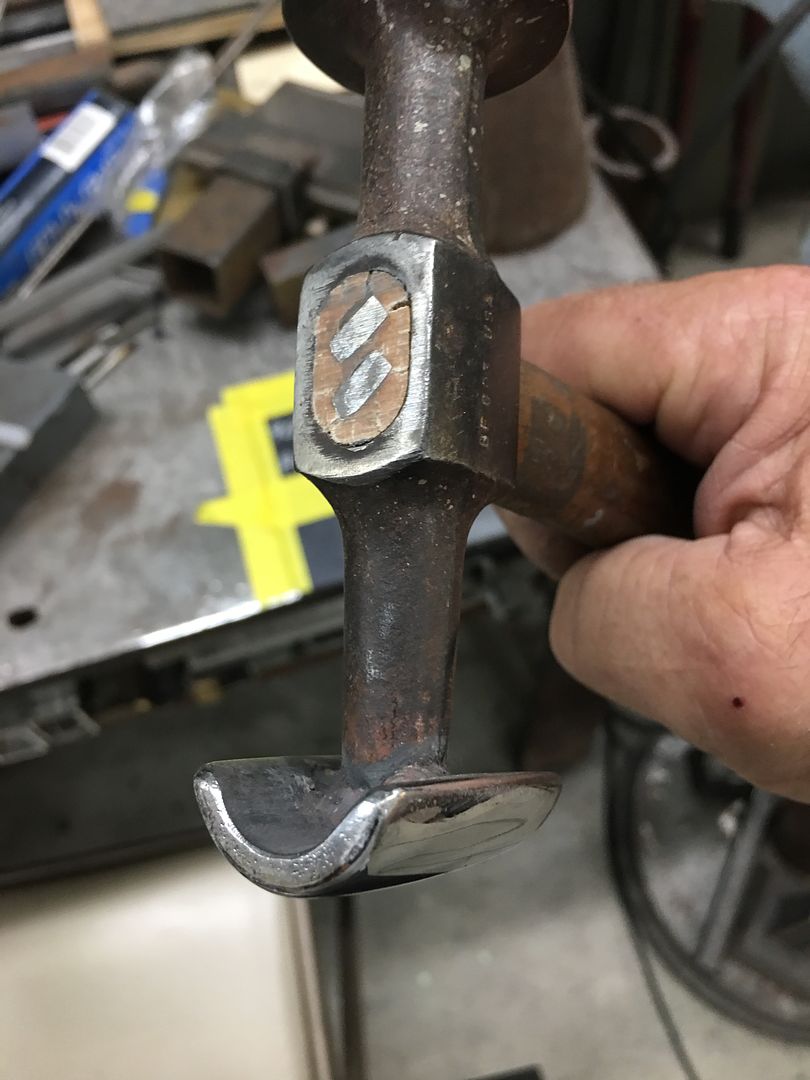
The initial stretch was done using a blocking hammer on the top (flat area) of the stump, primarily at the inside edge as that needed the most stretch.
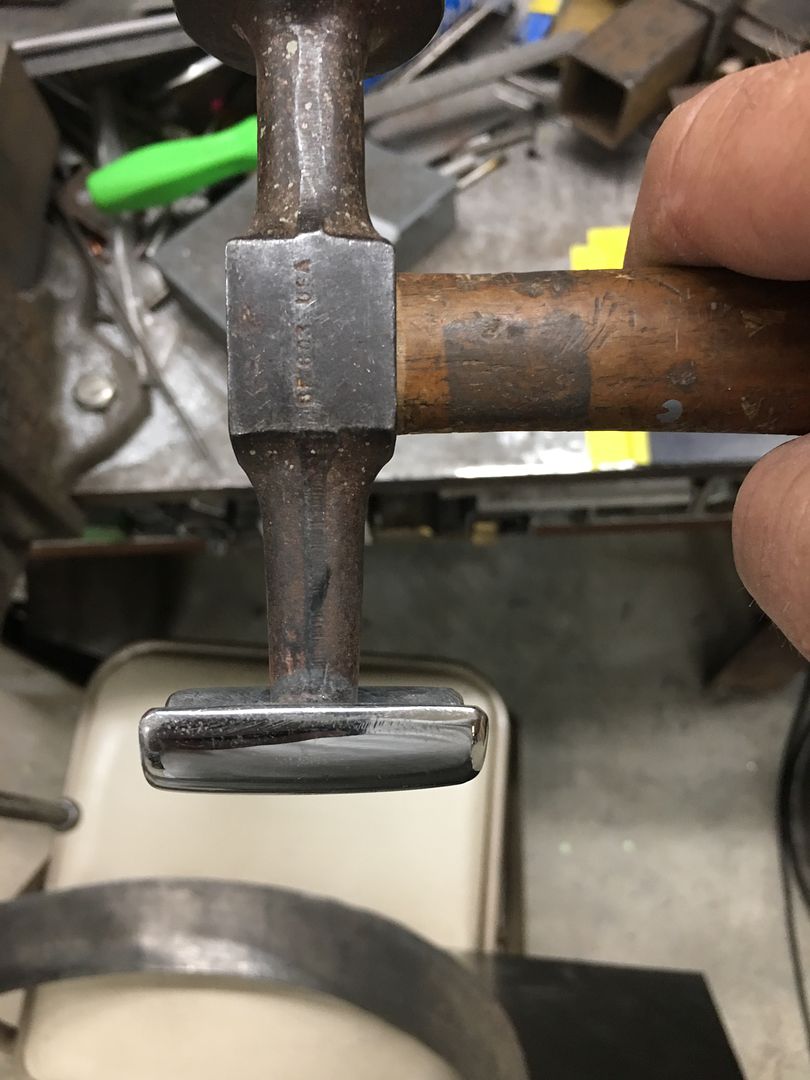
On our first attempt we had a hammer form that was used to "set" the bend line with a crowned body hammer as we added the first bit of stretch.
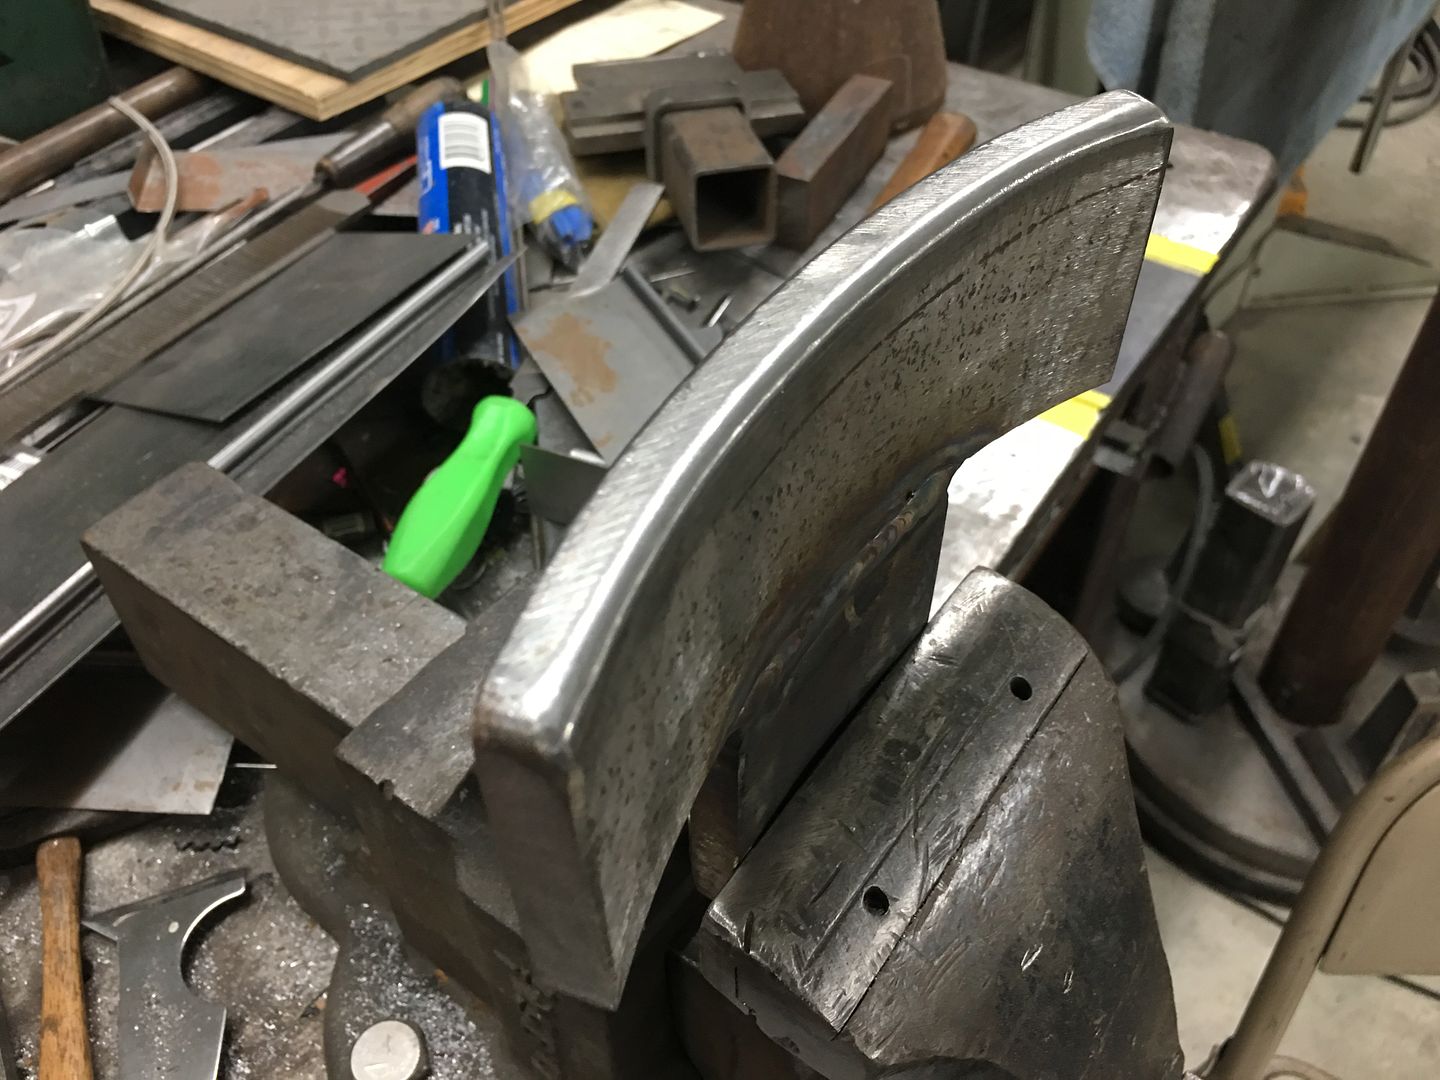
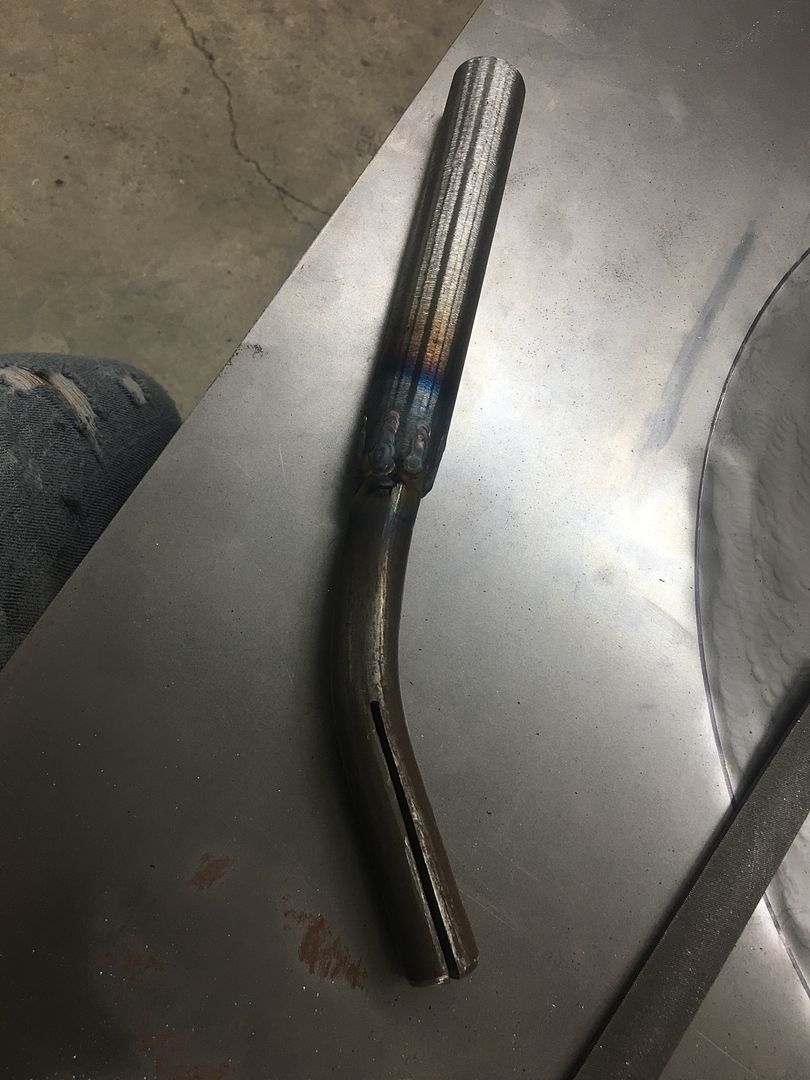
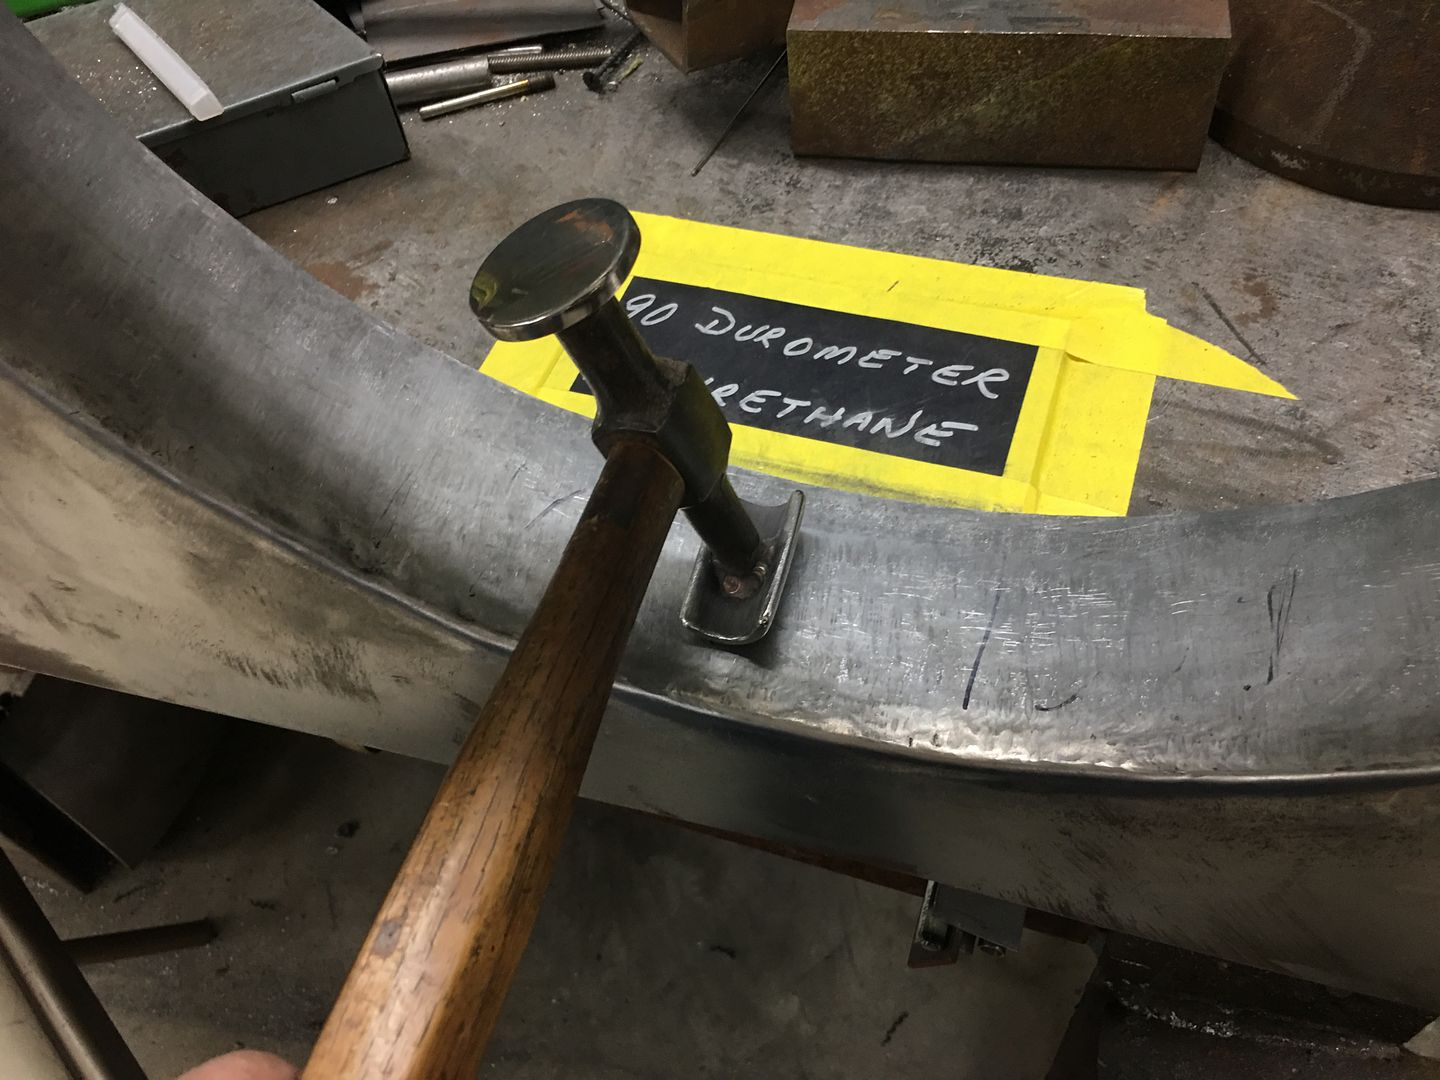
This seemed a bit cumbersome, and the second version I used a bent portion of round stock that was in the scrap pile, added a piece of pipe for a handle, and the band saw added a slice for a new tipping tool. The bend in the tipping tool gave it a built in fulcrum. Normally a tipping operation tries to pull the adjacent material along as the bend forms. In this case we set the panel on a table and used the bend (fulcrum) of the tipping tool against the table to pull the stretched area downward. This allows us to push down on the handle to elevate the panel off the table, and to push downward on the flat panel outside the bend line with the palm of your hand. This does a good job of placing the bend where needed without pulling adjacent metal along for the ride. Even though the pictures show the stretched area upward, the panel was placed with this area downward when using the tipping tool..

This worked much better at setting the bend line than the hammer form, and it was surprisingly accurate.
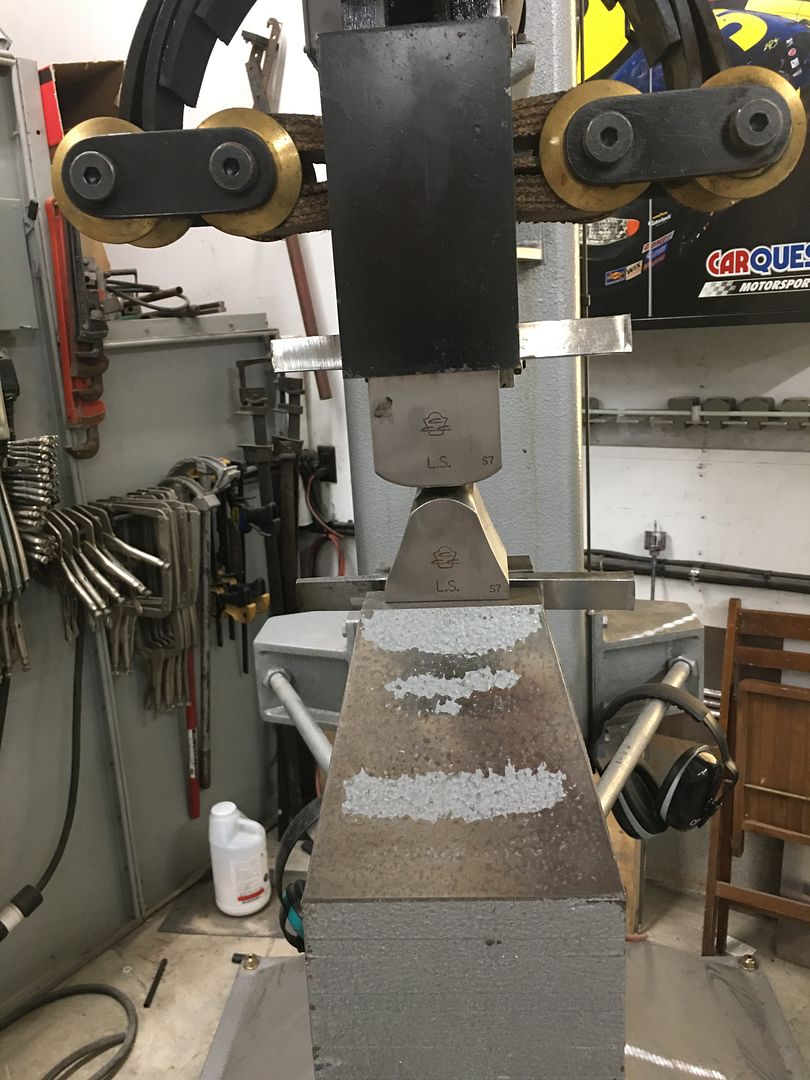
Much of the stretch was done using linear stretch dies on the power hammer, but we also reverted back to the blocking hammer and stump to better focus the stretch locations.
https://www.youtube.com/watch?v=FyCR6sI8TUU
https://www.youtube.com/watch?v=bKBy-TmkrMM
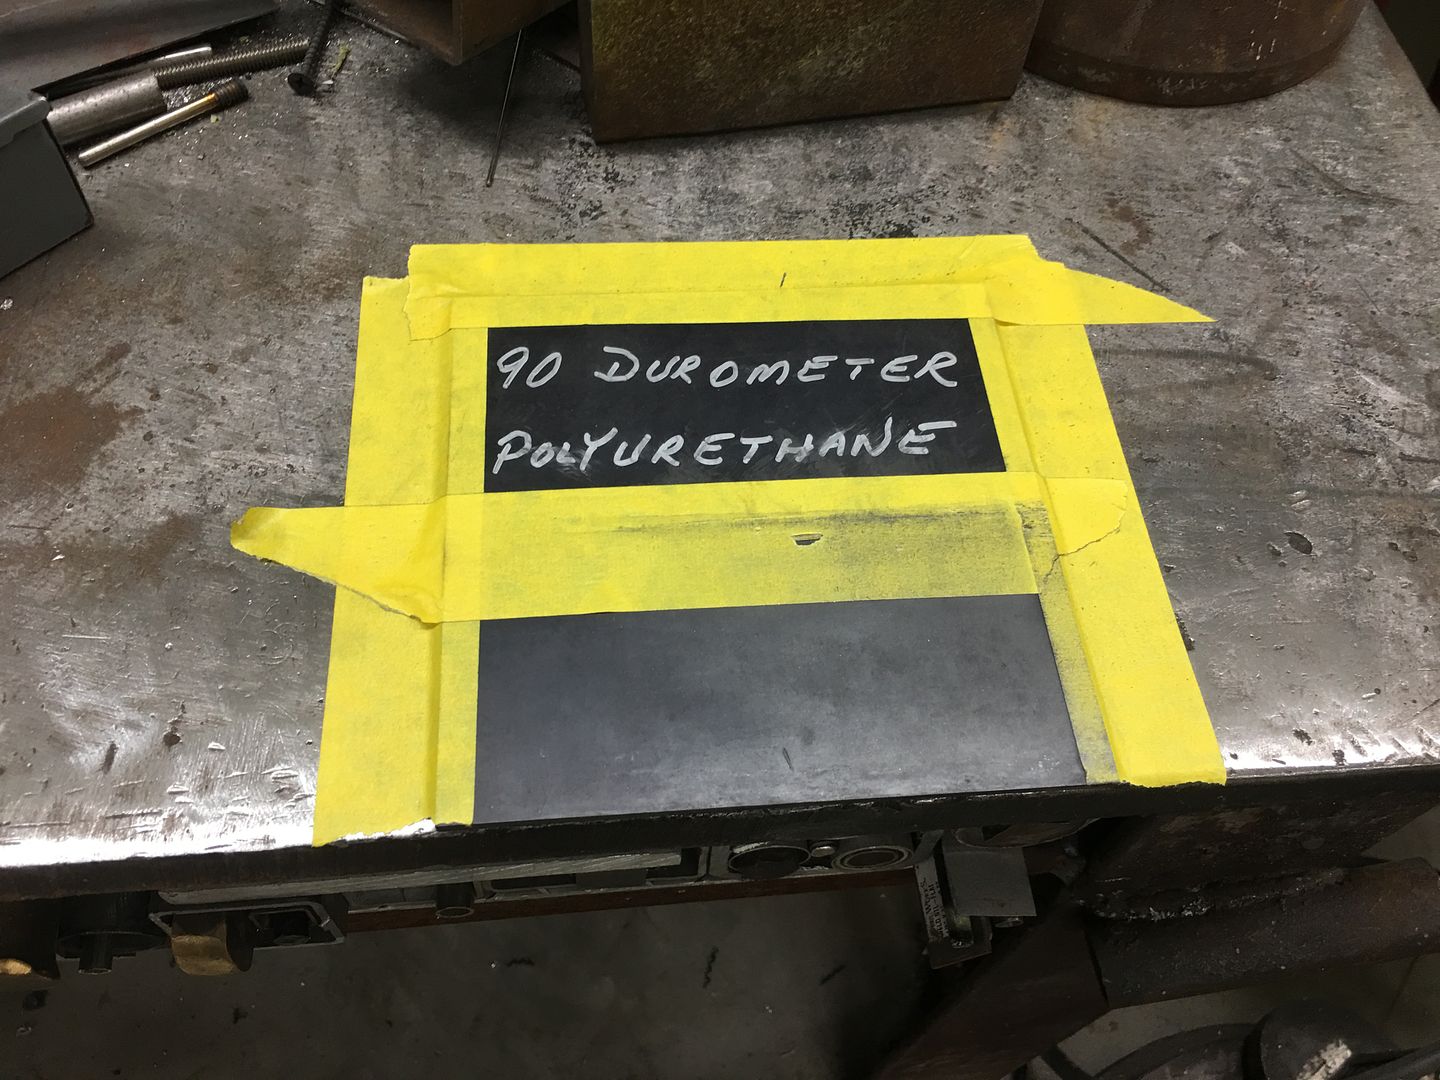
The other issue to overcome with both hammer operations was that they didn't play nice with keeping the shroud in a flat vertical. So the next tool used was a 90 durometer pad of polyurethane and the Model A leaf spring hammer. The hammer face was too short to match the shroud height (approx 3") so three passes were done to cover the entire height and with each pass the hammer hits were about 1/8" or so apart.
The bulk of the stretch was done on the power hammer, and the front of the lower die holder is missing quite a bit of paint from this job...
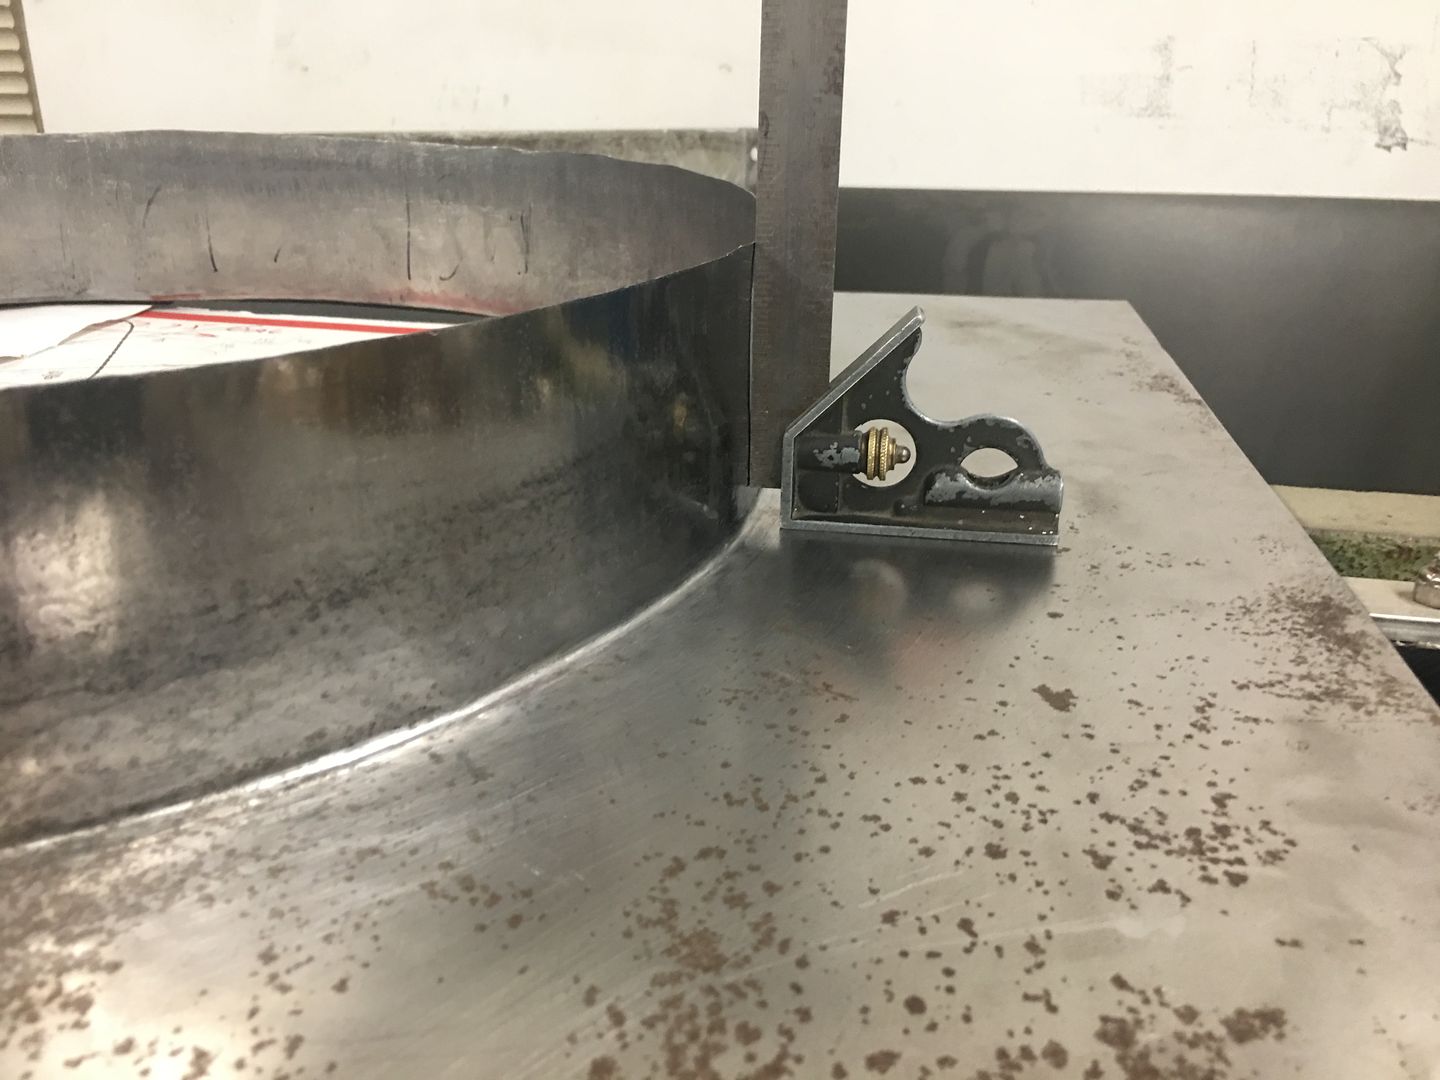
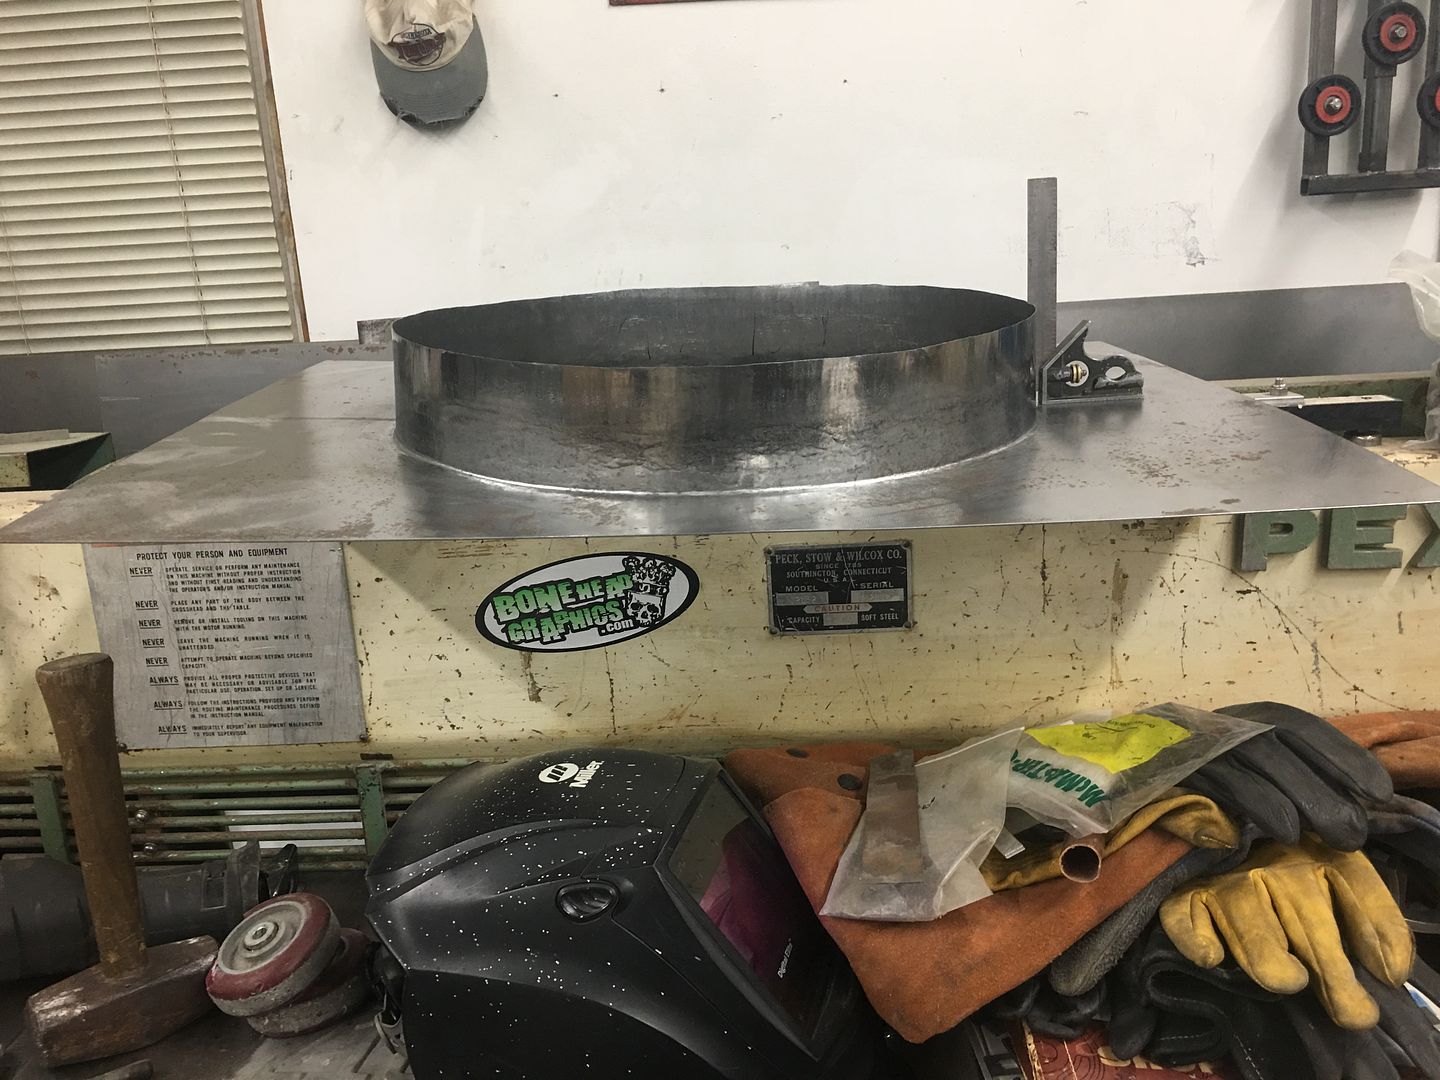
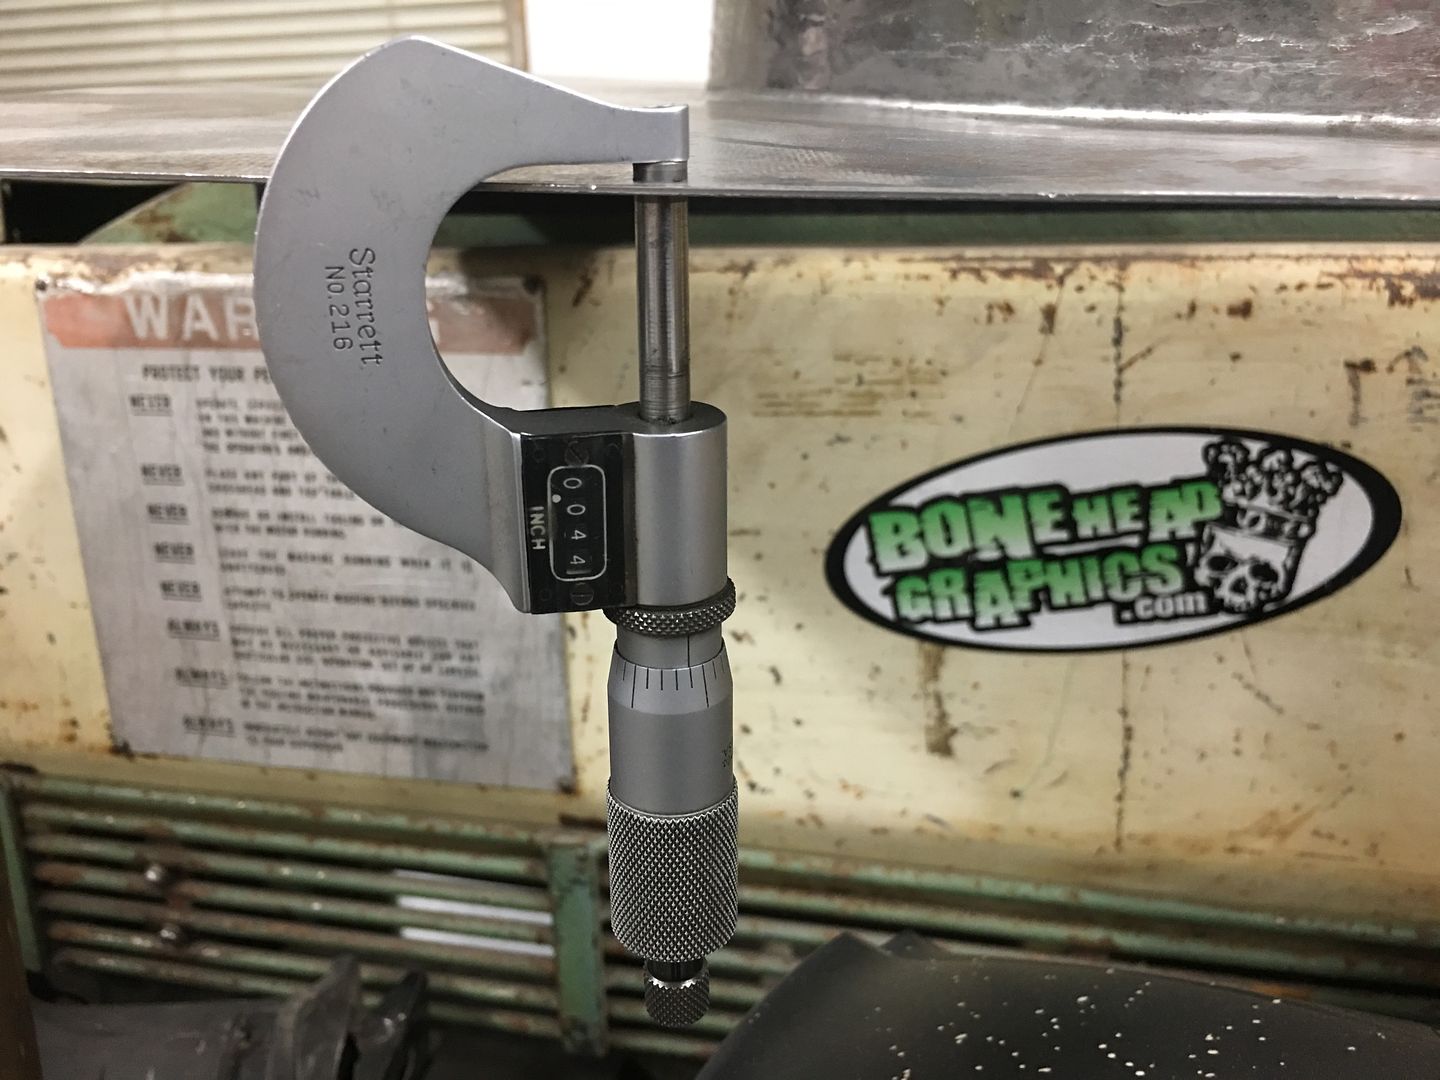
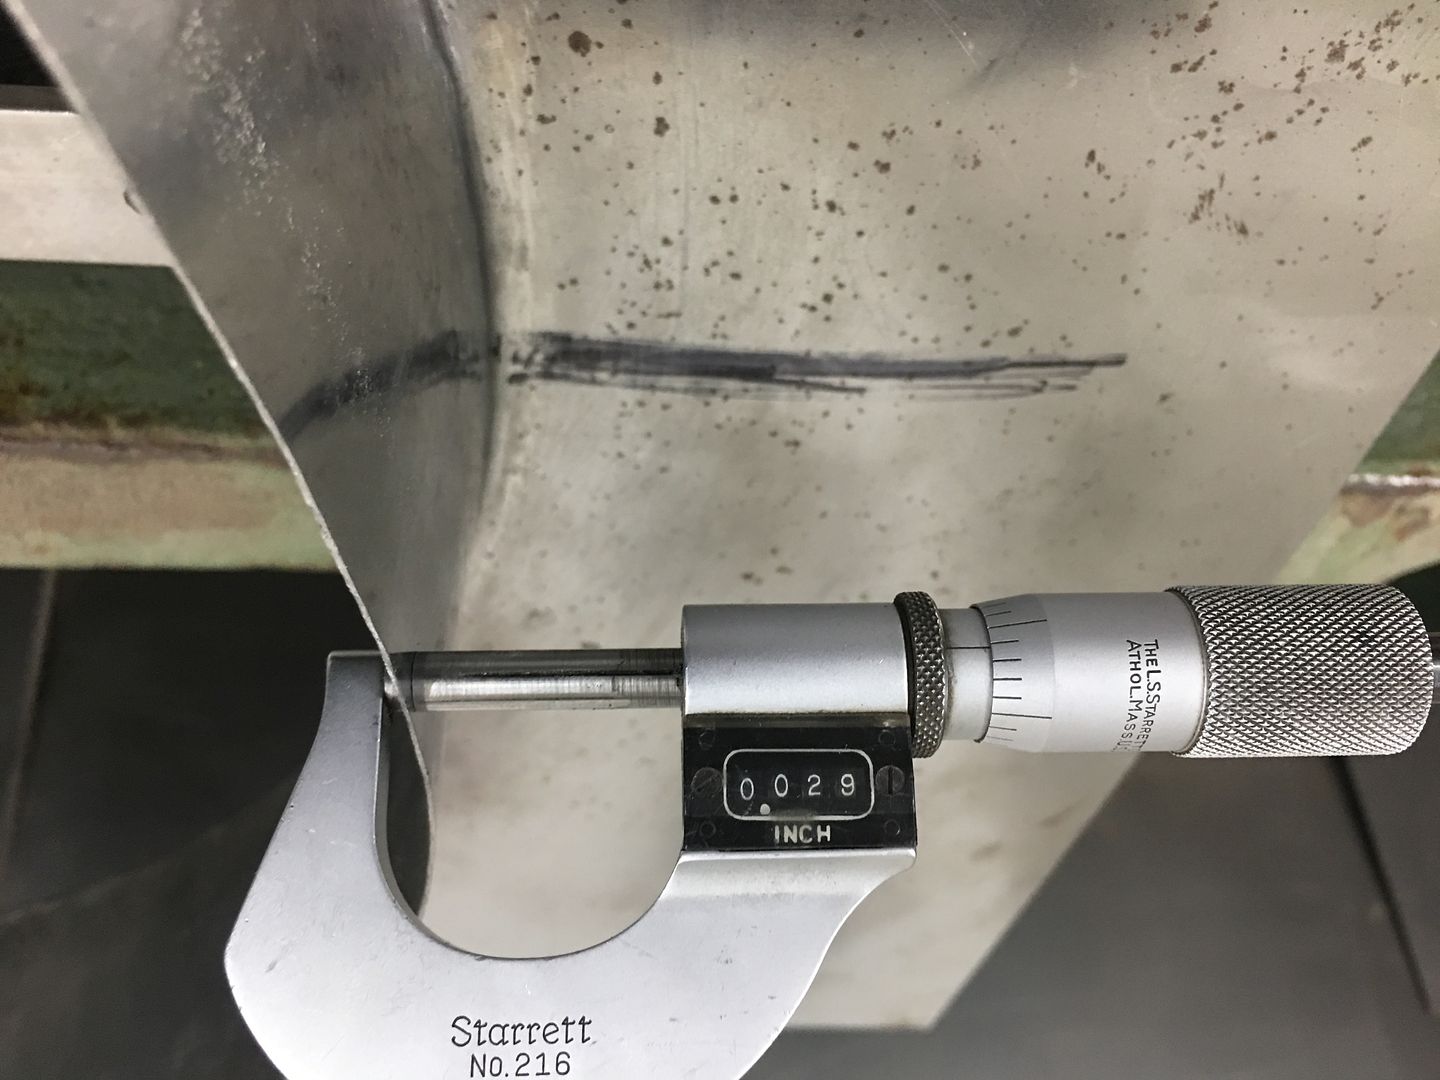
The completed bend, we started with .044 thickness (18 gauge) and it was thinned to .029 thick, or lost about 1/3 thickness to turn the 90...
 https://www.youtube.com/watch?v=IdSQFxGBoZs