Quote:
Originally Posted by SIXTY9

Jarrod,
If you will PM me your address I will send you the leaver you need.
Wally
|
I just seen this. Is this still available?
Quote:
Originally Posted by Hart_Rod
Your under dash mod looks awesome!
|
Thanks!
Quote:
Originally Posted by Dieselwrencher
That is exactly what I started doing for my 72 to house my air pressure gauge, switch, and other switches. I haven't finished mine yet. Great work on it. That black box on the core support is an external voltage regulator for the alternator. Someone must have installed an alt with an internal regulator in it.
That looks so much easier to work on the dash with it removable. I really like the big flat piece on your new vice. That would be great to have.
|
I plan on doing the same with mine. I guess I will need to delete it as I plan on installing a high output alternator to run all the components I have planed on installing. I'm really happy I remembered to make the piece when I had the dash out. It would have been a pain to weld in the nuts with everything installed. But I suppose I could have used a rivnut/ nutsert.
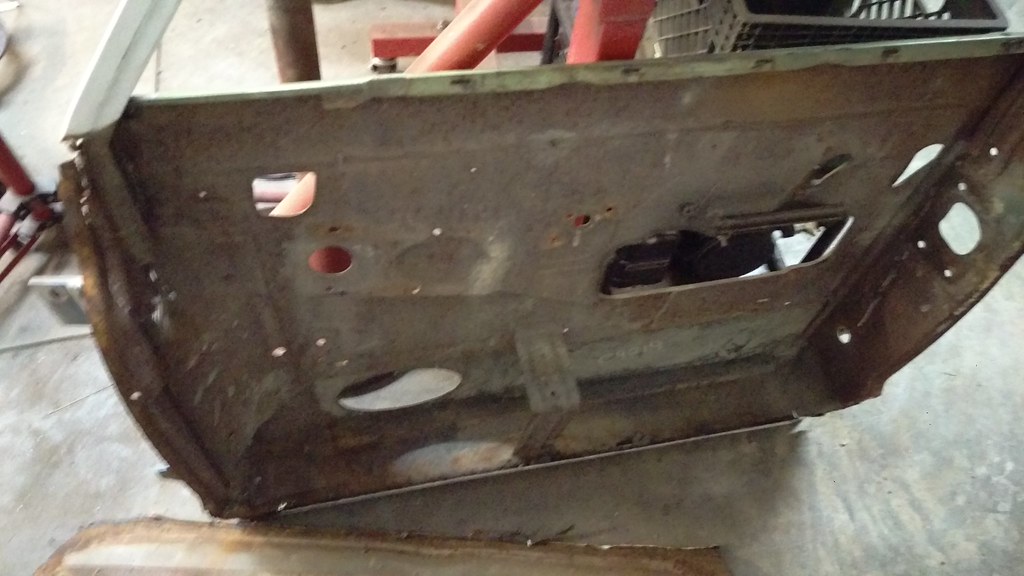
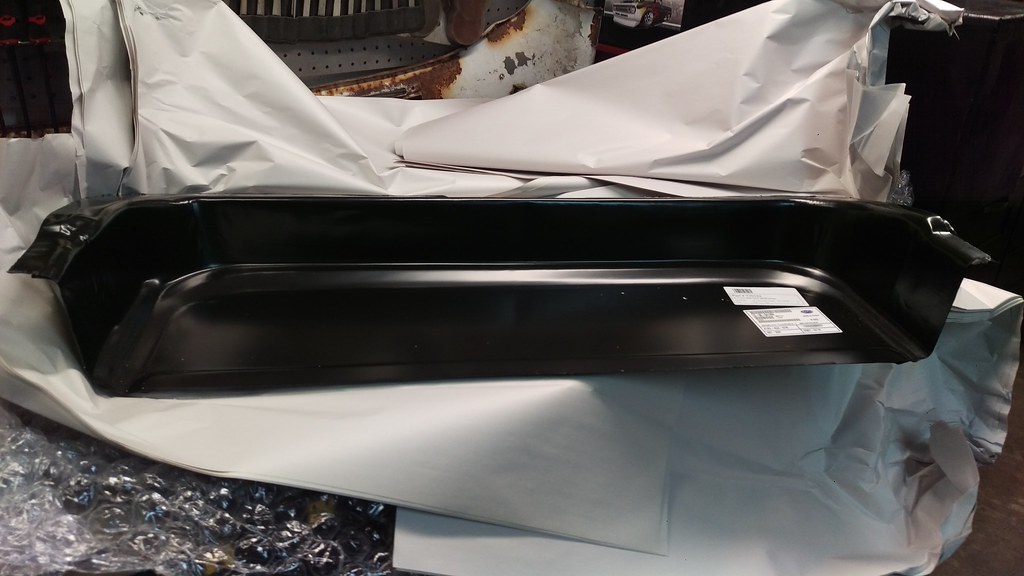
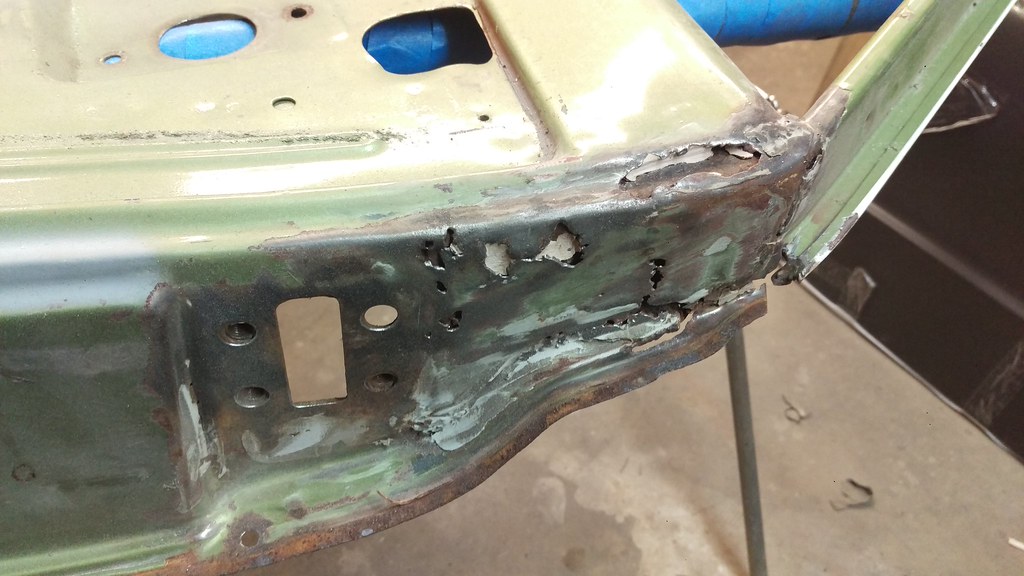
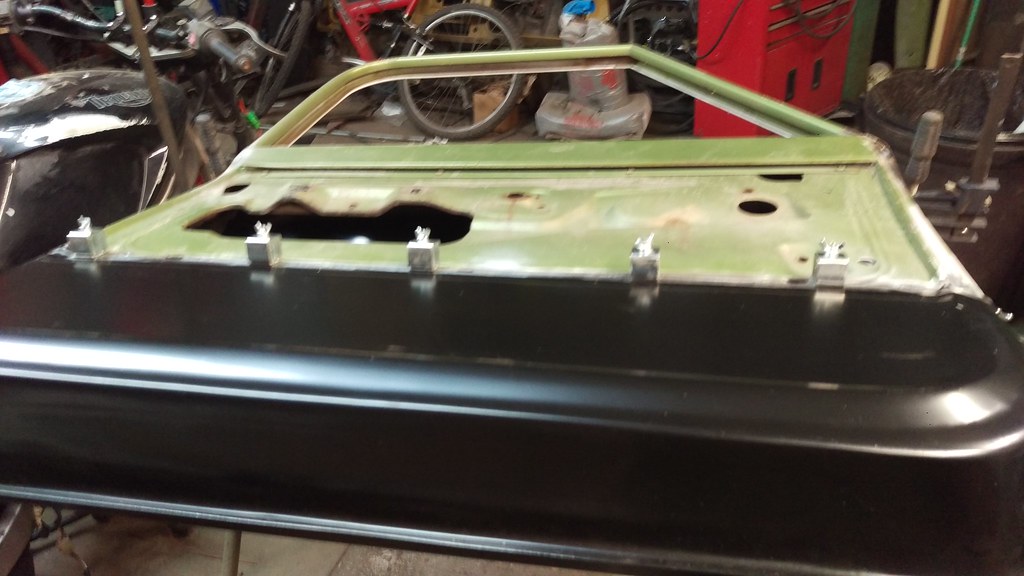
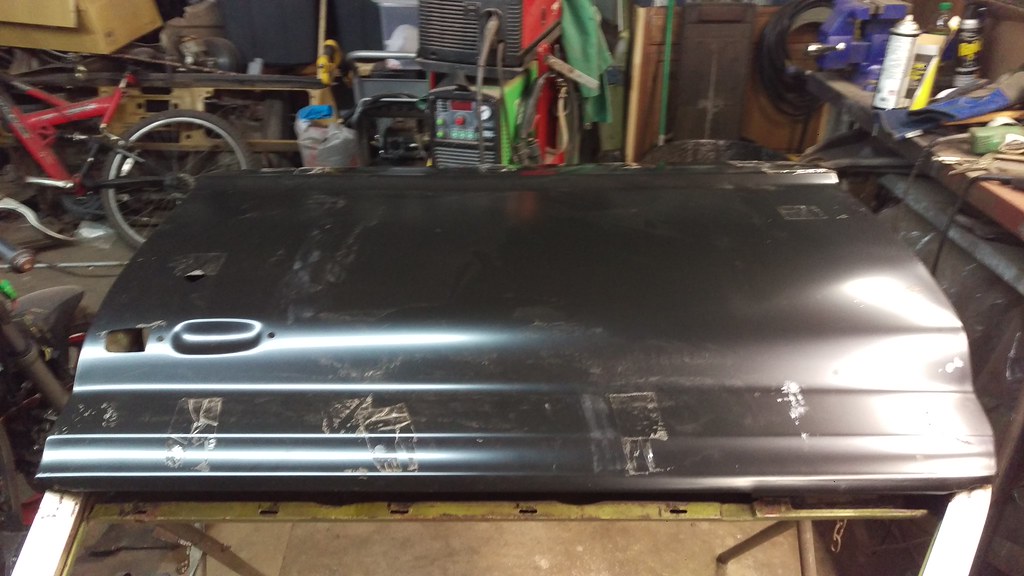
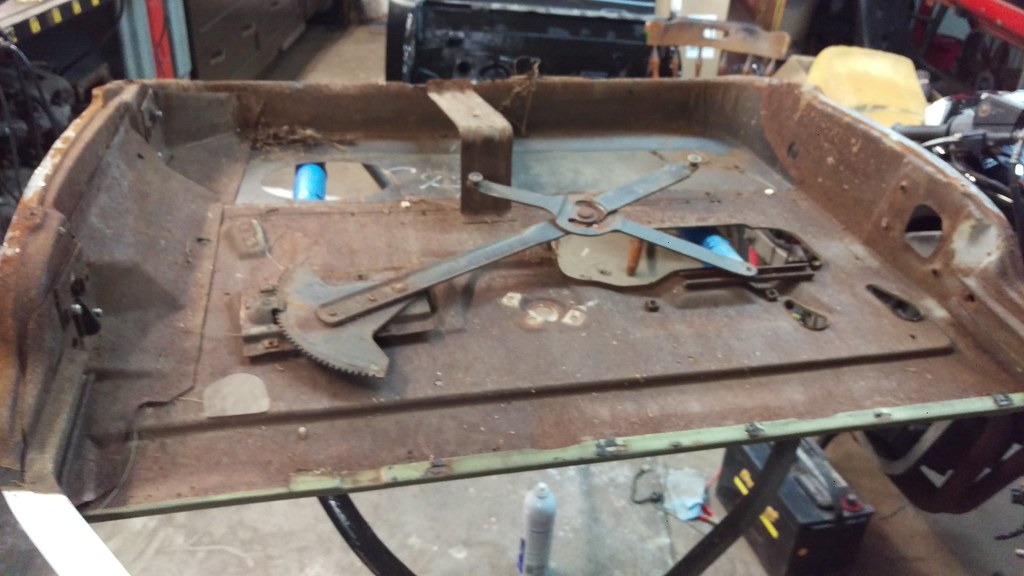
So its been awhile since I have been on here. I keep getting side tracked. But I have made progress. Though not as much as I had hoped for. So I started work on the doors they were complete junk. The inner and outer part of the lower doors had been replaced. However they did a poor job and the started rusting out then they were filled with bondo and fiberglass. I was hoping to just re-replace the bottom of the door but I ended up having to replace the complete outer skin.
 IMAG1399
 by
jarrod vanwinkle, on Flickr
 IMAG1400
 by
jarrod vanwinkle, on Flickr
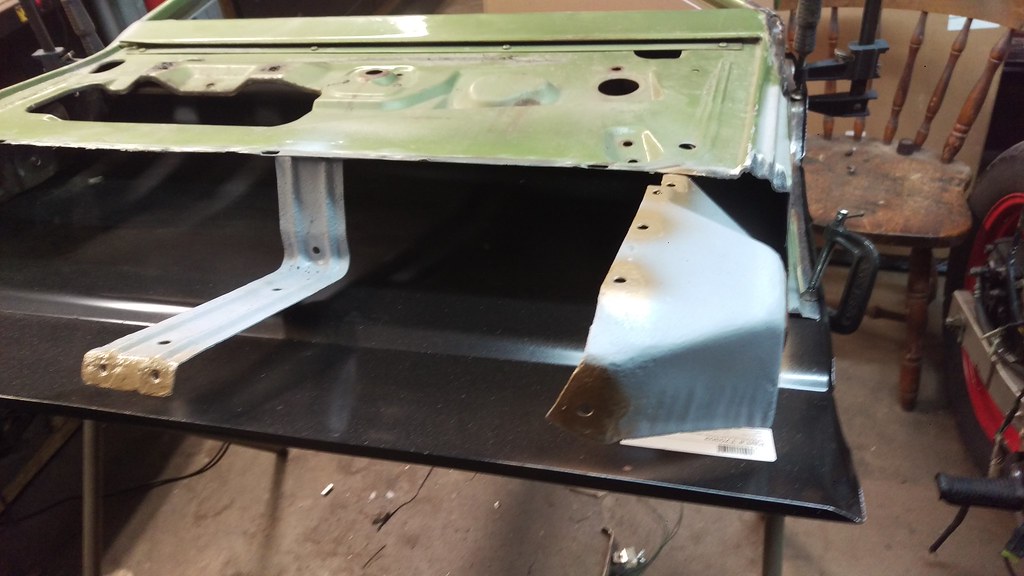
Here is what I am working with.
 IMAG1373
 by
jarrod vanwinkle, on Flickr
 IMAG1372
 by
jarrod vanwinkle, on Flickr
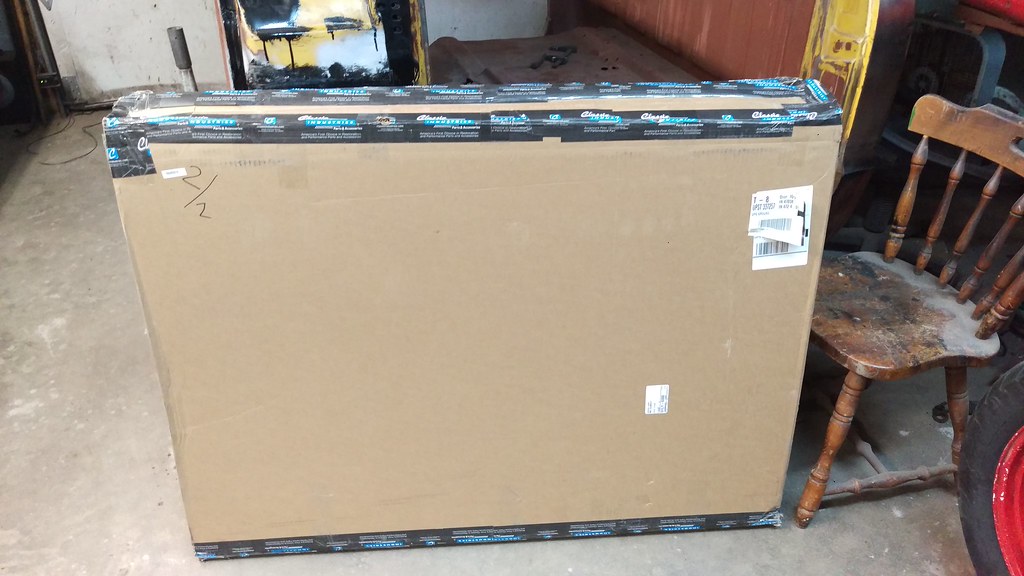
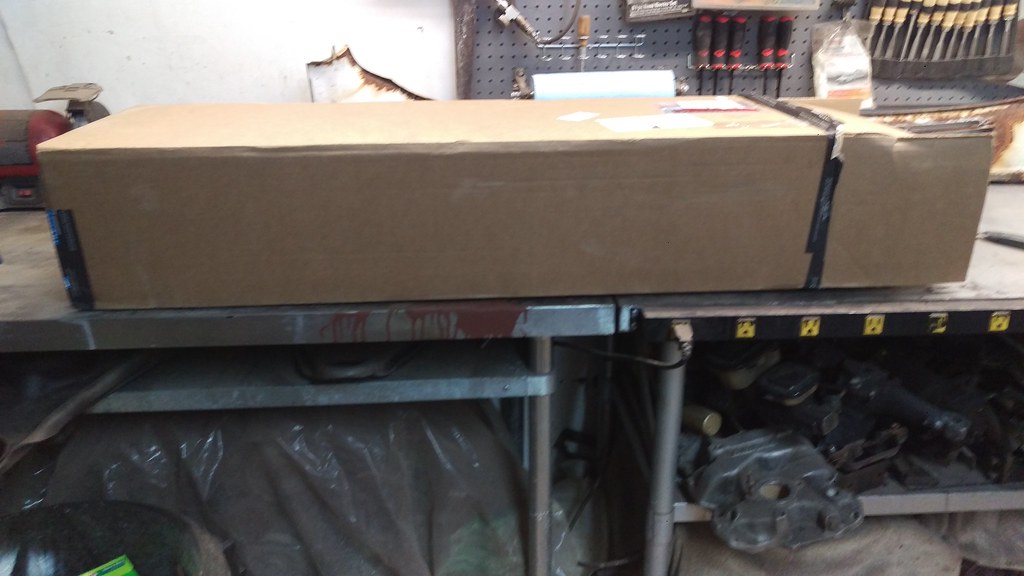
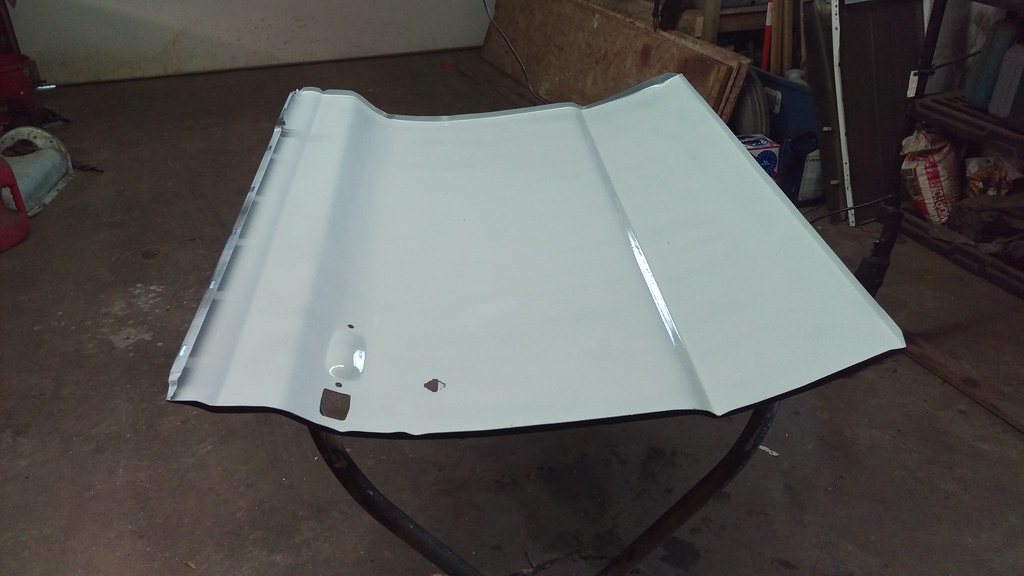
My new skins and inner lower panels came in the other week.
 IMAG1434
 by
jarrod vanwinkle, on Flickr
 IMAG1435
 by
jarrod vanwinkle, on Flickr
 IMAG1436
 by
jarrod vanwinkle, on Flickr
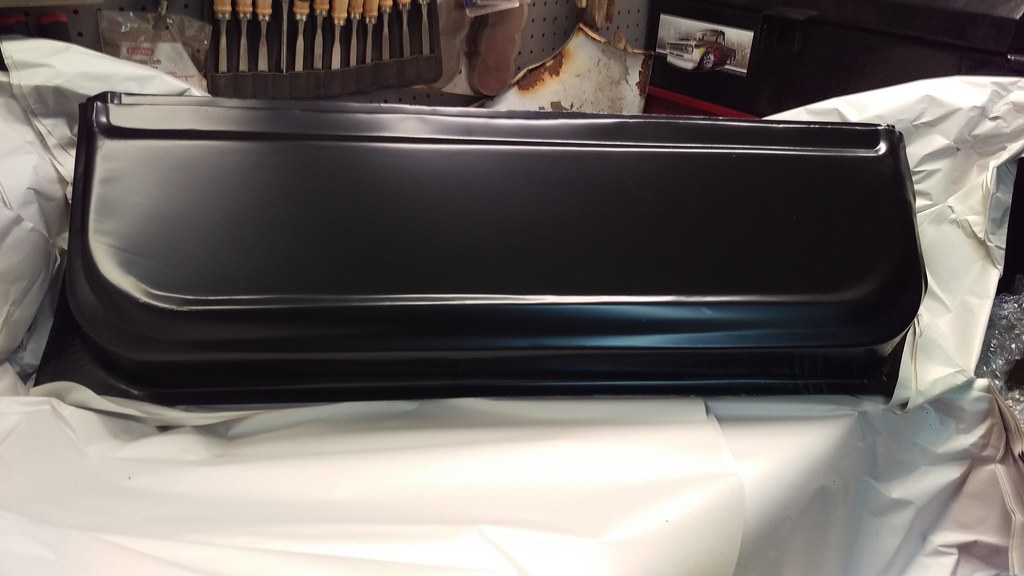 IMAG1437
 by
jarrod vanwinkle, on Flickr
 IMAG1438
 by
jarrod vanwinkle, on Flickr
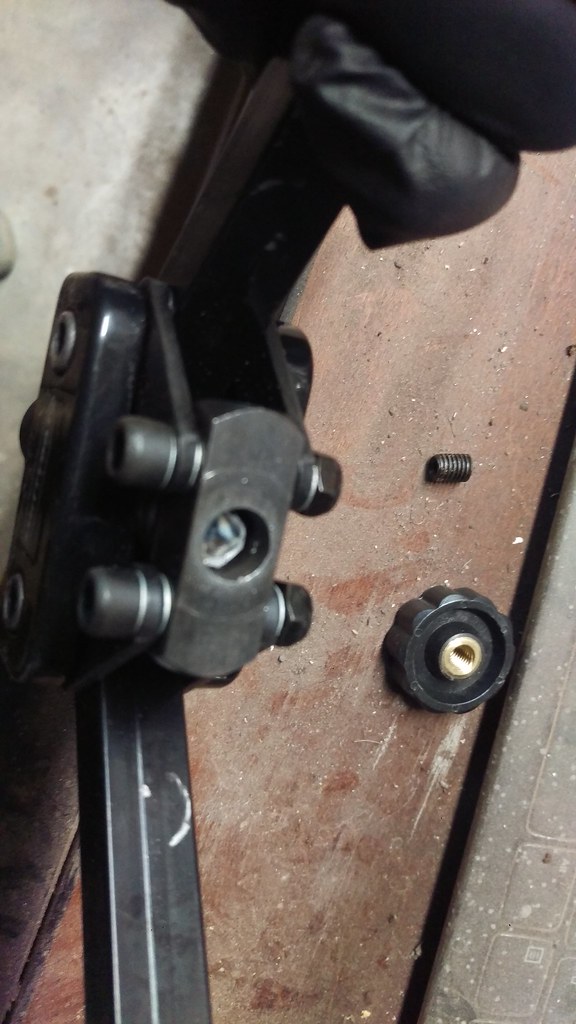
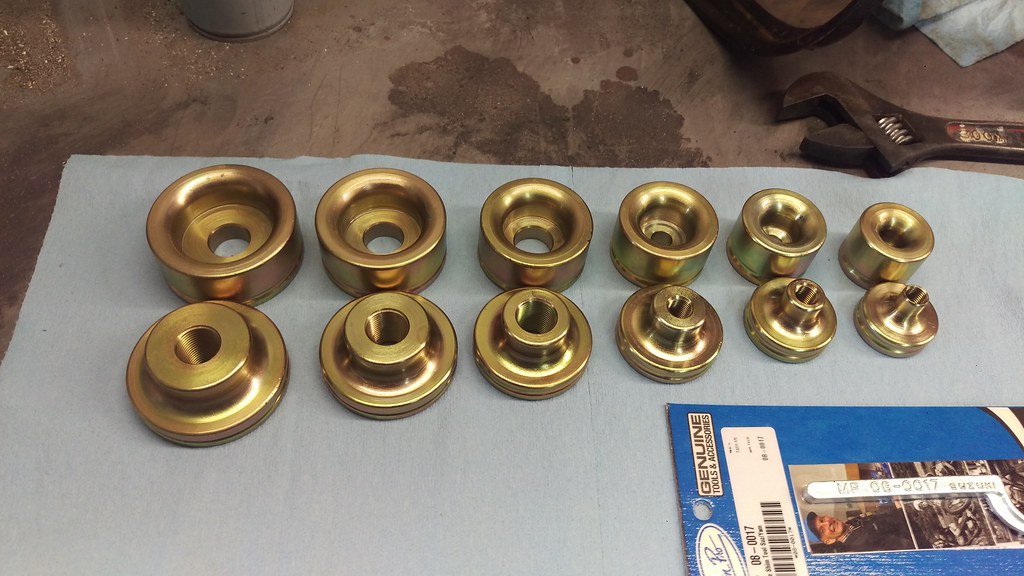
My lower control arm U bolts also came in.
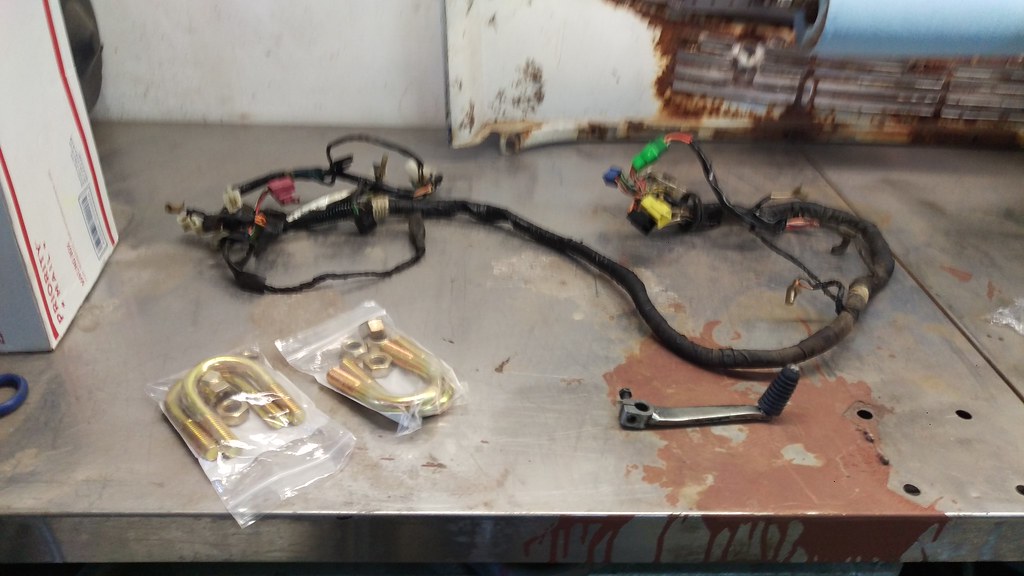 IMAG1439
 by
jarrod vanwinkle, on Flickr
Back to the doors.
 IMAG1465
 by
jarrod vanwinkle, on Flickr
 IMAG1466
 by
jarrod vanwinkle, on Flickr
 IMAG1468
 by
jarrod vanwinkle, on Flickr
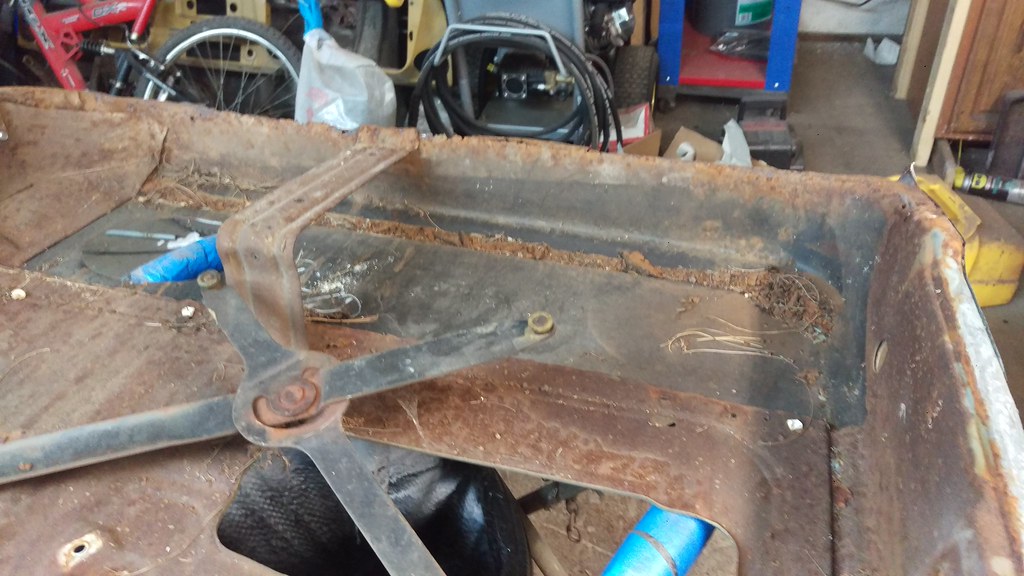
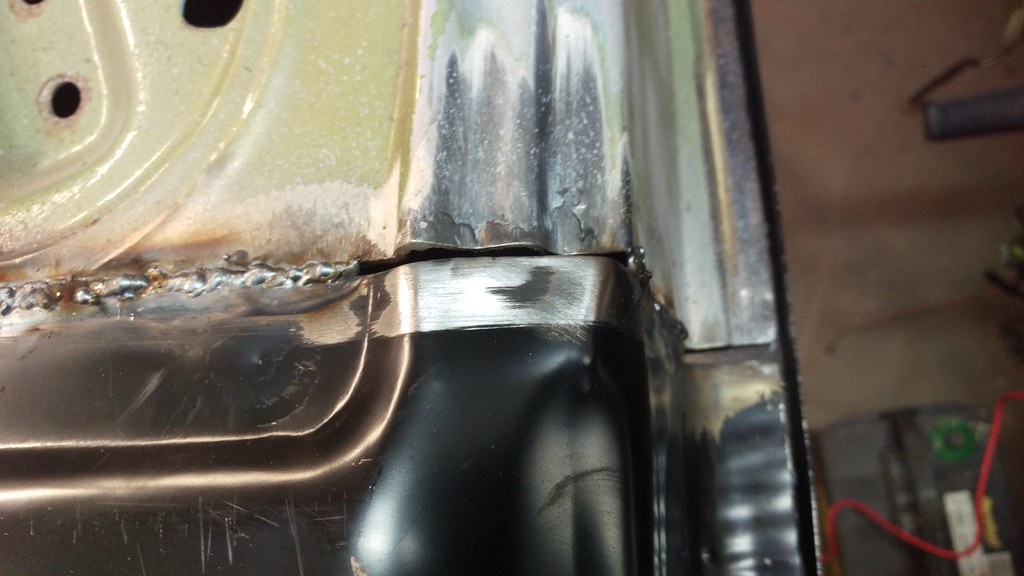
Lots of cutting, trimming, fitting and rust removal.
 IMAG1469
 by
jarrod vanwinkle, on Flickr
 IMAG1470
 by
jarrod vanwinkle, on Flickr
Cheap planes
 IMAG1472
 by
jarrod vanwinkle, on Flickr
 IMAG1471
 by
jarrod vanwinkle, on Flickr
 IMAG1473
 by
jarrod vanwinkle, on Flickr
 IMAG1474
 by
jarrod vanwinkle, on Flickr
 IMAG1475
 by
jarrod vanwinkle, on Flickr
 IMAG1476
 by
jarrod vanwinkle, on Flickr
 IMAG1477
 by
jarrod vanwinkle, on Flickr
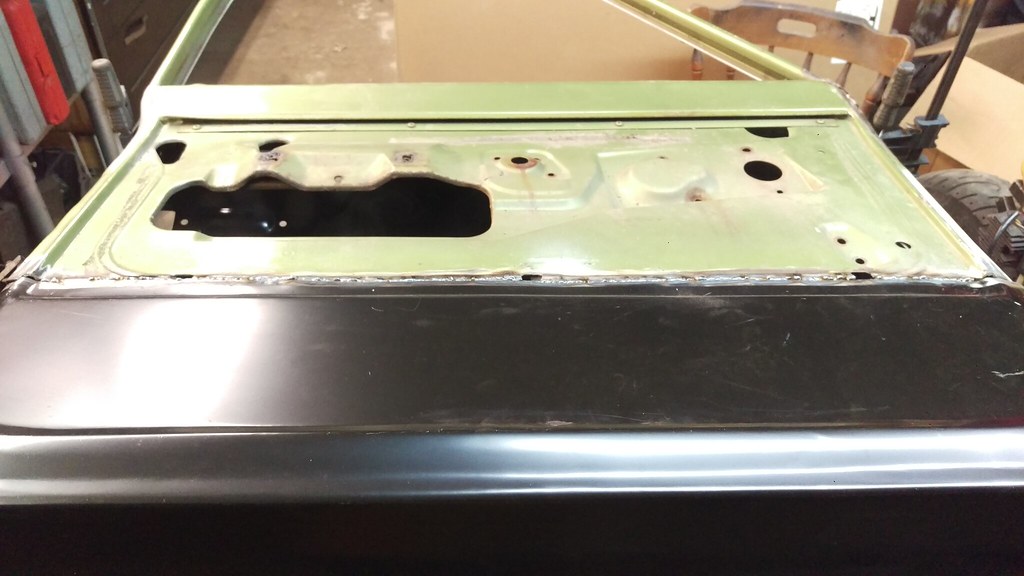
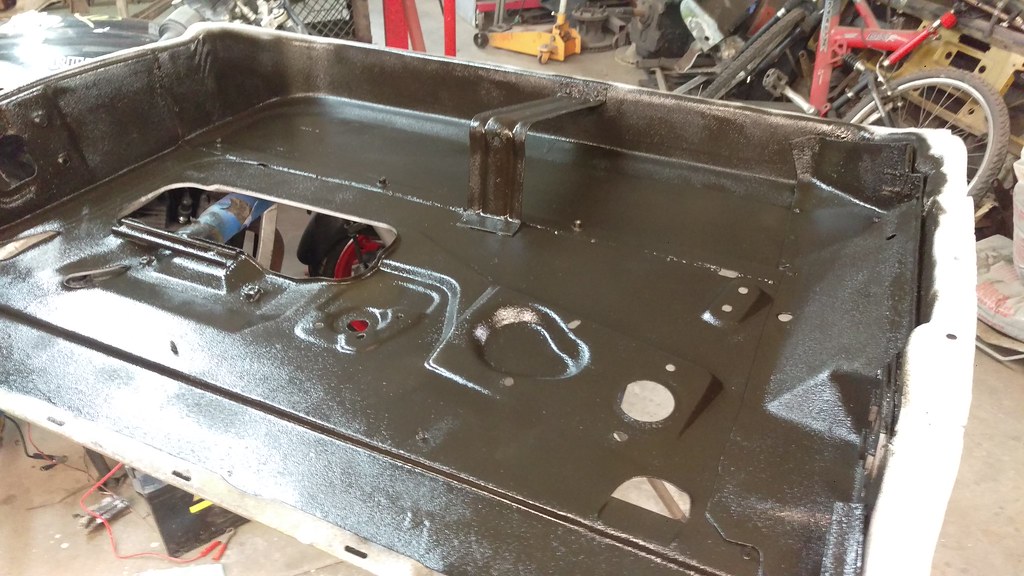
Rusty metal primer on where the rust was and primer sealer on the clean metal and over the rusty metal primer.
[IMG]
 IMAG1478
 by
jarrod vanwinkle, on Flickr[/IMG]
I installed some nutserts as the origenal nuts where missing when the panel was hacked up.
 IMAG1480
 by
jarrod vanwinkle, on Flickr
Then I proceed to breaking my tool on the last one. I sent an email to smittybilt wanting to buy a replacement part for the tool and they sent me a compleat replacement free of charge!
 IMAG1479
 by
jarrod vanwinkle, on Flickr
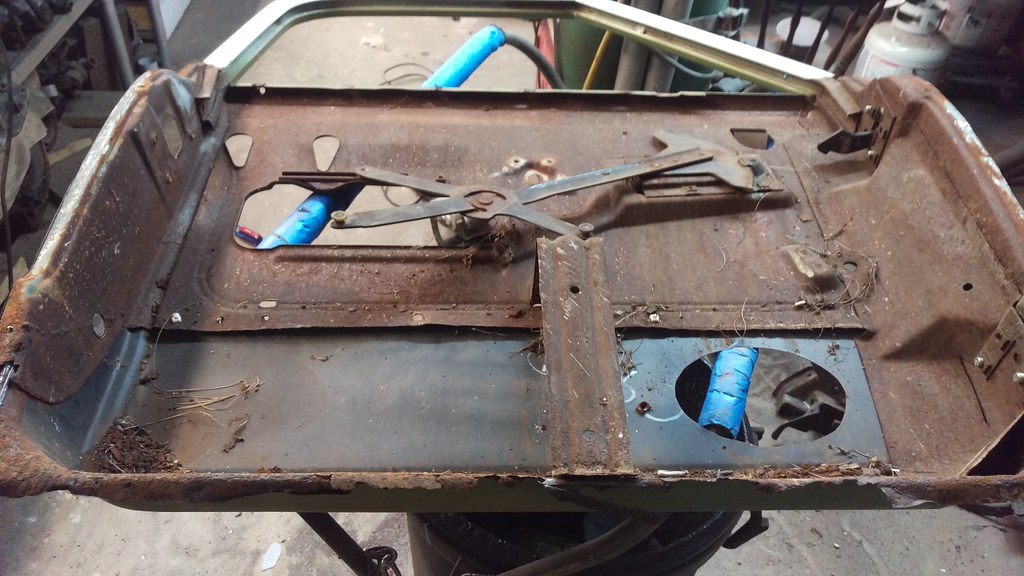
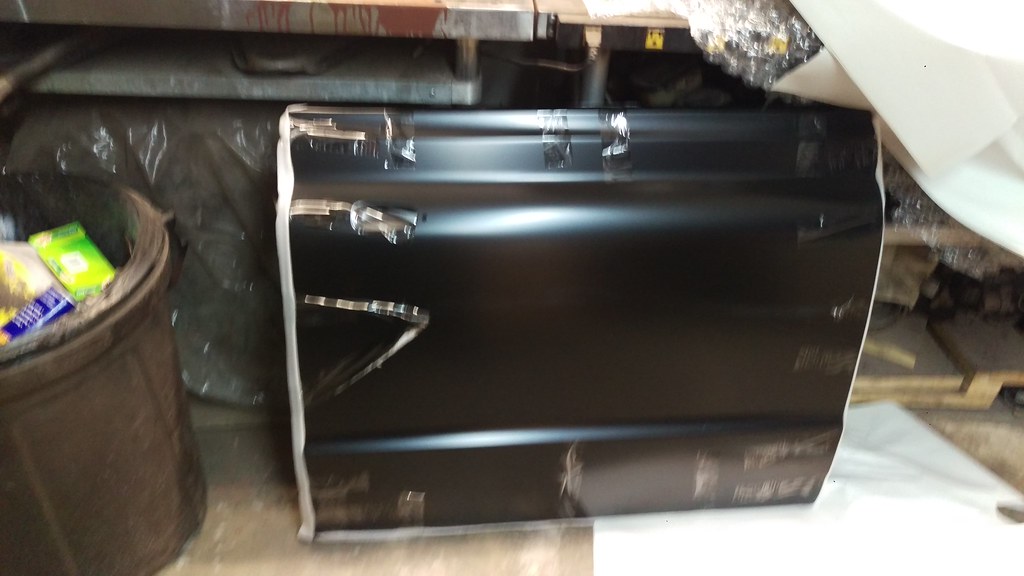
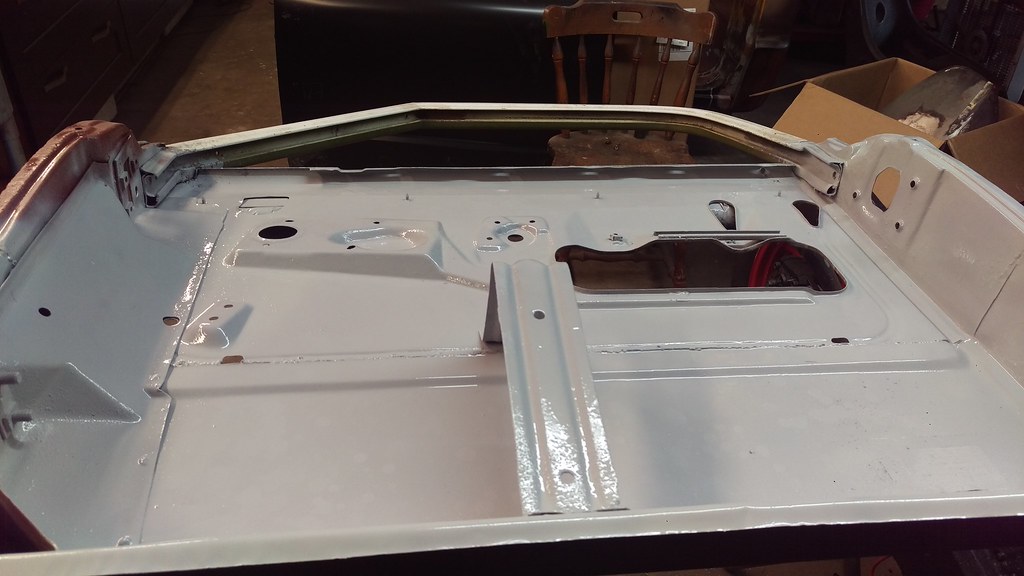
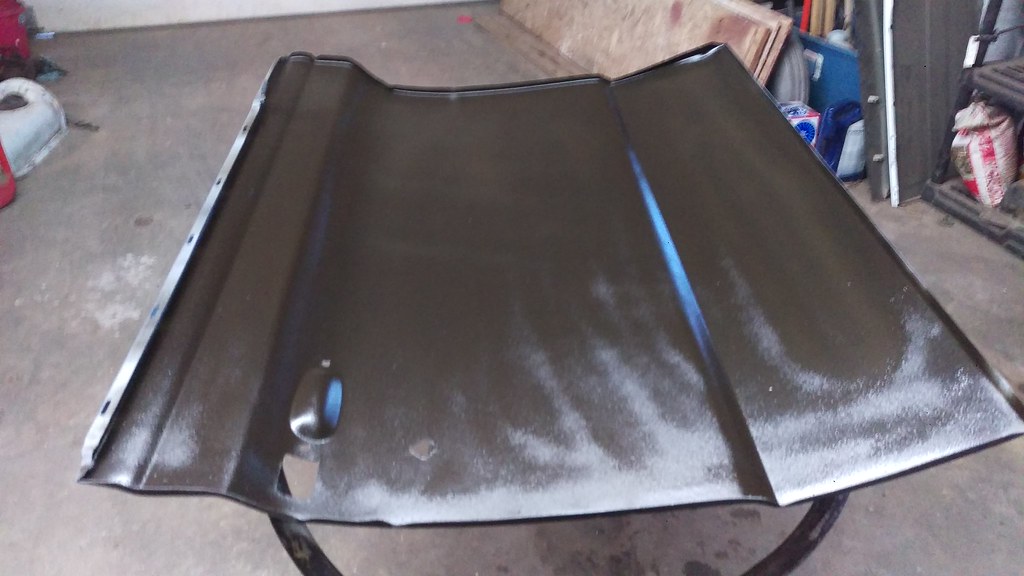
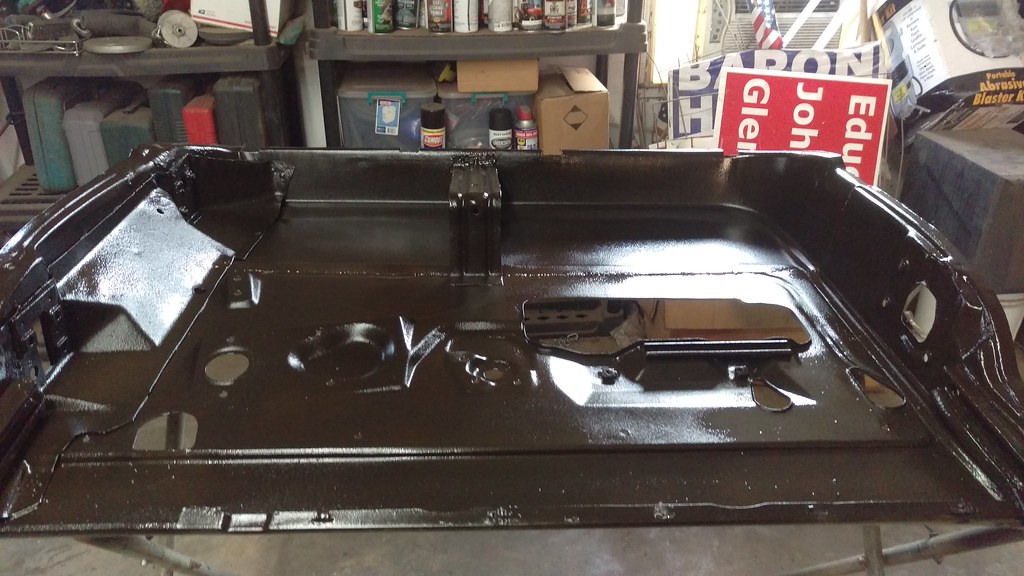
Anyways I undercoated the door inside.
 IMAG1481
 by
jarrod vanwinkle, on Flickr
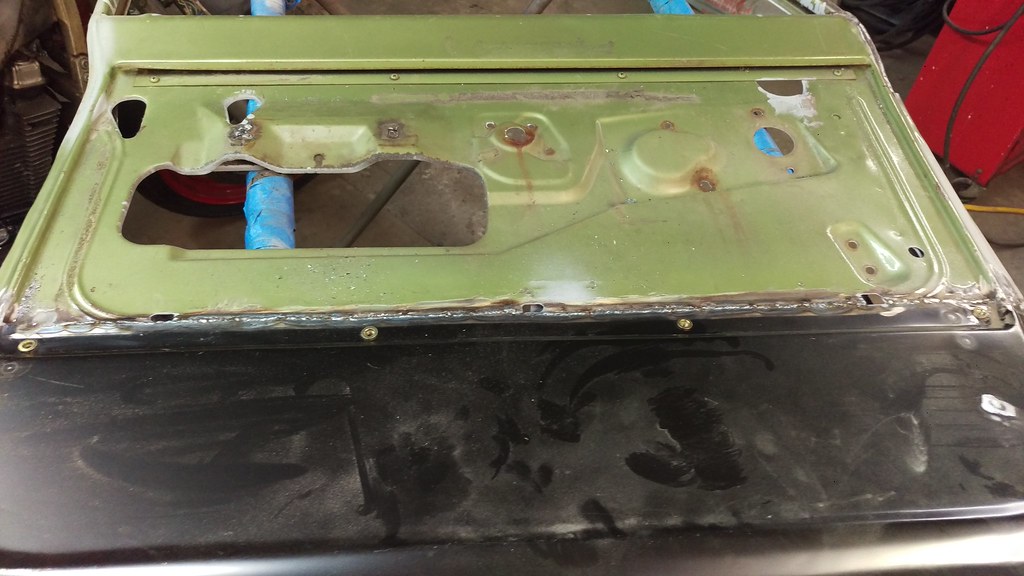
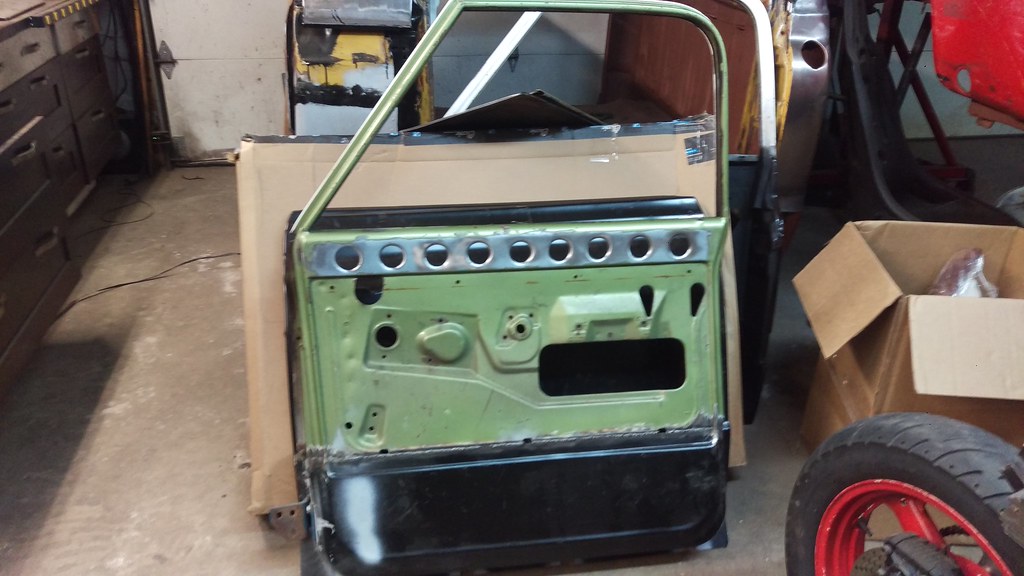
Now on to door number 2.
 IMAG1482
 by
jarrod vanwinkle, on Flickr
 IMAG1483
 by
jarrod vanwinkle, on Flickr
I sprayed the inner door skins with primer sealer then undercoated them.
 IMAG1495
 by
jarrod vanwinkle, on Flickr
 IMAG1496
 by
jarrod vanwinkle, on Flickr
 IMAG1497
 by
jarrod vanwinkle, on Flickr
I'm going to have to go back and cut drain holes in the other one as I believe that is what caused them to rust out to begin with well that and the way they where hacked togeather.
 IMAG1504
 by
jarrod vanwinkle, on Flickr
 IMAG1505
 by
jarrod vanwinkle, on Flickr
 IMAG1506
 by
jarrod vanwinkle, on Flickr
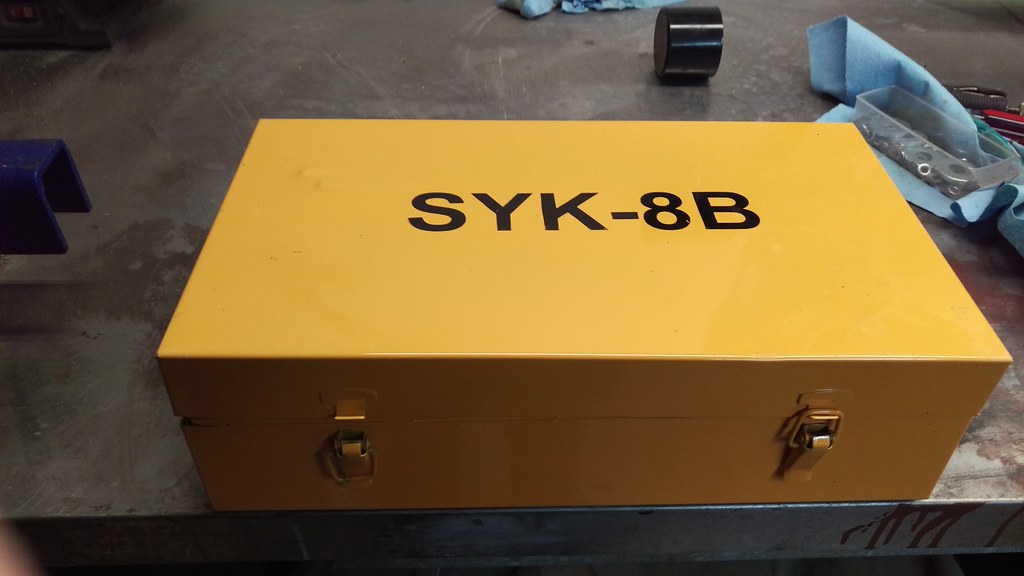
So before I could seal up the doors and install the new skins I ended up buying some new toys!
Radius dimple dies and a hydro knockout punch set. Unfortunately the knockout punch set is in mm and not inche like it was listed on ebay. More on that later.
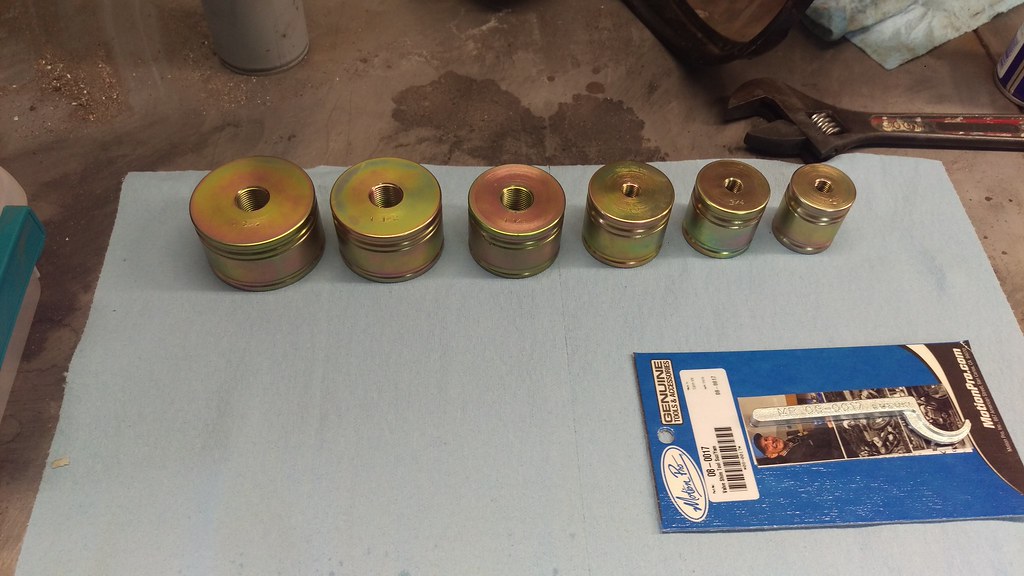 IMAG1511
 by
jarrod vanwinkle, on Flickr
 IMAG1513
 by
jarrod vanwinkle, on Flickr
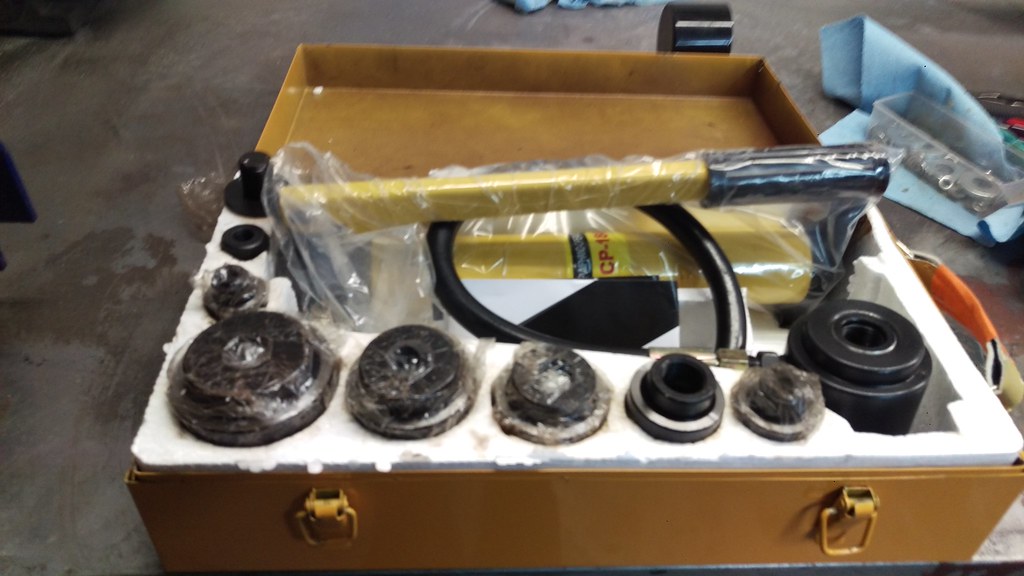 IMAG1524
 by
jarrod vanwinkle, on Flickr
 IMAG1523
 by
jarrod vanwinkle, on Flickr
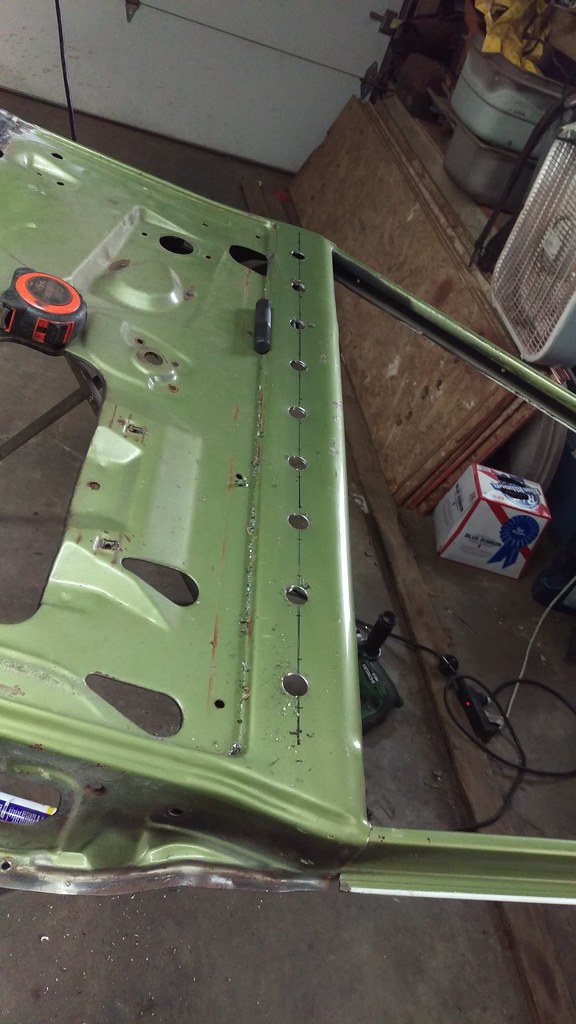
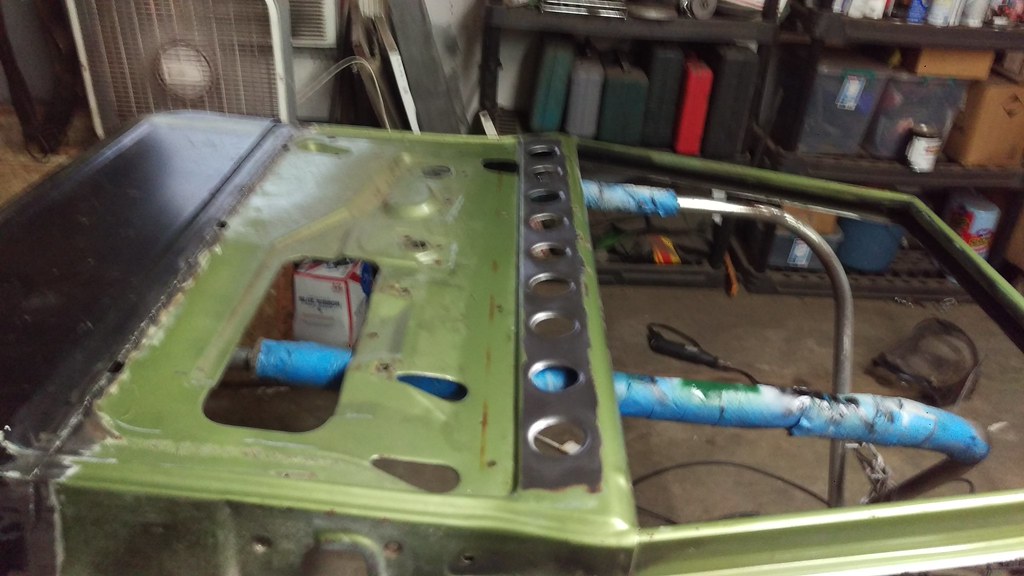
So back to the doors, Something I have wanted to do since I bought the truck.
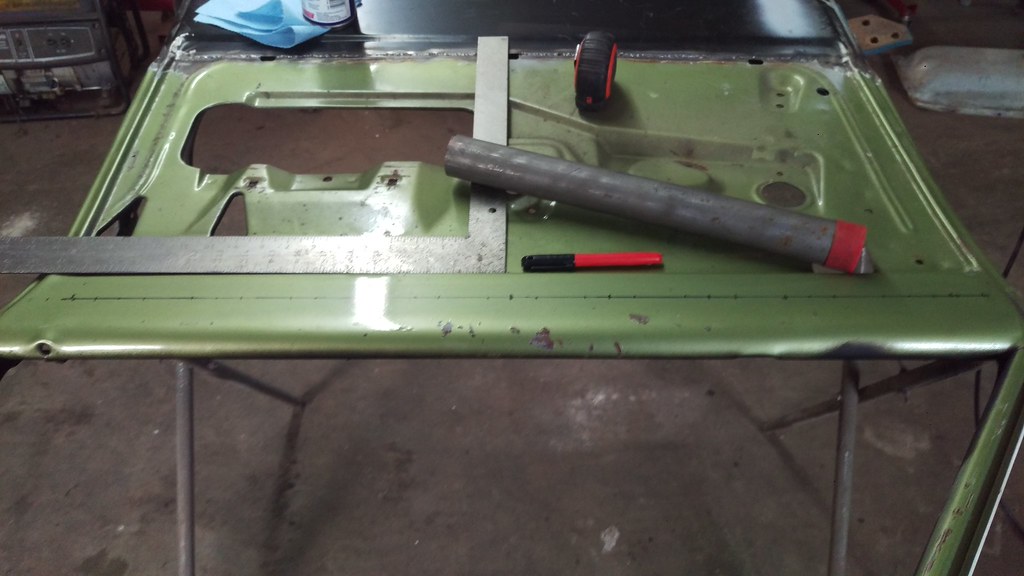 IMAG1526
 by
jarrod vanwinkle, on Flickr
 IMAG1527
 by
jarrod vanwinkle, on Flickr
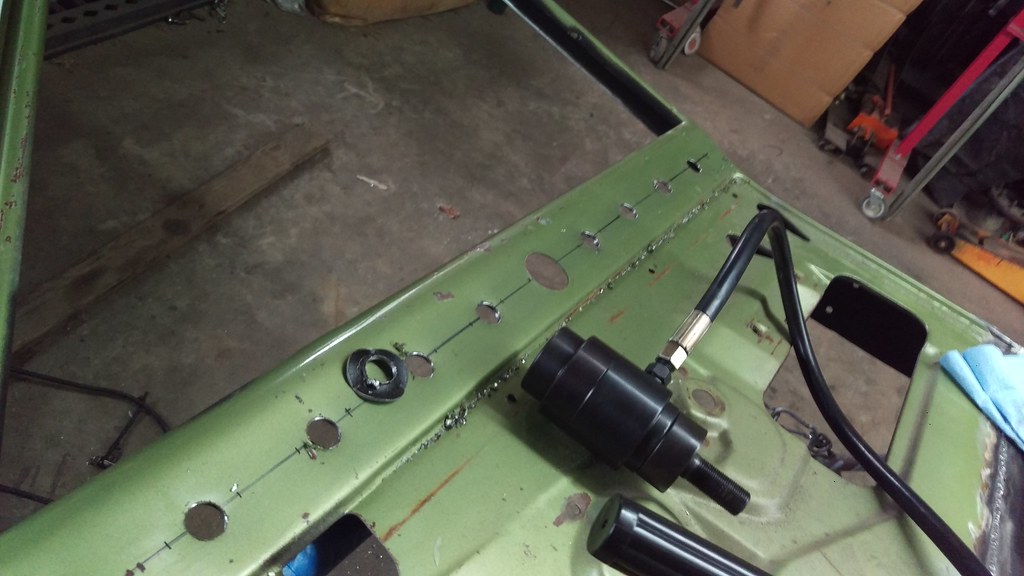 IMAG1528
 by
jarrod vanwinkle, on Flickr
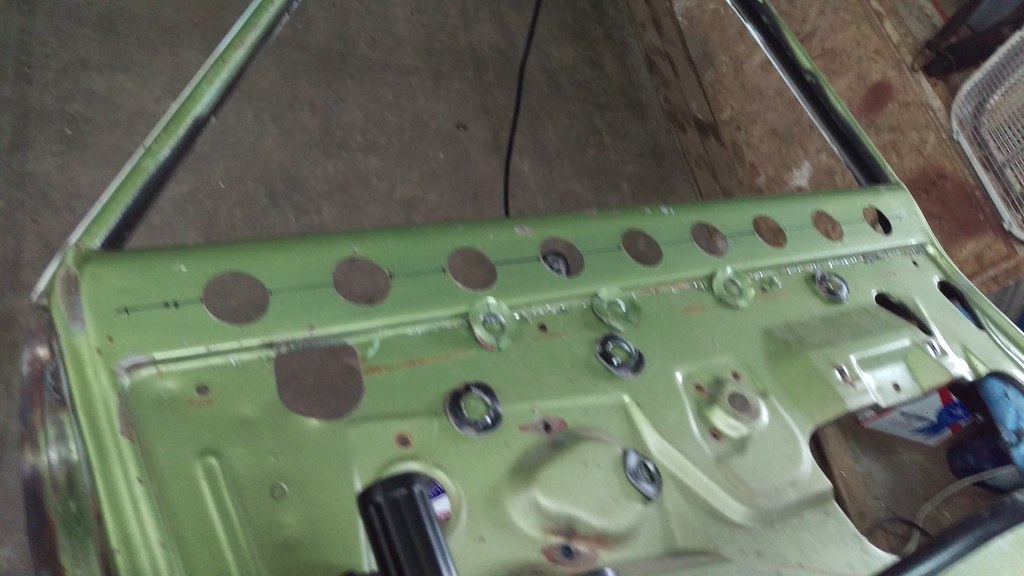 IMAG1529
 by
jarrod vanwinkle, on Flickr
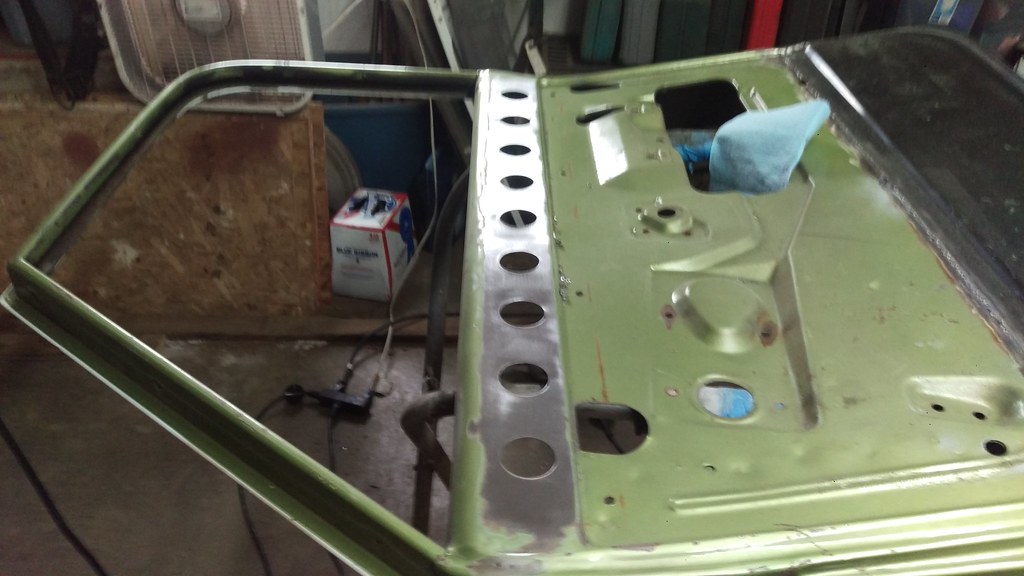 IMAG1530
 by
jarrod vanwinkle, on Flickr
So it turns out the knockout punch set is in mm not inches and the dies are just a little to small. So I ended up having to ream them out with running a hole saw backwards not to rip the metal. Then I had to clean it up with a file then a dremel. So I only got one side done today and I had to order a new die in inches.
 IMAG1532
 by
jarrod vanwinkle, on Flickr
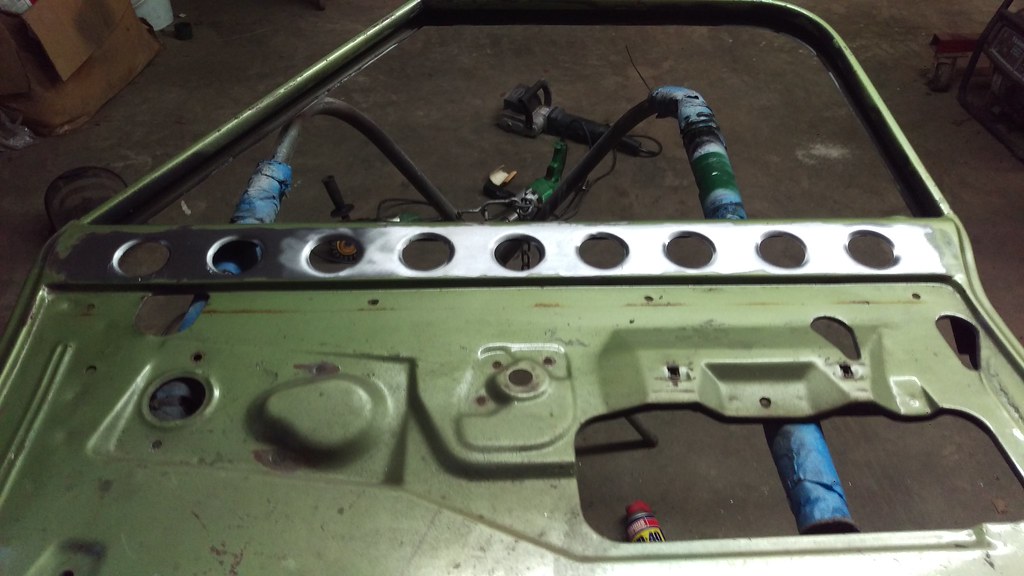 IMAG1531
 by
jarrod vanwinkle, on Flickr
 IMAG1533
 by
jarrod vanwinkle, on Flickr
 IMAG1534
 by
jarrod vanwinkle, on Flickr
So now I get to wait till next week for the new die to come in.