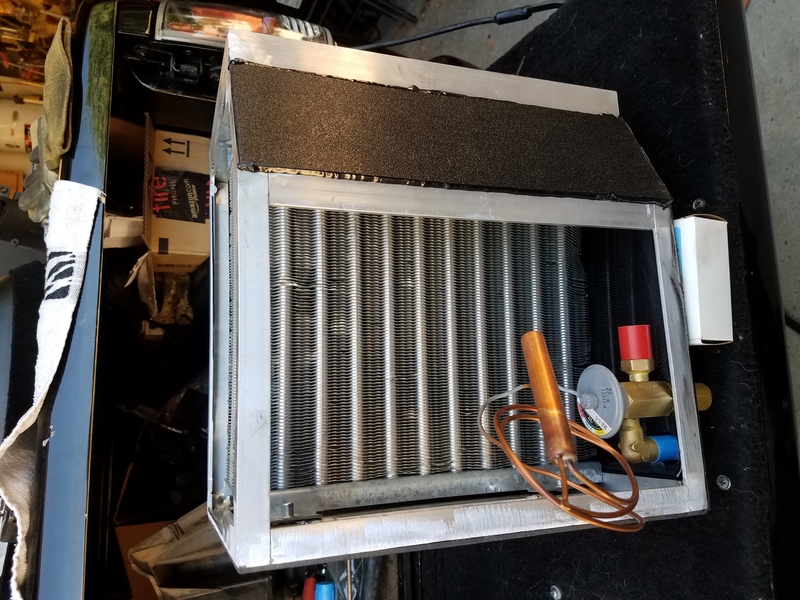
So the AC is still a work in progress. I wanted the adjustment stem on the TXV to be accessible without having to remove a bunch of crap and without mounting the TXV in the engine bay. I decided to mount the TXV with the adjustment stem poking through the bottom of the housing. I had to drill a hole for both the stem cover/body of the valve as well as the inlet fitting. This is what I ended up with:
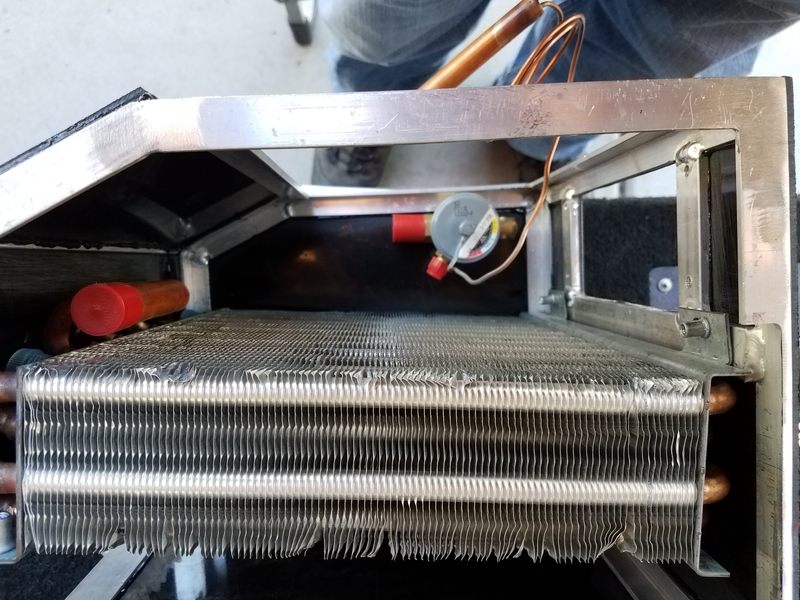
This mounting arrangement does have the drawback that the liquid line will also exit the housing, but I will be able to make a tight u-bend and send it back up the firewall-side. Since there is a roughly 1" gap between the back of the housing and the firewall for sound insulation running the liquid line up the back of the housing presents no issues.
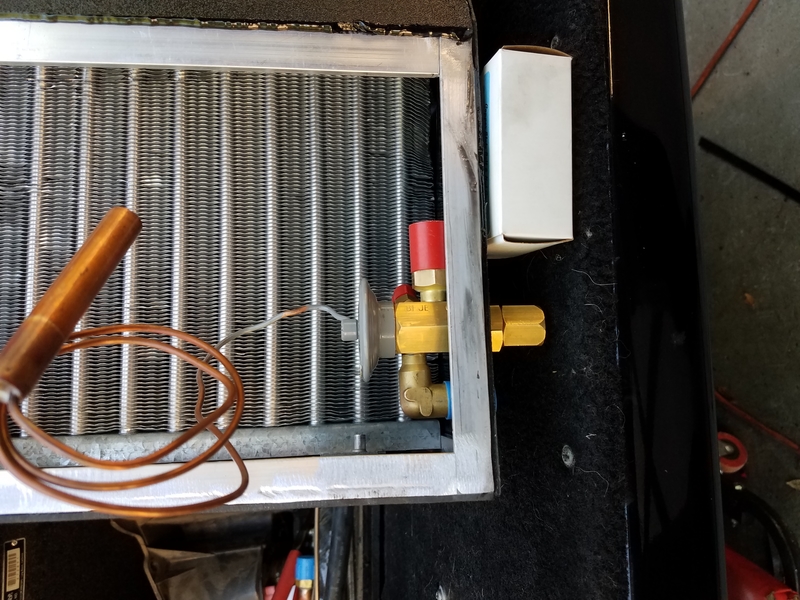
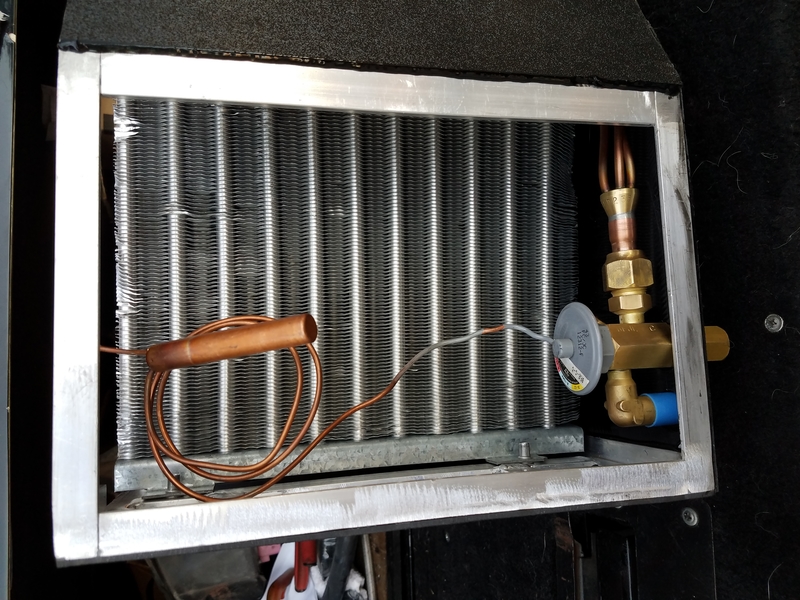
The next thing to do was fit the distributor/tubes and route them into the evaporator. This started with running the tubes along the bottom, then making a few judicious bends to turn them up toward the top inlet:
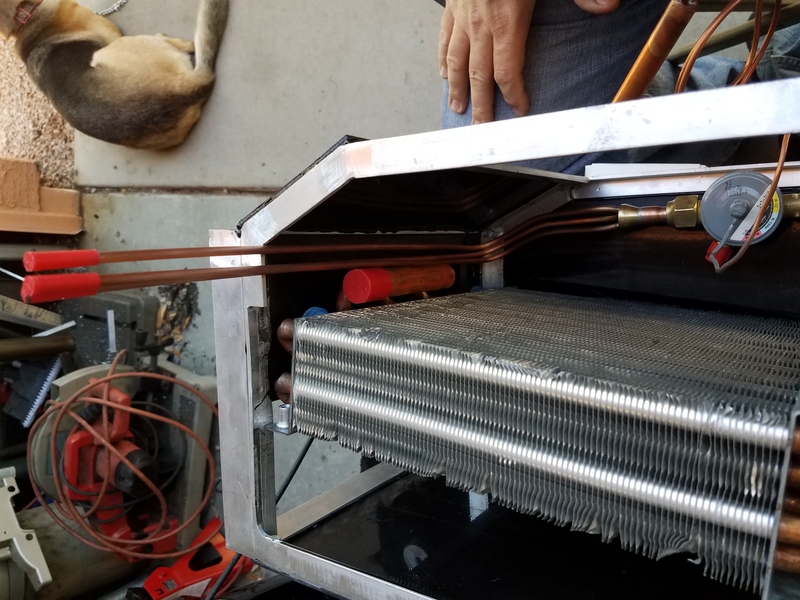
Then more bending and head scratching to fit the tubes into their respective circuits in the evaporator. In order for the distributor to work properly the tubes to each circuit must be equal length, so the tubes going into the lower circuits have to make u-turns and head downwards to their respective inlets. Once I got it all fitted, I hooked up my CO2 bottle, started a slow flow of purge gas, and started brazing the tubes in. I got the second one brazed up when I realized no gas was flowing. A quick check of the gauge showed my Co2 bottle was flat

I had to load it up, schlep over to the welding supply joint, and get a refilled bottle just so I could braze up the last tube. But I gotter done, and here is the result:
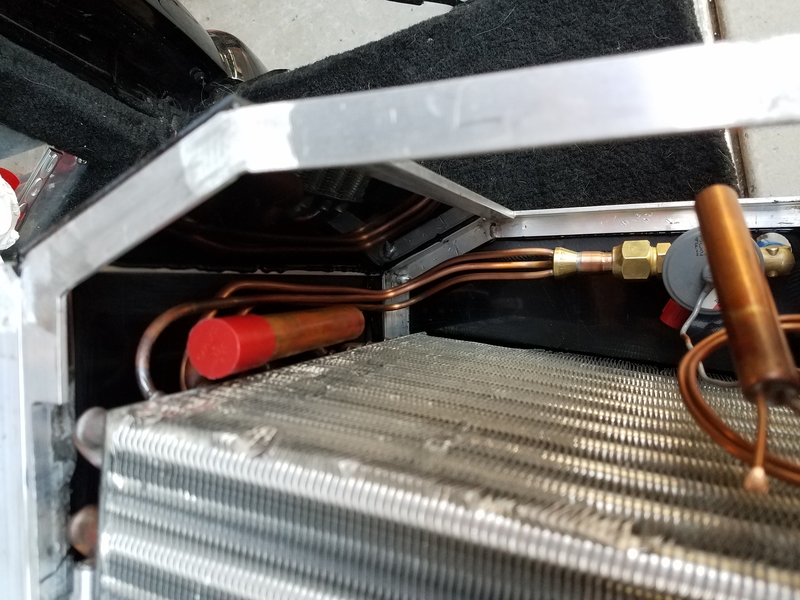
Here's an underside view of the finished product:
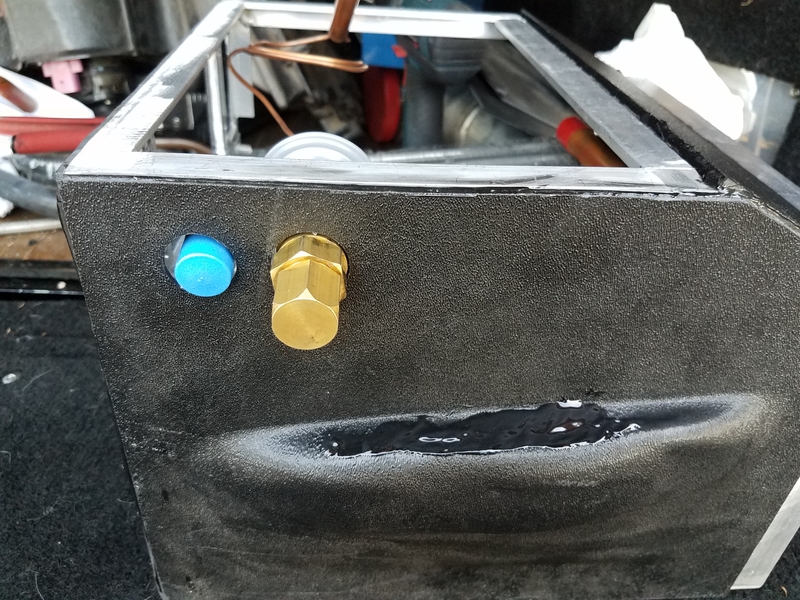
The cap covering the adjustment stem will be readily accessible but safe from being hit by errant feet. You can also see the condensate sump that I was able to mold into the bottom cover. Unfortunately, the back side of the sump got a bot thin and a couple holes developed. Rather than try to make another one (this was already attempt #2) I sealed up the holes with the urethane adhesive. I still need to drill a hole in the sump and install a suitable drain fitting. That will be a post for another day.