Now, we're gonna change the input shaft seal. This is usually the one that really leaks on old boxes.
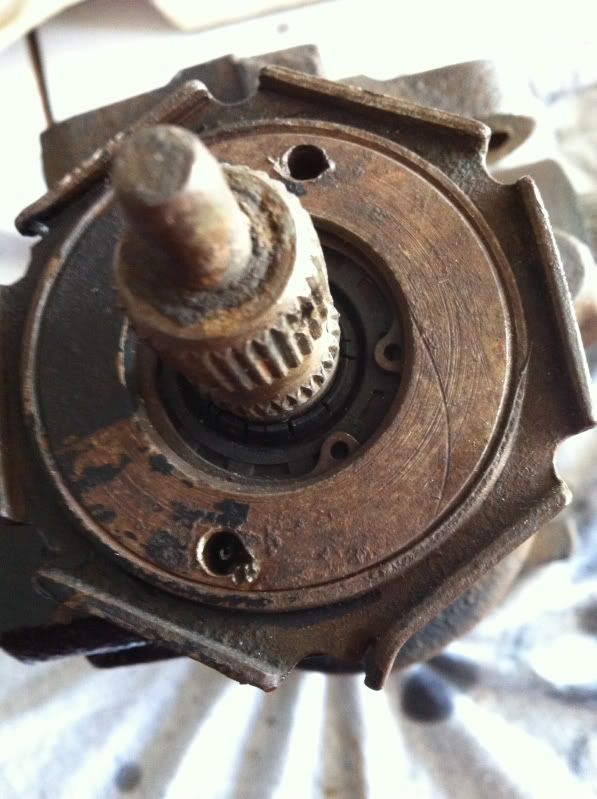
Look closely and you can see the cracks in the old rubber. Clean well with a wire brush before you go any further.
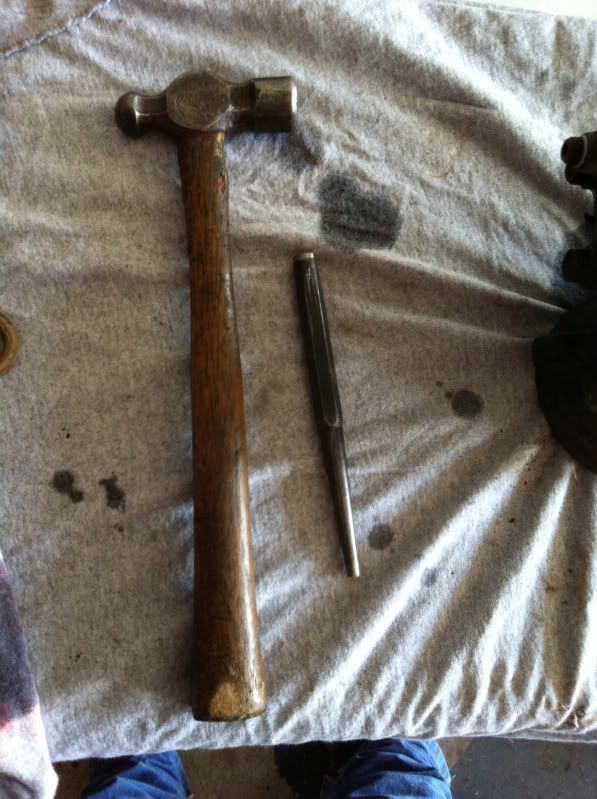
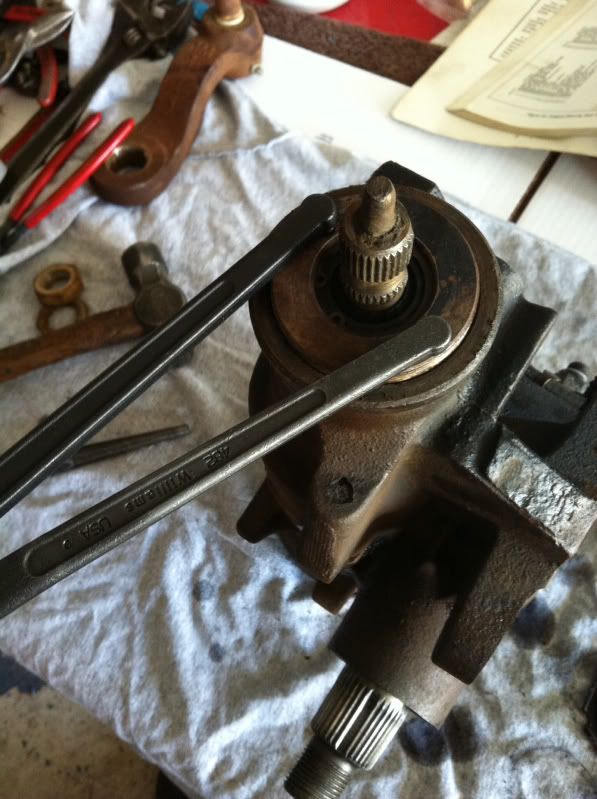
You need a blunt punch and a small hammer. Use these to loosen the locknut.
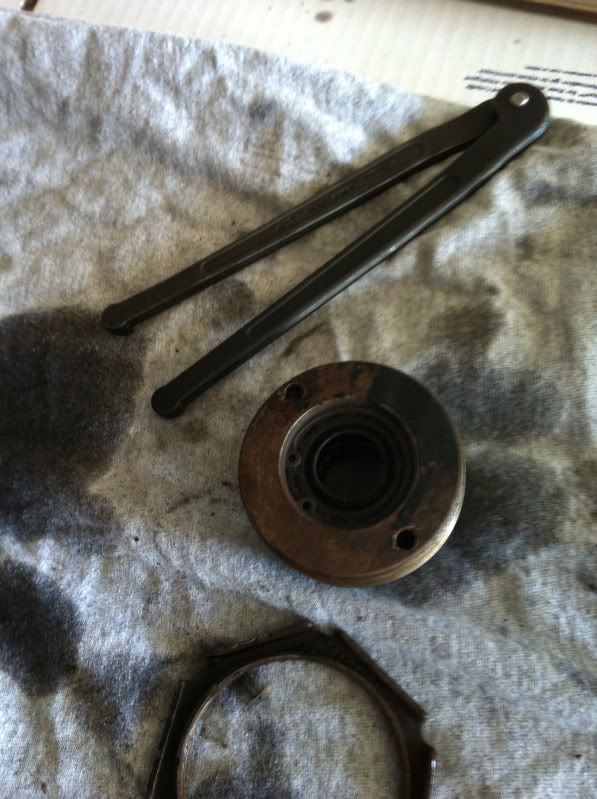
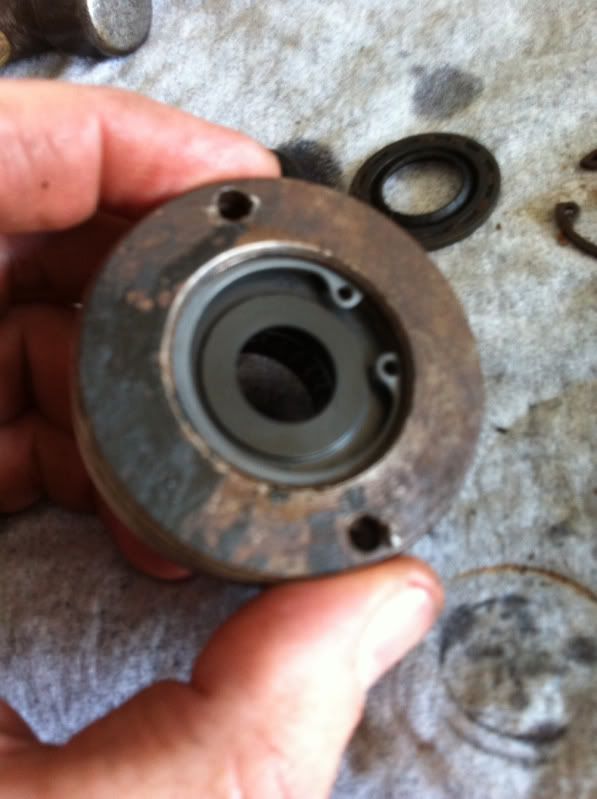
Next, remove the gland assembly. Notice there are two holes in the face of it. I used a face pin spanner, but have also done this many, many times using a small punch and hammer to gently unscrew the thing. Just tap it counterclockwise to unscrew it. As you're doing this, gently hold pressure down on the shaft so it doesn't pull up out of the box as you remove the gland assembly. Again, hold slight pressure to keep the center shaft from rising up as the outer housing is screwed up and off.

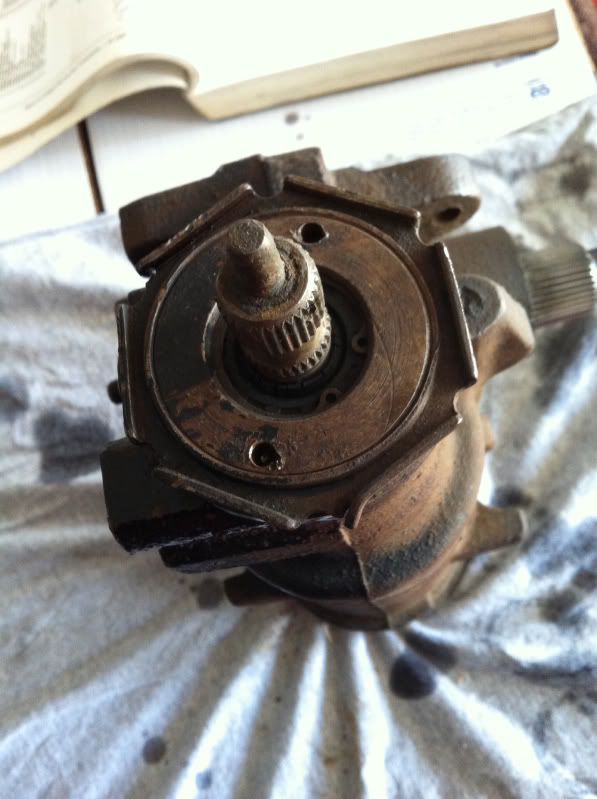
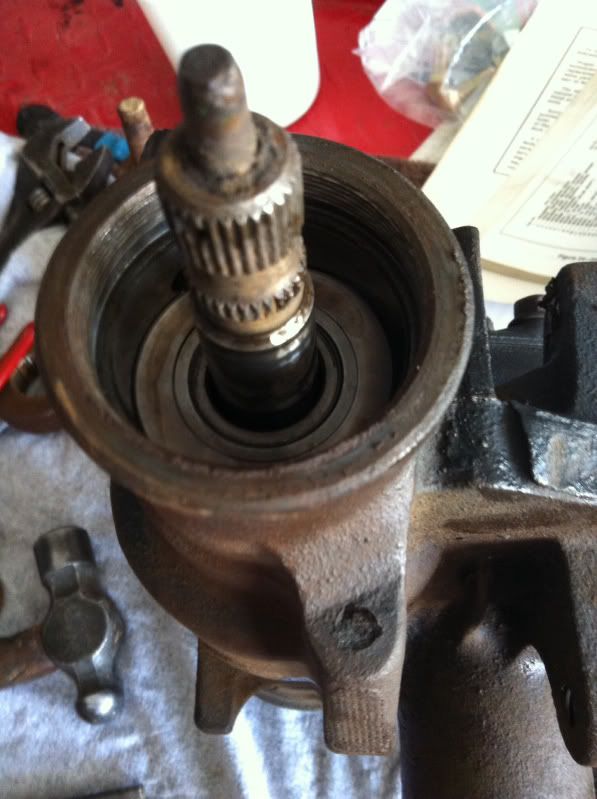
Leave this in place. We are only messing with the cartidge that we unscrewed and removed. Go no deeper. You can pull that shaft out, but you don't want to. Don't turn the shaft or fiddle with it.
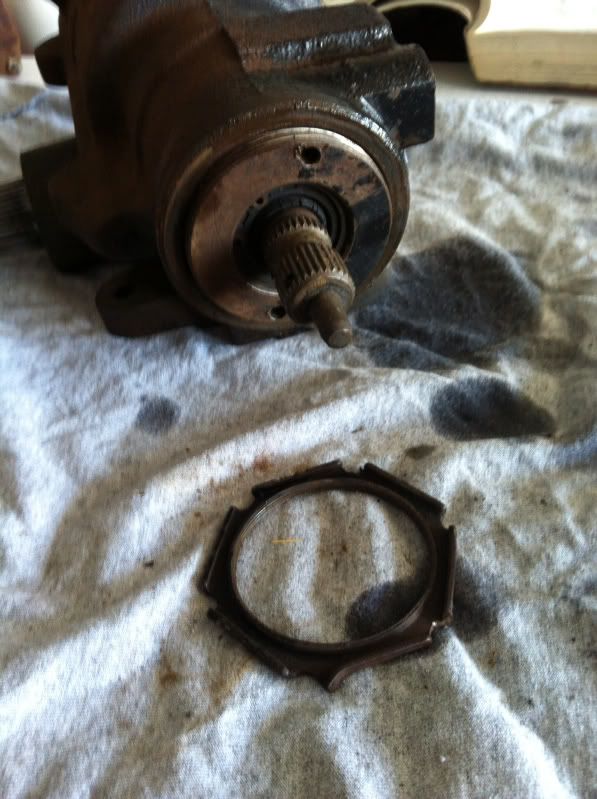
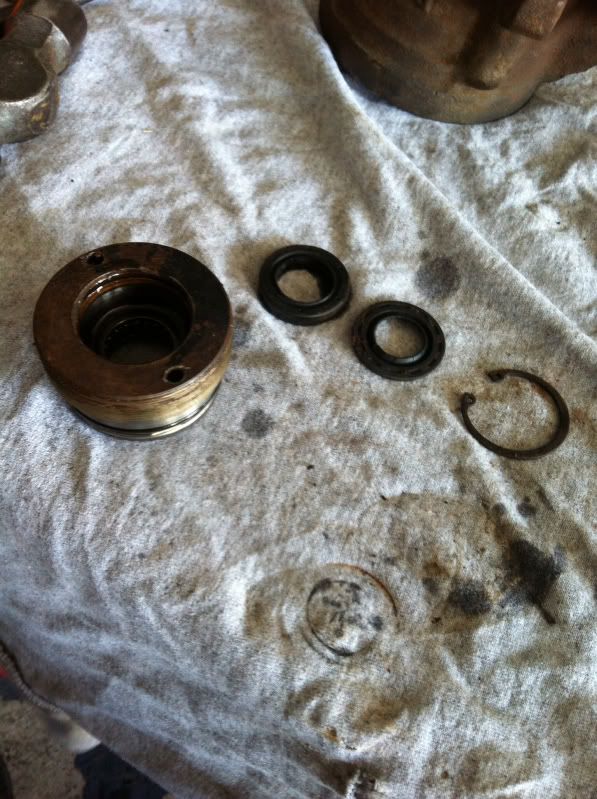
Here is the old dried seal that is the culprit on a majority of leaky steering boxes.
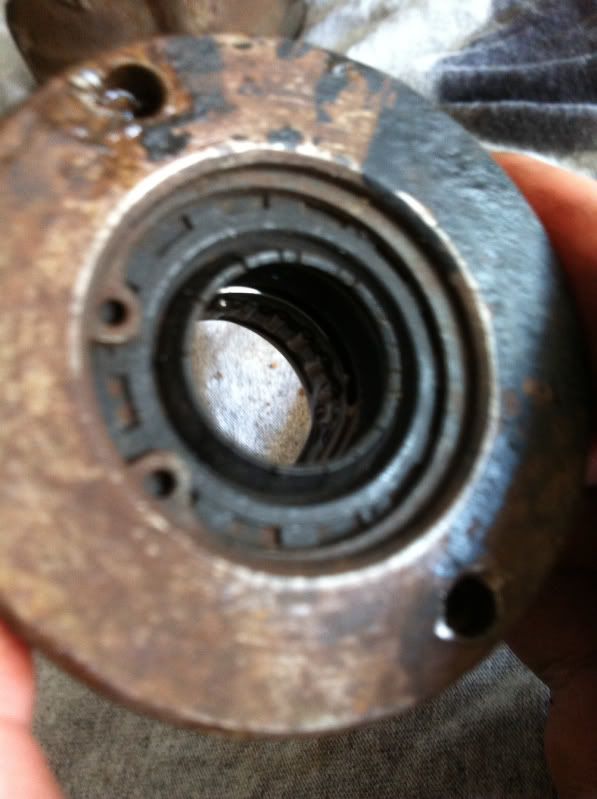
Remove snap ring and remove the dust seal and the main seal. They come right out or you can flip the cartridge over and tap them out with a skinny screwdriver.
Parts laid out in order.
Tap new seal and dust seal into place with a socket and install new snap ring.
Also, change the outer O ring. A new one is included.
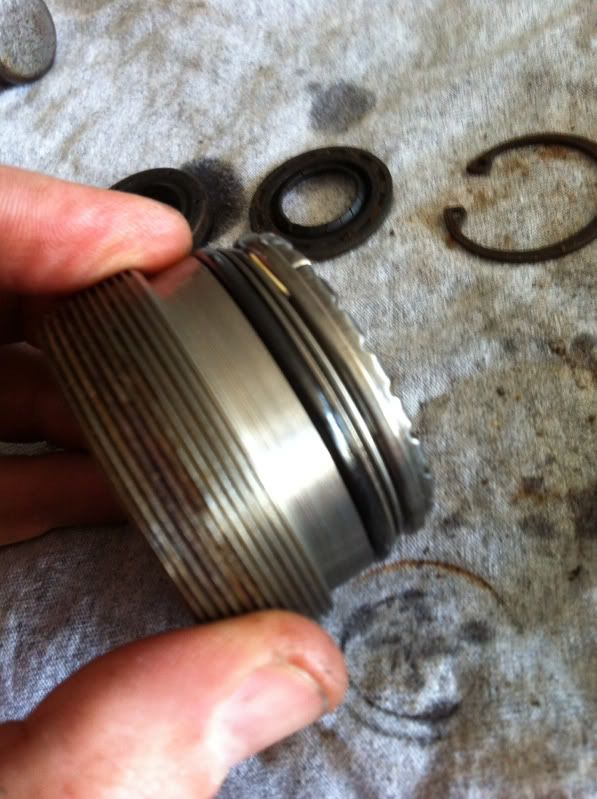
Smear grease on the inner seals and the outer O ring and screw the cartridge back into the steering box. Screw it into place until it bottoms out. You'll feel it. It screws down nice and smooth, then all of the sudden, stops. Don't reef down on it, stop there. Now, measure 1/2" and back off the adjuster that amount.
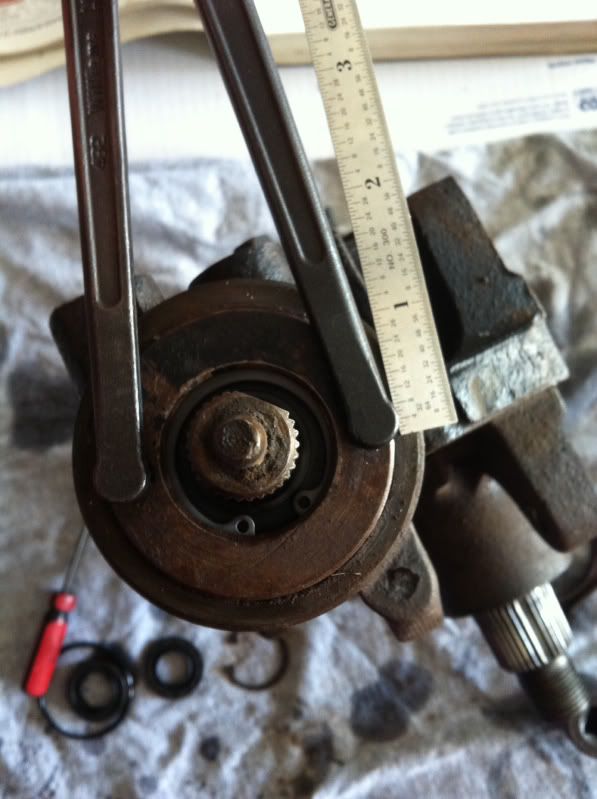
Let's review that part, its important. Screw the cartridge down until it bottoms snugly. Don't force it, its real obvious when it bottoms out. Then, make a mark of some kind as reference and loosen it half an inch (.5 inch). Then, reinstall locknut, making sure you don't move the adjustment while you're tightening it down.
