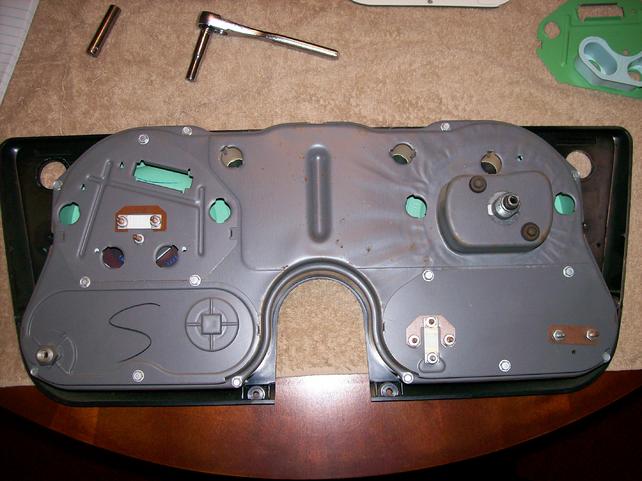
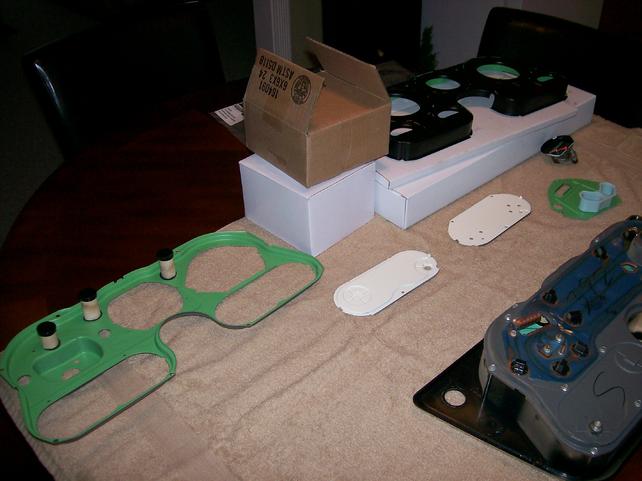
Now that you have the dash removed, it is now time to start changing over the pieces to the freshly painted tach tins. If you do not have a spare set of tins, simply follow the steps below, repaint, and assemble as described below. You will need to find a clean and open space for the tear down as parts will begin to pile up as you start the tear down process. You will also need to document the disassembly as you will reuse many of the parts from the old dash.
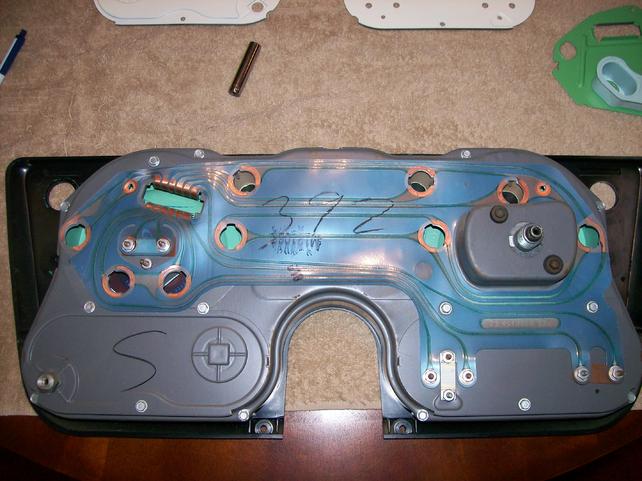
I felt it was important to retain the integrity of the original circuit board so I removed that was my first priority.
Follow the next few steps to remove the circuit board:
- Loosen the screw/washer connections (ammeter, fuel, temp) on the circuit board
- Remove the eight (8) light bulb retainers
- Remove the final two (2) screws holding the circuit board to the dash