Update:
6-11-11
Windshield Wiper and Washer Upgrade/Conversion – took about two hours with cleaning included and finding tools, yours could take less.
We all know the early wipers and washers suck on the GM square body trucks compared to those available on the GMT400 and newer trucks.
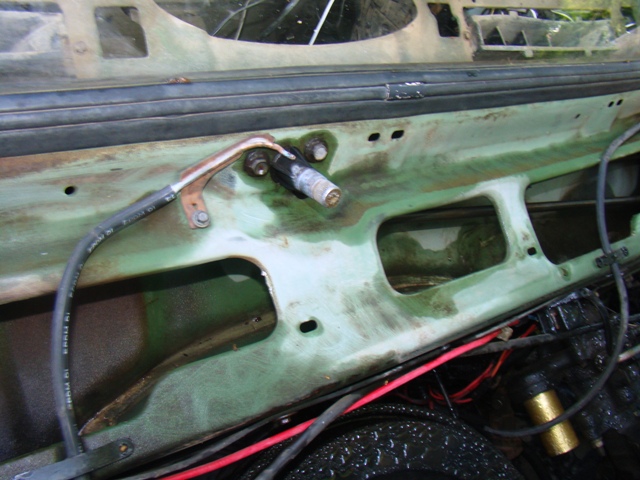
When I was removing things from the donor crew cab, the wipers was a definite must so this is a build thread on how I converted/upgraded to this newer option on my 85 CUCV Blazer. I don't know what year the washers attached to the wiper arms started but it was interesting to learn the holes for the option were actually already there and this was a direct bolt on. If you are lucky enough to get all this from a donor truck at a u-pull-it also get the washer bottle, harness and tubing with the T or Y adapter. The washer bottle has the washer pump physically mounted to the jug and is a much better design than the vacuum pump integral to the wiper motor design type.
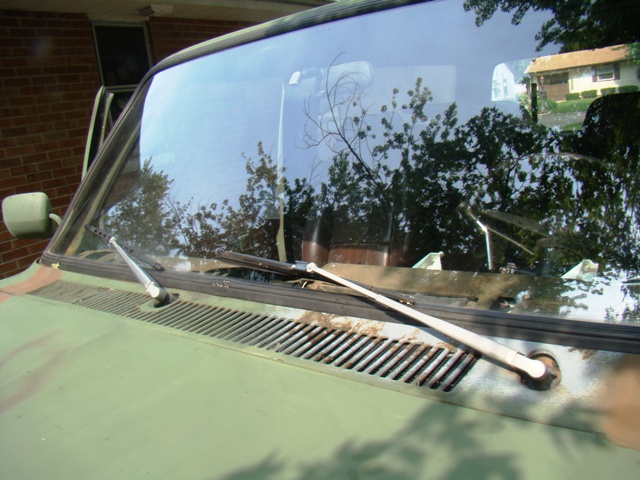
Here are the crappy wipers with the washer nozzle poking through the cowl vents.
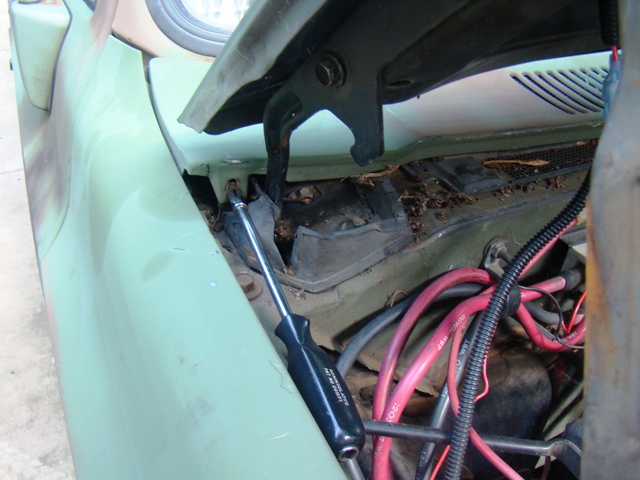
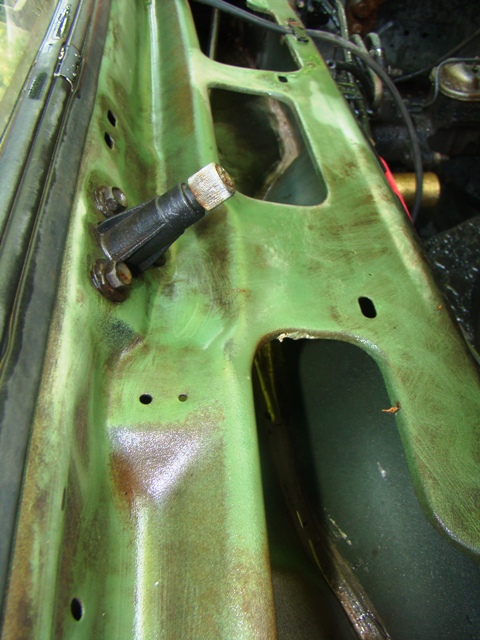
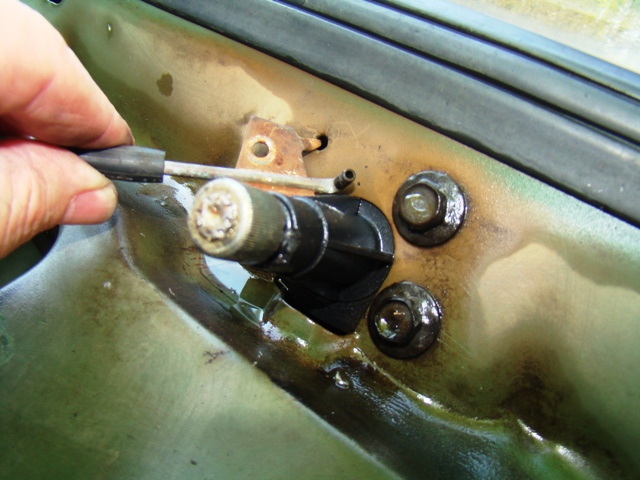
This is the wiper arm release clip that will need to be released by a pick.
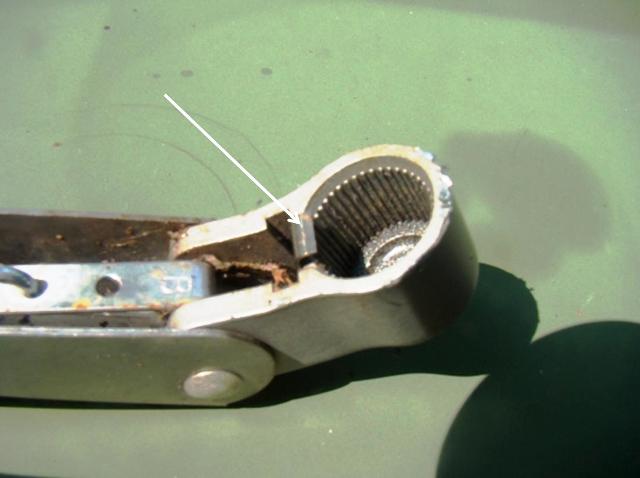
See the clip in the mirror being released by the pick and then you will need to pry the arm base away from the shaft with a large screw driver.
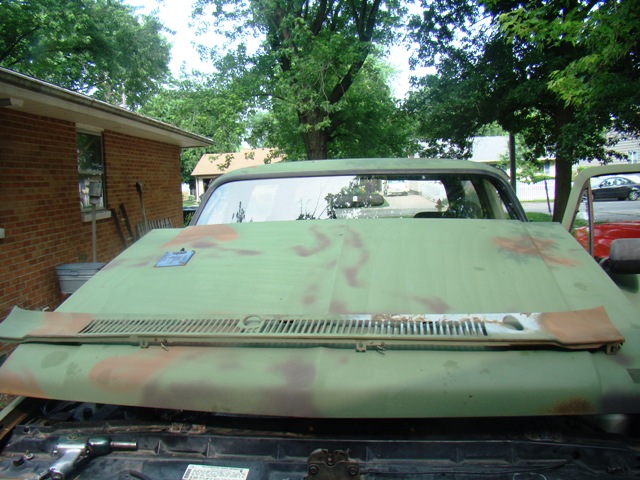
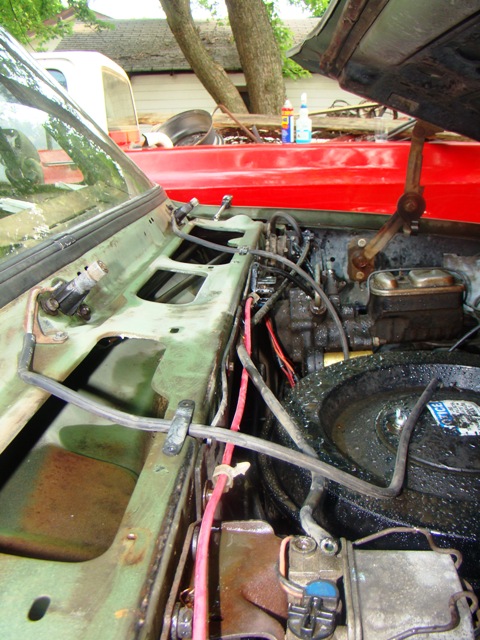
Now loosen the front hood hinge bolts and remove the rear bolts entirely to allow the hood to pivot forward and gain access for the cowl panel to be removed without interference of the rear of the hood.
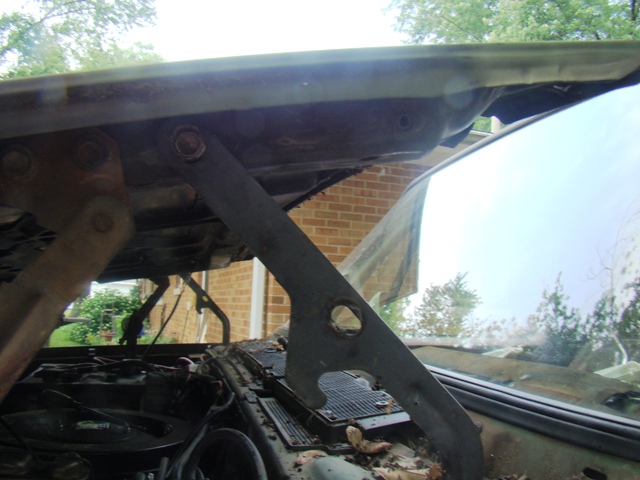
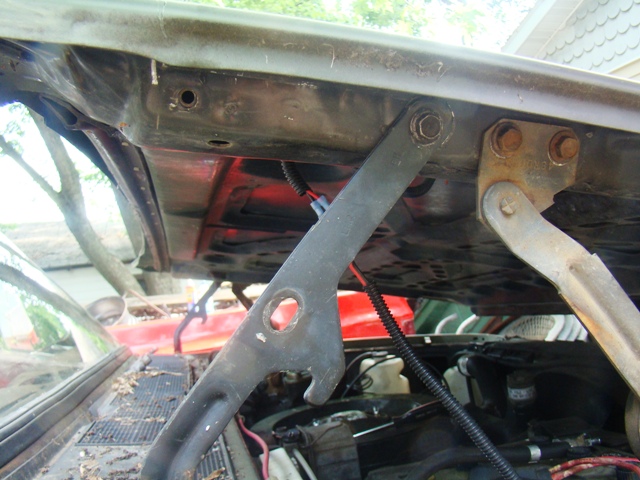
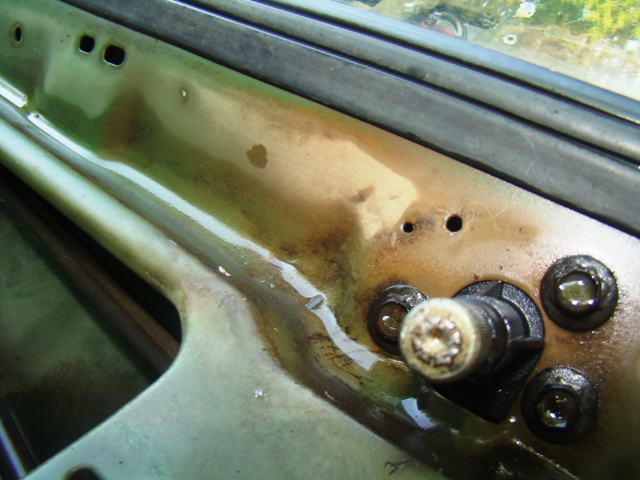
With the hood now tilted forward remove the three cowl mounting bolt (9/32 ¼”socket). There are pins that go into the body at the rear of the cowl to secure it to the body, so lift up on the front of the panel and it will lift out at an angle.
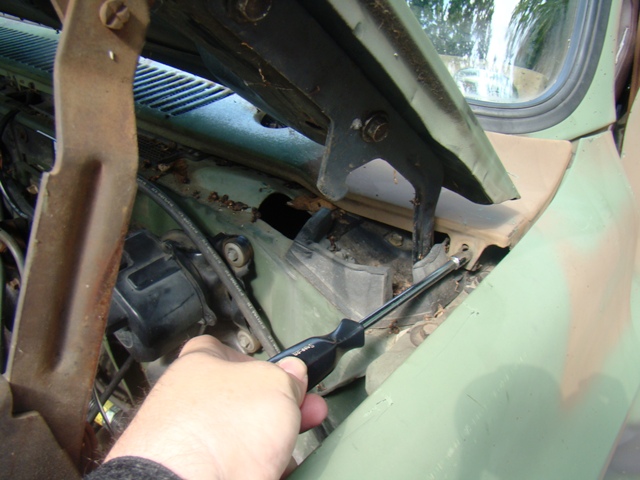
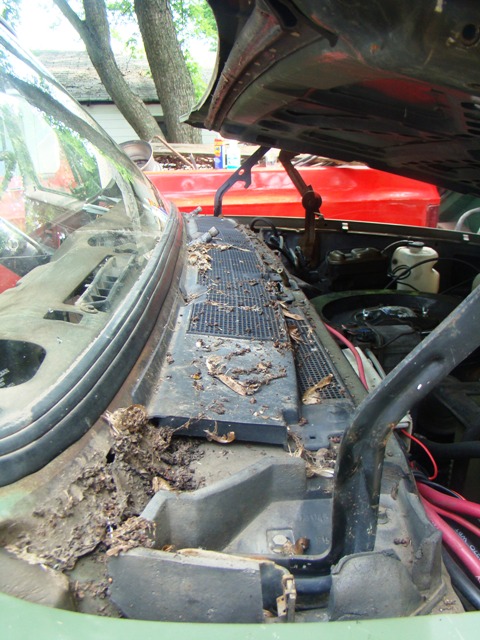
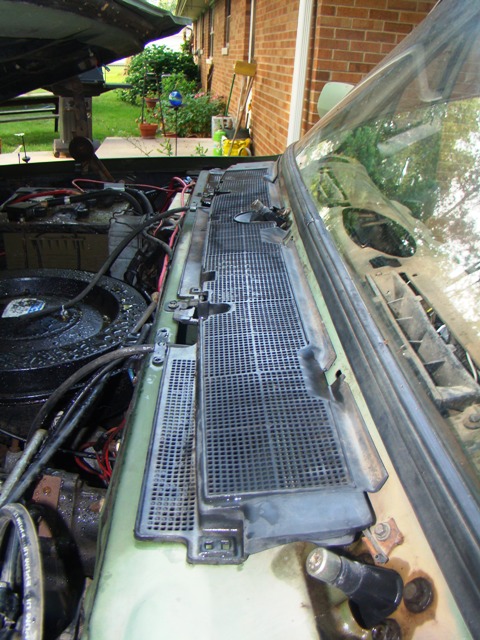
Next remove the two cowl screen bolts and the cowl screen. This will be a perfect time to clean all the debris that has collected in the wiper linkage area and under the cowl. As you can see mine was a mess.
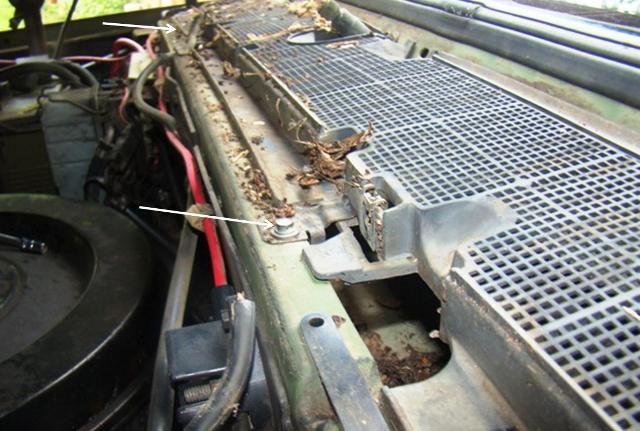
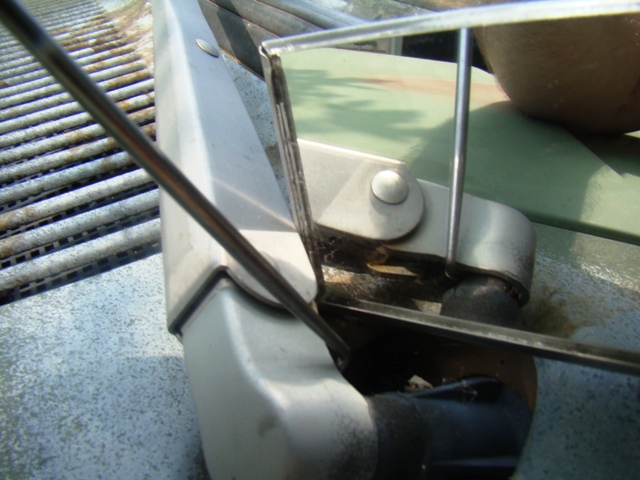
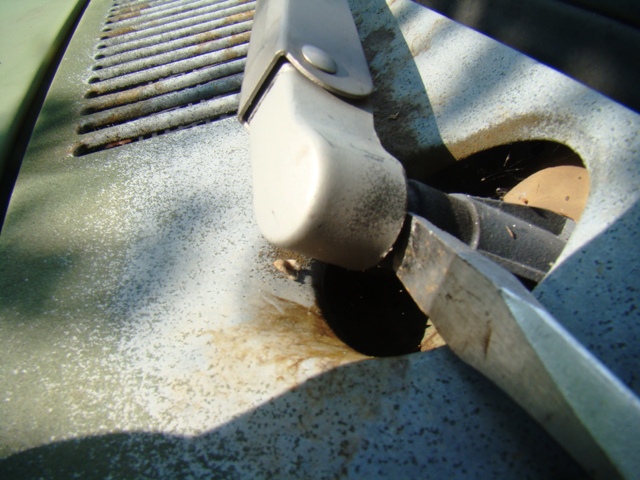
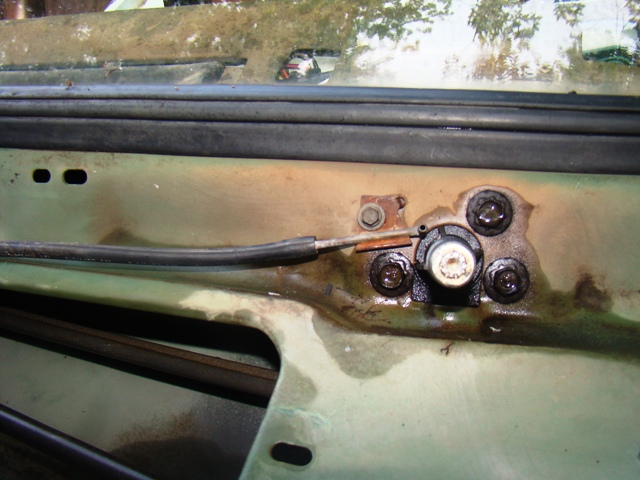
Note the existing holes to accept the newer nozzles and how they install including routing the tubing back under the retainers in the stock location.
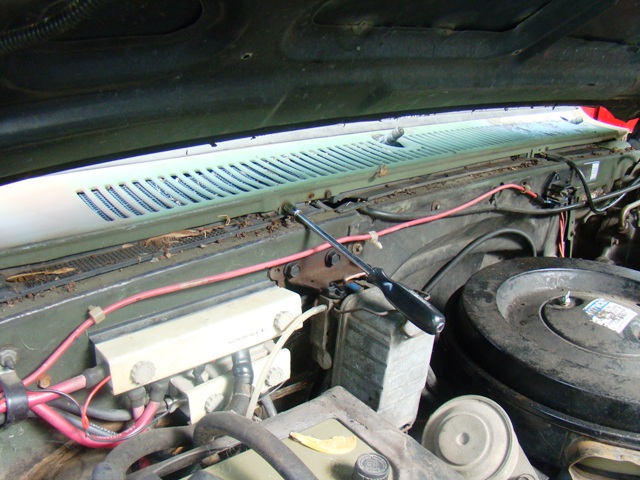
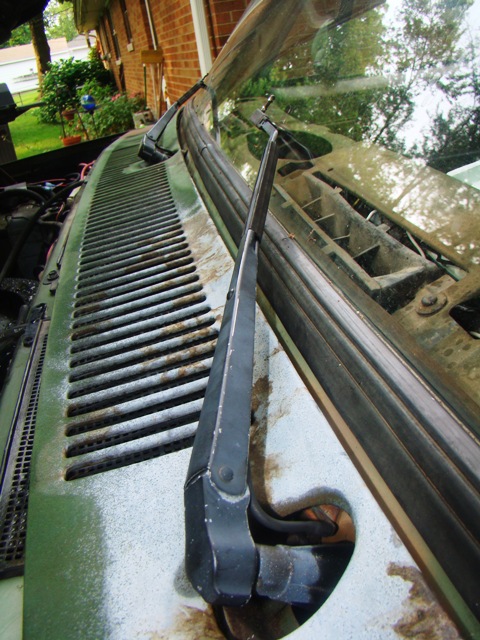
Cowl screen and cowl panel and wiper arms reinstalled after cleaning.
Attach the two pieces of tubing to the Y or T adapter, route the tubing on the firewall to not interfere with anything, swap your washer reservoirs, and plug in or adapt your washer pump wiring.
I’ll update the pictures for this step later as I have not got it completed yet.