A recent thread about leaky steering boxes prompted me to take some photos and do a little tech article here. Some folks were replacing their power steering boxes because of leaks rather than fix the leaks. I prefer to fix a leaky box because 1) Its drastically cheaper, and 2) the existing box is likely as good or better than a parts store replacement.
The whole process is very straightforward and intuitive. Few special tools are needed and the entire process can be done in an hour or so and for a cost of 15 dollars.
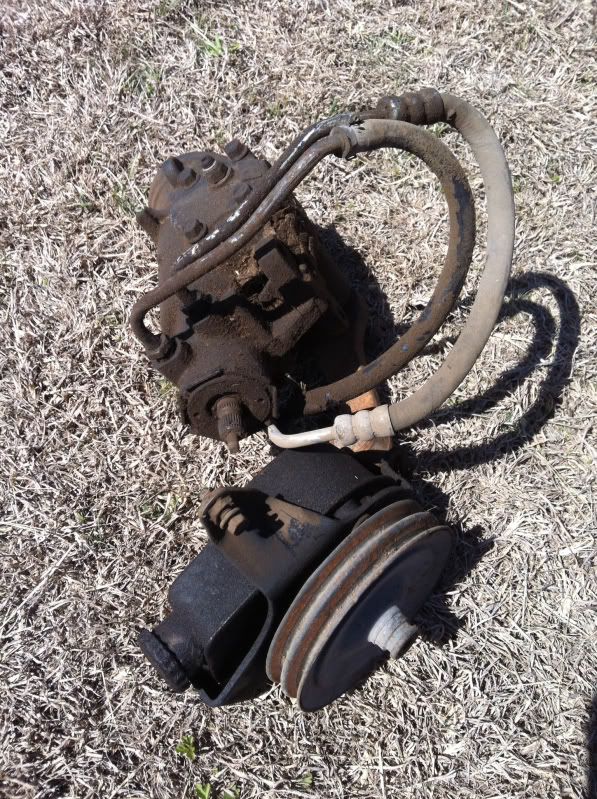
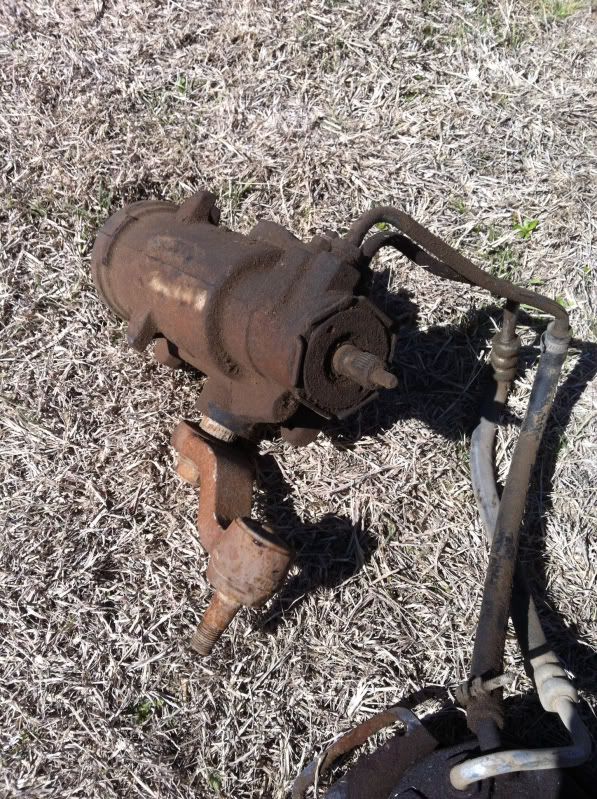
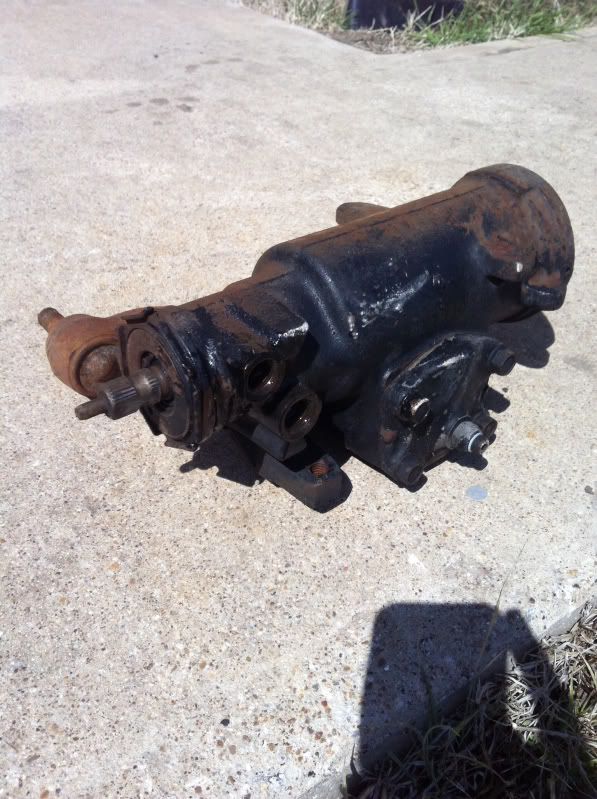
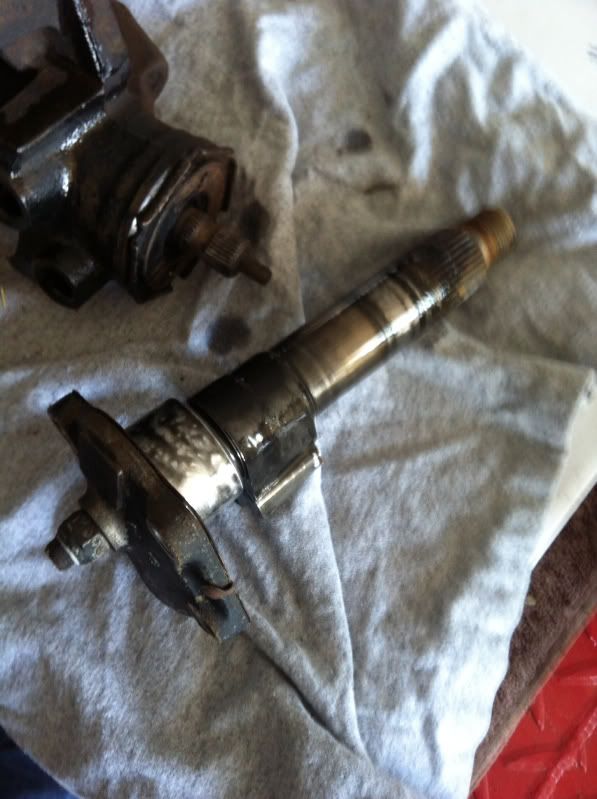
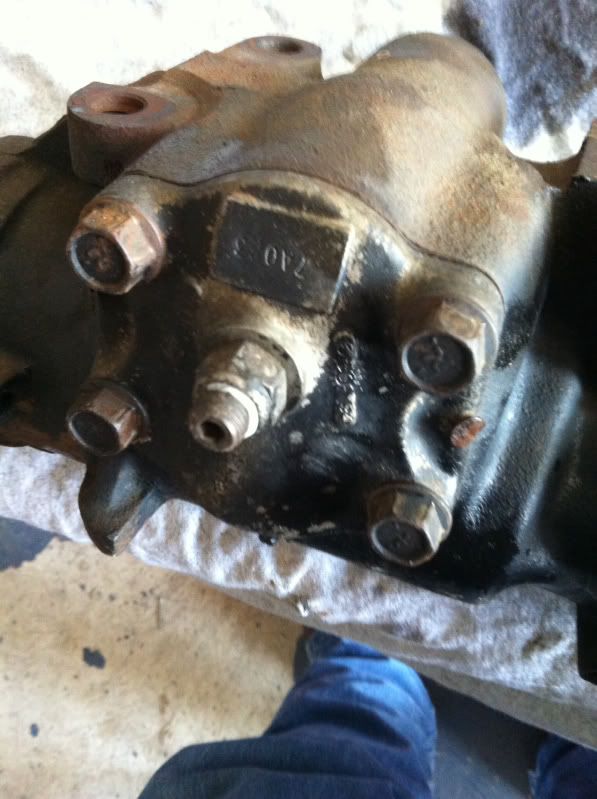
For this article, I pulled a steering box out of my parts pile. This setup is off of an 87 model R10 that I parted out a few years ago. The power steering worked well, but it did leak. The process is the same for all of this style of box.
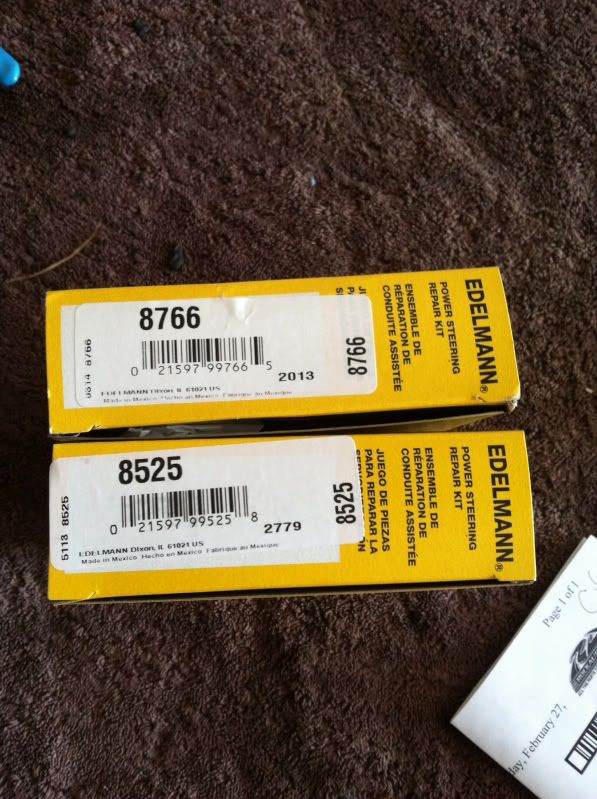
Parts from a Rockauto. This is the pitman shaft seal kit and the stub shaft seal kit. Both were right at 15 dollars delivered, shipping included.
The victim
First step is to clean and degrease the box. I used spray degreaser and a Harbor Freight "toothbrush" type of nylon brush.
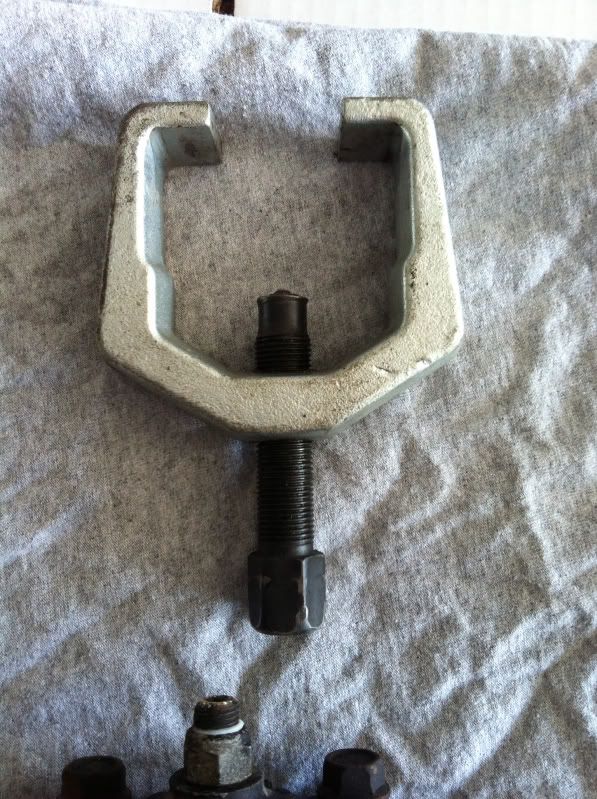
This is one special tool you'll need, a pitman arm puller. Don't cry over it though. I bought mine years ago for cheap but you can get one from the parts' store tool loan program too. You're gonna have to have one whether you reseal your box or replace it anyway.
Remove large nut and washer that retain the pitman arm. A big adjustable wrench works fine. It's not going to be too horribly tight.
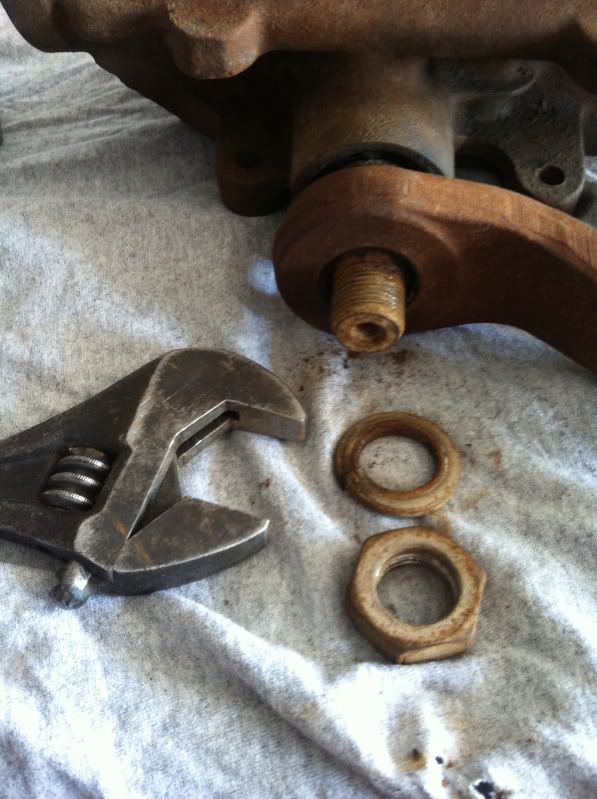
Now, use the puller and remove the pitman arm. They come off pretty easy with a little bump from an impact wrench.
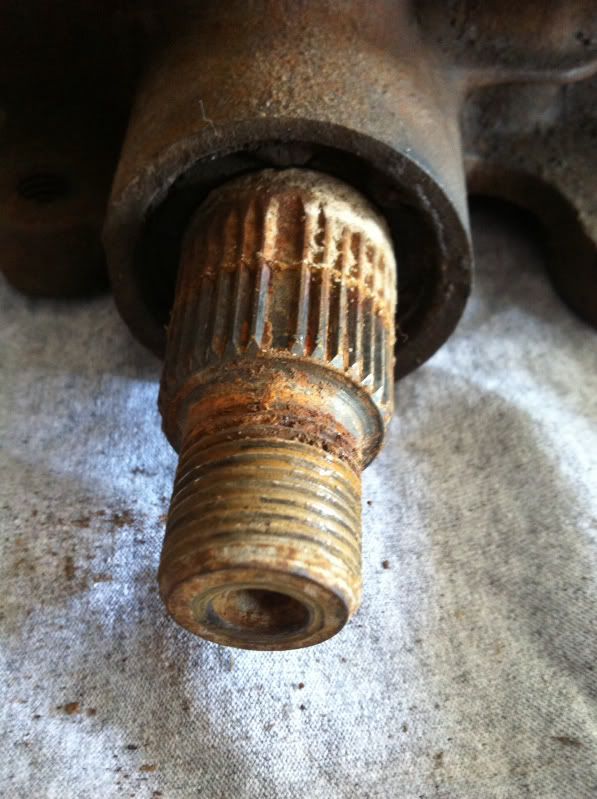
Once you get the pitman arm removed, take a wire brush and clean the shaft and cavity where the seal is.
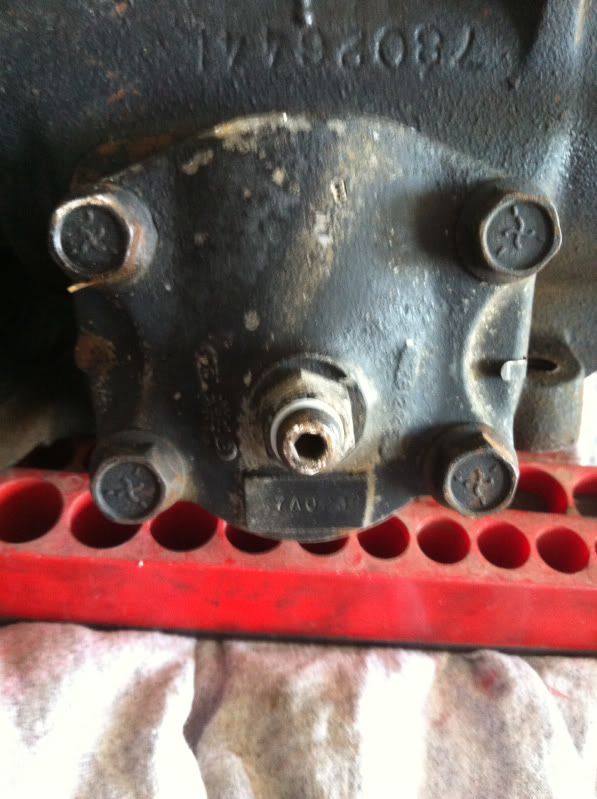
Now, make sure the steering box is centered and flip it over and remove these four bolts. They are 9/16" head.
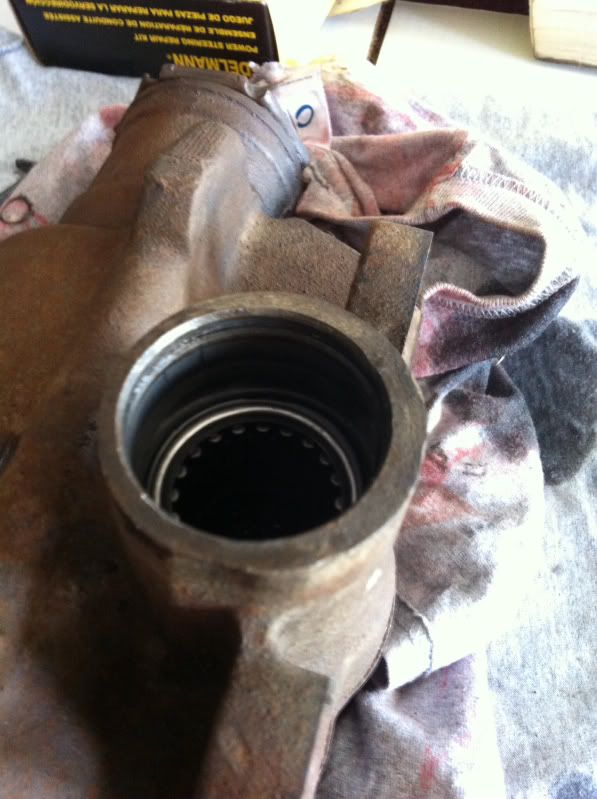
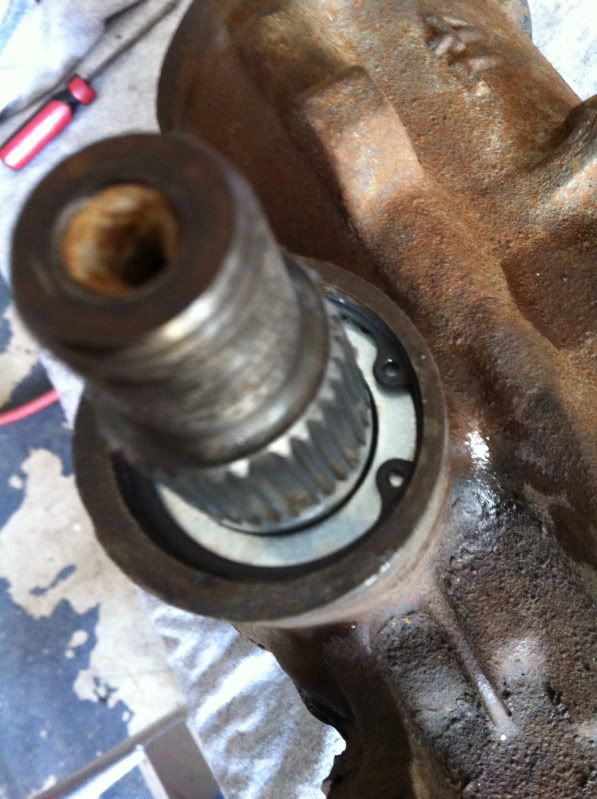
Then, gently whack the output shaft with a mallet to drive it upward. Remove.

Now, lay the box on its side and clean the seal area with a little screwdriver. The purpose of laying it on its side is to keep any contaminates from falling down the hole and into the steering box.
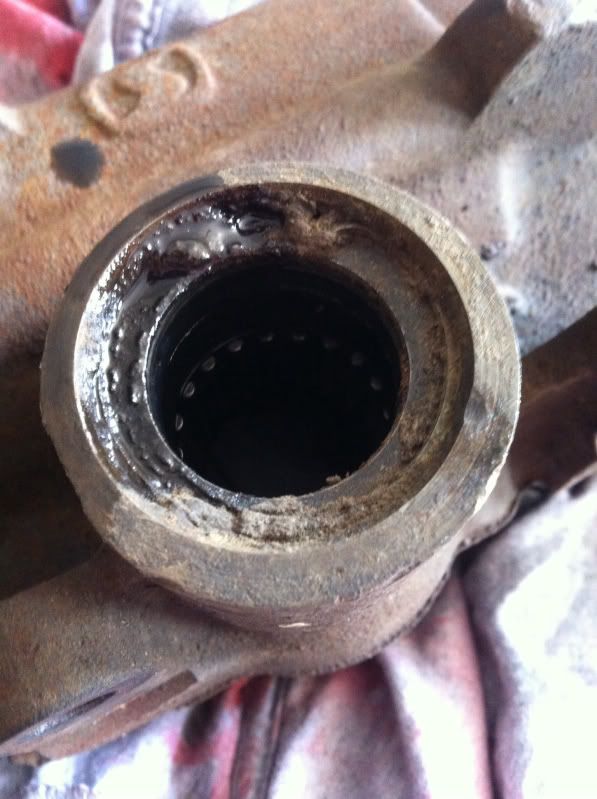
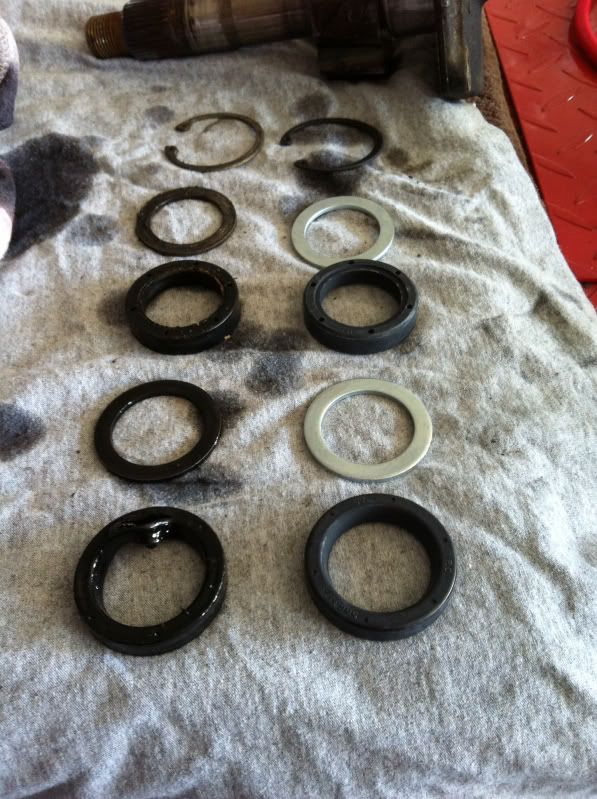
Use snap ring pliers to remove the retaining ring and then remove the parts and lay them in order. They will go....snap ring, flat washer, thick seal, washer, thin seal. In that order. A bent tip screwdriver will pull them out. Worst case, turn the box over and use a long skinny screwdriver to tap them out from the top.
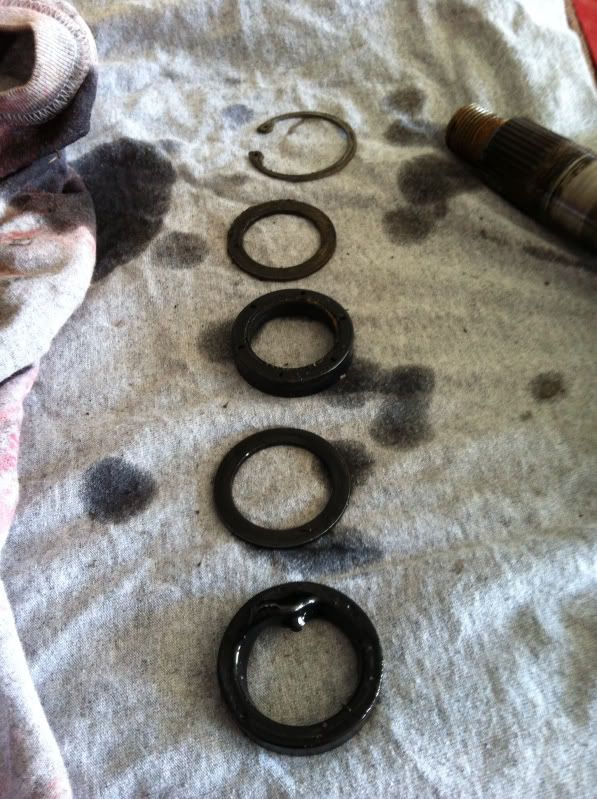
Again, to reiterate, it goes....snap ring, washer, thick seal, washer, thin seal.
Lay out new parts next to old to match them up.
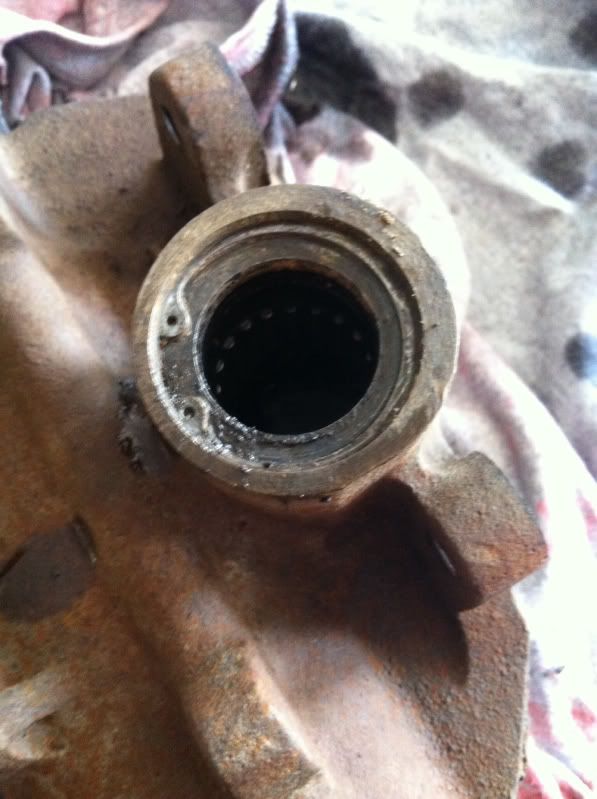
Clean out the bore in the steering box and install new parts in correct order. Use a socket of the appropriate size with a mallet as a driver.
Now, lube the seals with a smear of grease and drop the top of the box back in place. You might have to fiddle with it to get the parts to drop in. Its intuitive and you will see what needs to happen. Wiggle, wiggle, tap, tap and it will drop in.
Reinstall and tighten the four bolts.
More to come in the next post....