Thanks for the comments guys. It’s funny I was teasing my wife the other day about buying another old project truck. Her response – “Why, you can’t finish the one you’ve got”! Zing!
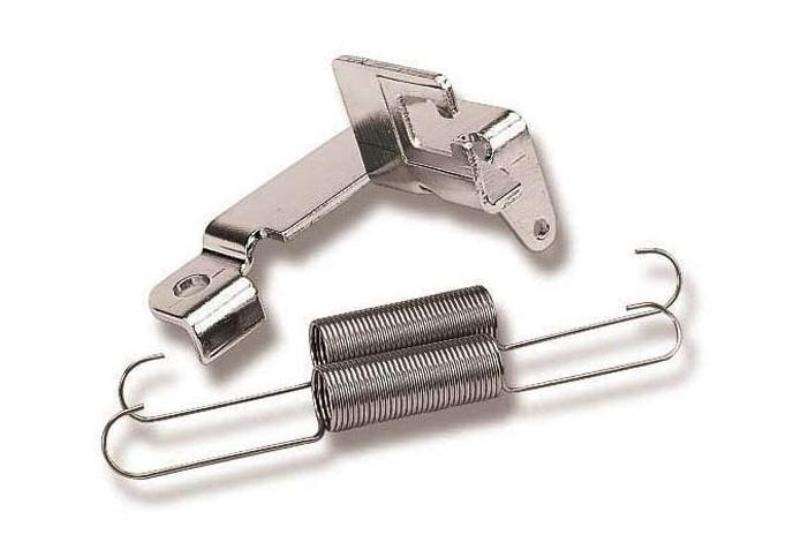
I didn’t have a bracket available to mount the forward end of the throttle cable. I looked through everything Edelbrock had to offer and didn’t find anything that looked suitable. A couple more hours of internet searching turned up this Holley/GM bracket. Holley part number 20-44:
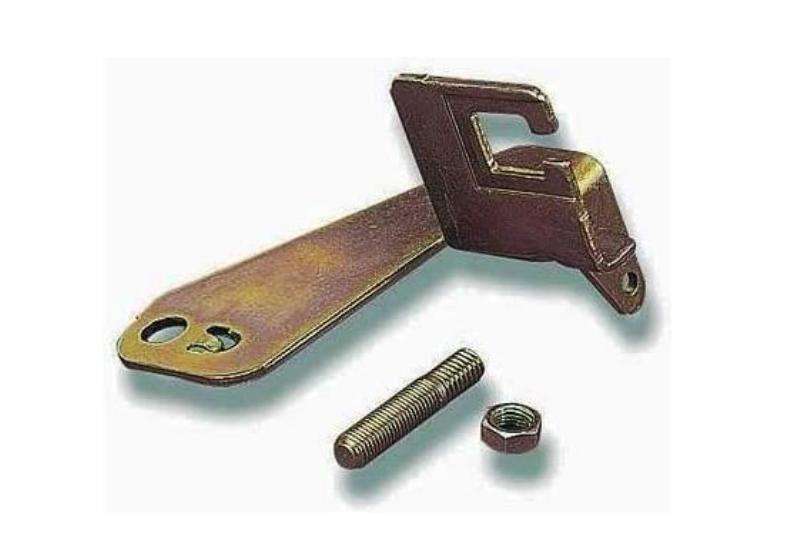
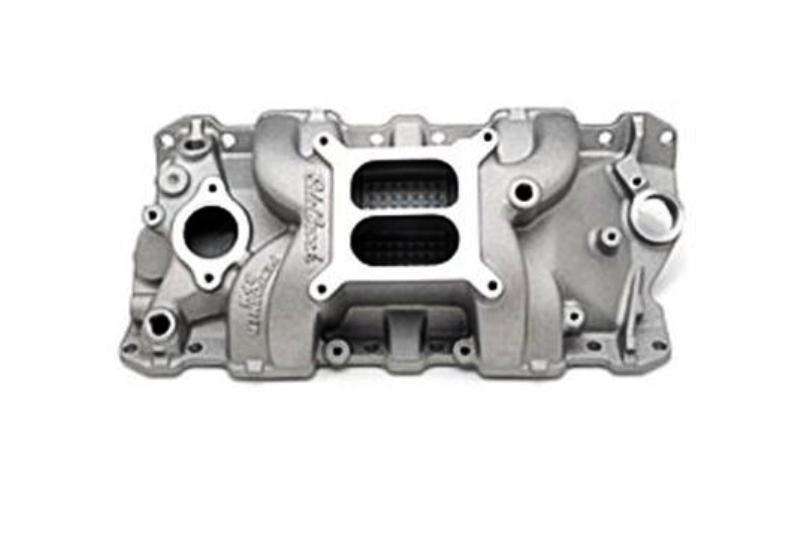
Of course like most street rod parts it couldn’t be installed without modification. My Edelbrock carb is mounted on the 4 outboard mounting studs which wouldn’t work because of the anti-rotation tab over the outboard mounting hole in the bracket. No problem. I pulled the carb expecting to add a second stud into the inboard mounting hole. Imagine my enthusiasm when I got the carb off and realized the Performer RPM manifold I’m running only has the outboard holes!
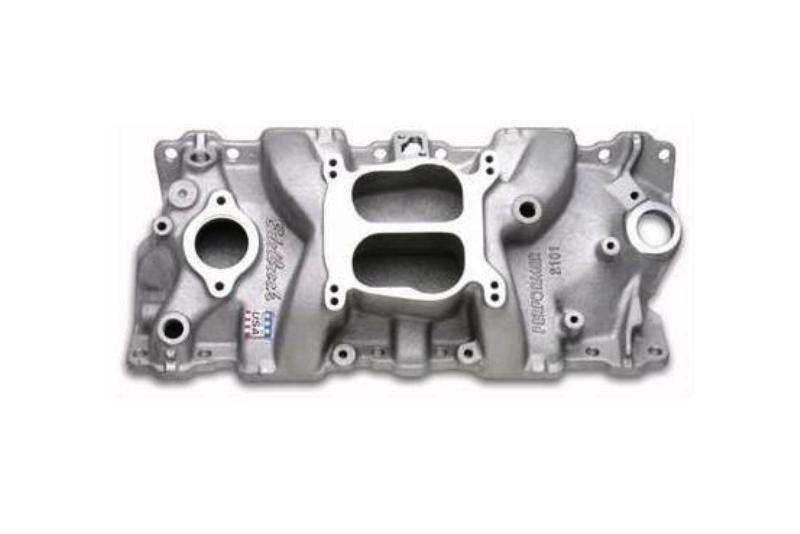
Here’s the normal Performer intake mounting flange with 8 stud holes:
And here’s the RPM version I have:
Back in the house for more another search, and another hour wasted not finding anything better. More time spent trying alternate orientations I ended up back where I started. The final solution was to flatten the anti-rotation tab and drill the outboard hole in the Holley bracket. But I still needed something to keep it from rotating under pressure.
Years ago I installed an Edelbrock bracket kit (350-8036) for my Turbo 350 kick down linkage:
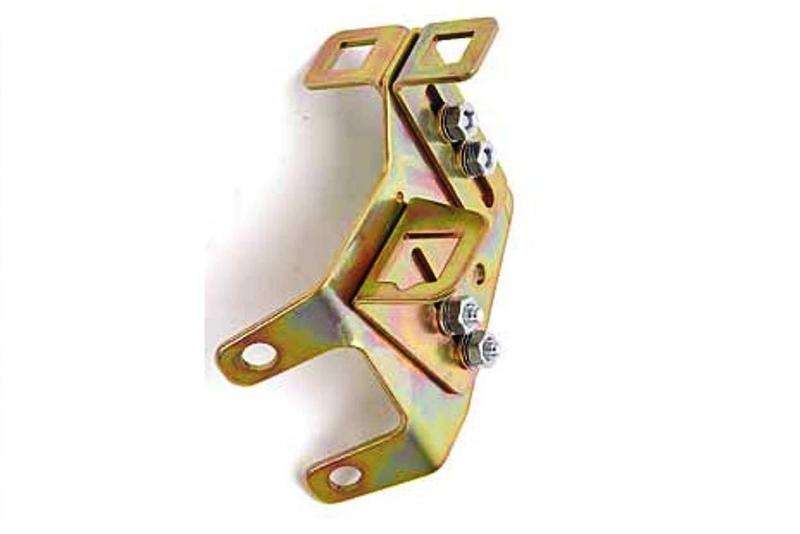
Currently the main bracket is bolted to the intake manifold and the upper left square attachment is used for the cruise control. A simple solution was to add a small plate between the cable bracket and the kick down bracket providing a solid anchor.
Subsequently I discovered Holley part number 20-88 which would have bolted to the outboard stud and saved me at least 2 hours of freezing my ass off in the garage sorting all this out.
As a side note the Holley 20-44 bracket has the worst gold cadmium finish I’ve ever seen. It’s swirly black instead of gold colored. At first I thought it was a customer return with grease all over it, but it was just a horrible plating job. Because I wanted the truck back on the road it got used regardless of the appearance.
Final notes - the standard 1972 350 cable is actually several inches too long for my application requiring a pretty severe corkscrew routing between the firewall and the carburetor. Apparently my engine is closer to the firewall than a stock 71-72 C10. The 4x4 version is shorter, but I don’t know by how much. It might have been a more suitable choice, but OEM versions are claimed to no longer be available.
In order to keep the cable level with the throttle linkage I added an Adel clamp to the kick down bracket which also removed any strain from the factory cable/bracket attaching grommet.
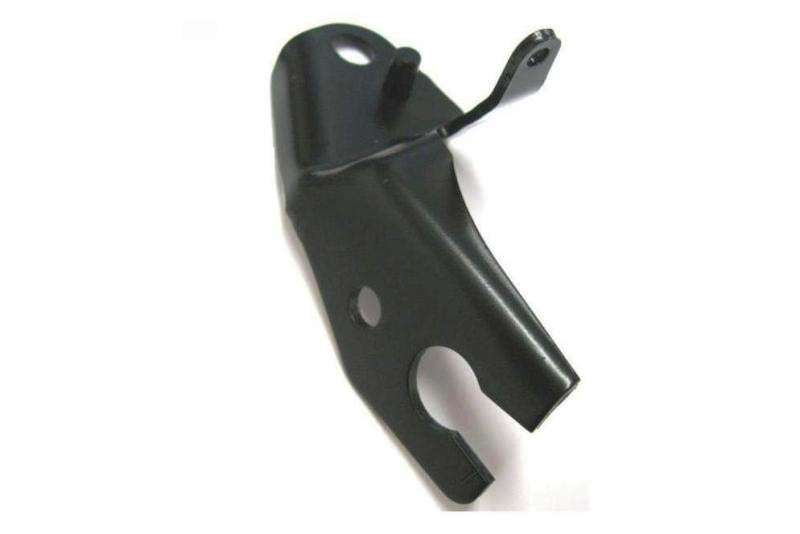
Installing the cable grommet into the square bracket hole was a nightmare. If I ever have to do it again I will modify the bracket first, angling the square entrance slot to more closely resemble the factory GM approach as shown on this Monte Carlo bracket:
Here’s what the engine side looks like all back together:

I’ve decided to go ahead and order the 71-72 pedal pads with the stainless trim. As soon as they show up and get installed I’ll post some update photos. The Chevelle pad will get added to the parts collection.