I didn't take any pictures of the actual removal of the cluster from the truck, but I'll go ahead and give the steps for those who might be interested.
- There are 4 T15 Torx screws holding the dash bezel on. Remove those and you can pull the bezel out. If you have an automatic, you'll probably want to put the shifter in Low 1 to get it out of the way. My truck is a 5-speed, so I don't have to bother with it.
- Once you get the bezel loose, unplug the headlight and dimmer switches.
- Remove the bezel and set it aside.
- Remove the 4 7mm screws holding the HVAC controller.
- Remove the 3 7mm screws holding the radio (or the pocket in my case).
- You don't have to remove these items, but they need to be loose so you can access some of the screws holding the cluster.
- The cluster has 4 7mm screws holding it on. Remove them.
- You can now remove the clear plastic shield and set it aside.
- The cluster is ready to come out. Just pull on it and it will slide out.
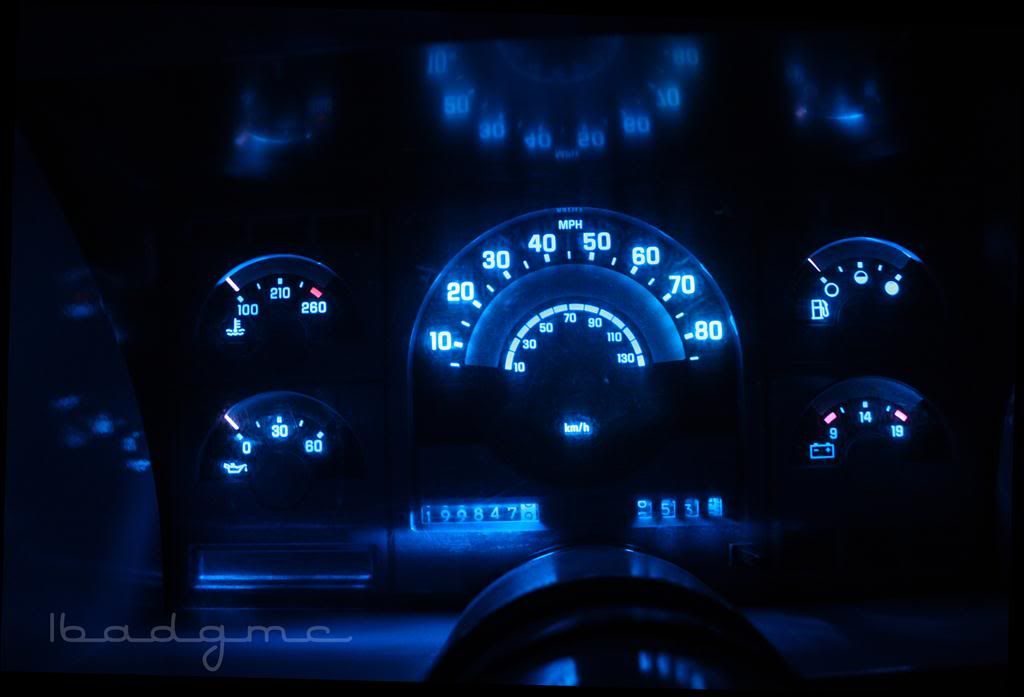
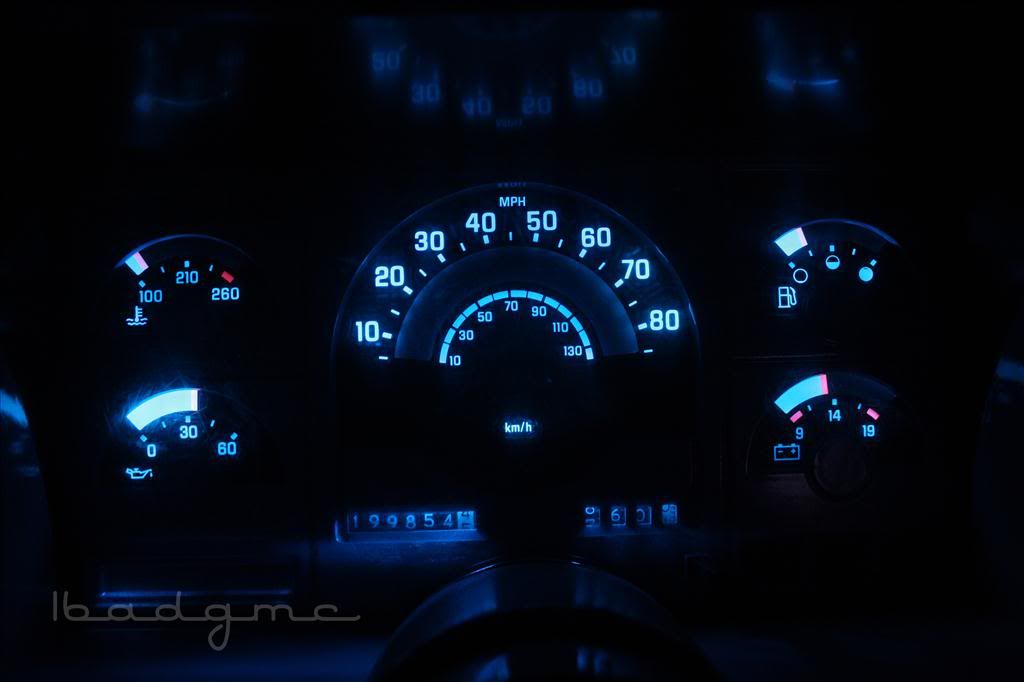
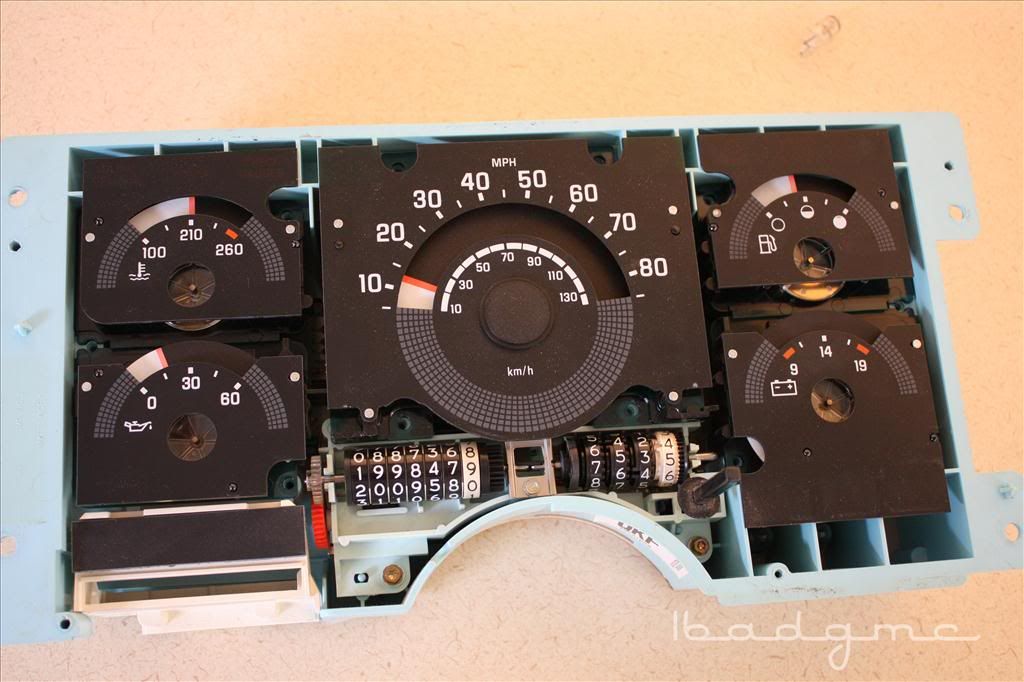
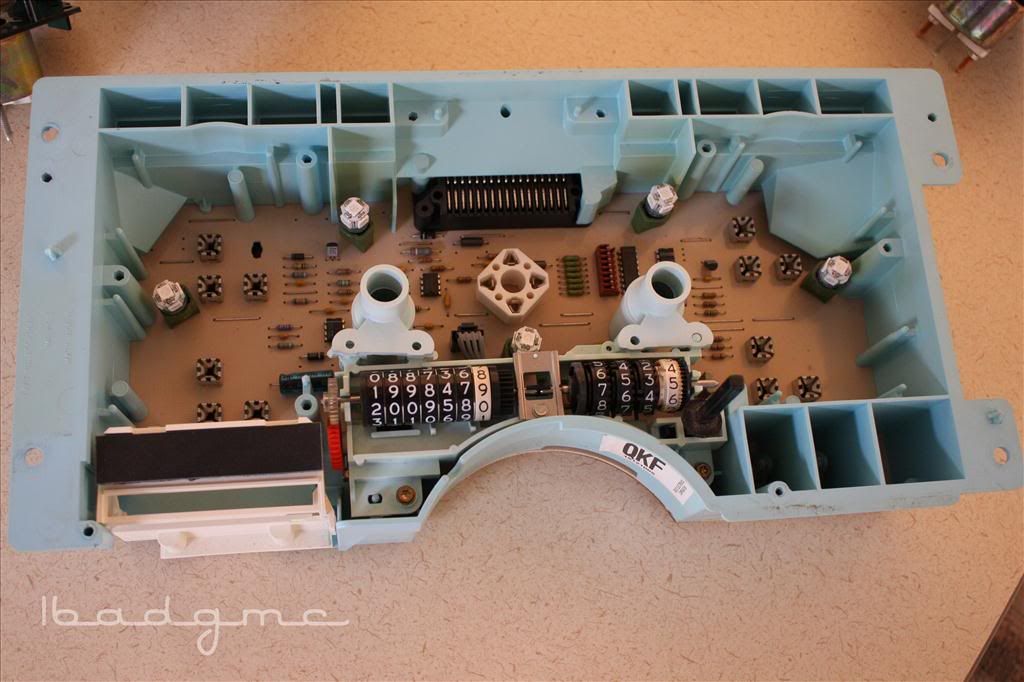
- So now you are here...
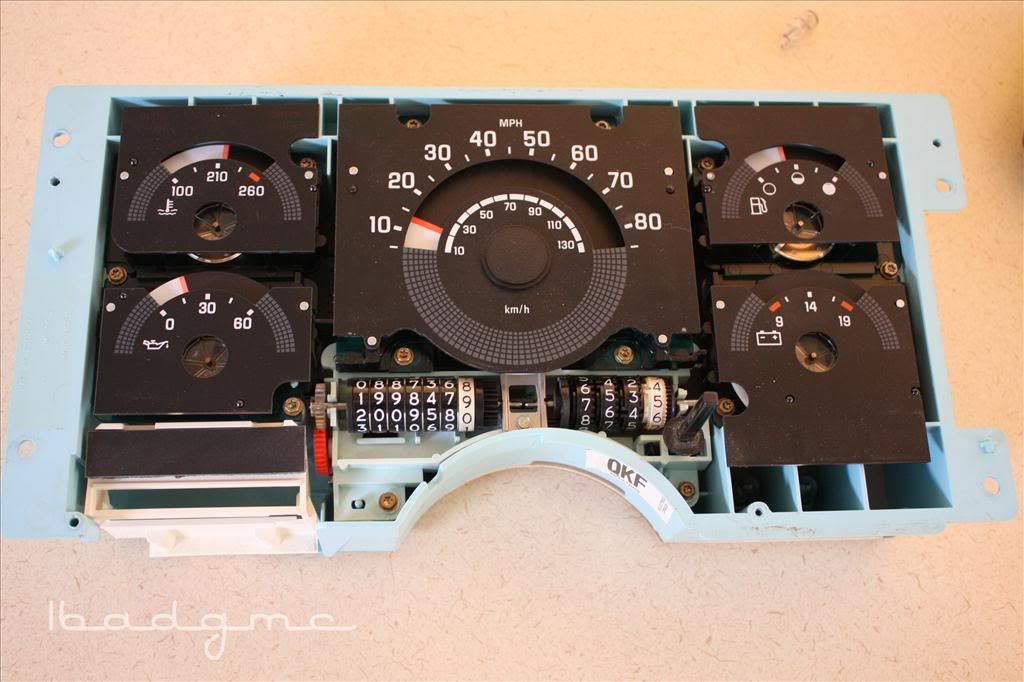
- There are 10 T15 Torx screws holding the individual gauges to the panel; 4 for the speedometer and 3 on each side for the smaller gauges. Remove them...
- The gauges are plugged into the board, but they are now ready to just pull out. The speedometer comes out first...
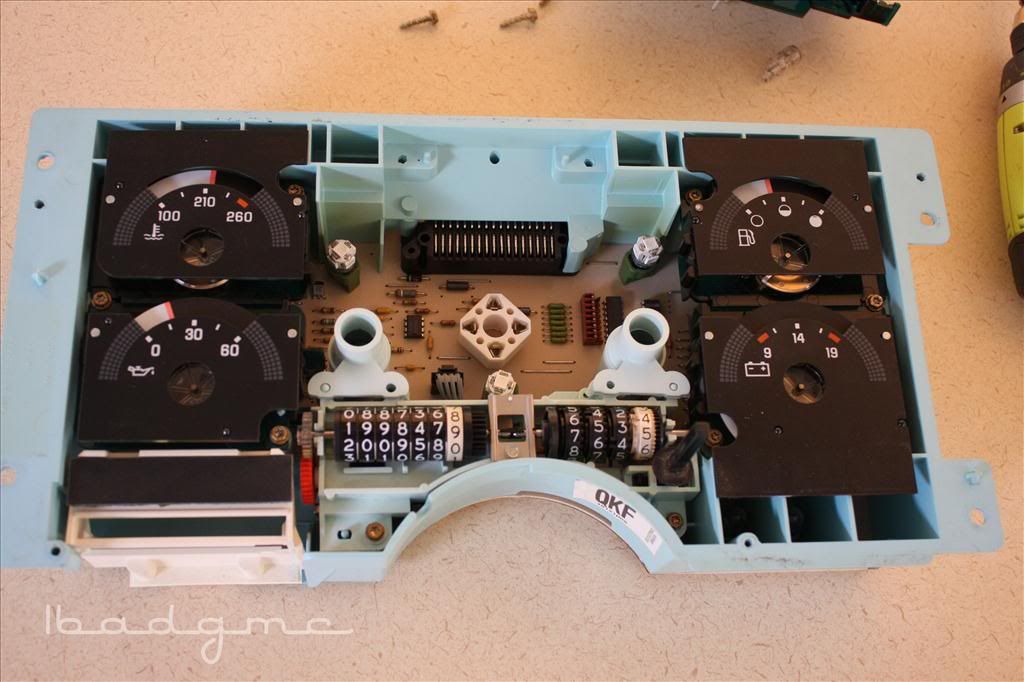
- Then the 2 top gauges can come out...
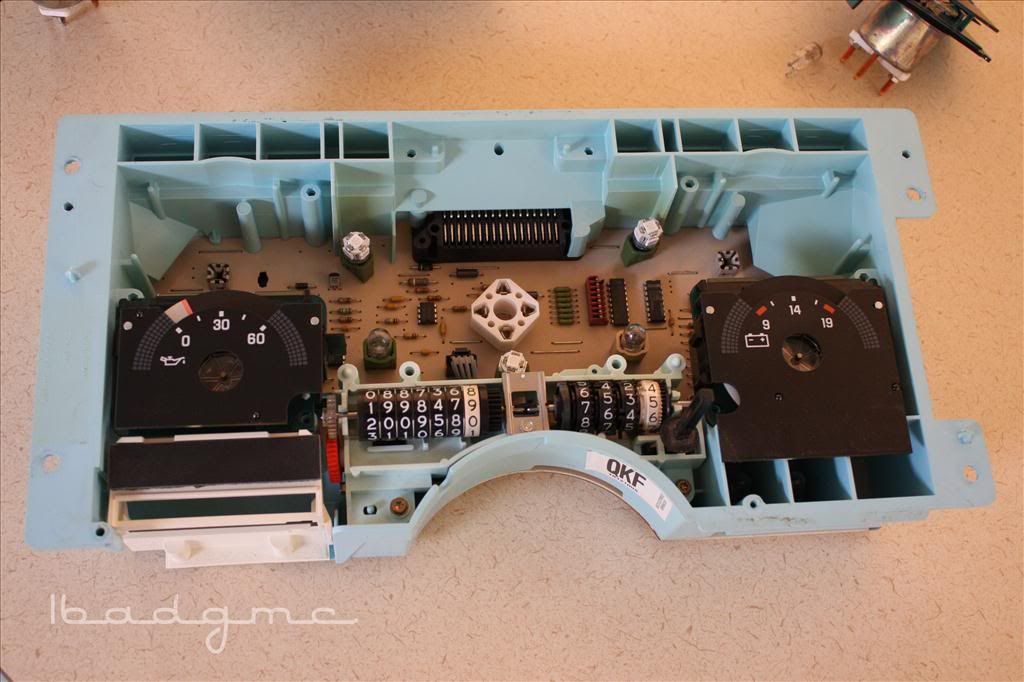
- And now the bottom 2 can come out. Once they're out, you can see the 5 bulbs that provide the main cluster lighting...
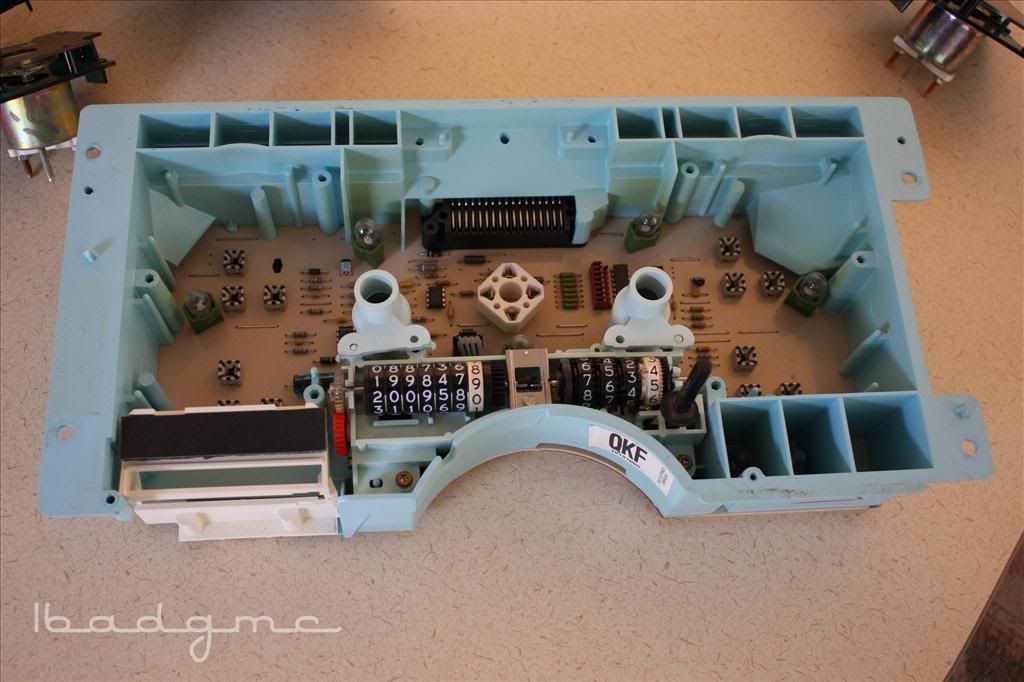
- Pull those bulbs out and plug in your LEDs. I used the WLED-HP5s from
Super Bright LEDs...
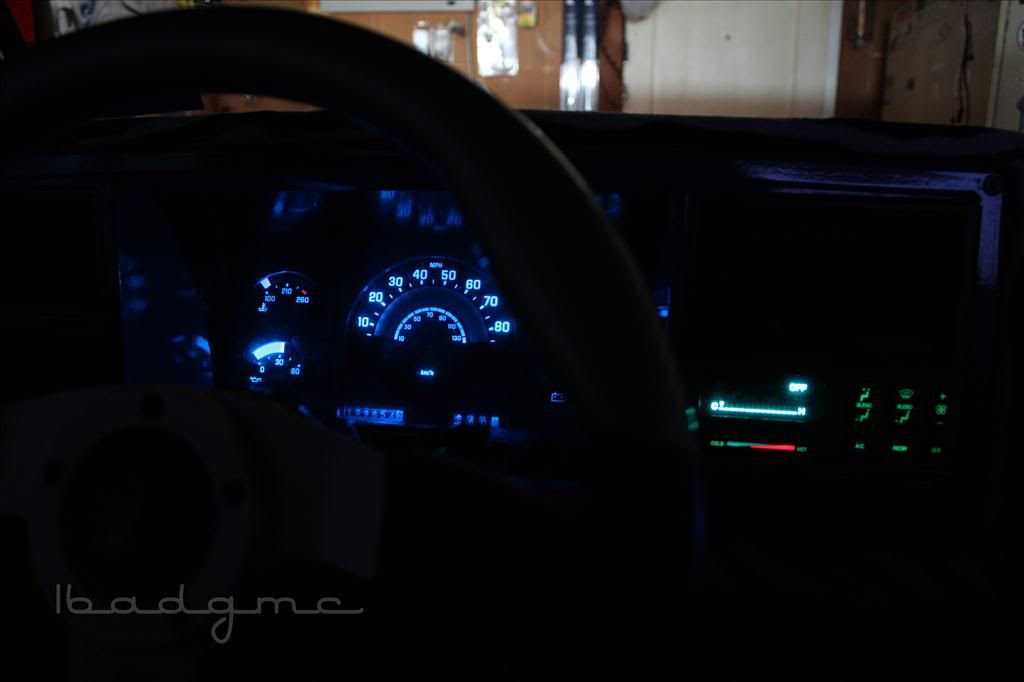
- After installing your LEDs and before you put the cluster back together, go back to the truck and install the cluster and then plug in the headlight switch. Turn them on to make sure all of your LEDs are lit up. The LEDs are polarity sensitive, so if one doesn't light up, unplug it and turn it around and then it should work.
NOTE: For blue or green LEDs, you are now ready to start putting everything back together. If you want red, white or amber and want the colors to show purely, you'll need to trim the green from the back of the gauges. This is what it looks like...

I would suggest a Dremel or other similar hobby tool to carefully trim it off. Don't go too crazy, though, as the edges are needed to hold the gauges together and to mount them to the board.
- Now reverse the process to put everything back together and enjoy your new nighttime look...