Yesterday went ok. Simple tasks made harder by finicky bolts, etc, but progress made. I removed the old AC condenser because it was set up for a driver side AC compressor. I have a passenger side one from the 90 burb parts truck.
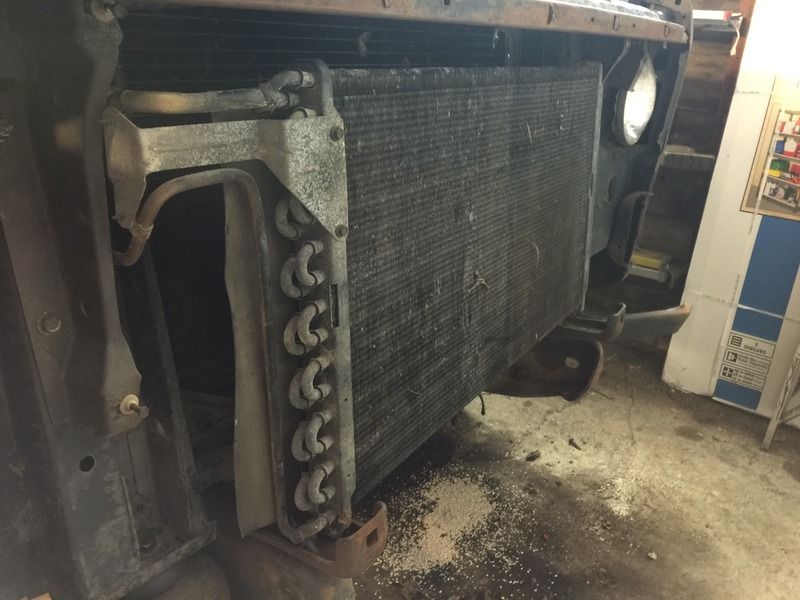
I need to cut a hole for the tubes to go through on that side.
The radiator was very loose in the support. Found out one of the rubber mounts underneath it was missing and the other one was in bad shape. I found a couple rubber mounts from an old set in my parts locker that worked. Once I got those in and tightened the bolts for the hold down plate on top it clamped it in there good.
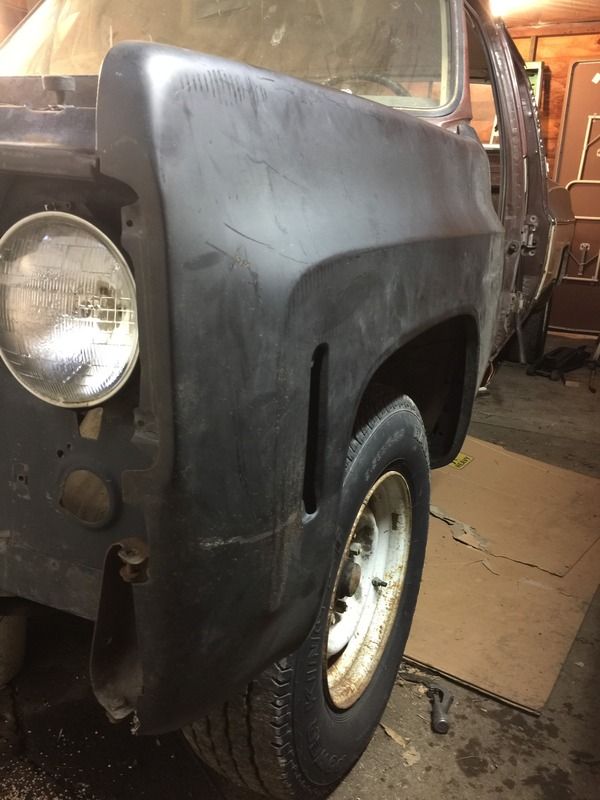
Then I ran a tap through the nuts on the firewall for the rear end of the inner fenders. Couldn't get a bolt in otherwise. So they got mounted properly. We got the driver side fender on with just a couple bolts so the radiator support would be in the correct position. I wanted to see how the original fan shroud would fit. Should work fine.
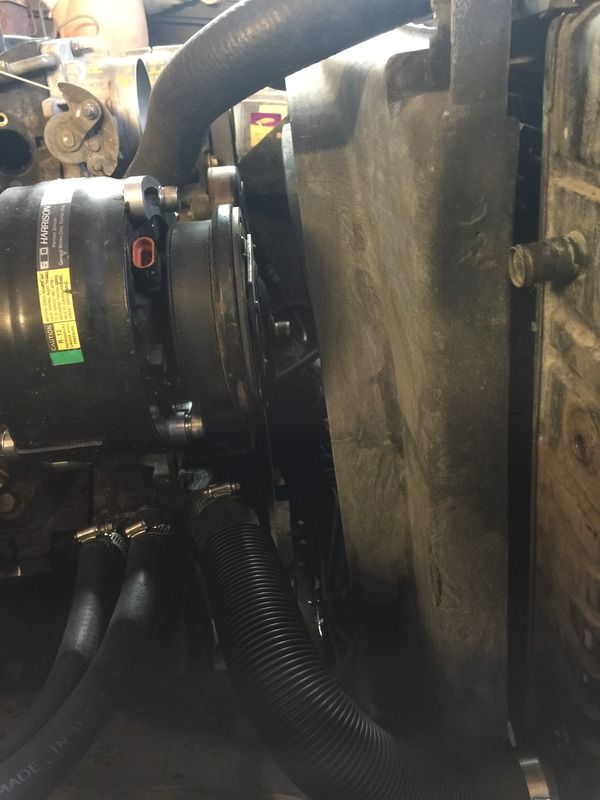
I read about this electric fan set up several years ago. I bought a ford taurus fan from the junkyard back then to use on my jimmy but never installed it. I think it will work great on this project.
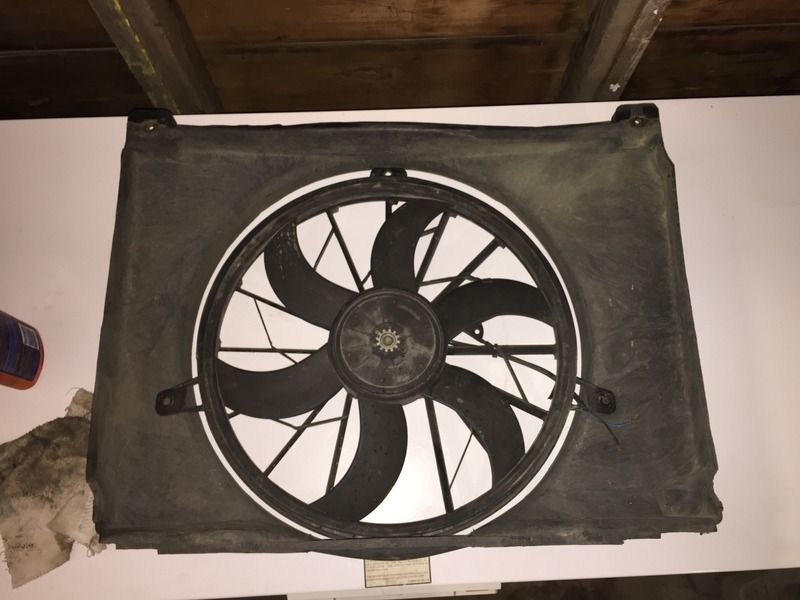
It's a little smaller than the fan opening. Two of the mounting tabs will work good by just drilling a hole in the shroud and using a couple bolts. The 3rd tab will work once I make a small metal bracket.
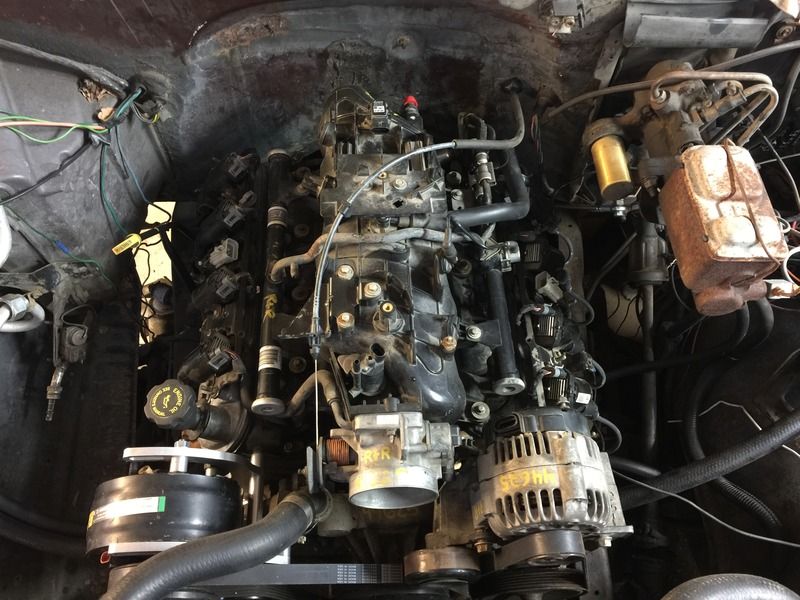
We reinstalled the coil packs and put on the new plug wires...
After a dinner break I went back out and got the fuel lines run from the tank forward. The filter is installed and all that's left is to clamp the lines down to the frame.
We are inching closer to light off.
