I decided to finally get around to making some cosmetic upgrades to the #REBUILDEVERYTHING Yukon. (if you don't know why its called that, check out
Rev J HD). Up to that point, the only changes to the appearance of her had been the deep tint, and the retrofit of the LED foglights (
LINK).
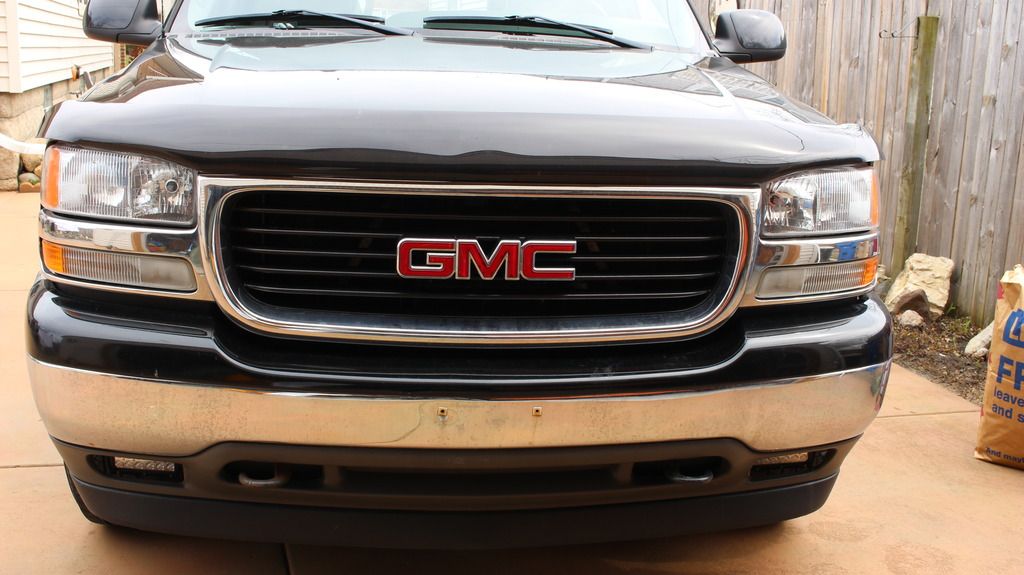
One of the biggest changes I wanted to make was to the front grill. In general, I actually think the stock front on these gen trucks/SUV's is pretty appealing...but that doesn't mean it wasn't worth changing for the better!
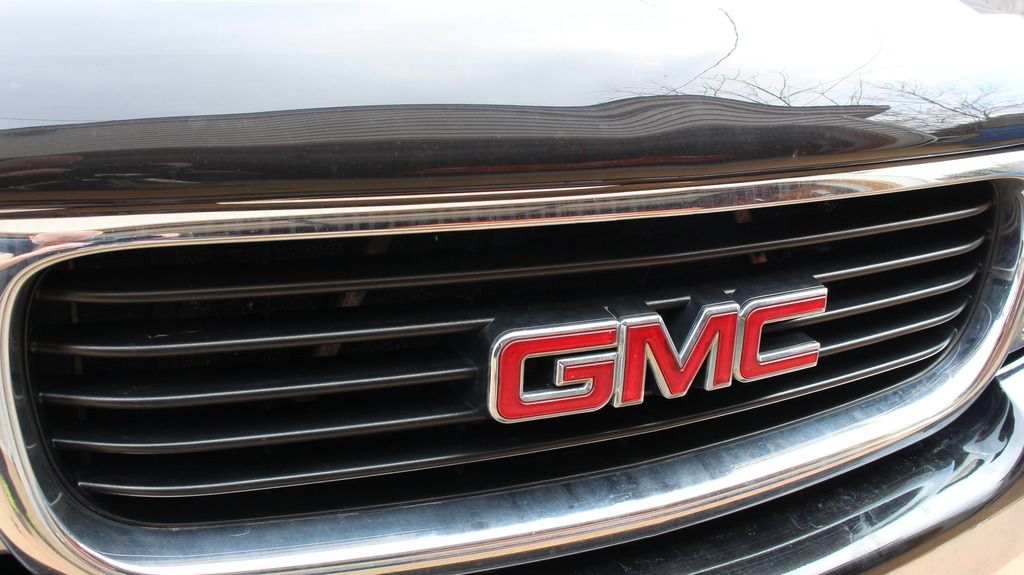
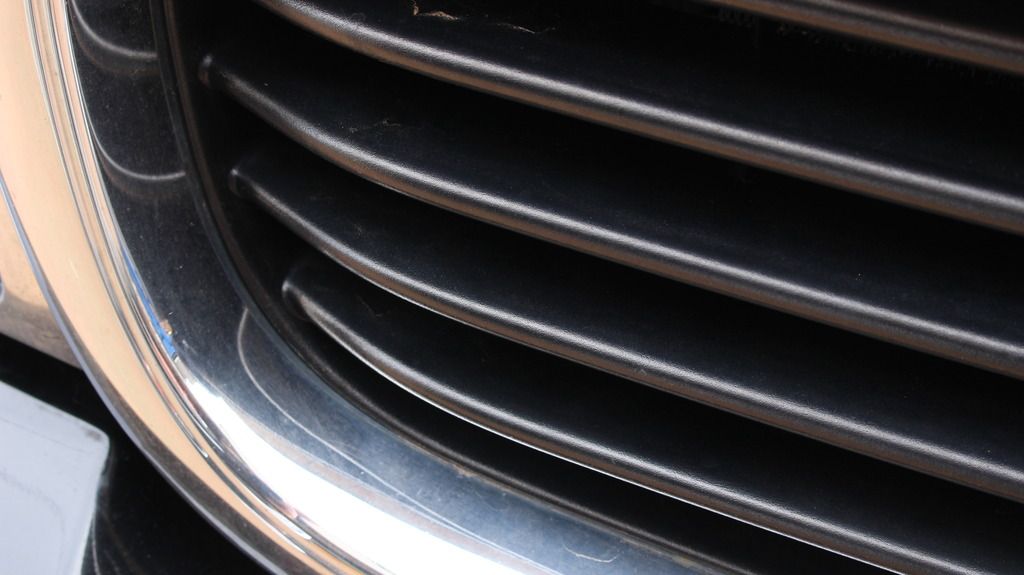
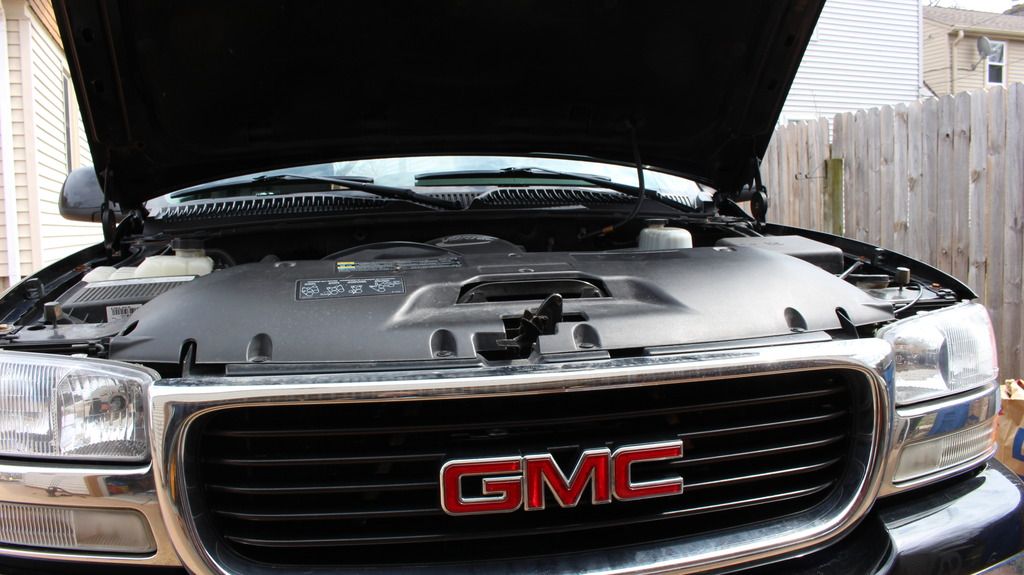
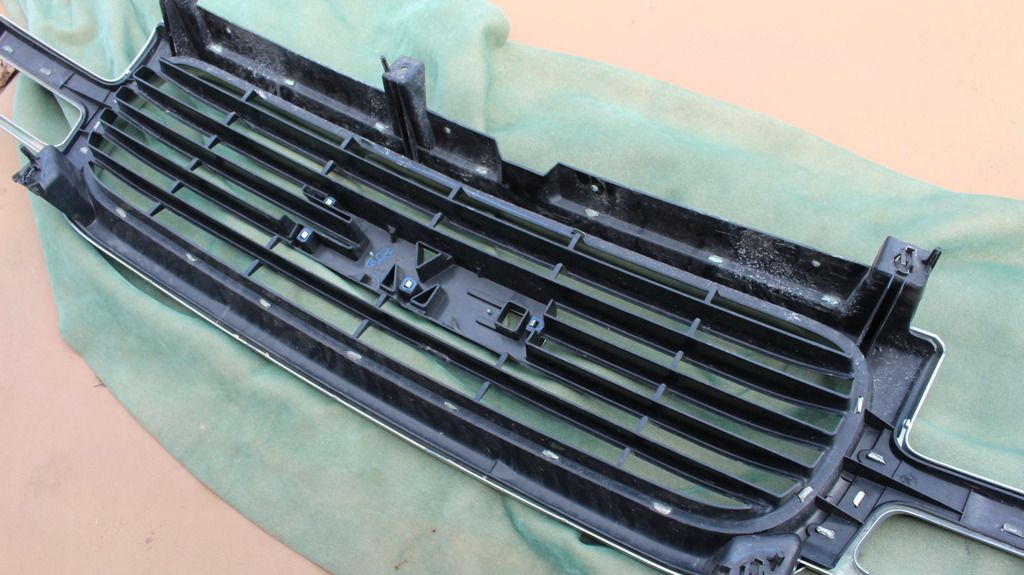
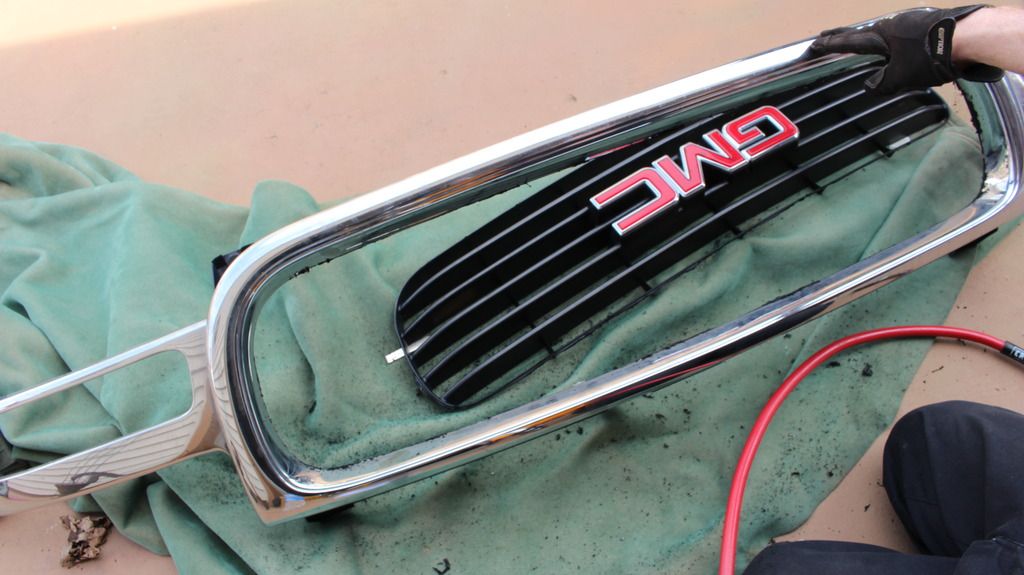
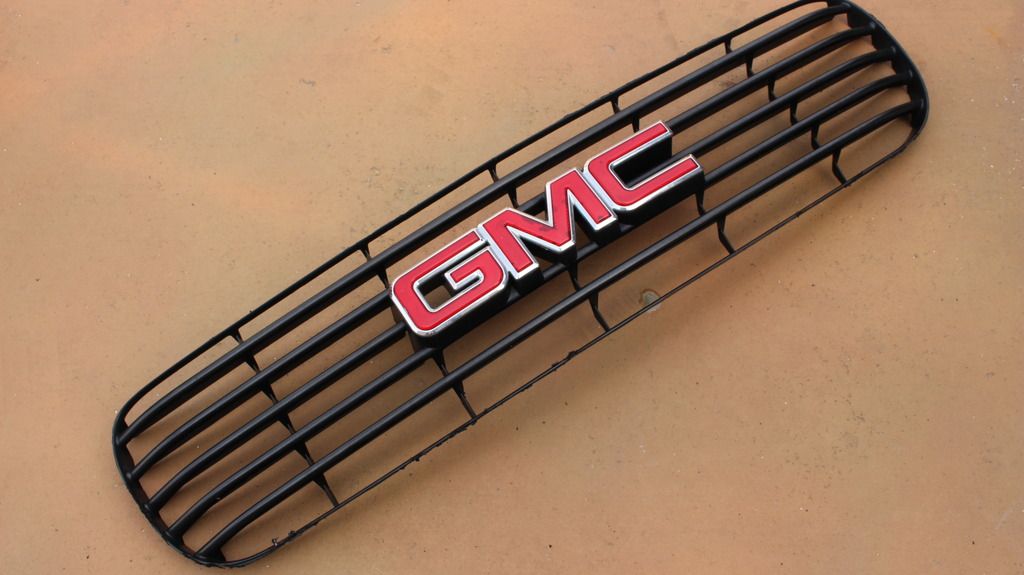
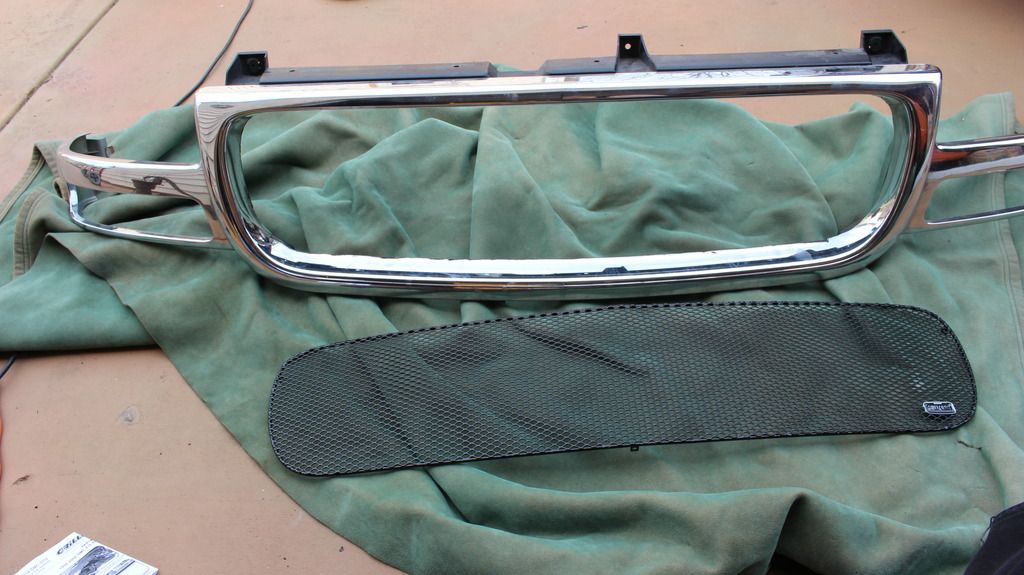
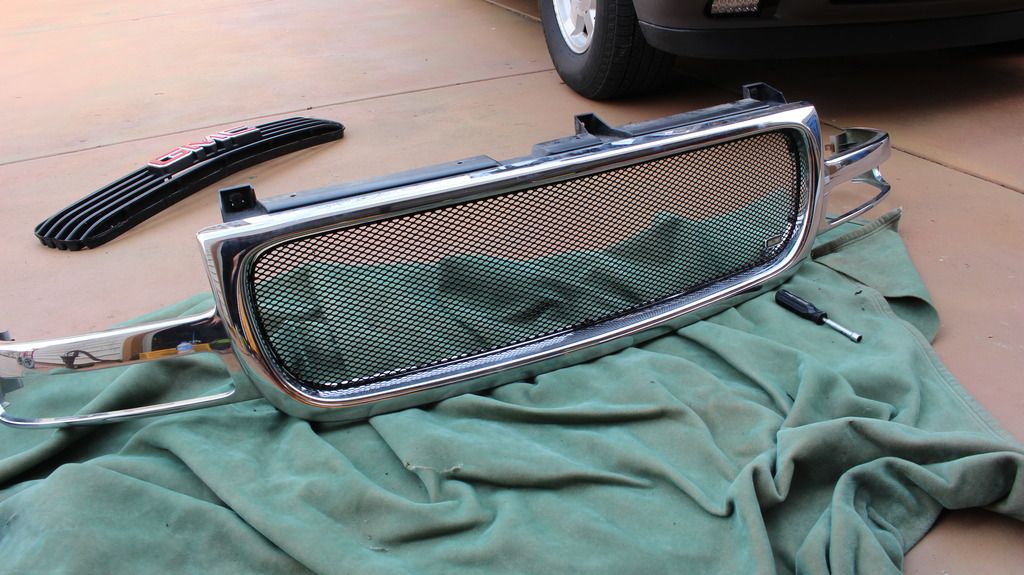
Here's the stock grill shell and center section on the 2005 Yukon (the Denali has a different shell entirely, and they do NOT swap). Pretty decent, but the horizontal bars are very plasticy in appearance, and the oversized GMC logo is starting to lose bond with its backing.

There are a few replacement options, but in general your limited to 3 main choices; you can replace the grill center section, the whole grill shell and grill center together, or swap the whole thing out for something like the Denali with all the lights etc. I didn't WANT the Denali stuff, and its added expense anyway. Replacing the whole grill shell is a quick solution and doesn't require any modding, since the new grill comes pre-mounted into a shell...but the added cost (plus shipping of a large item!) was deterrent, and it killed any fun in making a video and writeup.
So obviously, I opted for the first option; install a new grill center section (henceforth, grill). This means modding the existing grill shell and grill permanently, but I was up for that.

I had to make a choice on WHICH grill I was going to install. There are billet options which were popular for a while, but not what I wanted. A few Denali-style grills, a few novelty (skulls bro) ones as well, but none fit the profile I wanted. I finally found the GrillCraft Sport grill, and while not the cheapest thing around at ~$160 for the grill, it fit what I wanted.
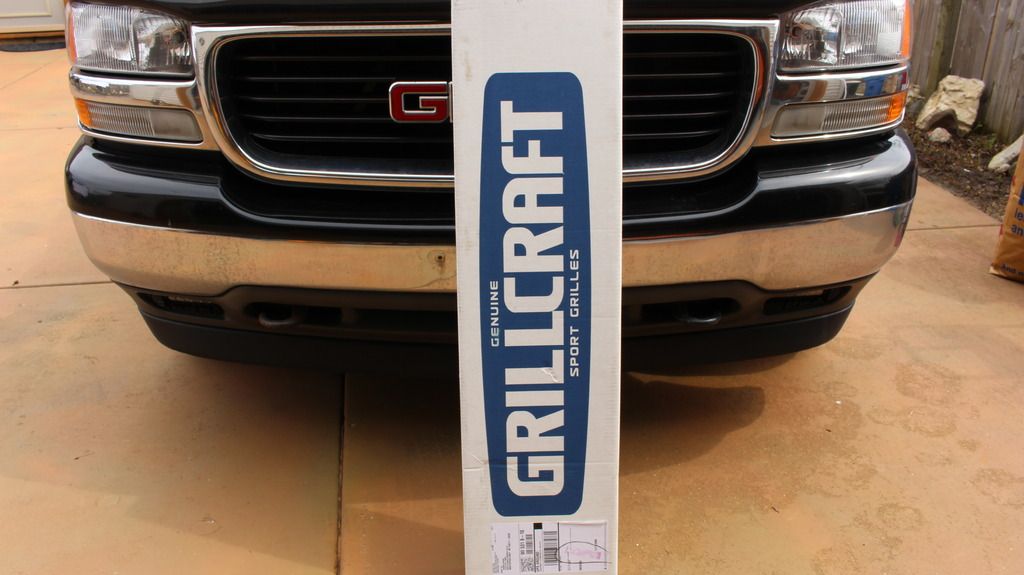
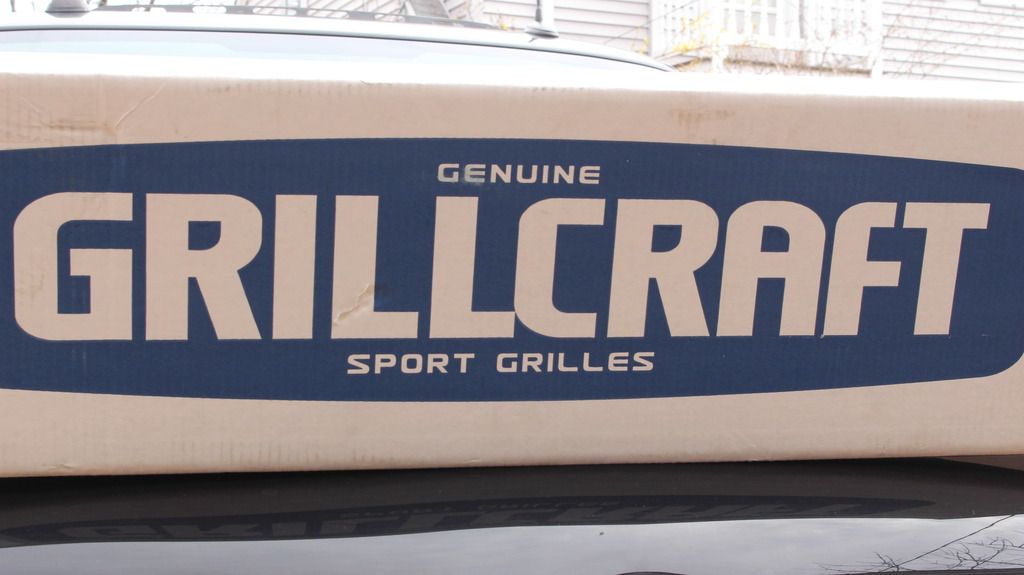
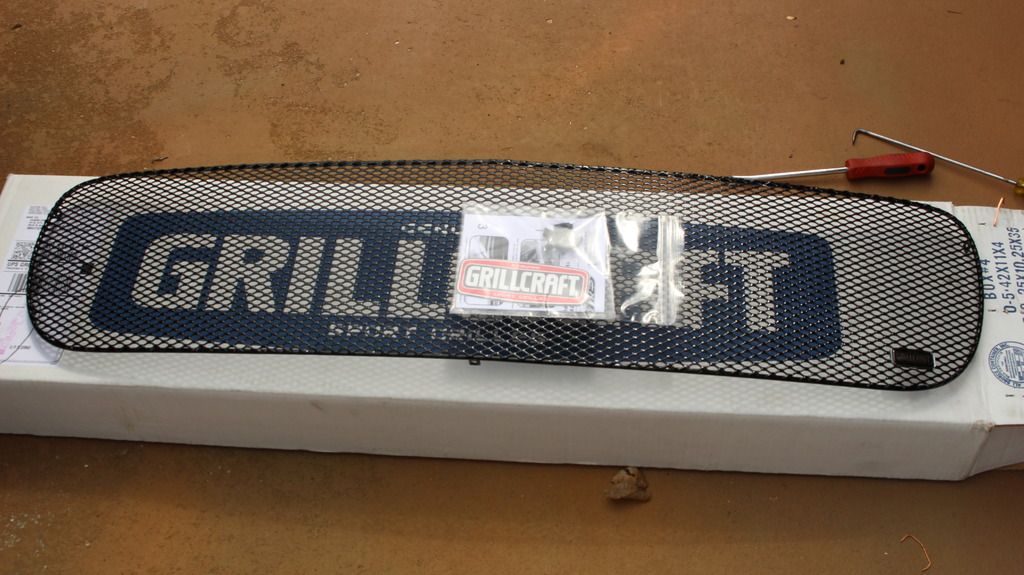
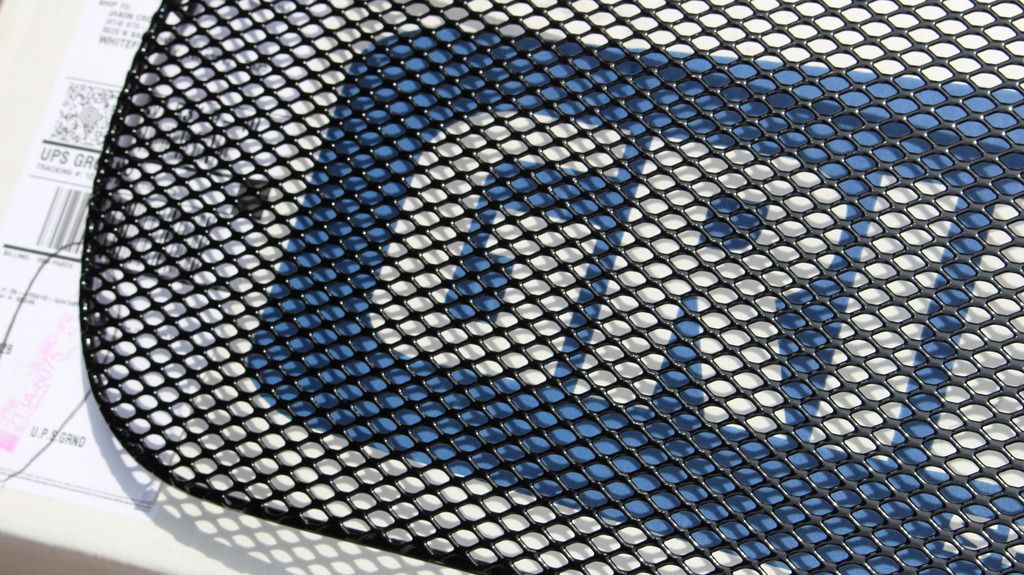
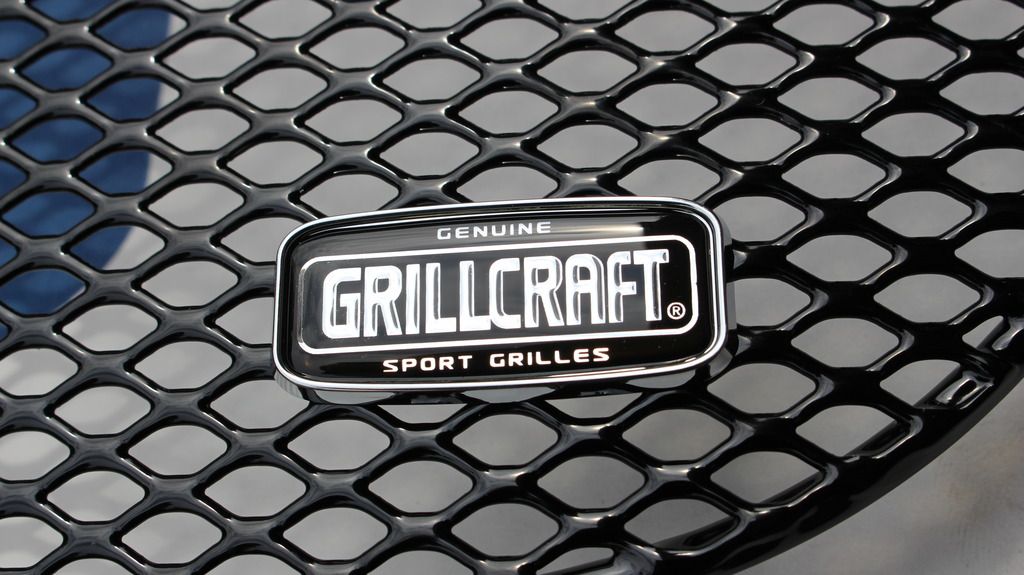
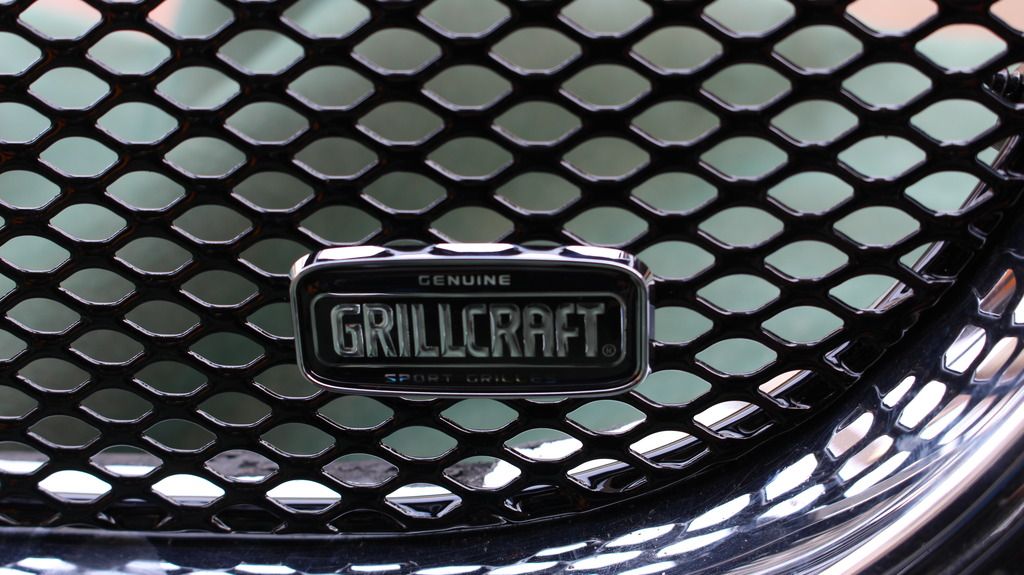
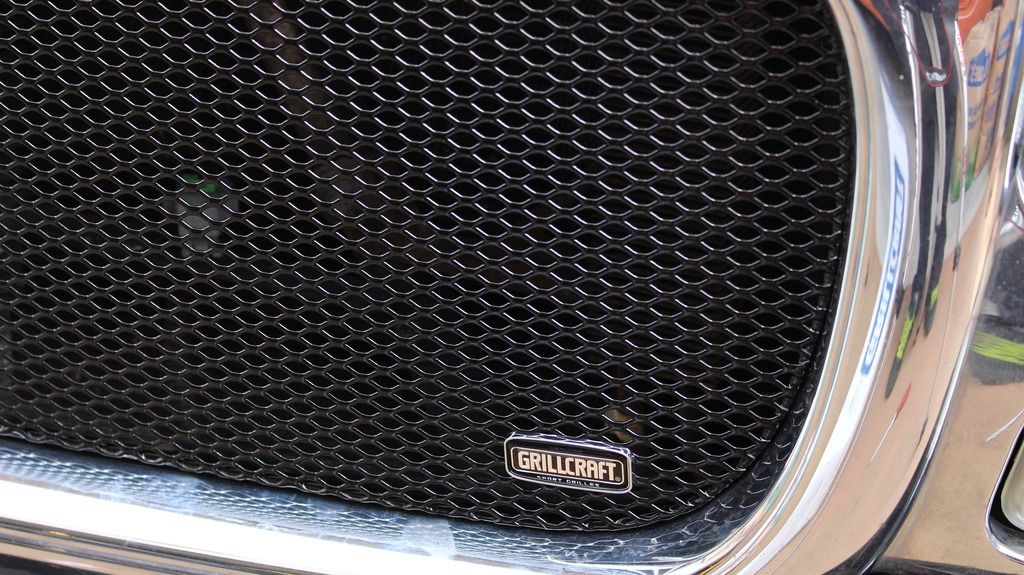
The grill itself is a medium-thick wire mesh, with an added reinforcing "hoop" on the perimeter which also houses the mounting tabs. It comes in a few color options, but I chose mine in a black finish. Its thick coating with a decent gloss, and seems evenly applied to the mesh and the hoop. There is a small (1.5"x1") GrillCraft badge in the lower right, which does appear removable with a few clips on the backside. The mounting hardware, instructions, and a sticker (gotta have that for the toolbox right?) also come in the packaging.
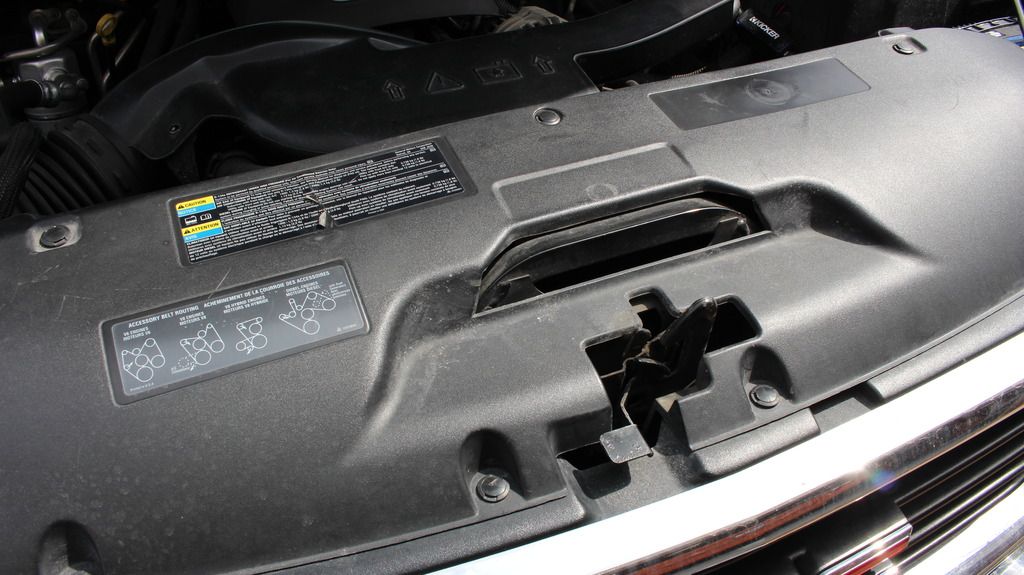
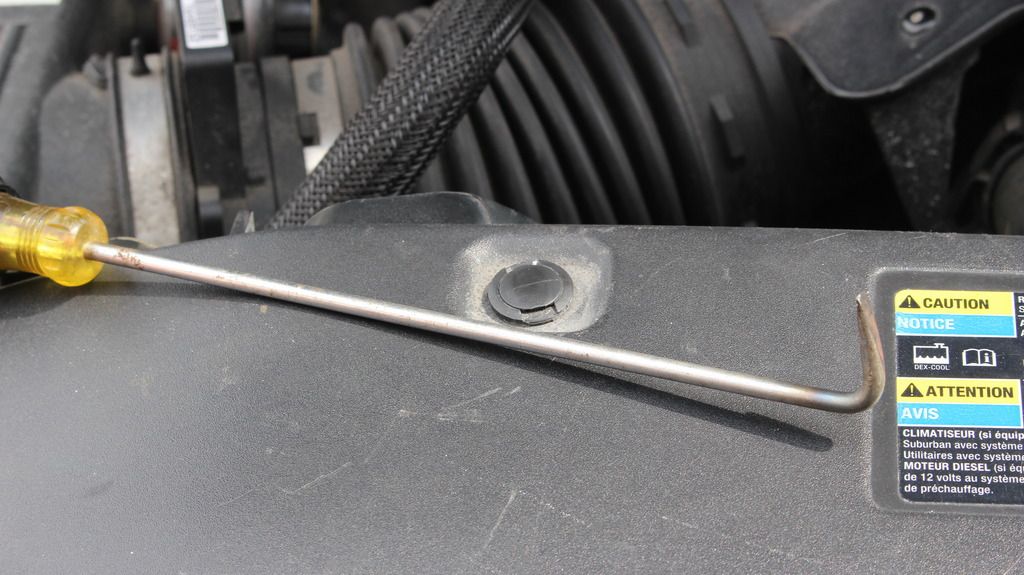
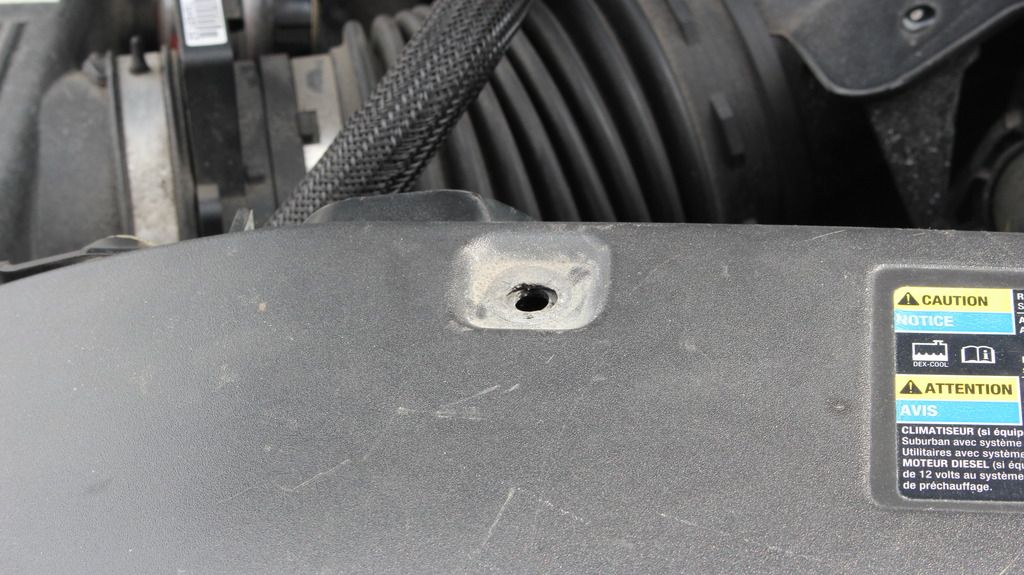
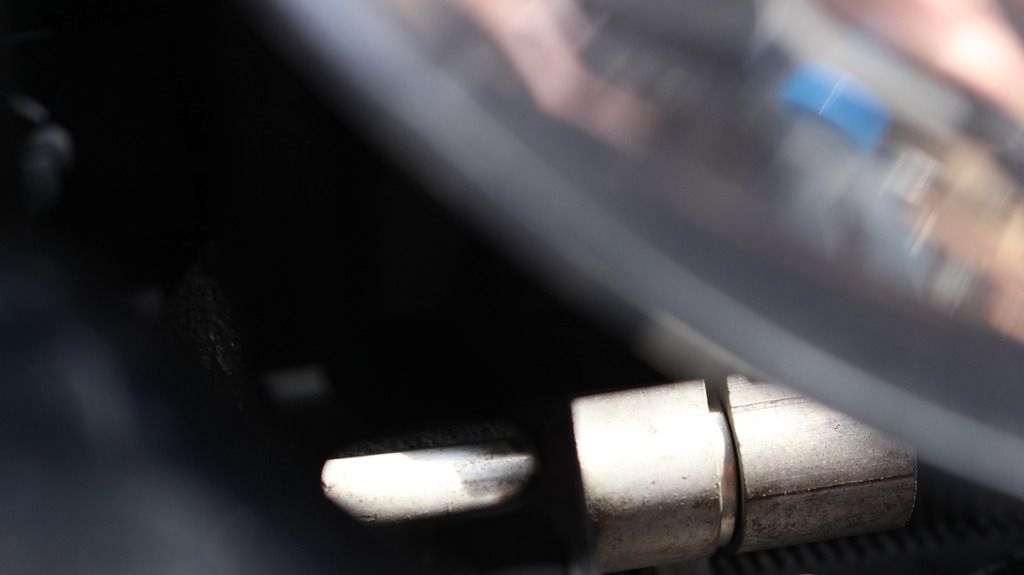
First things first, I had to pop to hood and gain access to the top plastic cowl. Its held on with 7 of these little 2-piece trims clips. I'm pretty sure there is a special tool for it, but I just use a long-neck screwdriver that I bent in a vice (surprisingly usable all around tool). The center section just pops up, relieving pressure on the perimeter of the clip and allowing the rest to come out after. Sometimes the clip wants to come out in separate pieces. Its till reusable if you don't bust the crap out of it.
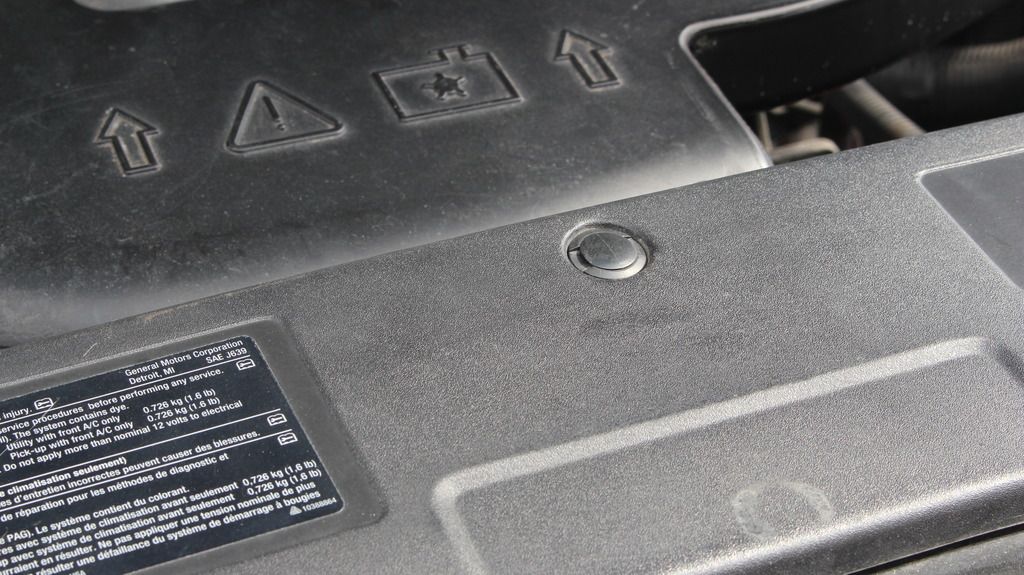
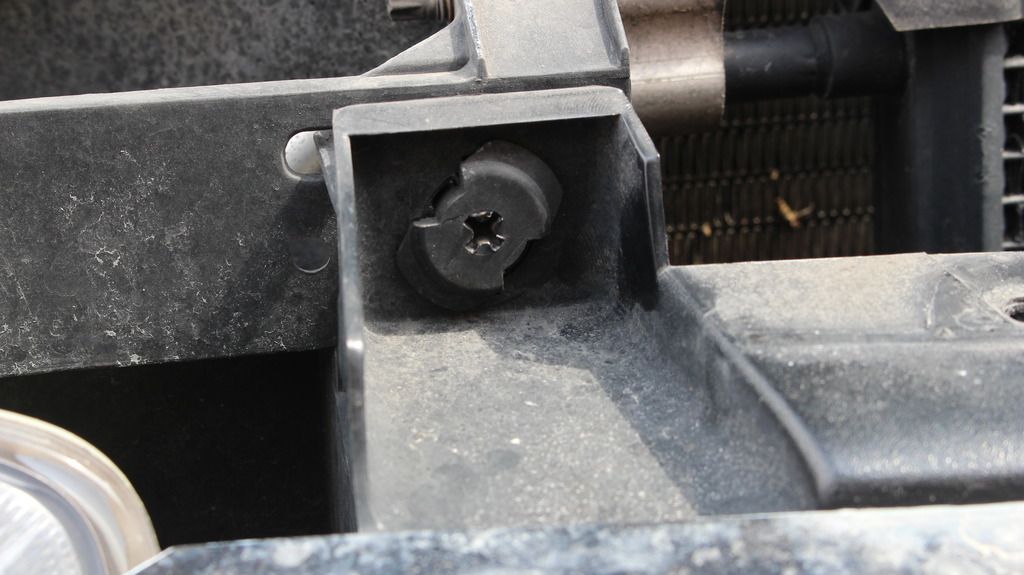
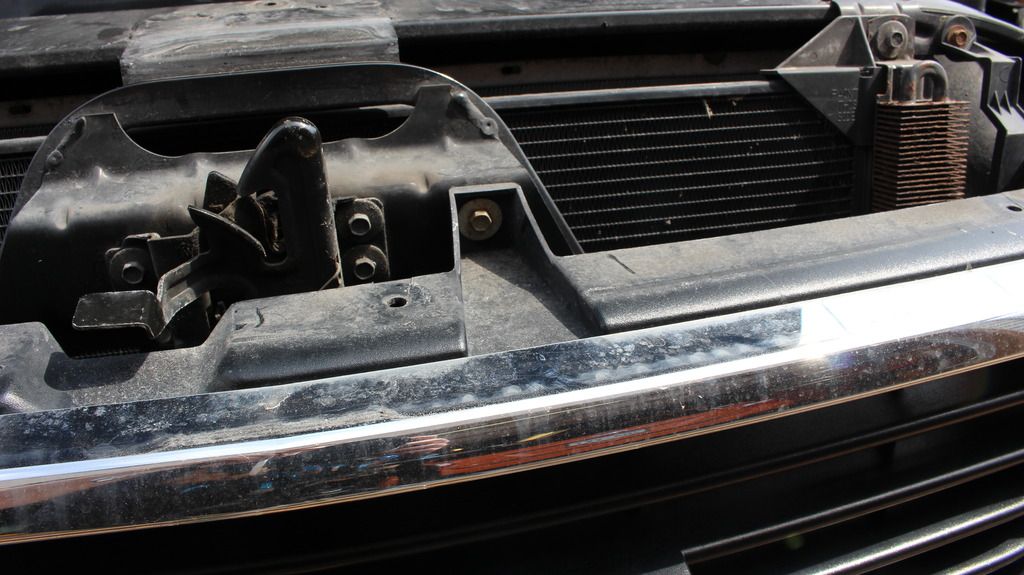
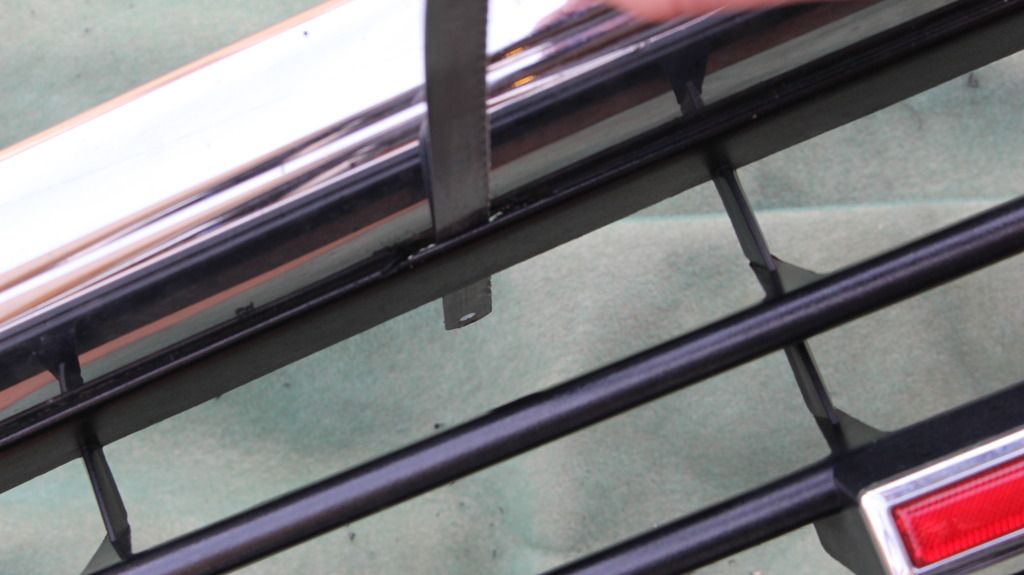
When the little cowl/cover is off, you can see the top two 1/4-turn locking fasteners. Undo them, as well as the two lower 1/4-turn fasteners which are tucked on the bottom left and bottom right of the grill shell.
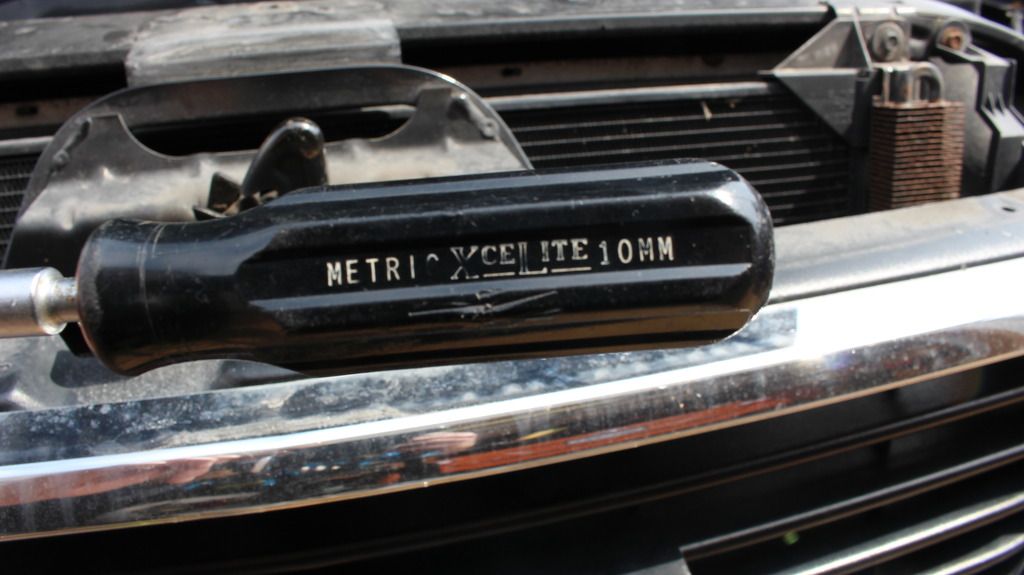
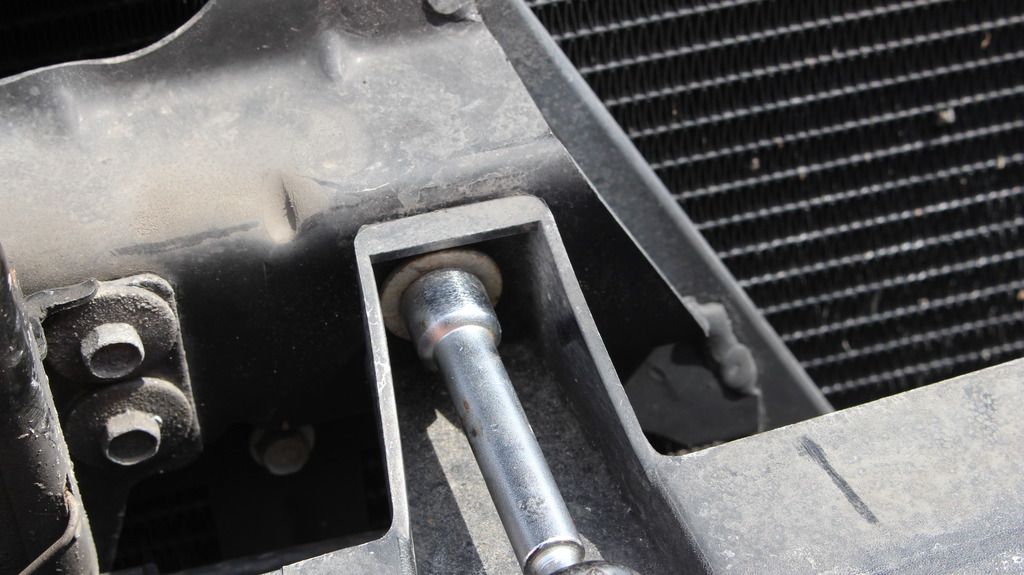
Then pull out the 10mm bolt holding the grill shell to the core support.
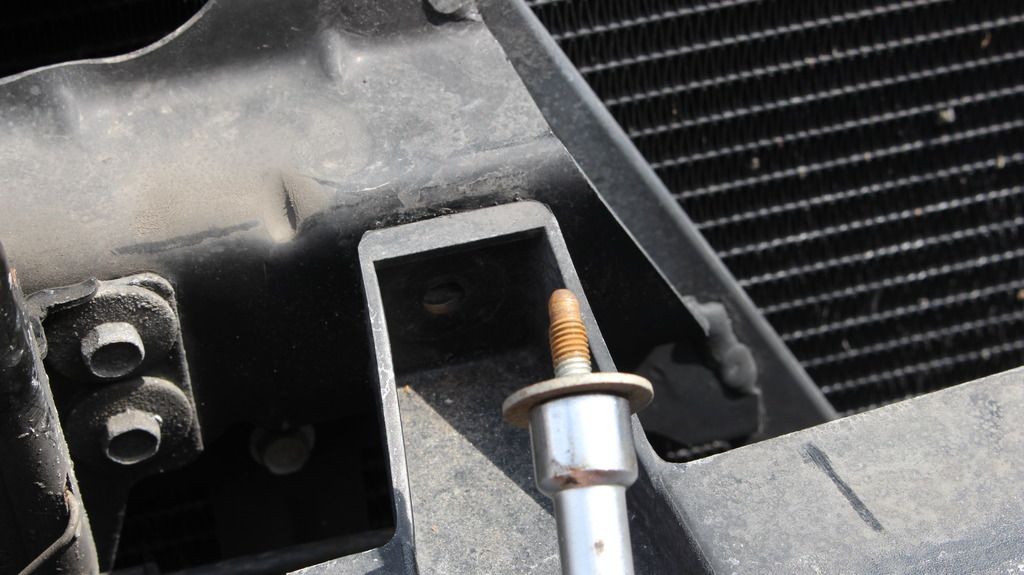
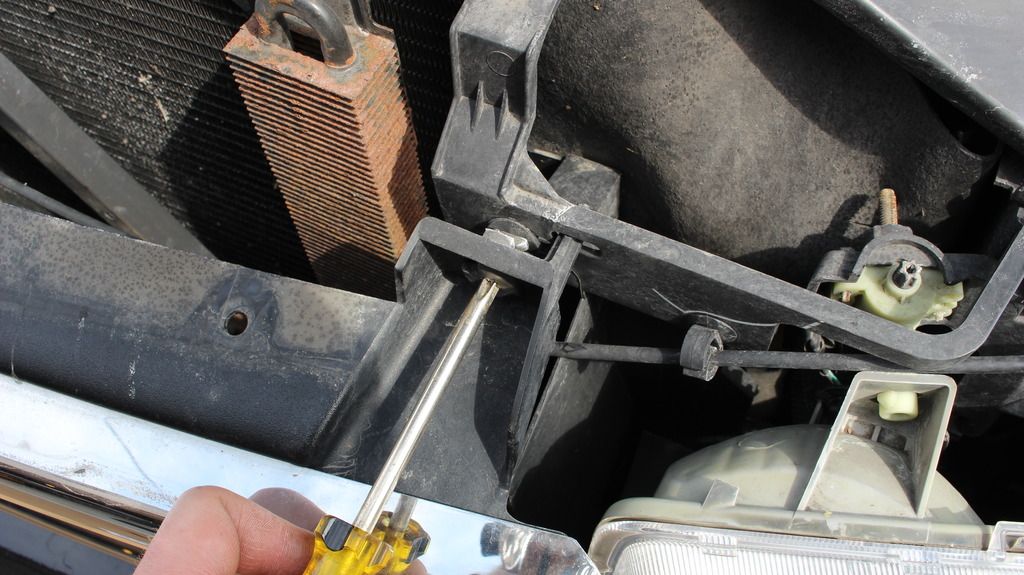
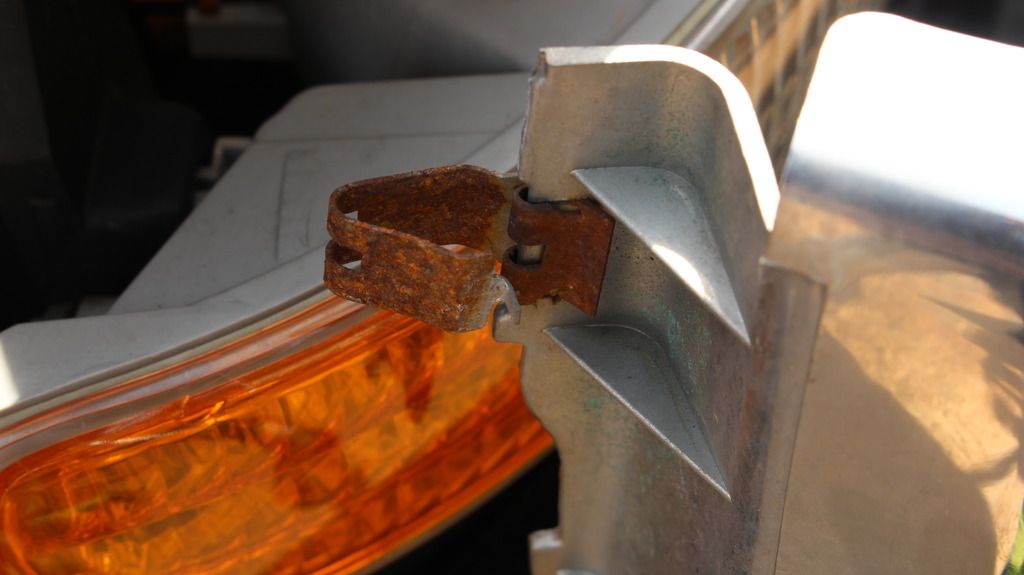
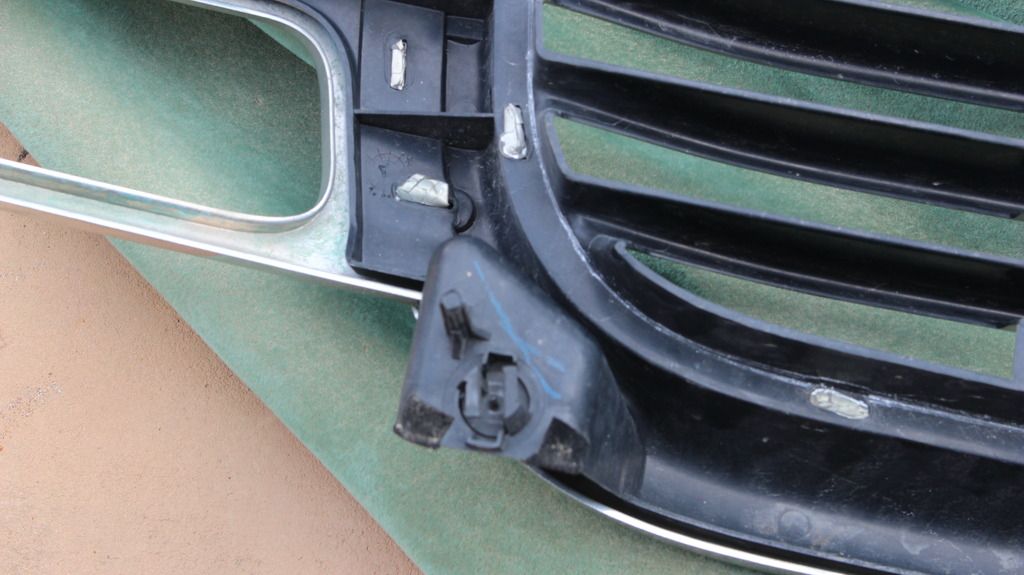
The only thing still holding the grill shell to the truck are a pair of spring-clips, one on the outermost "Wing" of each end of the grill shell. Pull straight out from behind the headlight (pulling on the grill shell of course, not the light) and the clips should pop out, allowing that end of the grill to swing free. Be a bit careful, since the clips like to pop outward and can easily scratch the front edge/surface of the front fender (ask me how i know

)
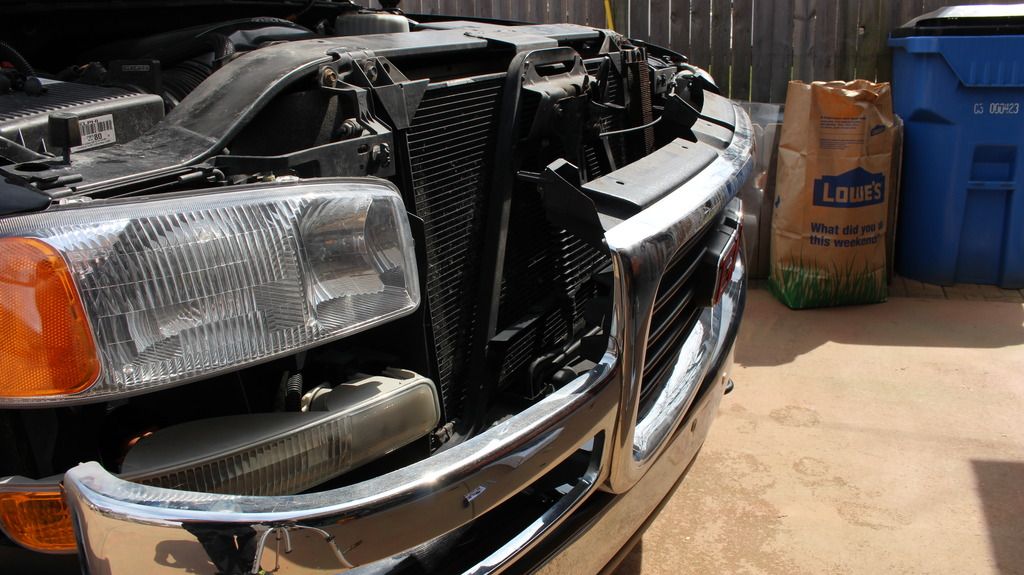
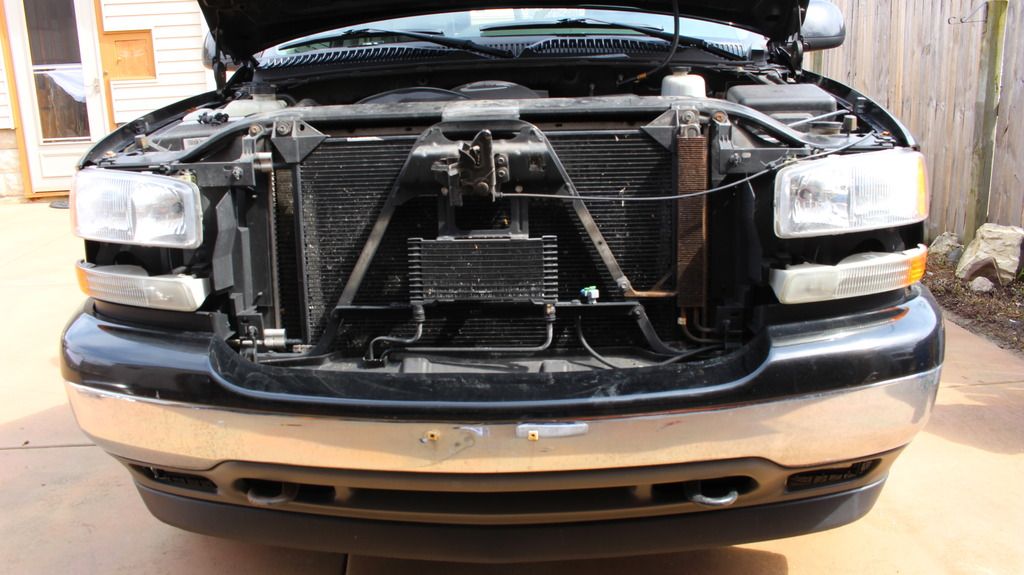
With that the grill should be free. Take a moment to revel in the un-sexiness of the frontend sans any grill shell.
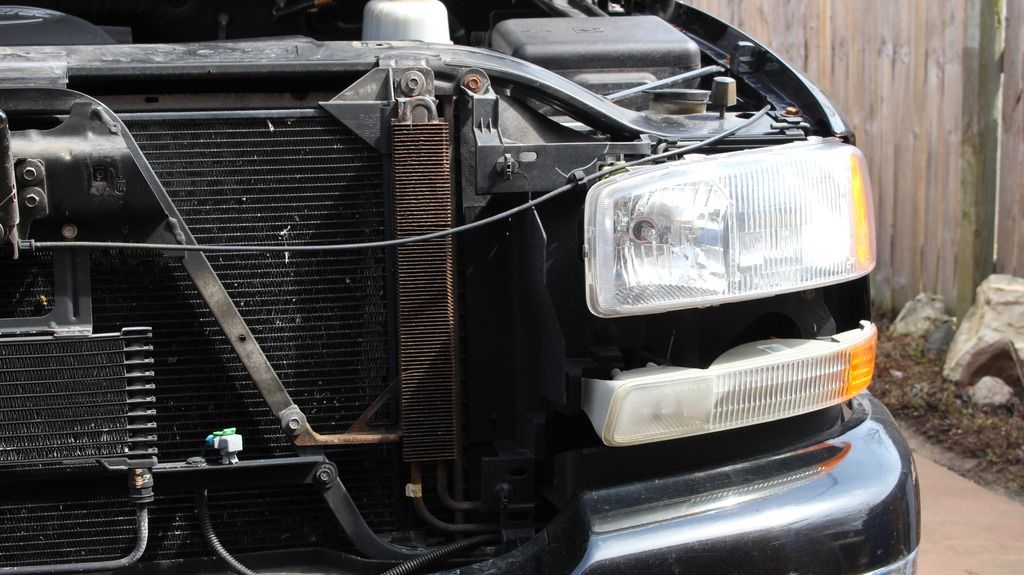
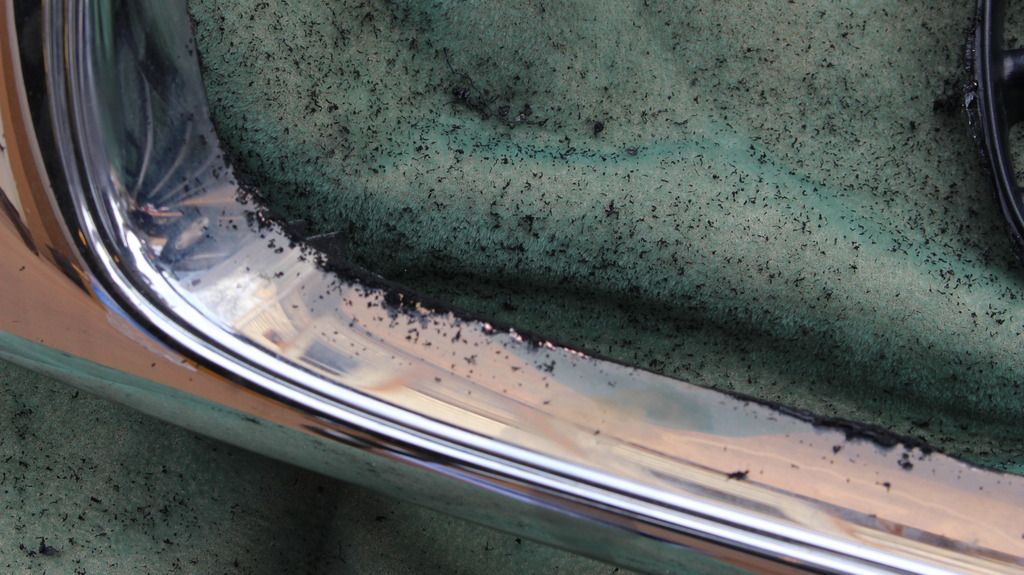
I laid the grill face down on something soft. I'm keeping the outer edges chrome for now, so I want to retain as much of that finish on visible surfaces as possible. The grill is plastic with that chrome-wrap stuff that modern manufacturers love to use, and its pretty much impossible to "fix" the chrome if you tear it.
The inner grill is (unfortunately) all one piece, so I needed to mark its perimeter so I can cut out those inner ribs. I want to keep the cuts as even as possible, since this will also become the mounting point for the new grill.
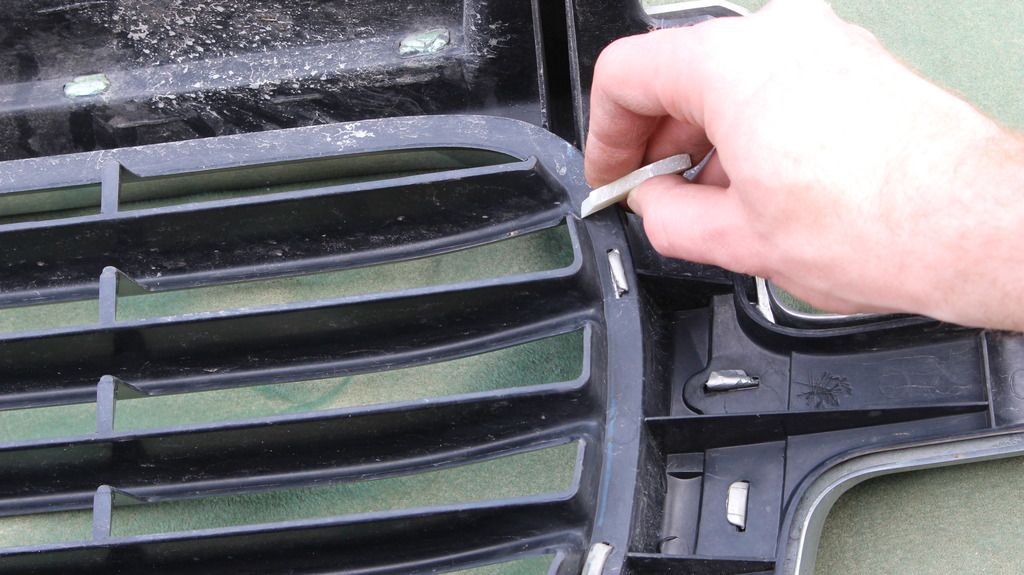
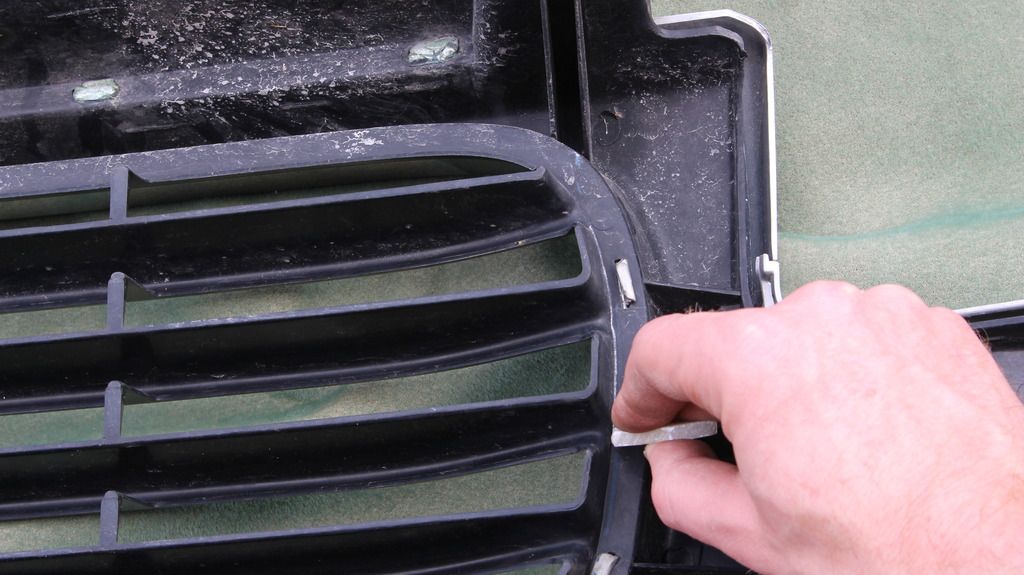
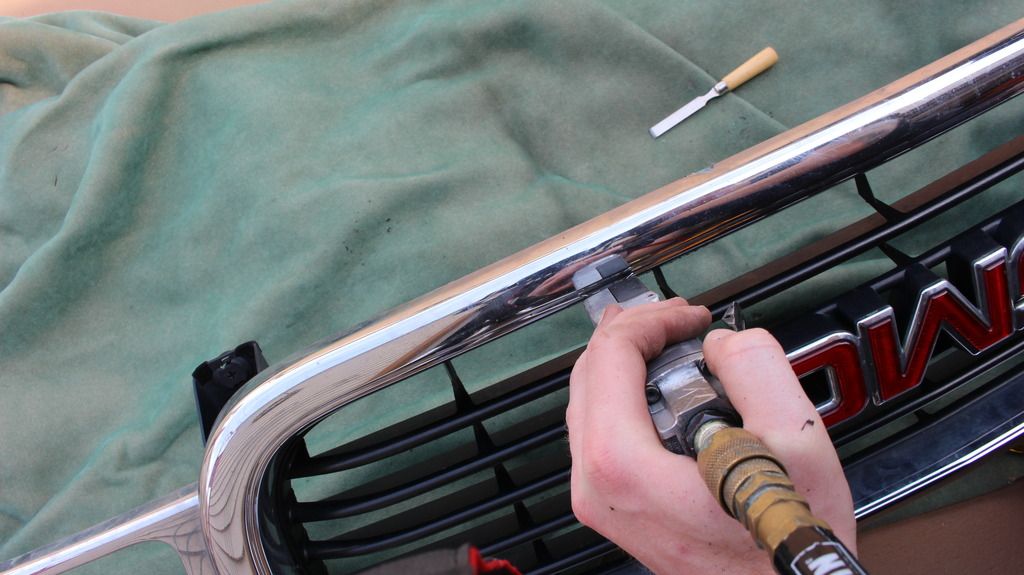
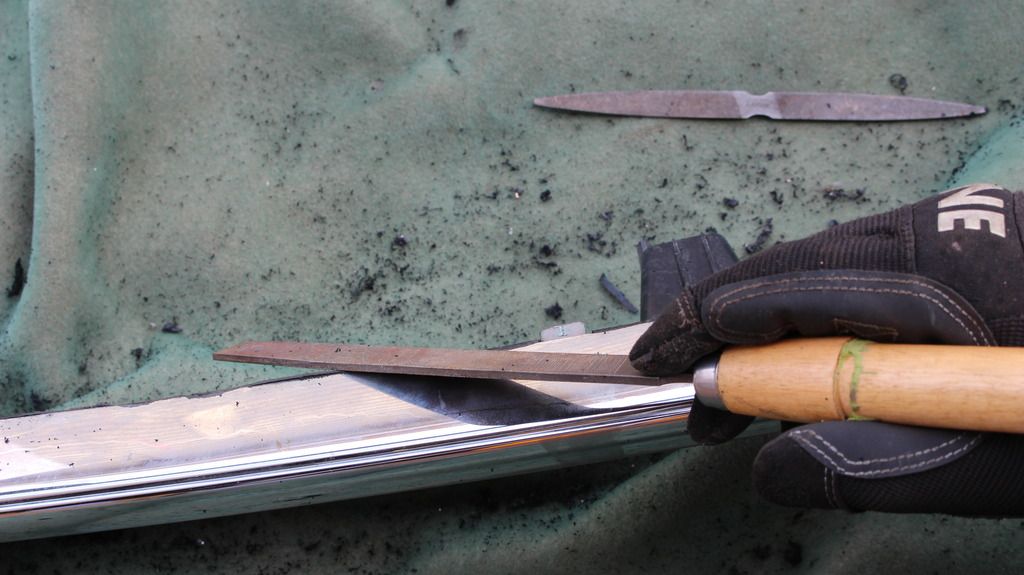
Cutting out the center isn't actually hard, but its imperative to get as clean of a cut as you can. Any remaining imperfections need to be cleared up.
I used: a hacksaw blade dismounted from a frame, my body saw, a small chisel/blade edge, a few files for cleanup, and some sandpaper to clear any edges.
I started with the blade and the hacksaw, getting enough of a channel started on the right lines, so I can come back with the air body saw and chew out the line I actually wanted. Smooth travel speed makes the cut easier,and don't use any petrolium lubricants since it can soften the plastic. Just try to keep the plastic chips/ribbons from sitting in the hole, as they are hot and can partially refill the hole.
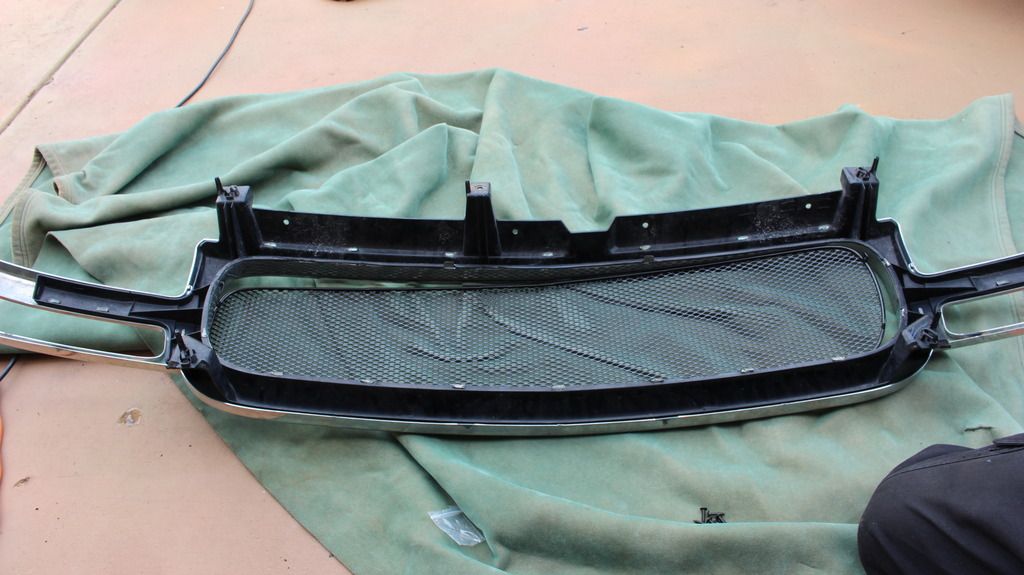
For fun I just tossed the cleaned up grill up on the nose for a second, to see how things are looking.

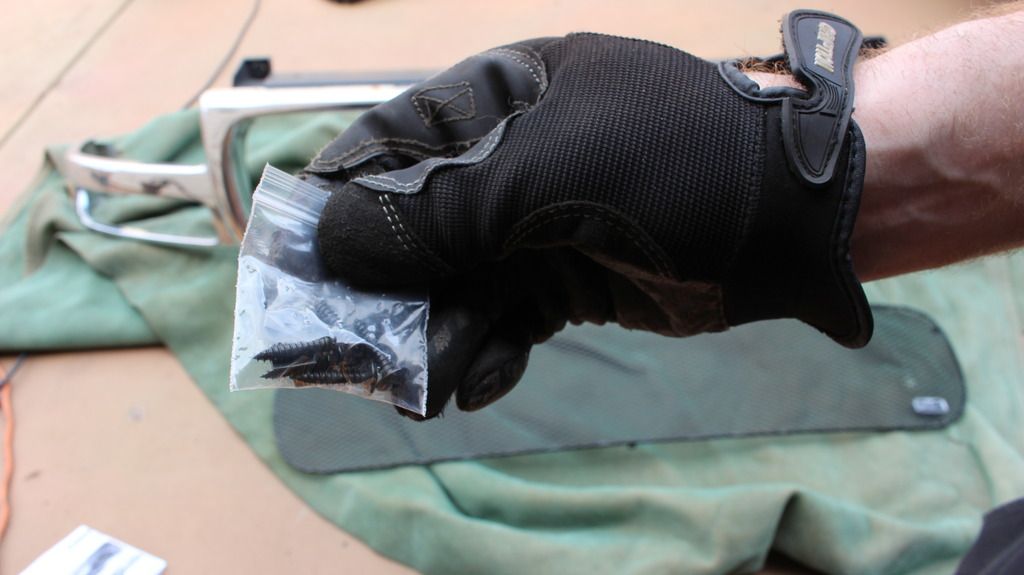
Installing the new grill is fairly fairly straight forward now that all the modification has been done. The GrillCraft unit I got came with a small hardware bag, which contains the mounting screws and a sheetmetal retainer for each.
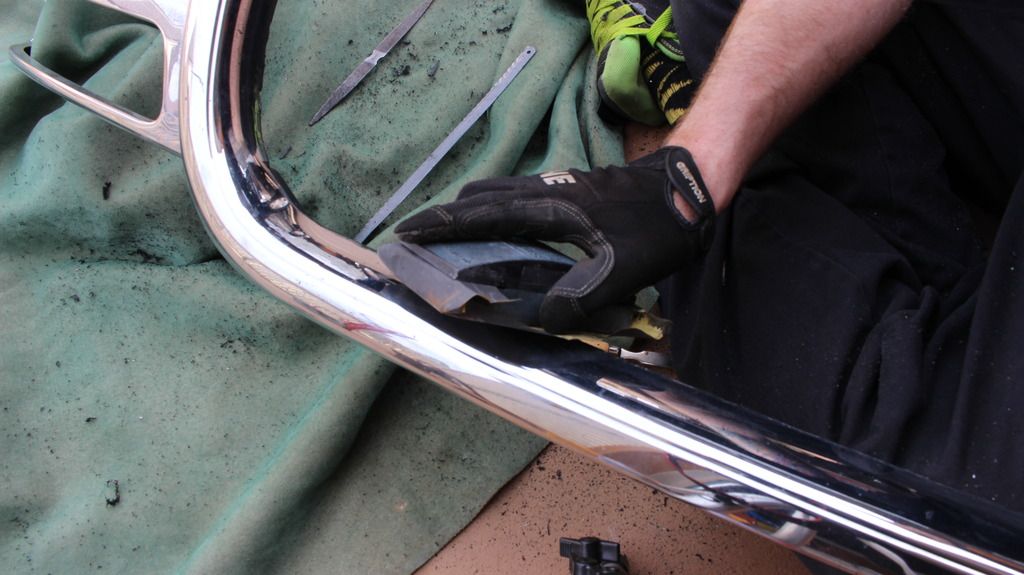
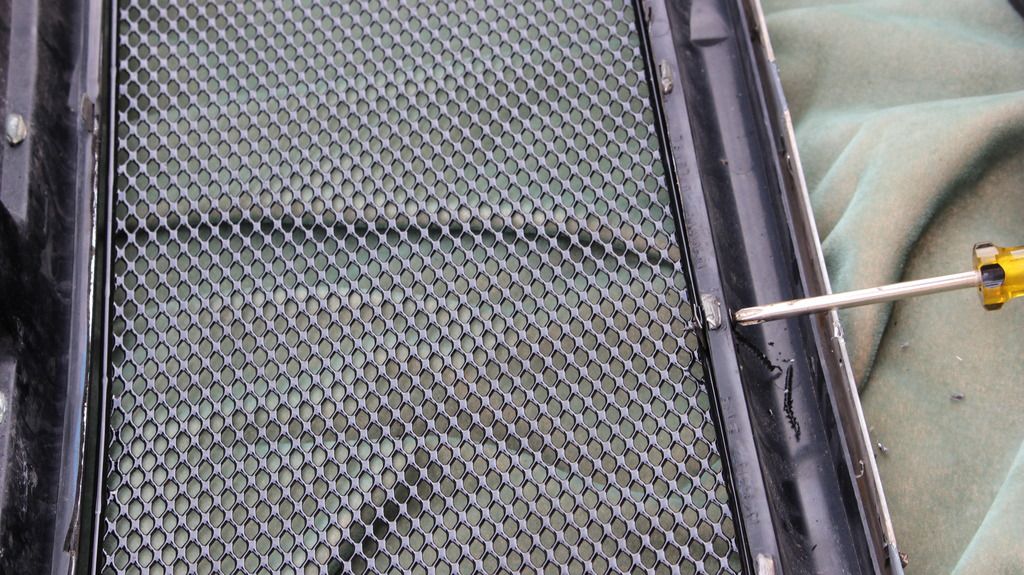
I supported the shell face down, and set the grill in from the back. I lined up each mounting tab where I liked it, then marked and drilled each of the holes (not pictured).
After that I installed each of the mounting screws through the grill shell, and into the grill mounting tabs and into the retainer. They install from the outside-in, and the sheetmetal retainer securely pinches the mounting tabs against the frame of the grill shell.
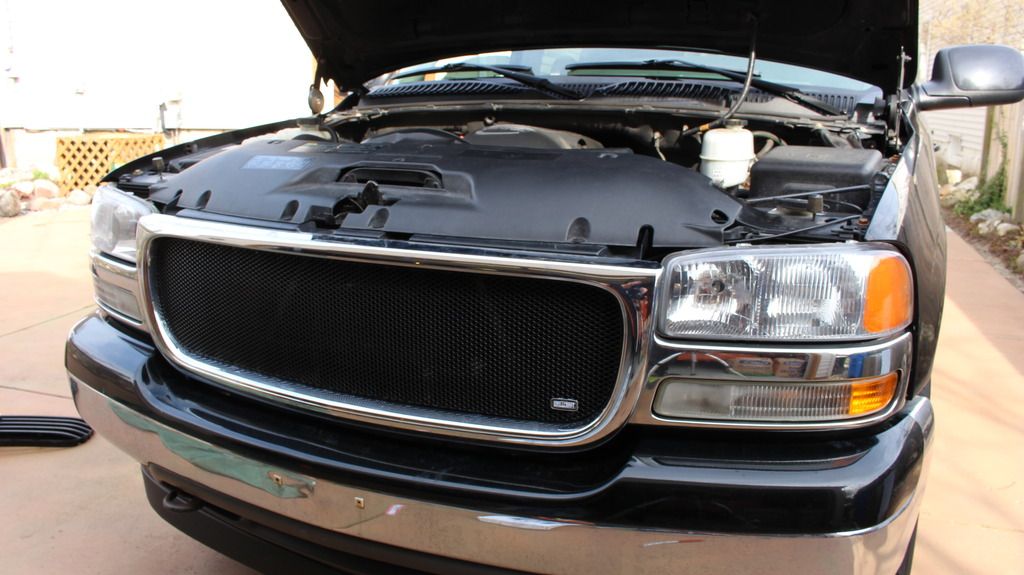
The last step is reattaching the grill, and is simply a reverse order of the initial removal steps. (spring clips, 1/4-turns, 10mm bolt, cowl and clips).
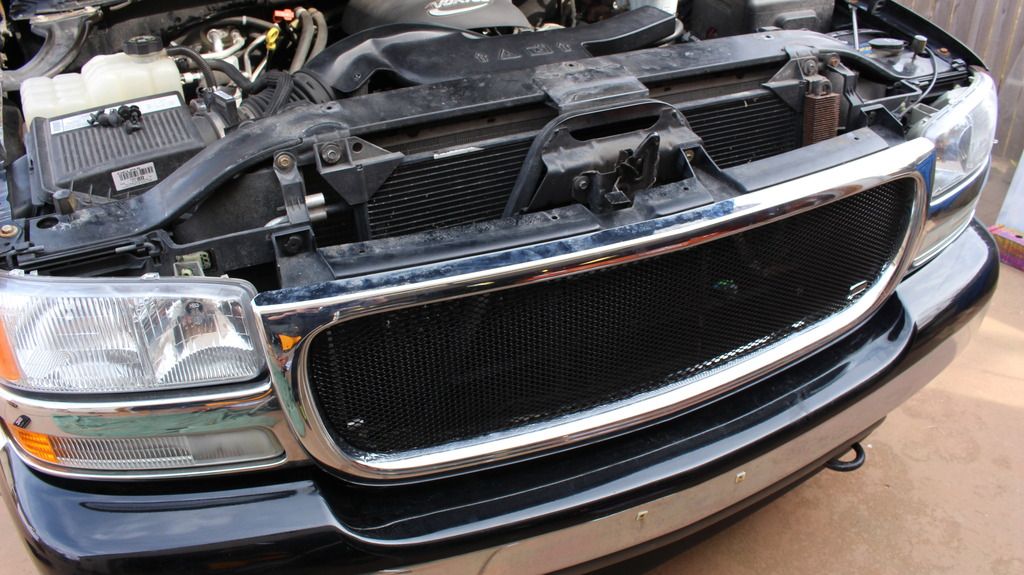
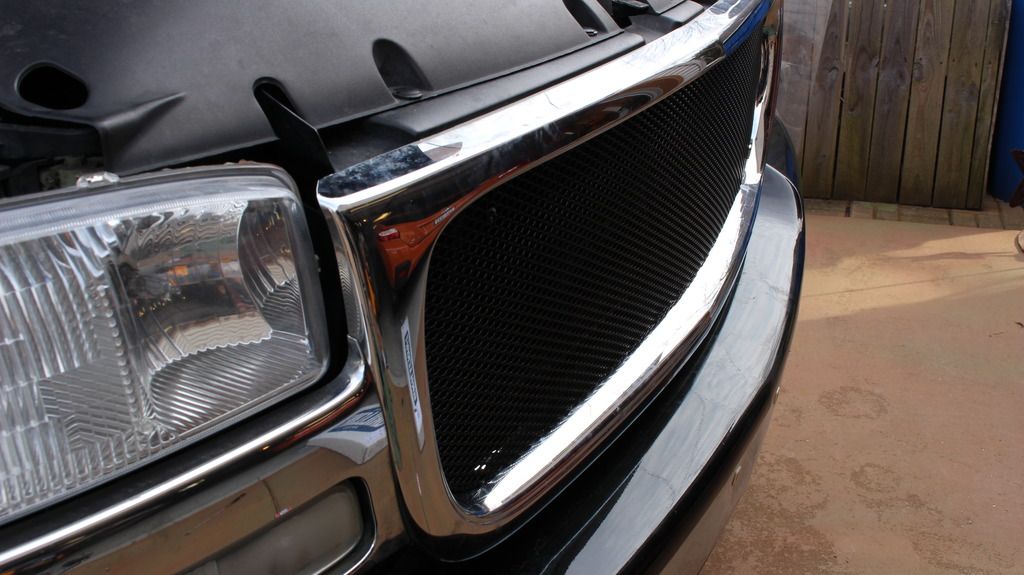
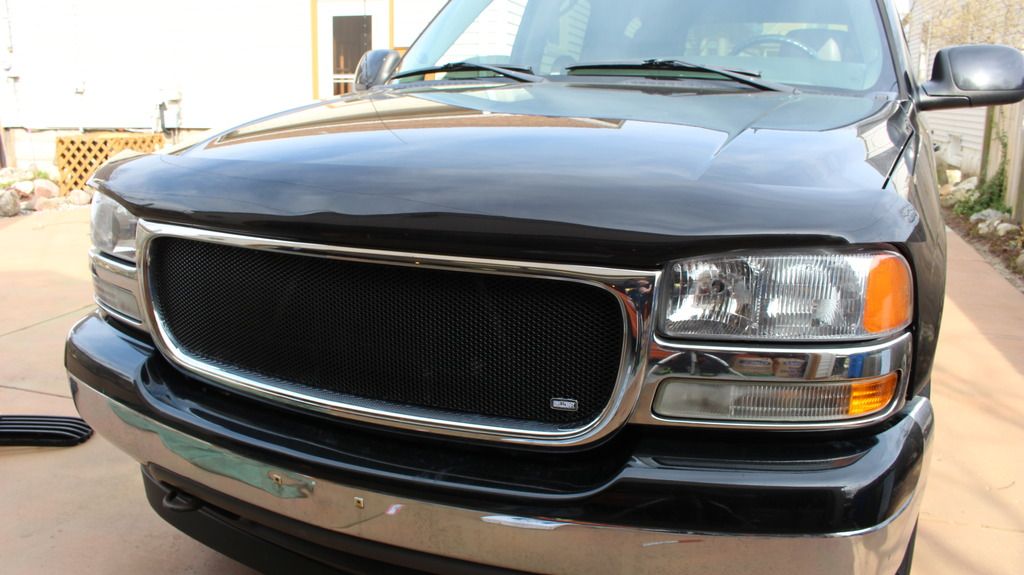
The end result is IMO pretty hard to argue with. The new grill has a much more powerful look. The recessed grill center fits the overall shape of the truck much better, and loses the plastic and somewhat protuberant nose.
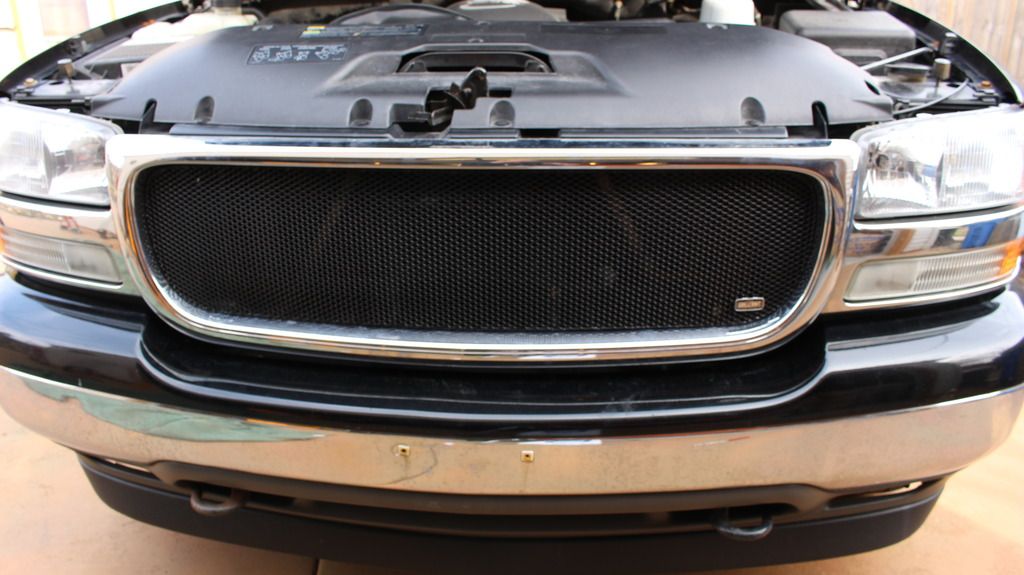
What do yall think? I'm pretty happy with the way it turned out for a few hours worth of work. You could probably knock it out in an hour or two if ya weren't trying to shoot the whole thing on camera.
I'm not sure if I'll keep the grill shell chrome in the longterm, but I like it for now (black is tempting). And I
KNOW that I need to paint a few behind-the-grill elements black, as in just he right light you can discern them a little bit.
I'll have the full video of the install coming over on
Rev J HD in the coming weeks, so def check that out if you guys get a chance.