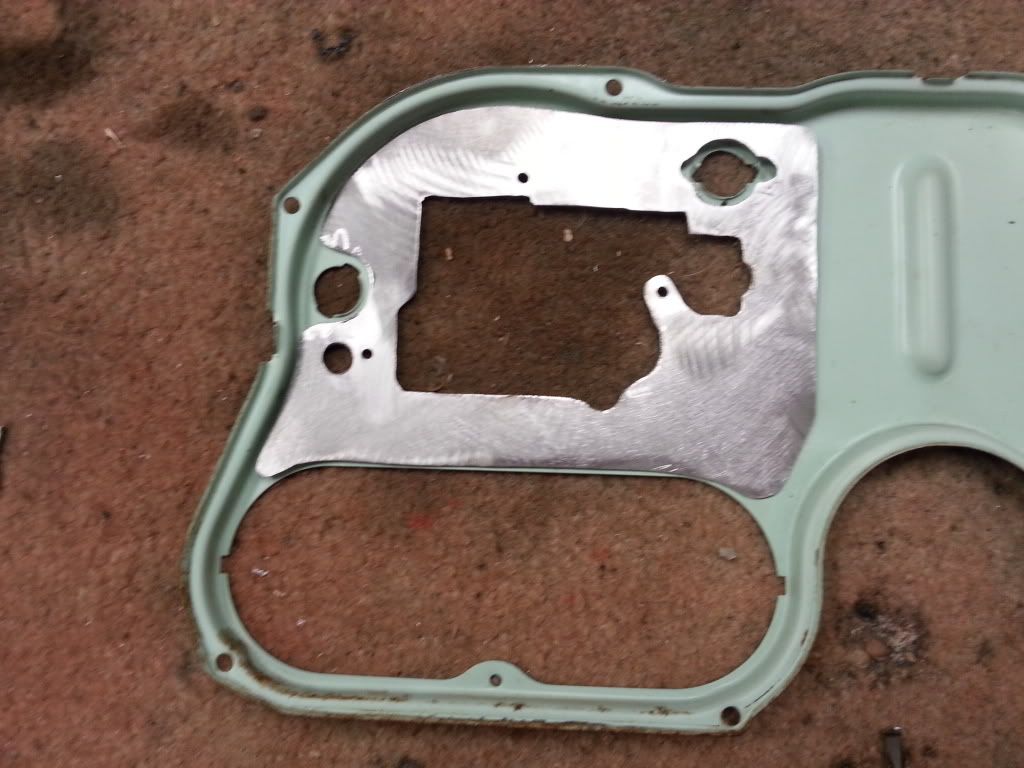
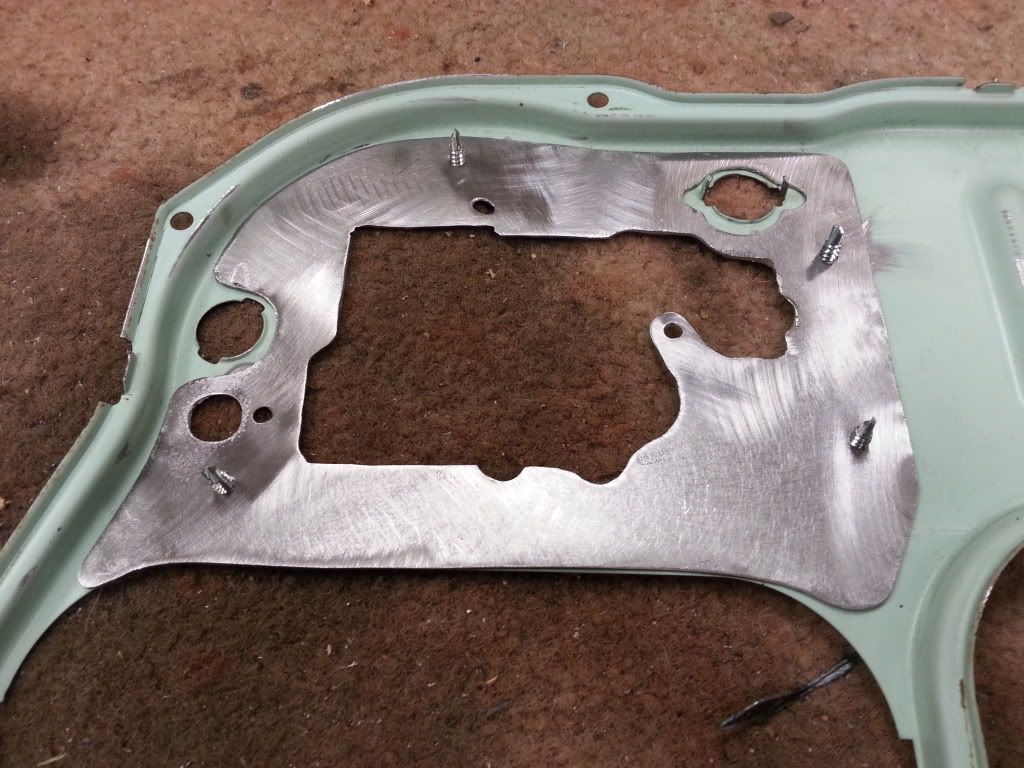
Getting back to the mounting part, trim the mounting plate so it fits nicely in the back tin.
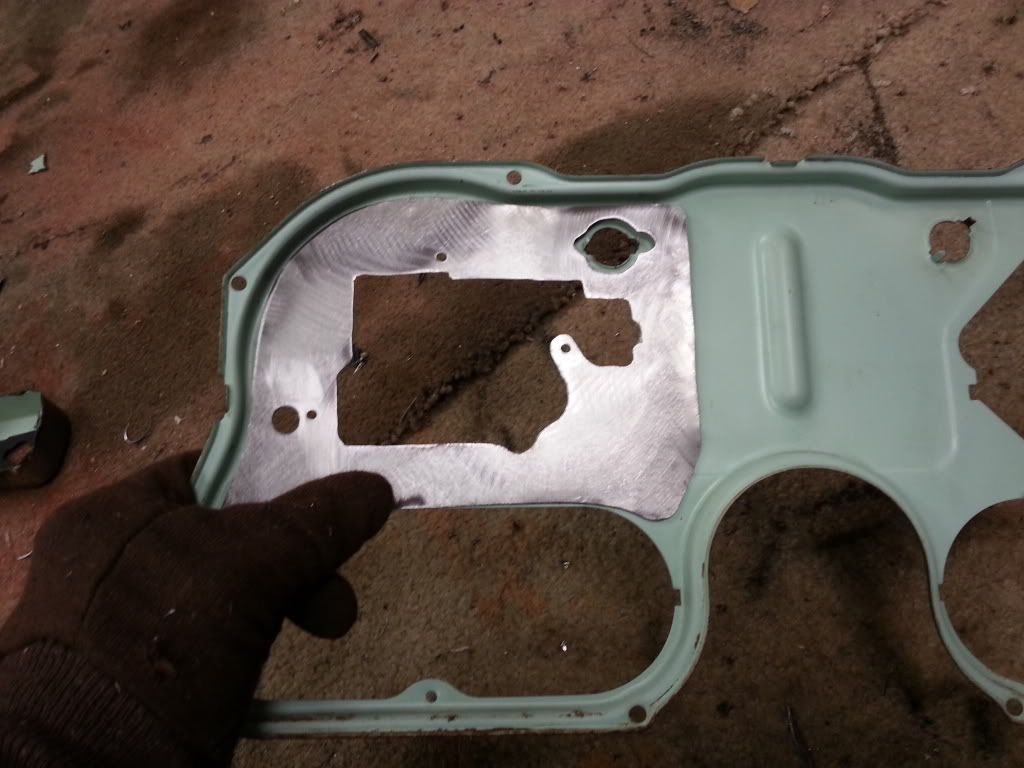
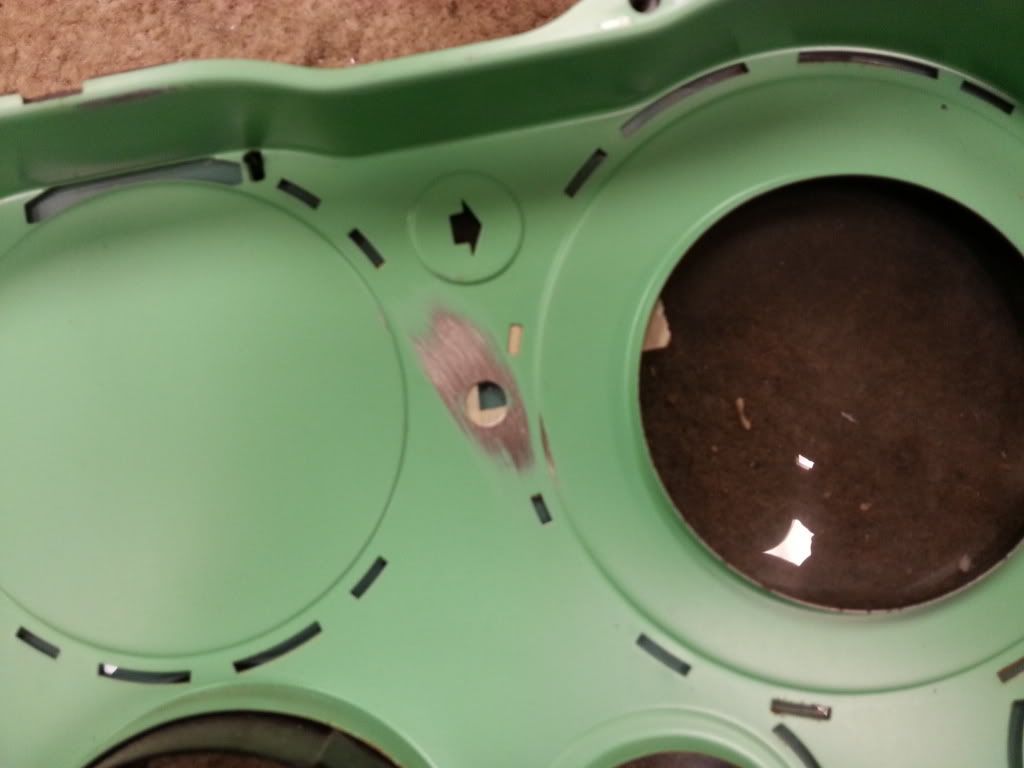
On the back side, mark where the dash light hole needs to be cut out.
Then cut it out, should look something like this.
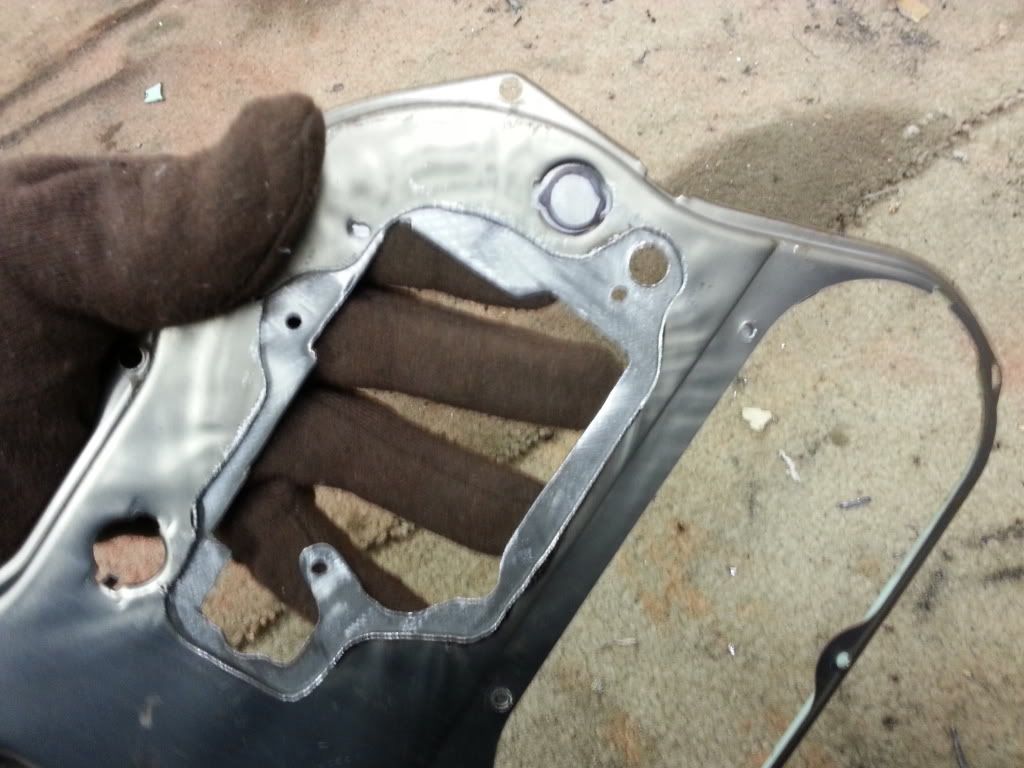
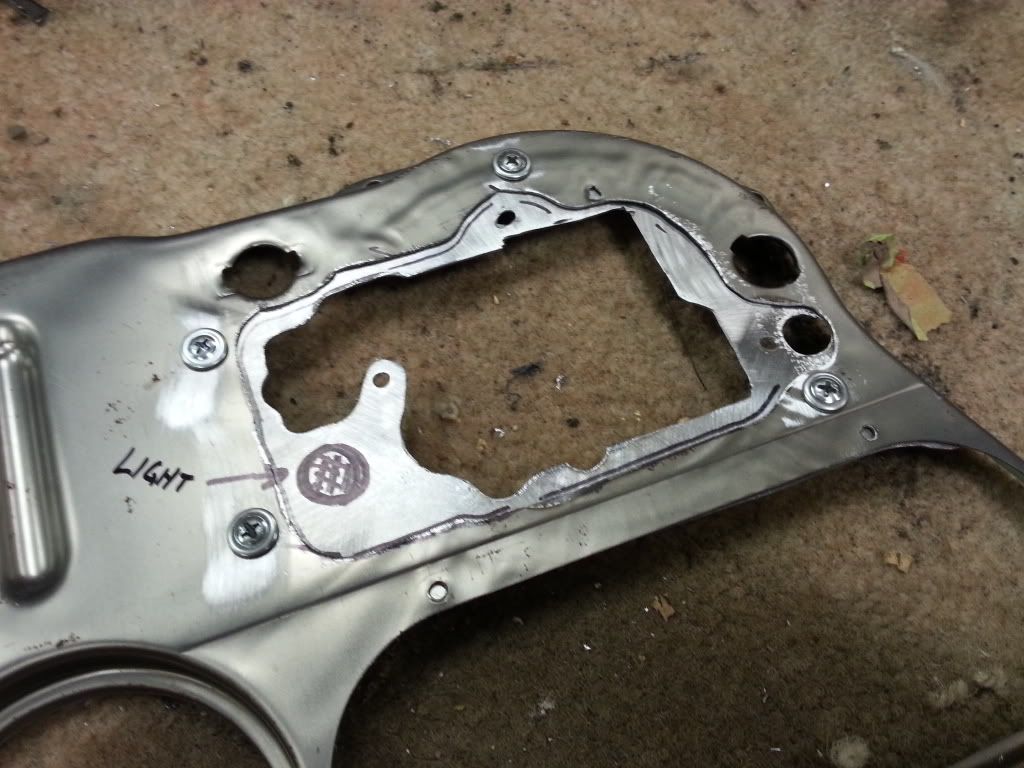
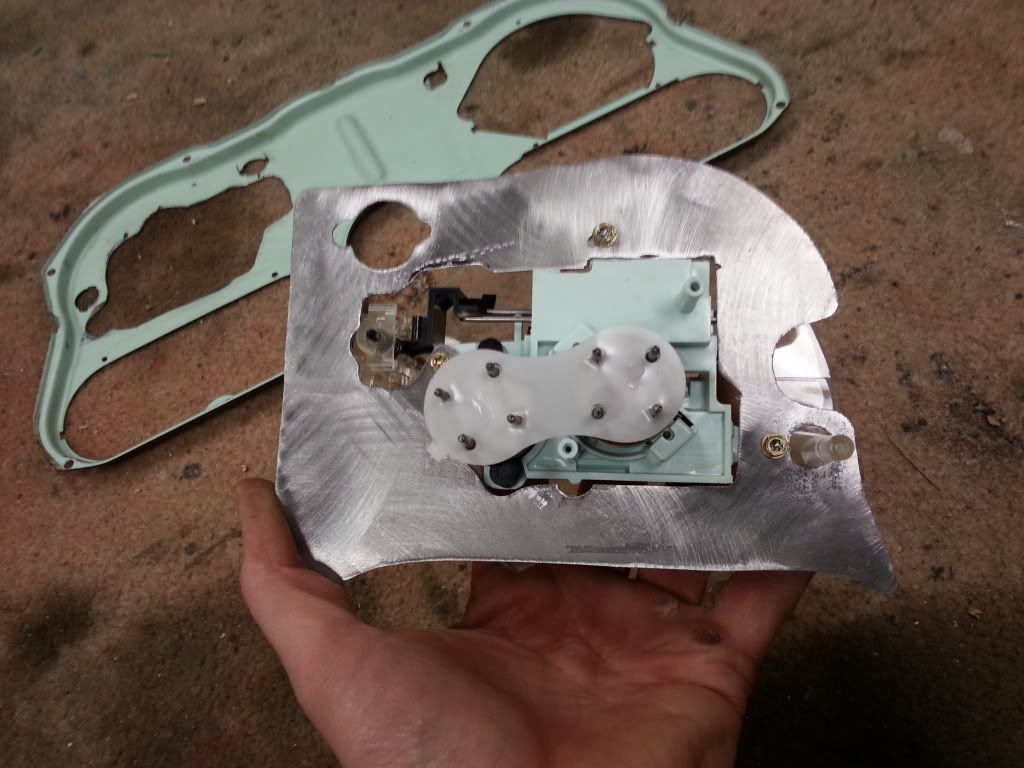
I usually tack weld this piece to the back tin, but if you don't have access to one, you can screw it on with some sheet metal screws. It may actually help to screw it first even if you plan on welding it since there will be some trial and error fitting required to get the speedo centered in the opening. Just drill the holes in the back tin a little bigger than the holes in the mounting plate so you can move it around.
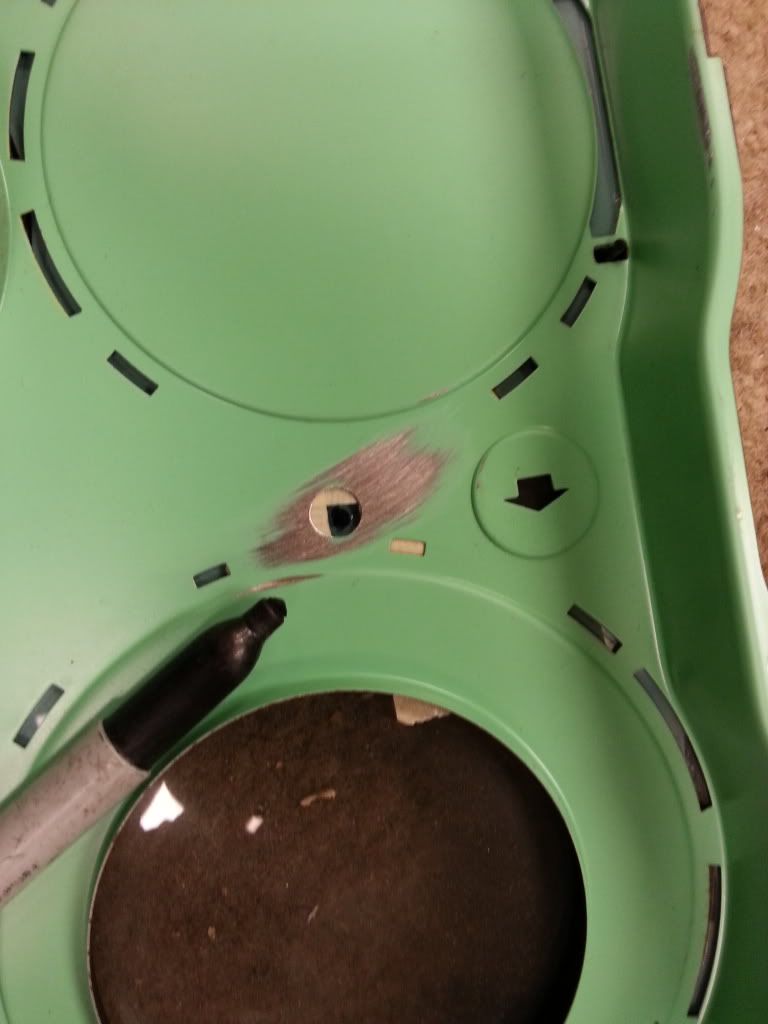
Also in this pic, you can see where the new hole needs to be drilled for the other speedo light that got removed by the trip reset knob.
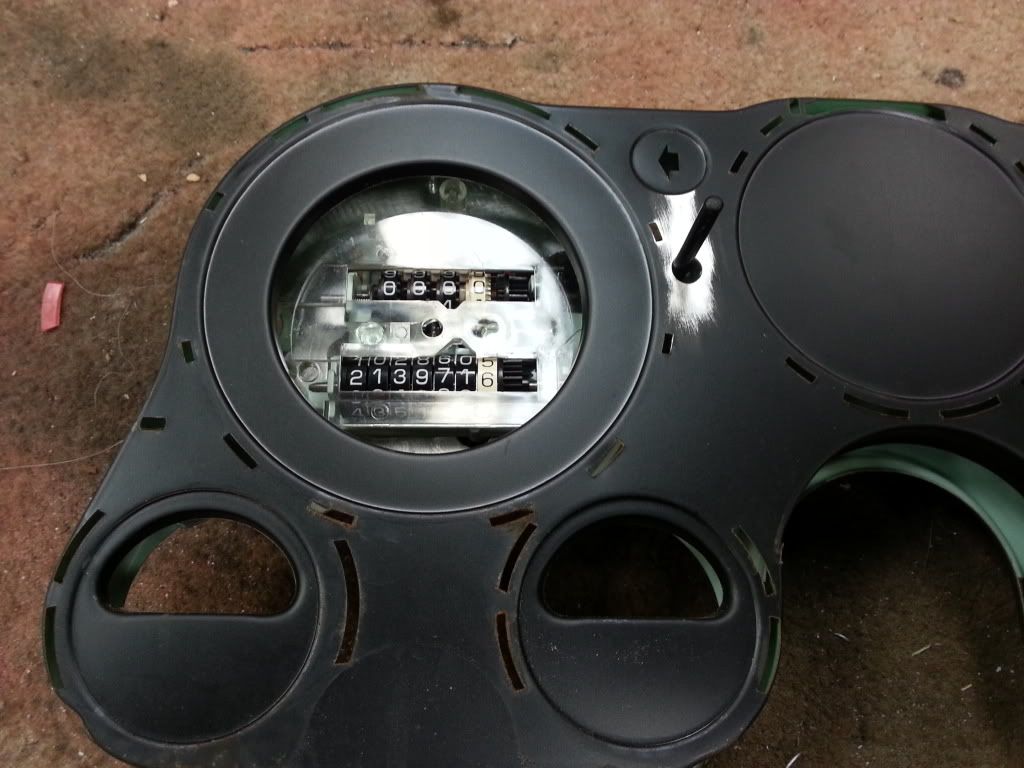
Put the speedo and the clear plastic part on the mounting plate and screw it back on with the 3 original screws.
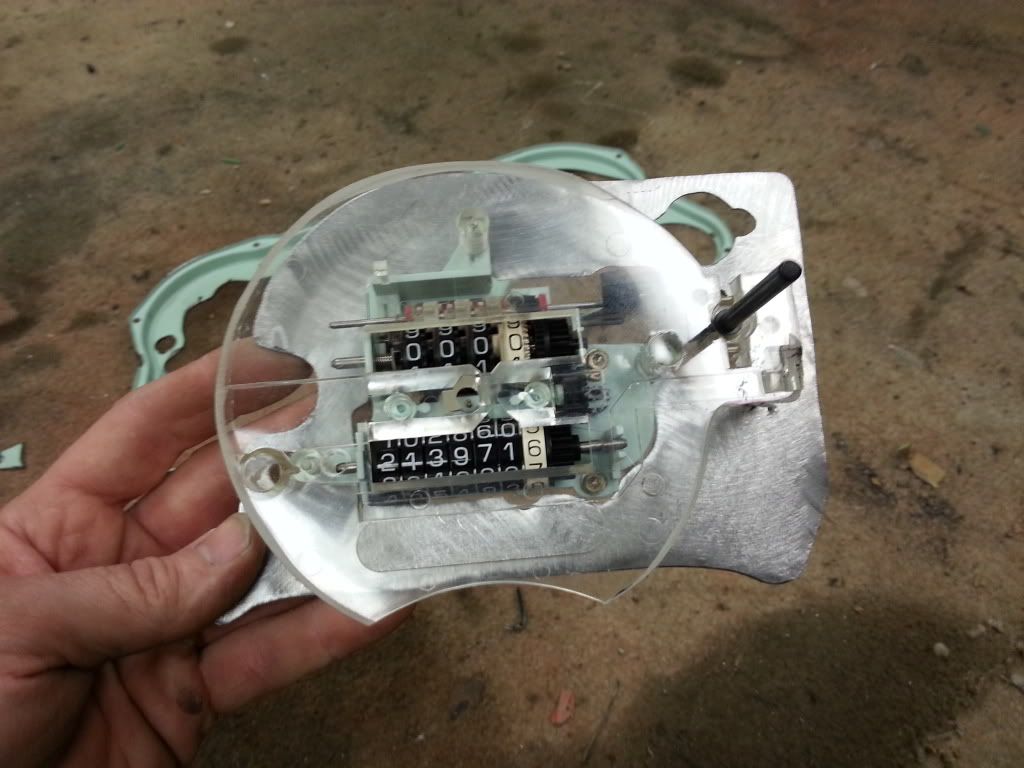
With it screwed to the back tin it will look like so.
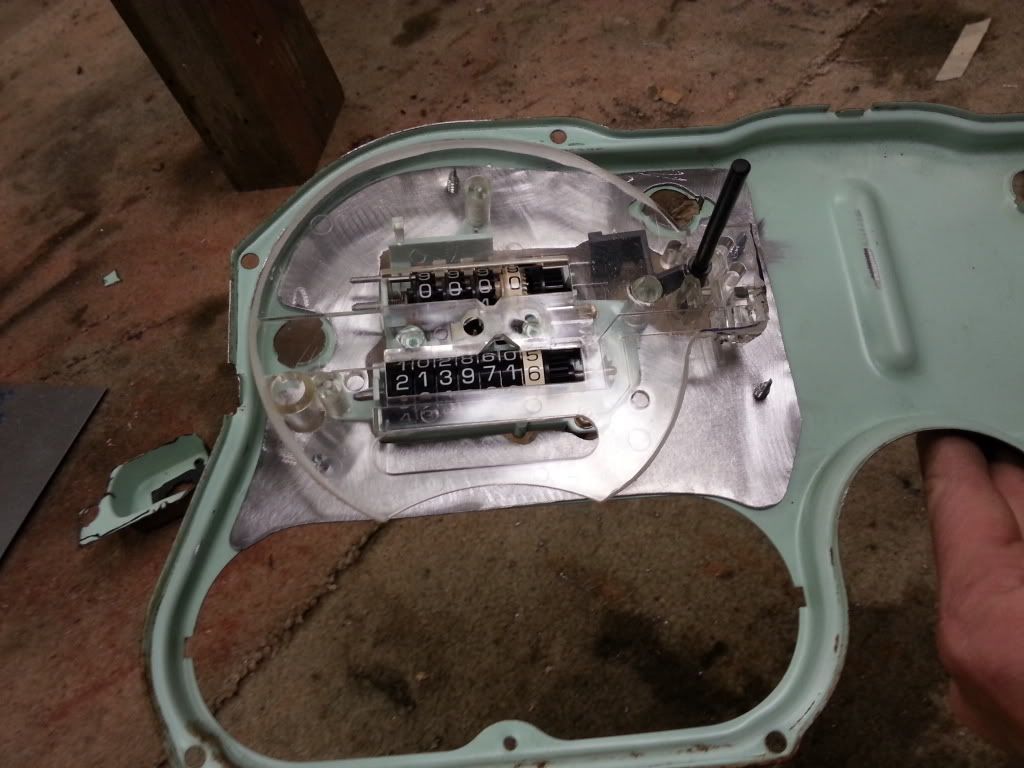
Then you'll need to just kind of eyeball where the trip reset needs to come through the inner tin. You won't get it right on the first try, but it doesn't matter since it needs to be a little over sized anyway. Once you get the hole drilled, make sure that the reset button isn't rubbing the inner tin at all, it needs to be loose in the hole. Then make sure that the speedo is centered in the hole side to side.
Now would be a good time to put the gas gauge back in and make sure that the center of the speedo is level with the center of the gas gauge. The speedo is NOT centered top to bottom, it's closer to the bottom, but by comparing it to the gas gauge you'll see what I mean.
In the right spot.
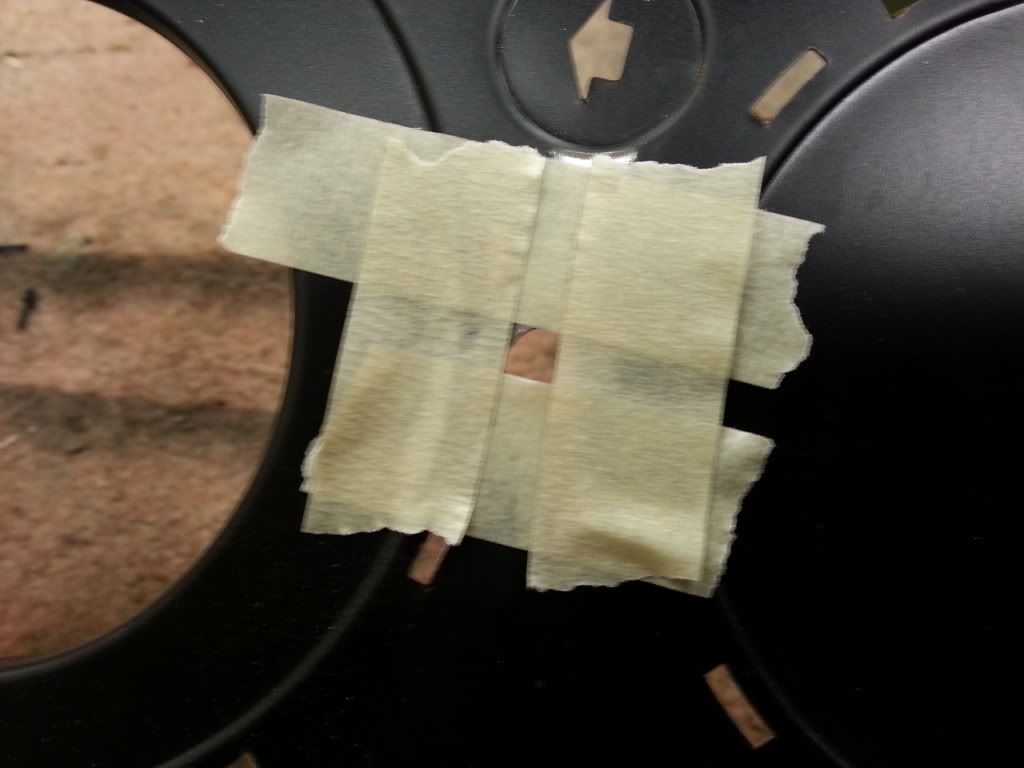
Now mark around the reset with some tape, making sure that the reset isn't binding or rubbing on the inner tin.
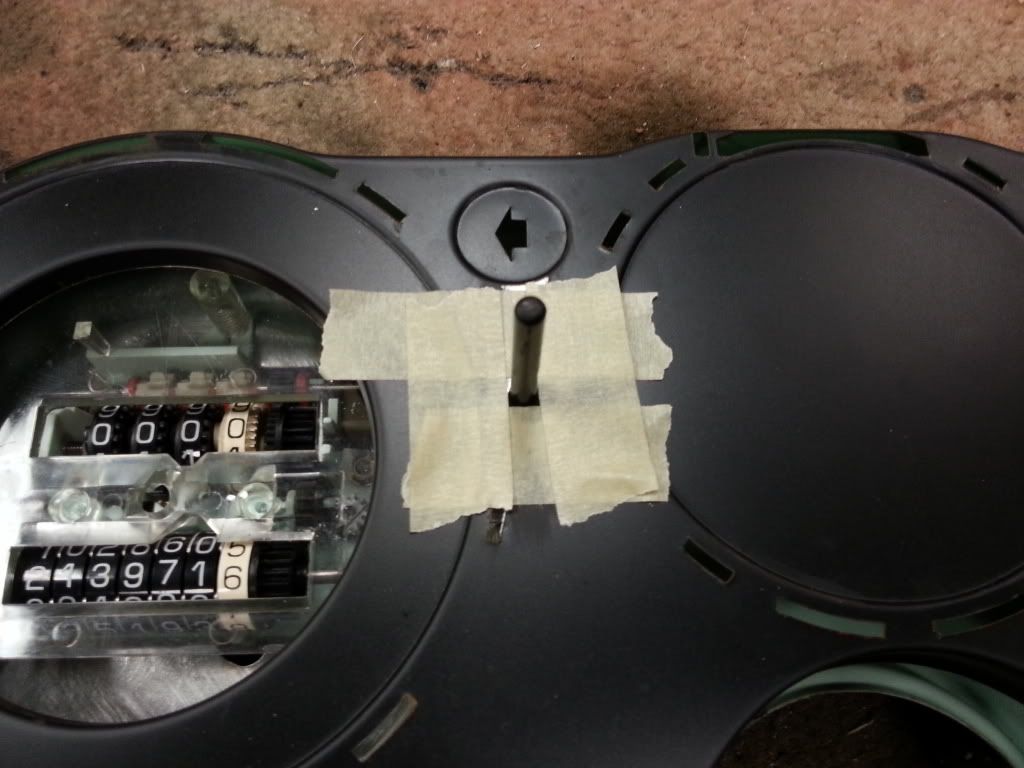
With the hole marked exactly where it needs to be with the tape...
Now put the lens in the bezel and put the tin back in.
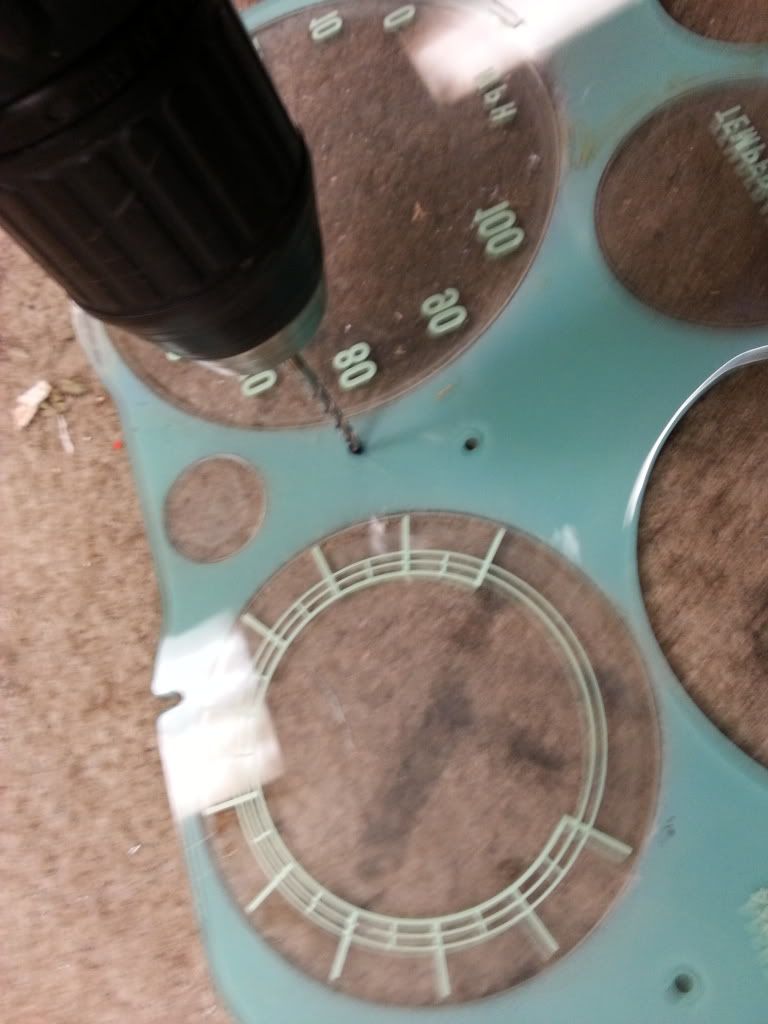
Mark the center of the hole on the lens.
Remove the lens and drill the hole. Try to use a drill bit the same size as the reset knob. It will be drilled out bigger later, but for now needs to be small, it's going to help with drilling the hole in the bezel later on.
Once drilled.

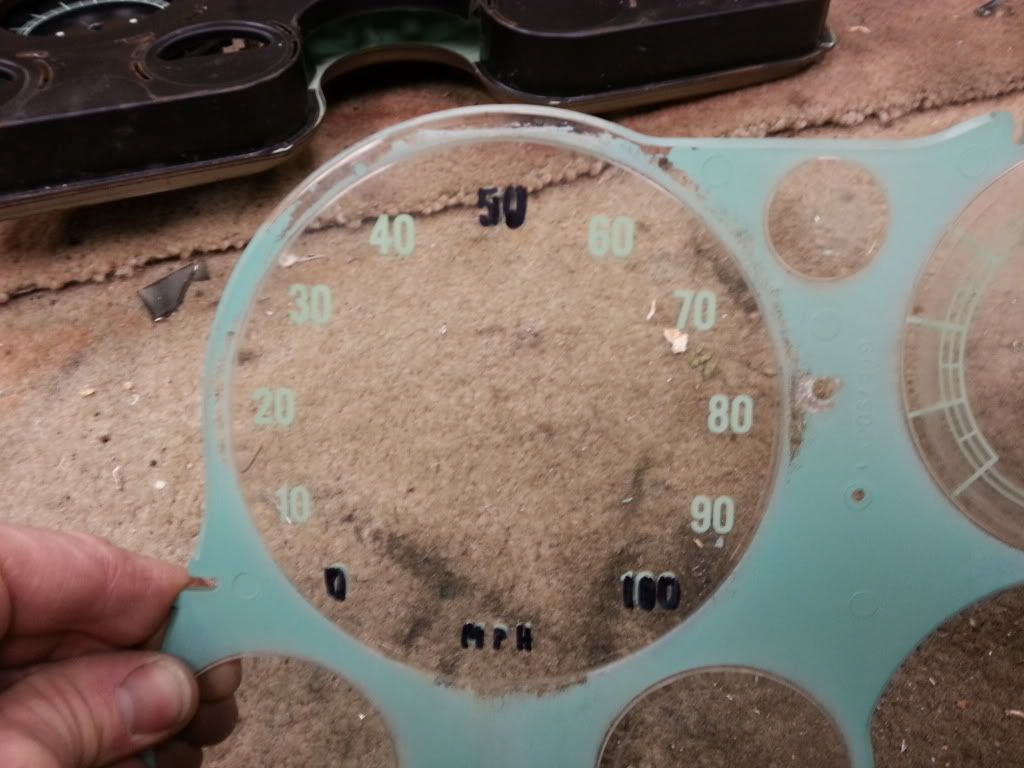
Now we'll work on the lens. Start by marking the mph, 0, 50, and 100 marks with a sharpie on the OUTSIDE of the lens.
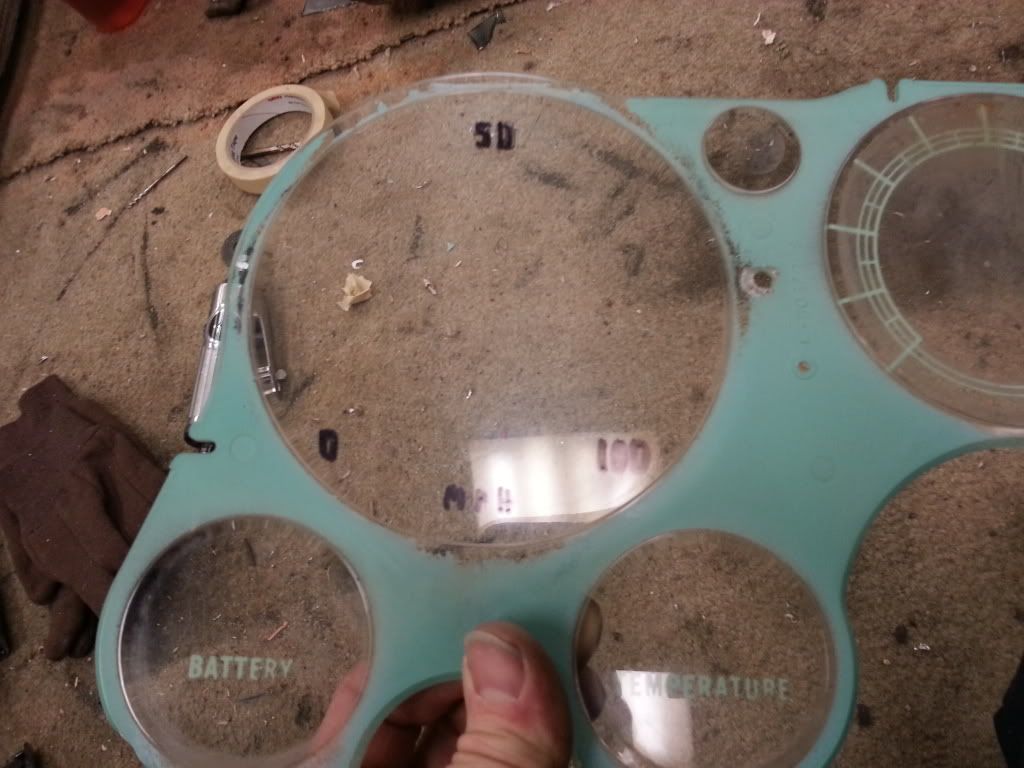
Then using some non-abrasive, silicone free polishing compound, start rubbing the numbers off the inside of the lens. It takes a little elbow grease, but it's not all that hard.

Continue rubbing all the numbers until the lens is completley clear. Now is a good time to make sure the inside of the lens is nicely polished since you won't want to polish it after you've painted the numbers.
This is all I have for tonight. Stay tuned for the painting of the lens next....