DRIVE PINION OIL SEAL, EATON H052 (Part 6 of 6)
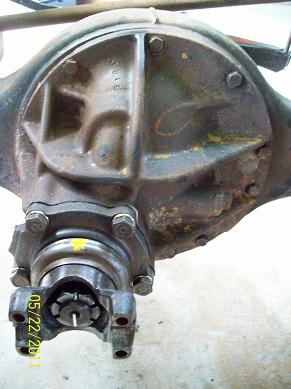
*8. Reinstall pinion flange and propellor shaft.
I squirted a lot of gear oil on the seal and wetted the yoke, and then inserted the yoke. I had to tap it in with a wood block and a hammer, the seal offering some resistance to insertion as it should. Then the fat pinion washer and pinion castle nut went on, ready to snug up. I torqued the nut to 220 ftlb per Specifications 7 section under 5200 Lb. Capacity Bolt Torques in the Service Manual. At this torque, the castle nut covered the cotter key hole, so I backed it off a tad. The nut ended up in the same position that it started according to the marks I scribed before I removed the nut. I installed a new cotter key and then spun a wheel by hand for a while to get the juices flowing inside the differential again.
.......................after.....................................................and before.......................
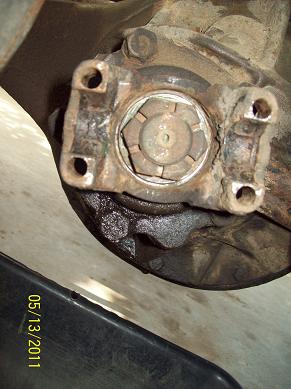
.................................................................................................... ...................
The next day I found a small drip on the pavement, residue I hoped. Maybe this is why GM says pack the seal with grease, to avoid this situation. I sprayed around the yoke area with my mineral spirit sprayer and wiped everything off good. I drove the truck up and down the street a few times. I also ran the drivetrain with the rear wheels removed and the axle on jack stands several times while I was working on the driveshaft (future project post). As of 6/2/11, no evidence of a leak so I hope my installation will be good for another 40 years or so.
This job was labor intensive. I worked on it from 5/13 - 5/23/11. I havent been keeping track of the hours I spend because I get so much pleasure out of working on this truck. However, if one had a shop perform the work Ive been doing so far, I guesstimate the total costs Ive itemized in this thread thus far would be double, at the very least.
As a do-it-yourselfer, it doesnt always seem like Im spending much as I go along, but it sure adds up. Ive been including the cost for tools and consumables if they are first purchased for work on the truck.
Pinion seal, Deep Creep..
.....
$.35.87
Lock nuts
..
..........
....1.36
1 5/8" socket
........
....21.74
Permatex Ultra Black RTV
........
.
7.60
Mineral spirits (1 gal., ran out again)......16.80
Total
.............
.
$.83.37
While the bed has been off I've had a chance to evaluate the condition of the driveshaft bearings and support, the frame, the shocks, and the exhaust. I've cleaned up the frame, installed new driveshaft bearings and supports, new shocks, and I'm working on the exhaust now. I'll post more about these later.
Thanks for reading and keep on truckin'.
Jim