UNIVERSAL JOINT R&R (5 OF 6)
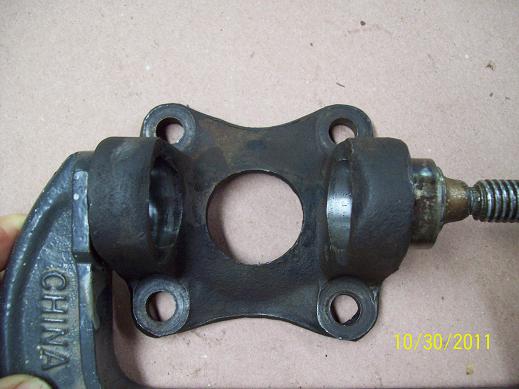
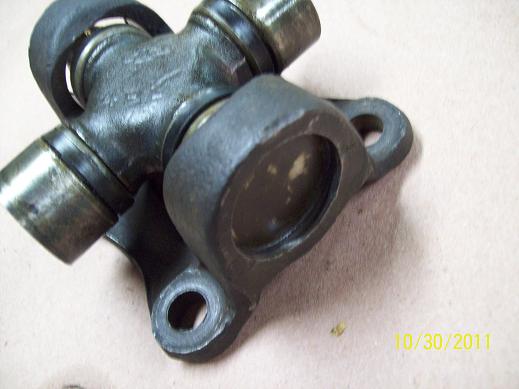
Carefully remove one bearing from your new UJ and partially press it into the yoke. You can use the clamp/socket combo now since everything is clean and smooth. Be careful not to displace or lose needle bearings. Pay attention to the alignment of the bearing in the bore, you don’t want to force in a cocked bearing. You should be able to feel the alignment by the position of the clamp and the insertion resistance of the bearing. I didn’t have a new UJ available for this demonstration, so I cleaned up the old one and used it for the reinstall pics.
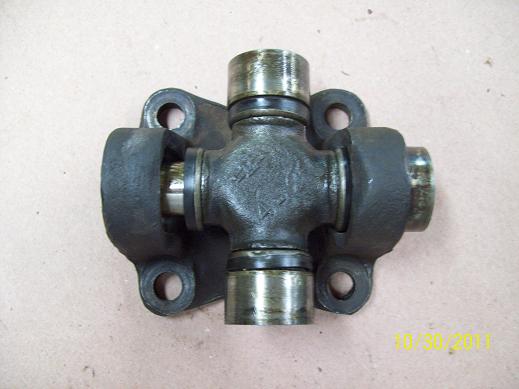
Carefully insert the new trunnion into the bearing. It is very easy to displace needle bearings while doing this. Spongy resistance may be felt due to trapped air.
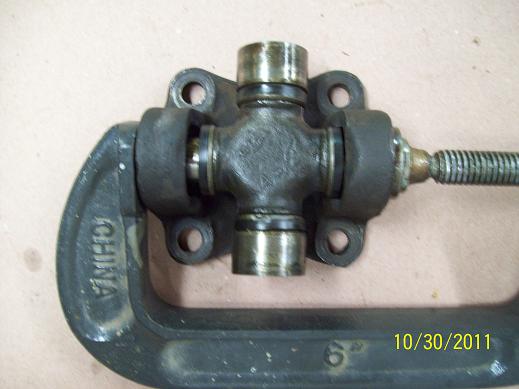
Press the bearing and trunnion so that the bearing cap is slightly past the lock ring annulus. Install a new lock ring.
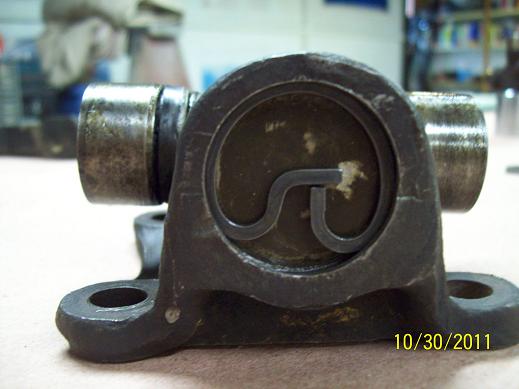
The lock ring should look like this when fully engaged in the annulus.