Updates:
Hey all,
It's been awhile since I have had a chance to work on this, but was able to get a few hours in over the holidays.
I haven't been able to get a good 3D print of this size going. Unfortunately I think the method I detailed above isn't going to work with the equipment I have.
However, I still think milling it as one piece is a viable solution, so I have begun that route again.
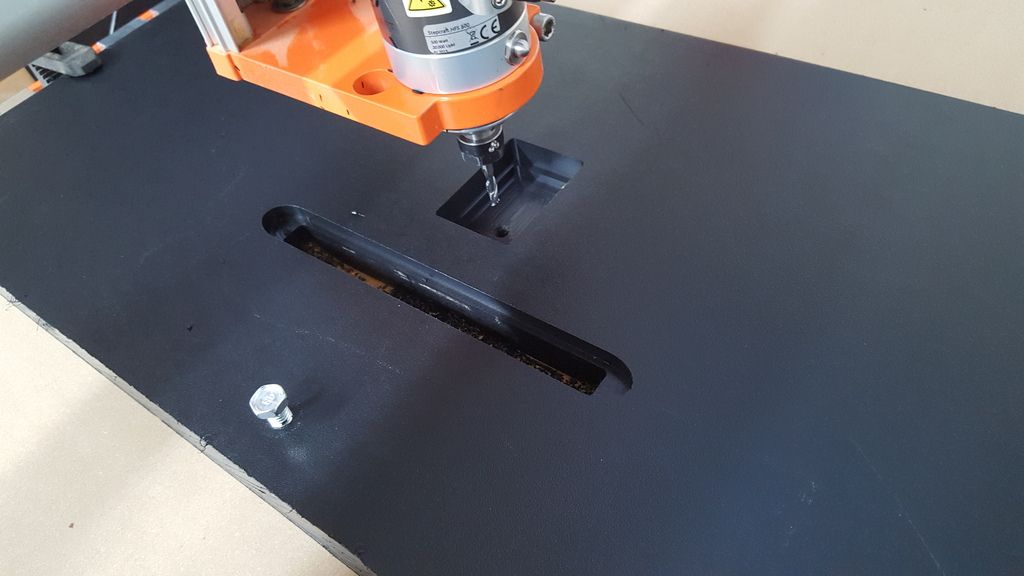
I started by finding the exact center of the workpiece, and then drilling two holes, one at center/center, and the other at center/bottom. I drilled it through the material and into the spoil board so that I can flip the workpiece over to mill the back side and ensure it's in the same location as before.
My overall design consists of 8 toolpaths:
1. Indicator area pocket (for turn signal/engine light bezel to sit)
2. Indicator area cutout (so the wires can come out the back of the housing)
3. Info panel pocket 1 - this is where the center hole is. I'm going to mill an aluminum plate here that says something like "GMC - Premium Unleaded Only" to add some detail to the panel as well as cover the center locating hole
4. Info panel pocket 2 - This creates the pocket for the aluminum plate to sit in
5. Gauge pockets - This mills away about .75" of material everywhere but where the gauges go and the indicator/info panels go.
6. Gauge cutouts - This cuts away the material in the center of the gauge areas so a gauge can actually go in.
7. Gauge pocket 2 - This reduces the material on the rings around the gauges, so the gauges aren't flush with the outer trim ring, but instead sit about .25" off the back panel.
8. Panel taper and profile cut - This path does the taper on the back side, and cuts out the entire piece, freeing it from the source material.
Lots of info, and all hard to imagine without photos, which I'll add to this later so you can see how it's made.
I went ahead and cut the first 4 paths in the material and did a test-fit with the indicator panel, which fit great.
Here are a few photos, but again I'll add more later when I'm home.
I expect there is another 2-4 hours of milling, but I am taking it slow as I'm still learning the right feeds and speeds for the machine.