I sand blasted the tailgate and entire bed using one of those little 25 gallon blasters from eastwood, way better than the wire wheel. The problem is the is the deadman nozzle and any valves with media going through wear out pretty quick.
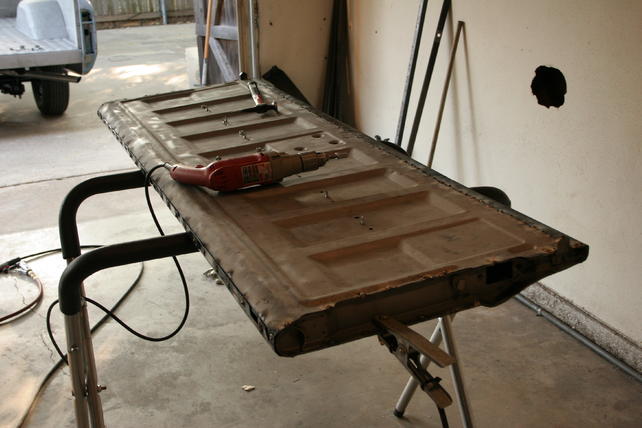
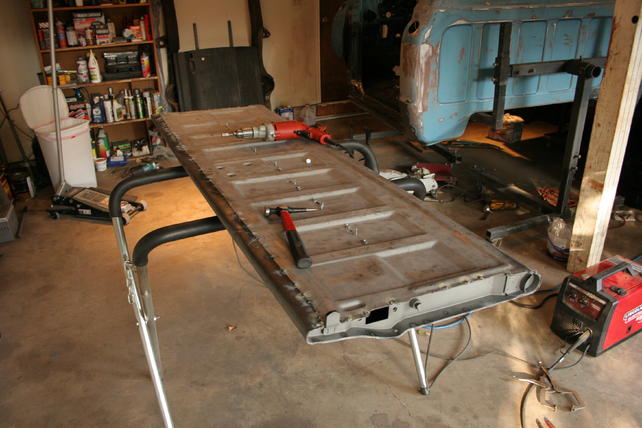
I cut the tailgate apart at the top inside portion where it's really flat. That made it easier to line up and smooth later. The entire inside of tailgate was epoxied like the door shells. I'm using 1/4" self tapping sheet metal screws to hold the center together, then removing one at a time and welding the hole shut. The top seam is a butt weld and the edges are spot welds. Cab is on the rotisere in the background getting ready for primer and block sanding.
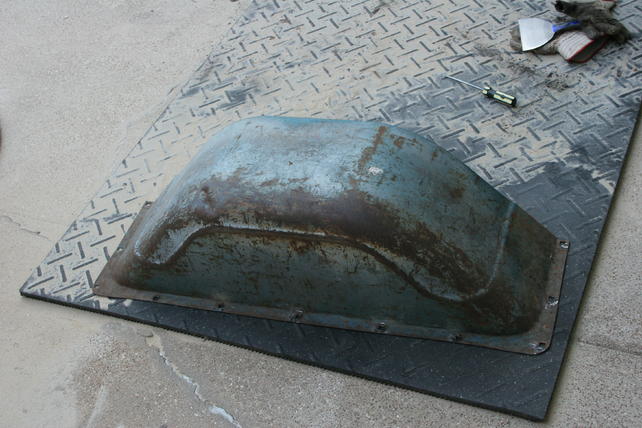
I really liked the patina on that wheel well, liked getting rid of it.
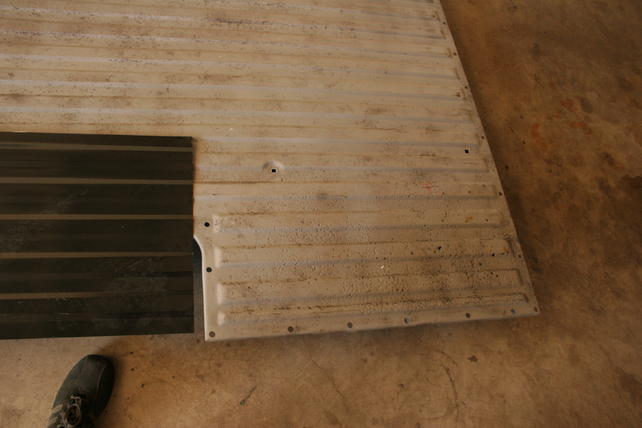
The bed was pitted but in good shape, except for the area closest to passengers door, it had pin holes a needed a patch. LMC to the rescue, just kidding, the patch panel had me shaking my head in disbelief. Maybe I got one for a Toyota by mistake.
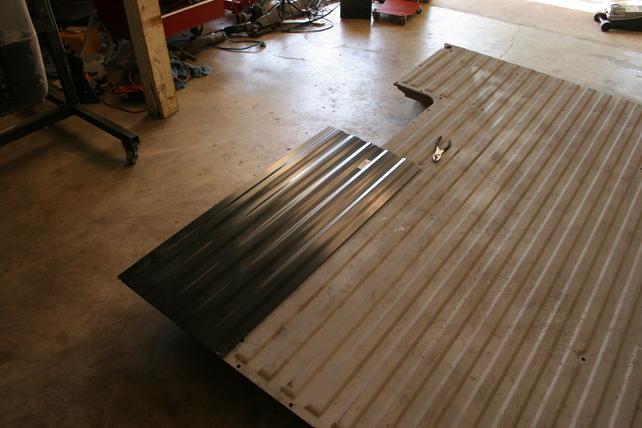
You can see the pleats don't exactly match, I ended up cutting it along the pleats to adjust the alignment. I would not buy this patch again. Your better off getting some 18 steel and fabricating it your self.