A little bit of tech for those who want side moldings:
You will need:
Table saw
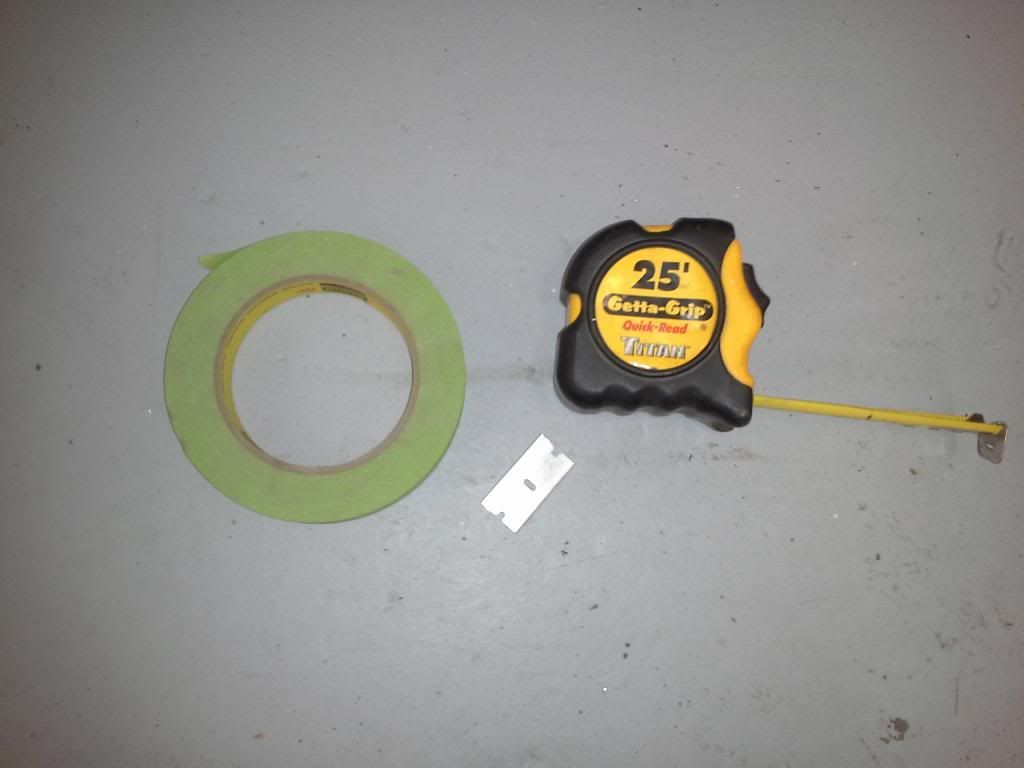
Razor blade
3/4 masking tape
Tape measure
1/4 scrap sheets of clear plastic/acrylic
1/8 scrap sheets of clear plastic/acrylic
3M 1/4 wide .30 or .045 emblem tape
3M 3/8 wide .30 or .045 emblem tape
Alcohol wipes or wax and grease remover.
.
.
I used clear plastic so I could see through it to ensure the 3m tape was sticking.
Wipe the sides of the truck down with alcohol wipes or wax and grease remover to clean the surface.
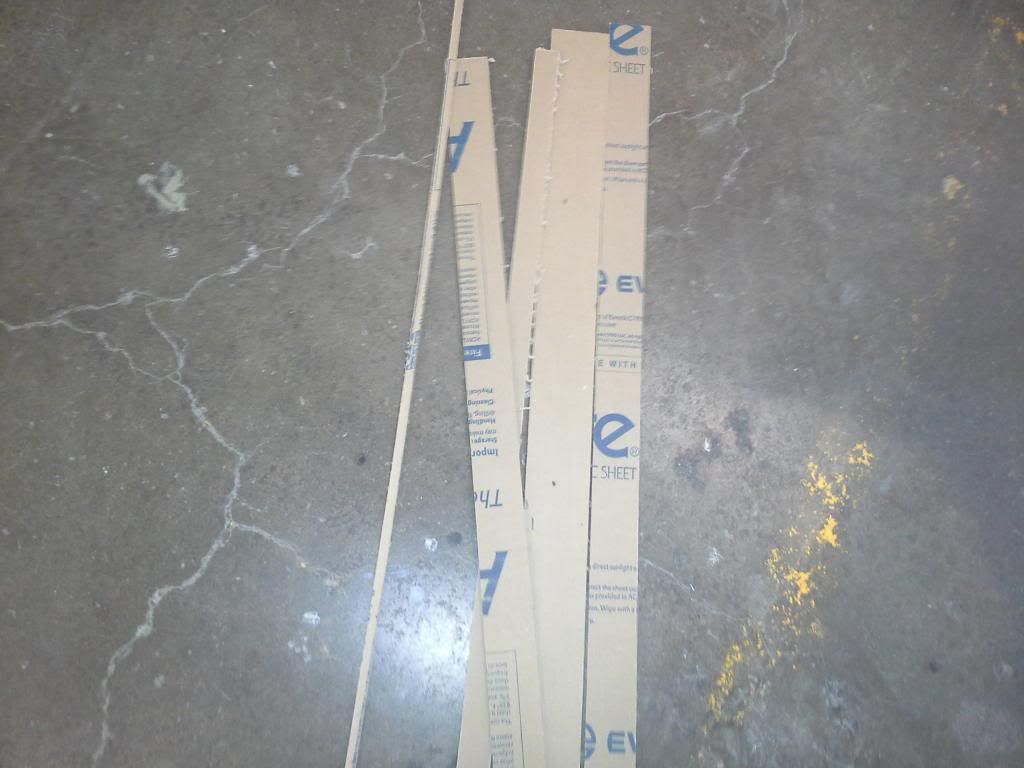
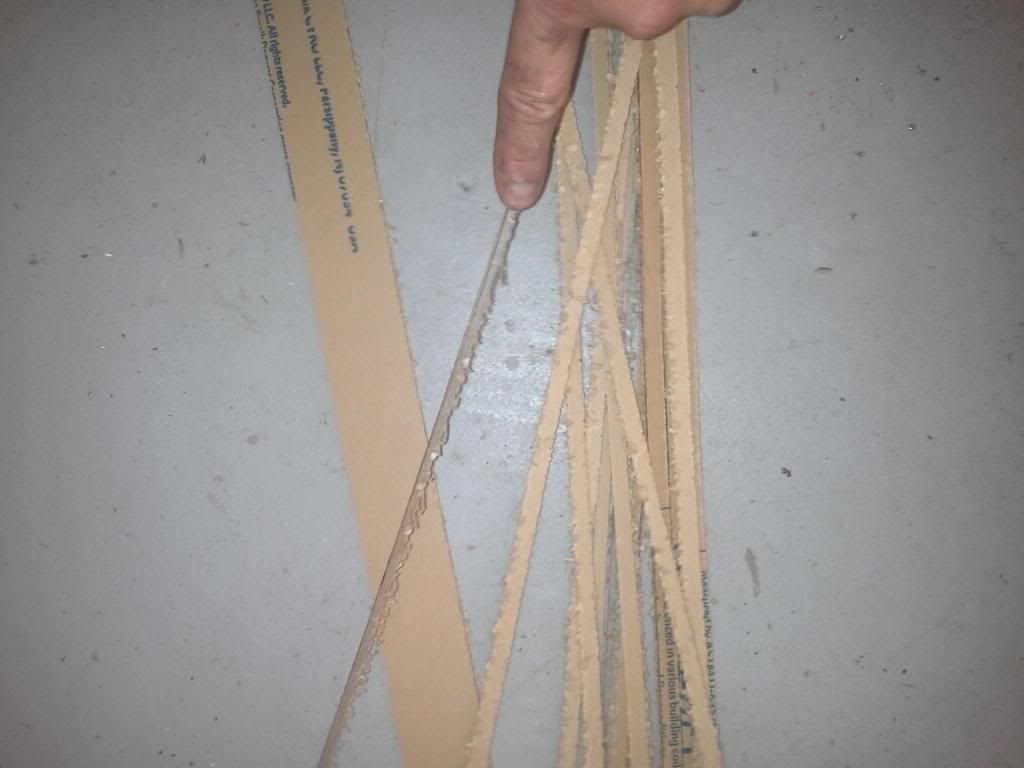
Rip the 1/4 and 1/8 plastic down into strips that will fit inside the moldings. Remove the protective paper and wipe both sides with cleaner. Wipe the insides of the moldings with cleaner.
.
.
.
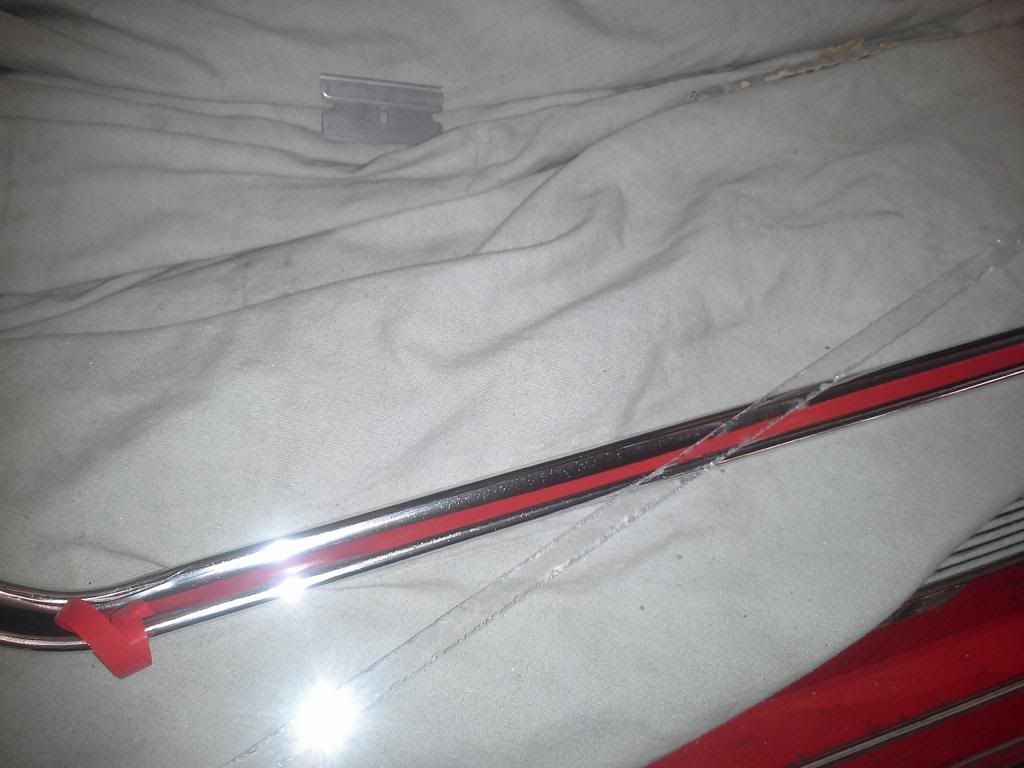
This is the smaller molding, the larger was a breeze. Lay it upside down, clean with alcohol and apply the 3M inside the back of the molding.
.
.
Here it is "loaded" with the plastic spacer. You can see through the plastic to ensure the 3M is adhering to the plastic.
.
.
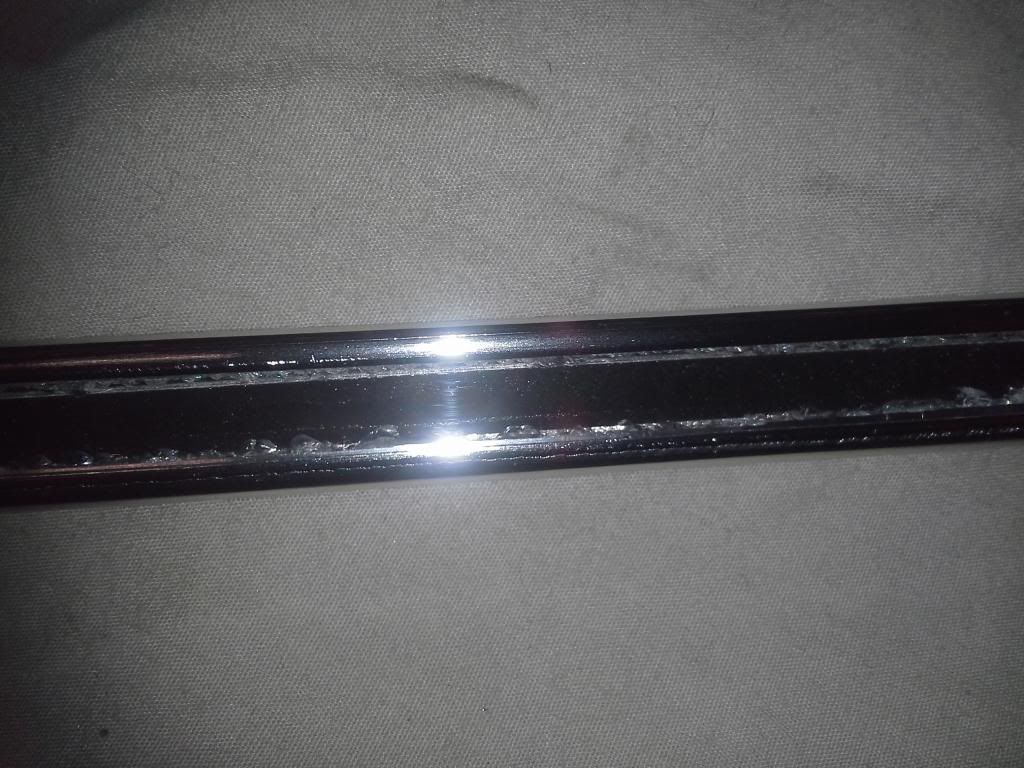
on edge showing the thickness-just barley visible and enough to stick, but not show the tape when installed.
.
.
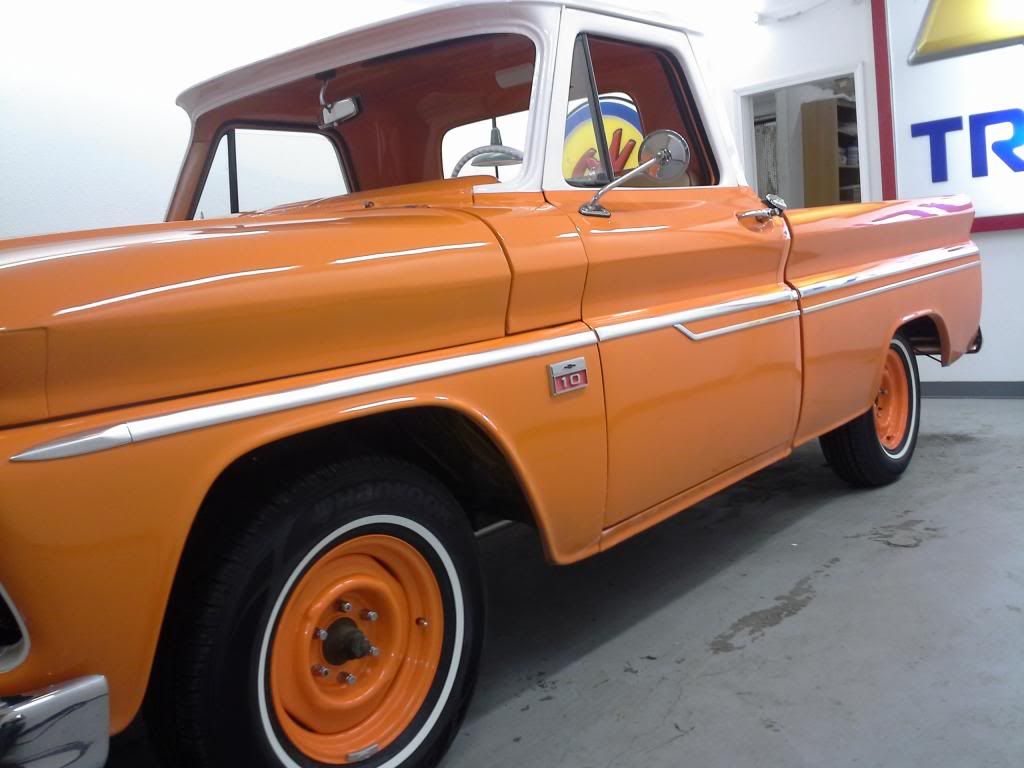
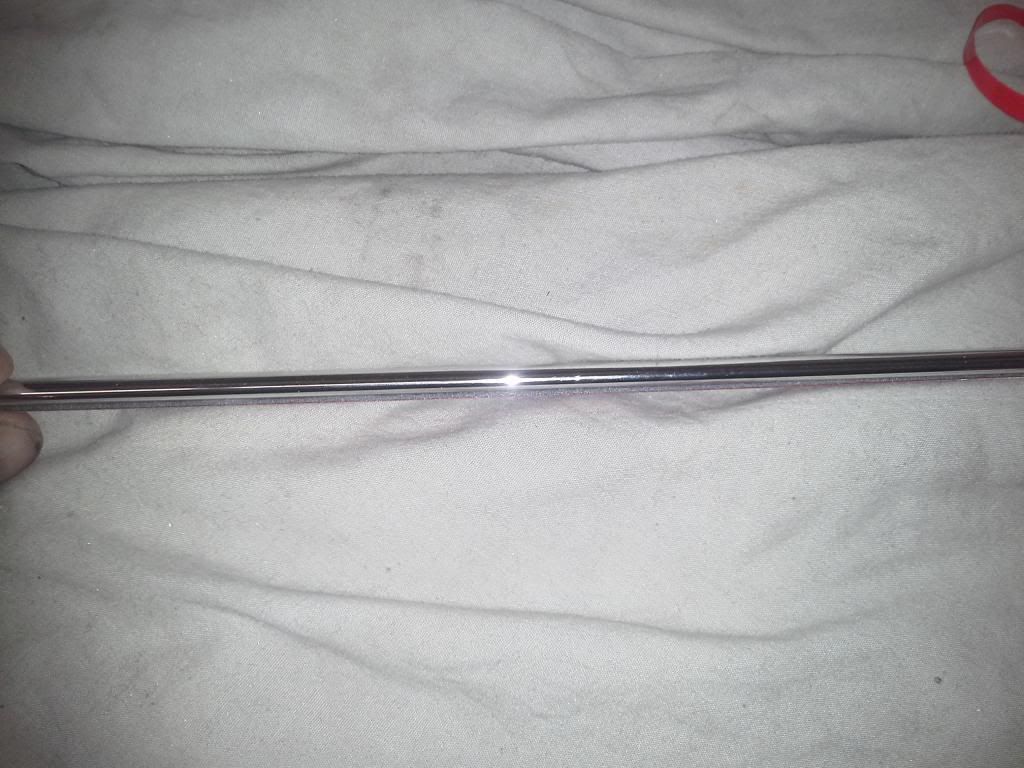
Lay a second strip of 3M on top of the plastic strip so you have :: molding, 3m, plastic strip, 3m . Wait to pull the red plastic backing until you have measured the sides of the truck. I started with the larger molding on the door. Measure 1 1/2" down from the body crease and mark with masking tape at both ends. Peel your red film from the molding and line up one end with your tape. Be very carefull to only stick the very edge of the molding as you get one chance to do this. Peeling them back off will damage the molding! Use a second set of hands if needed. Now line up the other end and apply pressure across the face of the molding with your palm. They are very delicate so you don't need much pressure, just enough to get the tape to stick across the whole length.
I started with the door because it was the shortest , easiest to deal with and measure by myself and I could stage the others from each end of the door molding if I knew it was 100% correct. The smaller moldings start from the door also and they sit 1 1/2" below the large molding. Once you have the large moldings installed, start with the small door molding. Slip the forward tip under the large molding and work back towards the rear of the truck. Set the back of the taped molding at your masking mark and apply pressure.
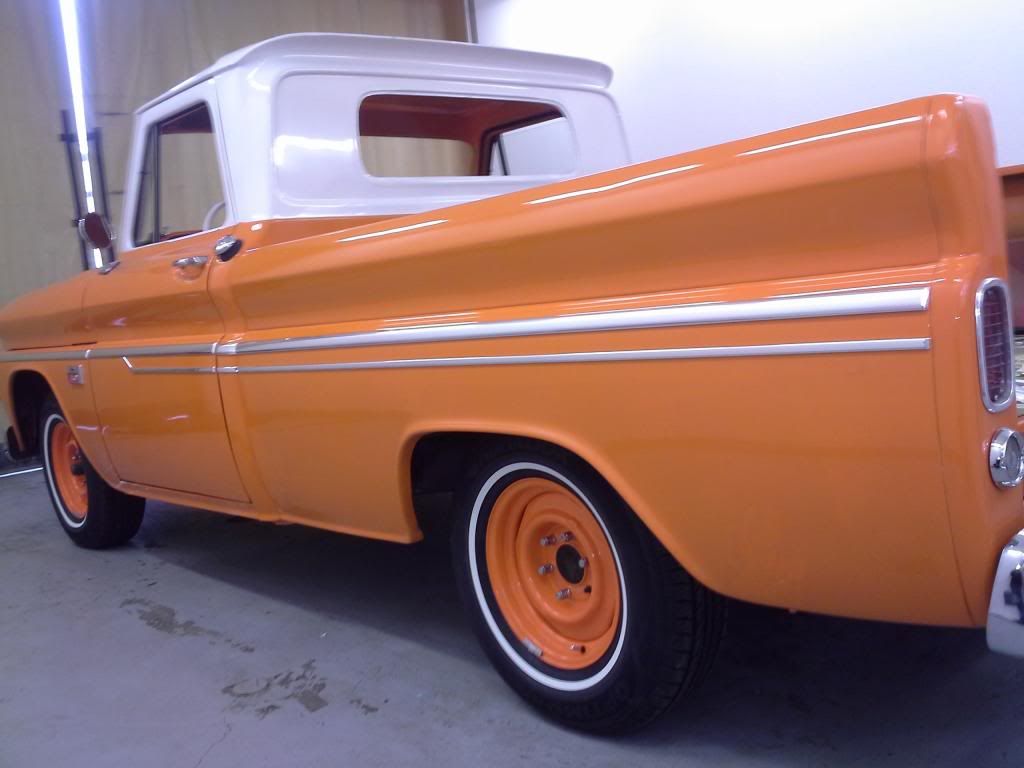
I waited until I had the long moldings installed before installing the cab corners in case I had a visual difference in cab or bed mounts that would throw off the measurements, I could fudge the continuous look with the smaller cab ones. It all worked out and they are straight as an arrow. Nice product from Mar-K and no holes drilled in the body. If you ever have to pull one off you can use 10lb fishing line wrapped around both index fingers like dental floss and "saw" the 3M from behind with the fishing line and it will not damage the paint. pulling them will only damage the moldings.
.