I've been a little lax in updating. Not as much on the truck done, but camper work has been happening. So here's an update from a few more weekends worth of work completed. Without further delay, here goes...
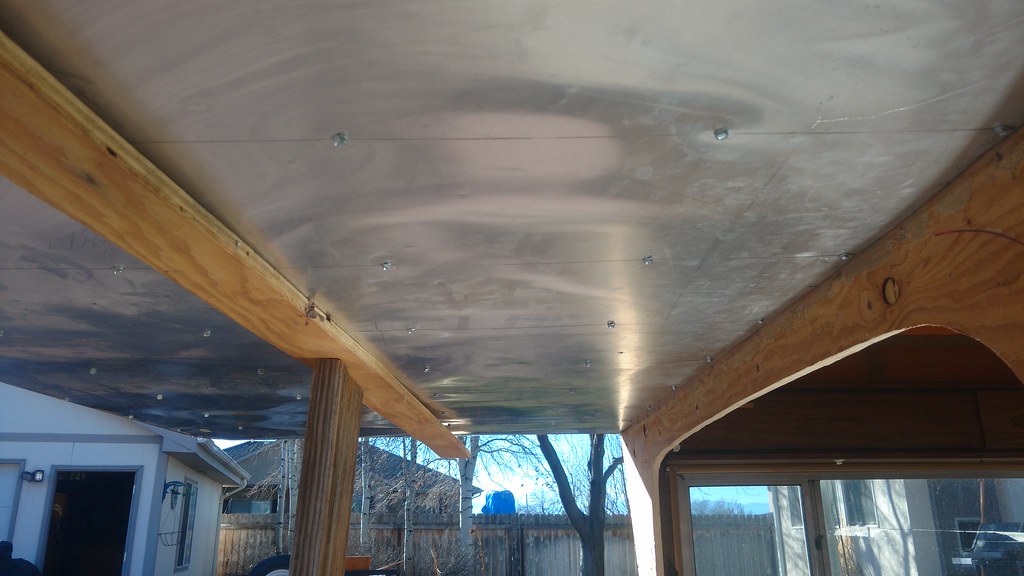
The roof needed resealed and all the screws replaced. The old vent was wasted and got a fresh one from one of my tech's tearing apart another RV.
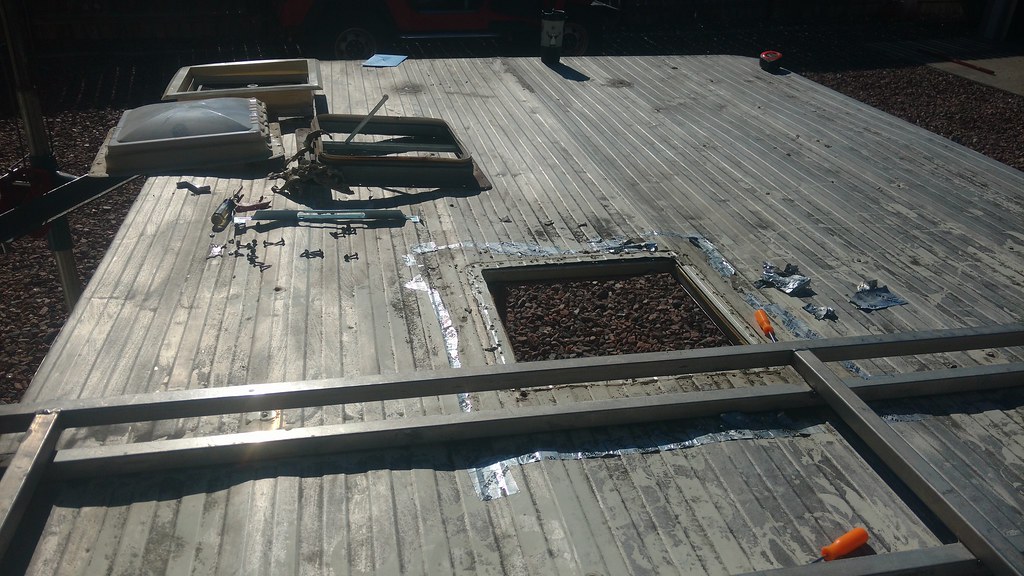 Work on the roof
 by
Rob Zulian, on Flickr
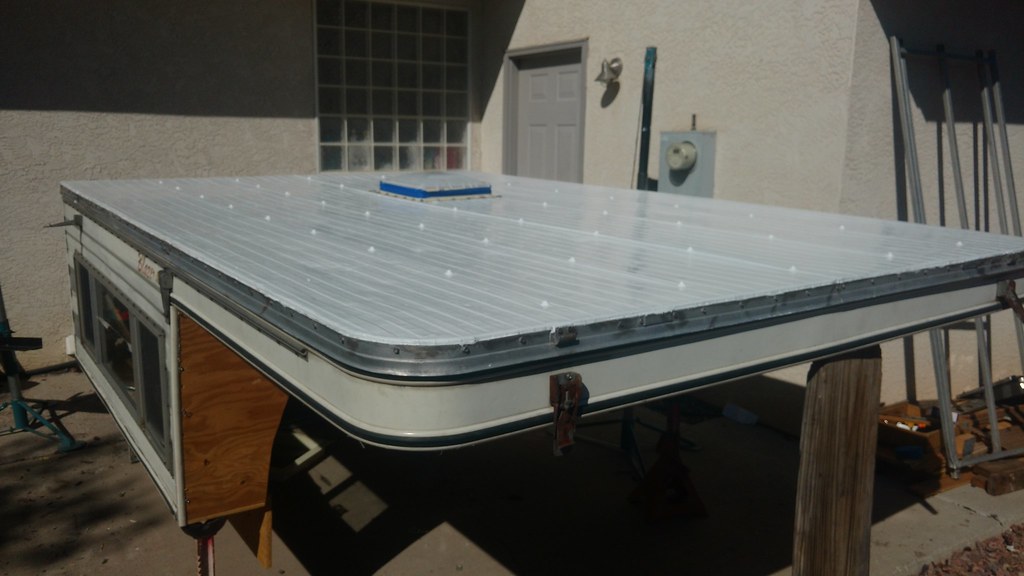
The rack got pulled for better access and the entire roof cleaned of old garbage with a wire wheel, scrubbed and dried. Then coated.
Work on the roof by
Rob Zulian, on Flickr
 Work on the roof
 by
Rob Zulian, on Flickr
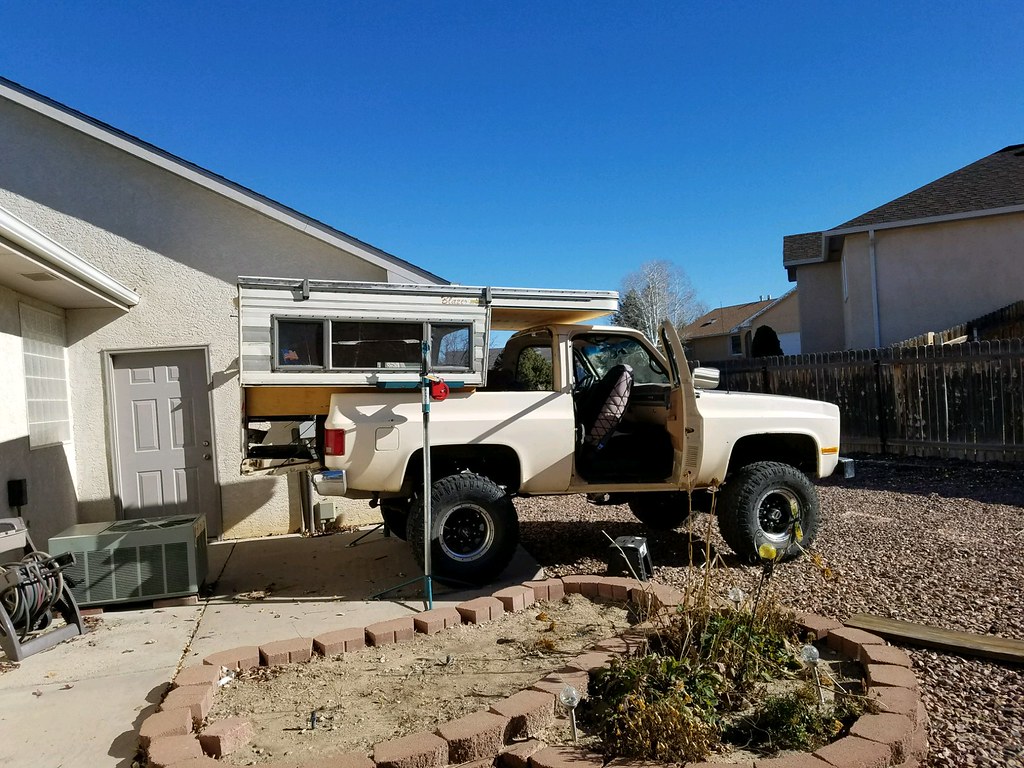
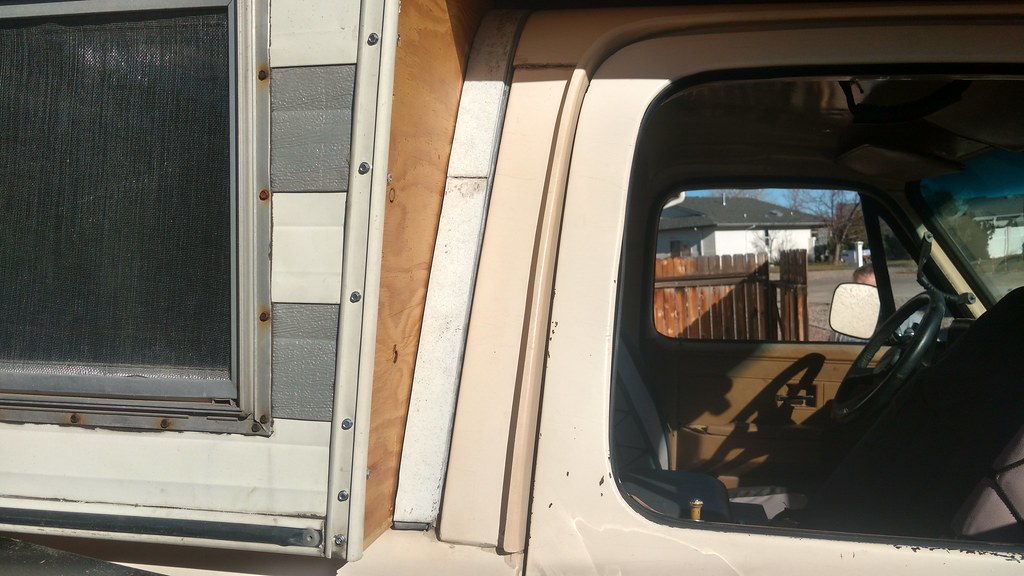
After seeing the piss poor setup for sealing the camper to the truck when we first loaded it (all they use is foam camper tape) I knew it had to be done in a better way. So we had to get the truck back under the camper to get solid measurements for an idea I had.
 21902
21902 by
Rob Zulian, on Flickr
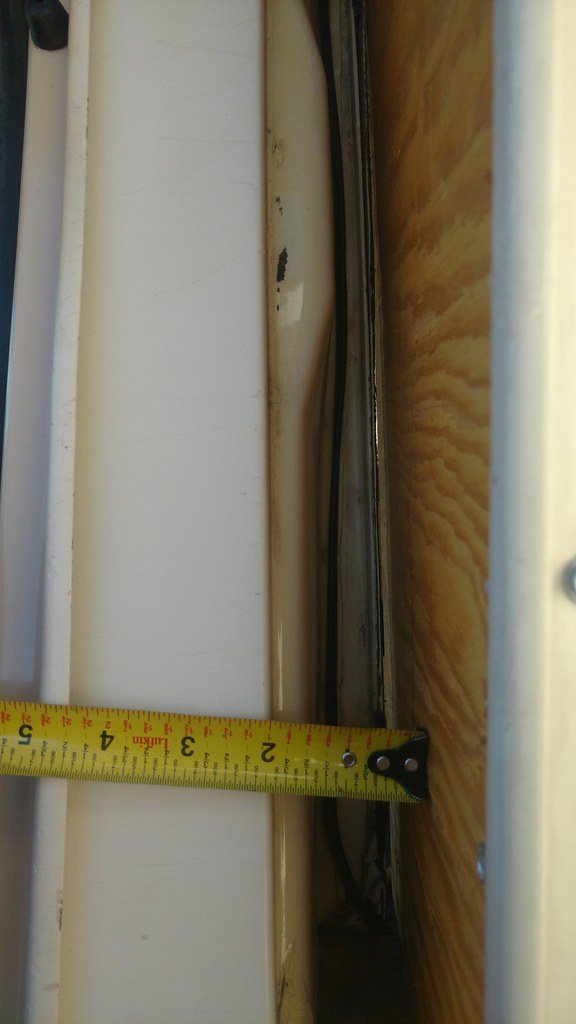
You can see the problem here. The cab has a natural channel built in for the stock seals to go to for the top. Without the fiberglass top in place the channel is a natural path for the drainage to go right to the bedrail and then inside.
 IMG_20171210_120141109
 by
Rob Zulian, on Flickr
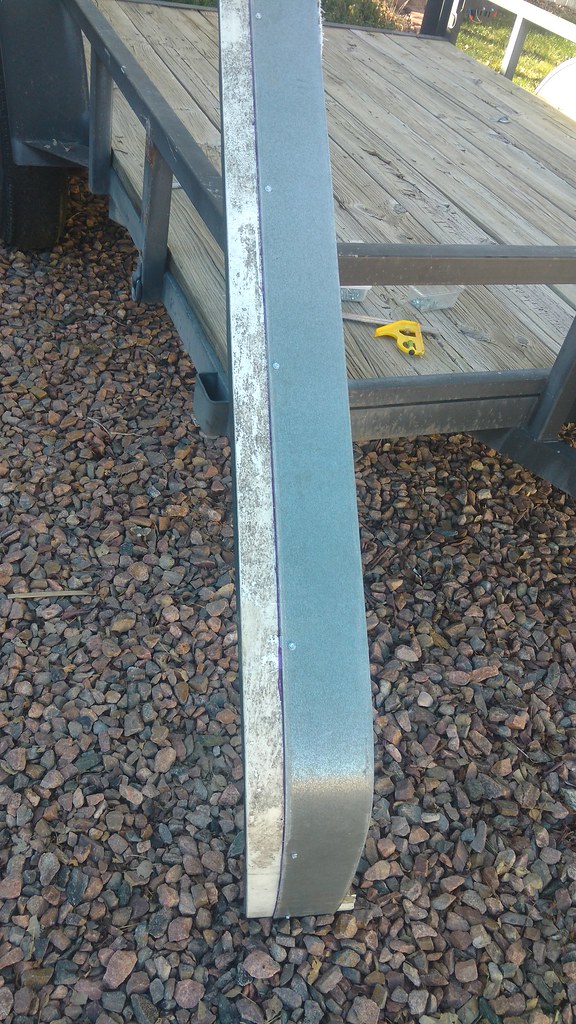
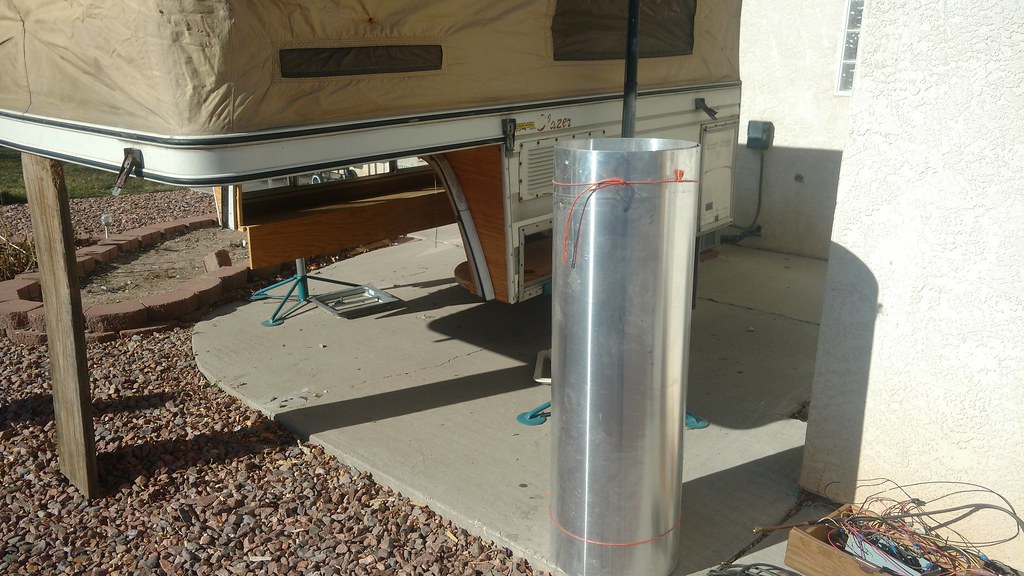
I sourced another K5 top with help from a member on CK5.com who chopped it down to the first few inches for me. After getting the measurements needed with the camper and K5 together we screwed down a section of landscape edging for a straight edge.
 IMG_20171210_124559809
 by
Rob Zulian, on Flickr
Let the cutting commence..Measure twice cut once right?
 21905
21905 by
Rob Zulian, on Flickr
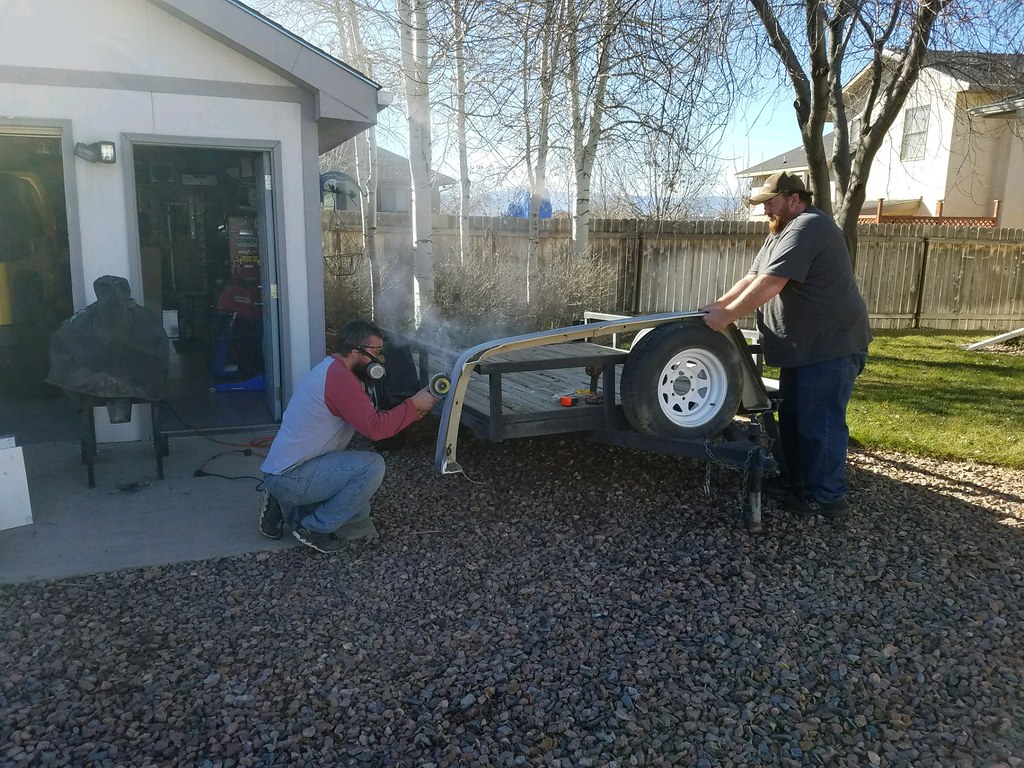
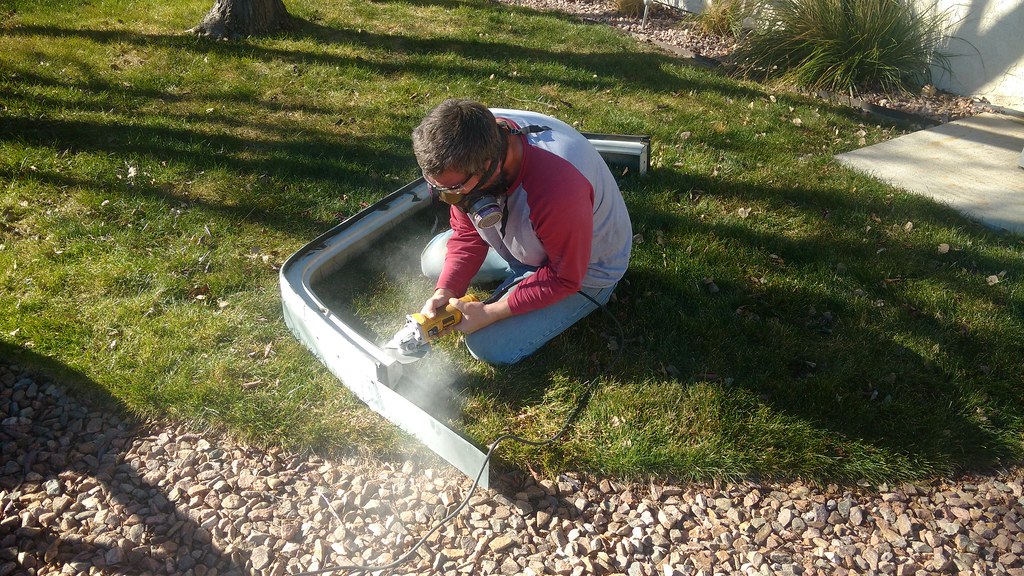
This is Shane, Johns brother doing the inside surgery with the wheel of death.
 IMG_20171210_125935445
 by
Rob Zulian, on Flickr
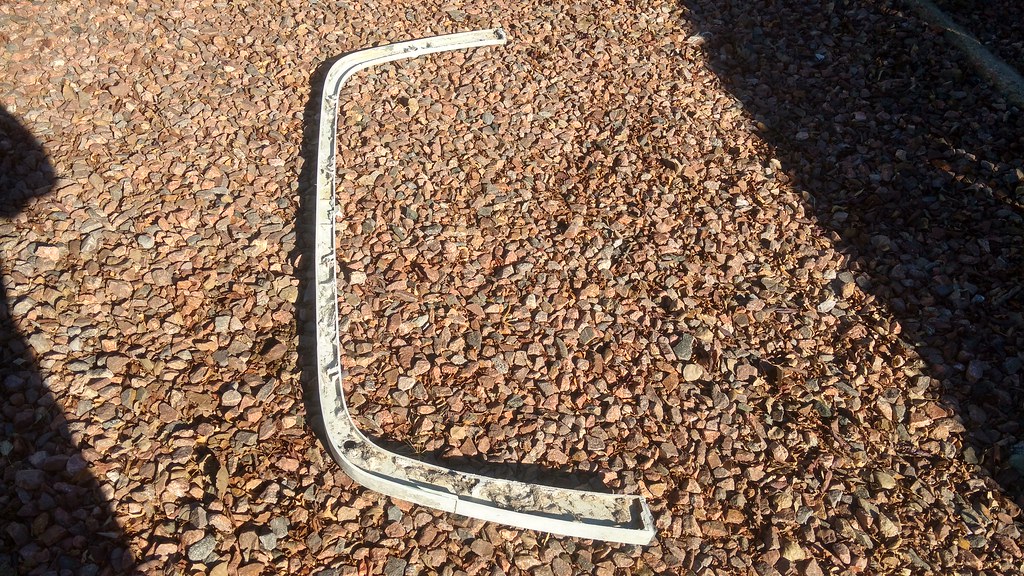
The final product. Just enough to fill the gap.
 IMG_20171210_131000050_HDR
 by
Rob Zulian, on Flickr
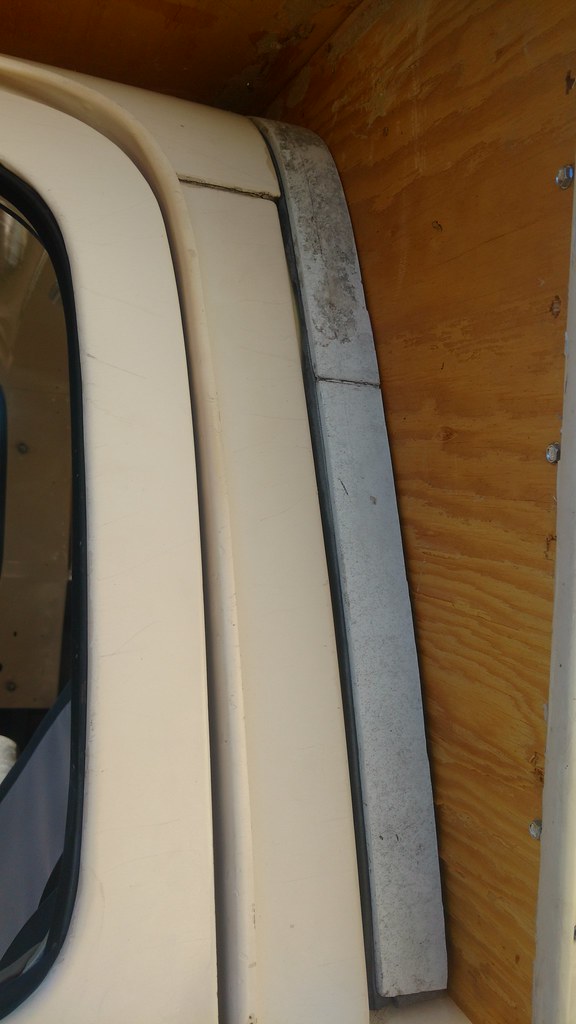
Here's the part mocked in place. Fit like a glove.
 IMG_20171210_131820652_HDR
 by
Rob Zulian, on Flickr
 IMG_20171210_131800746
 by
Rob Zulian, on Flickr
With the top section in place, holes were added from the stock top holes back through the front wall of the cab for 6 additional points to bolt the camper to the cab. We still need to skin the outside exposed wood with some sheet aluminum one of my co-workers had stashed away.
 Work day on the camper.
 by
Rob Zulian, on Flickr
Cab floor section glued and screwed in place.
 Work day on the camper.
 by
Rob Zulian, on Flickr
Cab wall trimmed out with the fiberglass bolted in place.
 Work day on the camper.
 by
Rob Zulian, on Flickr
Cabinet rebuilding started.
 Work day on the camper.
 by
Rob Zulian, on Flickr
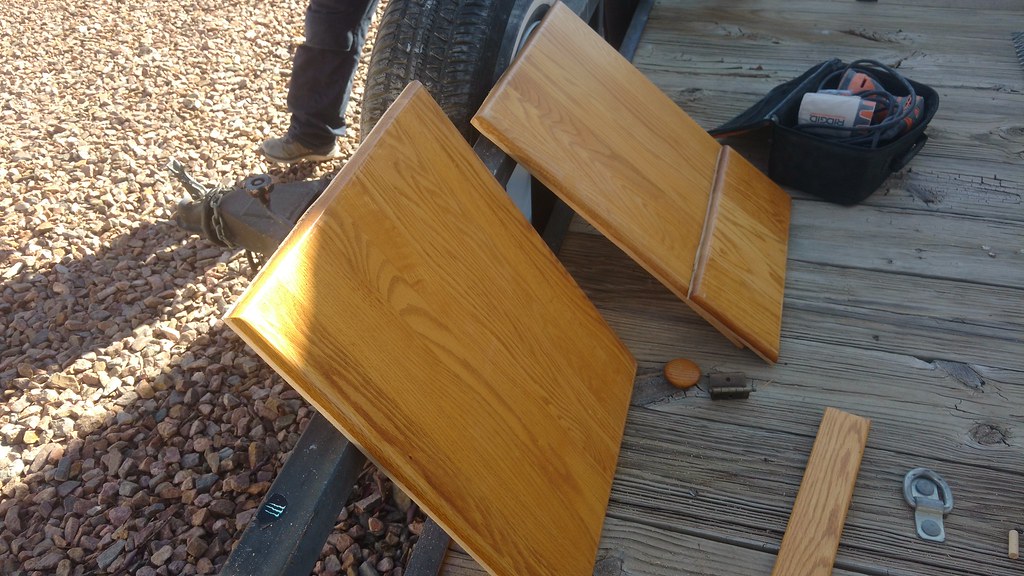
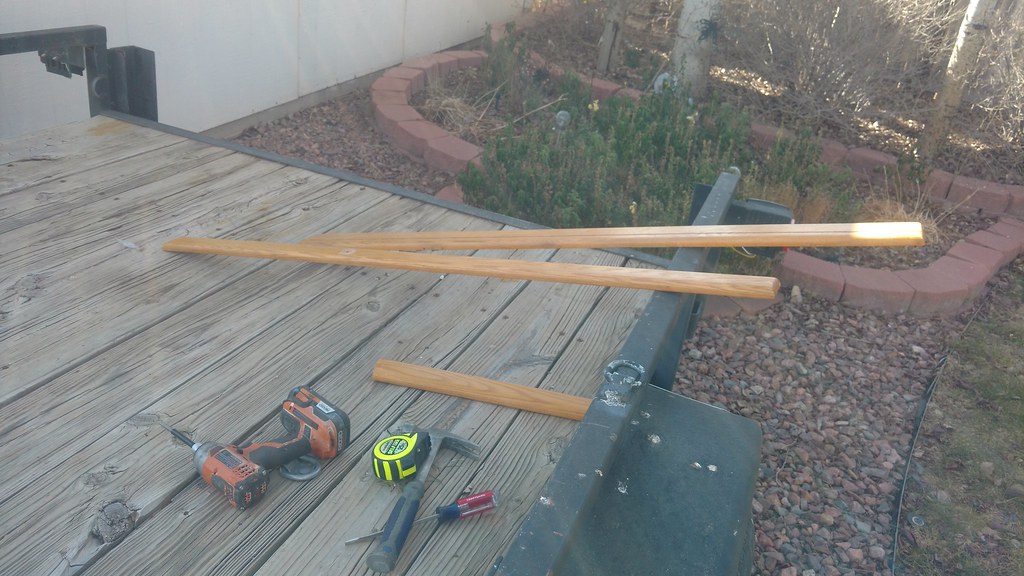
John had some oak paneled doors from other cabinet he salvaged and didn't have any use for them we could repurpose them for this project.
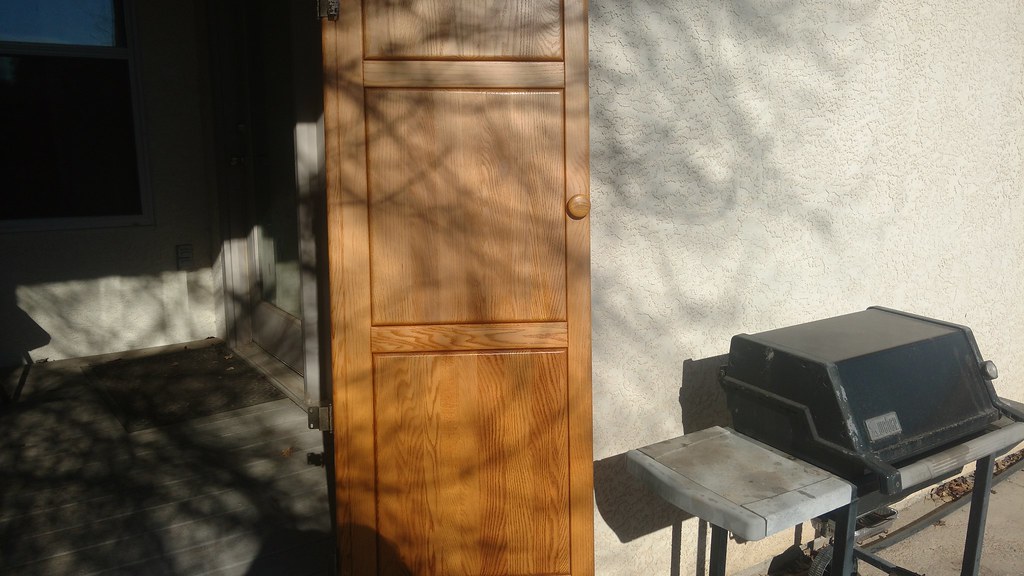 Work day on the camper.
 by
Rob Zulian, on Flickr
 Work day on the camper.
 by
Rob Zulian, on Flickr
 Work day on the camper.
 by
Rob Zulian, on Flickr
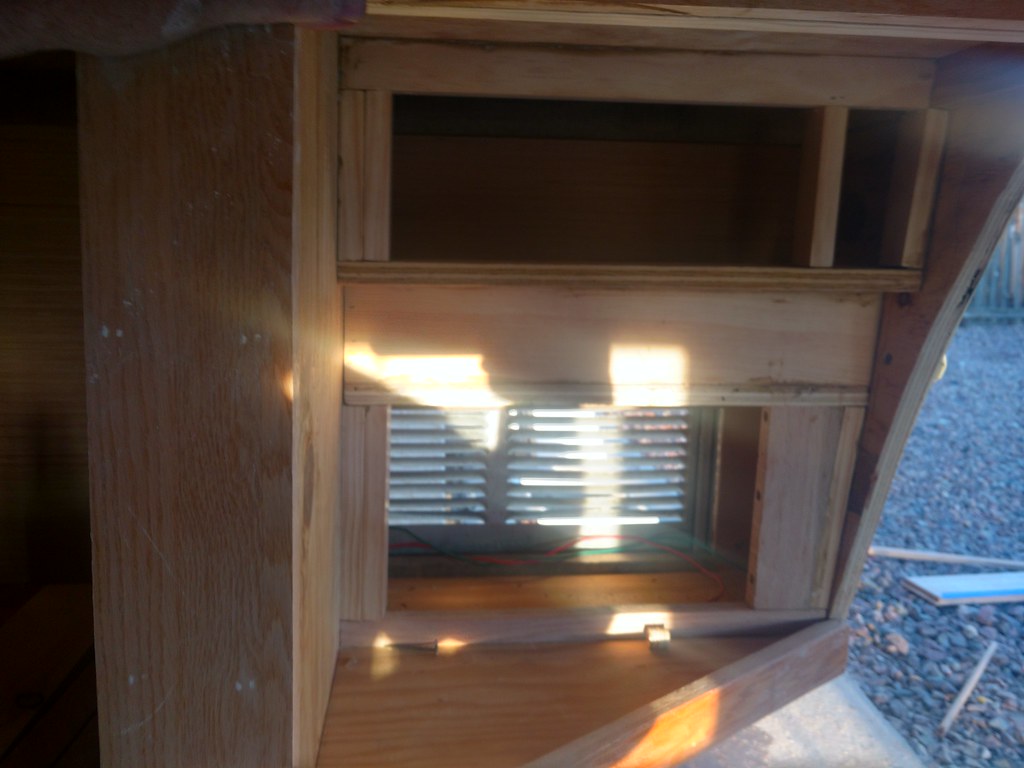
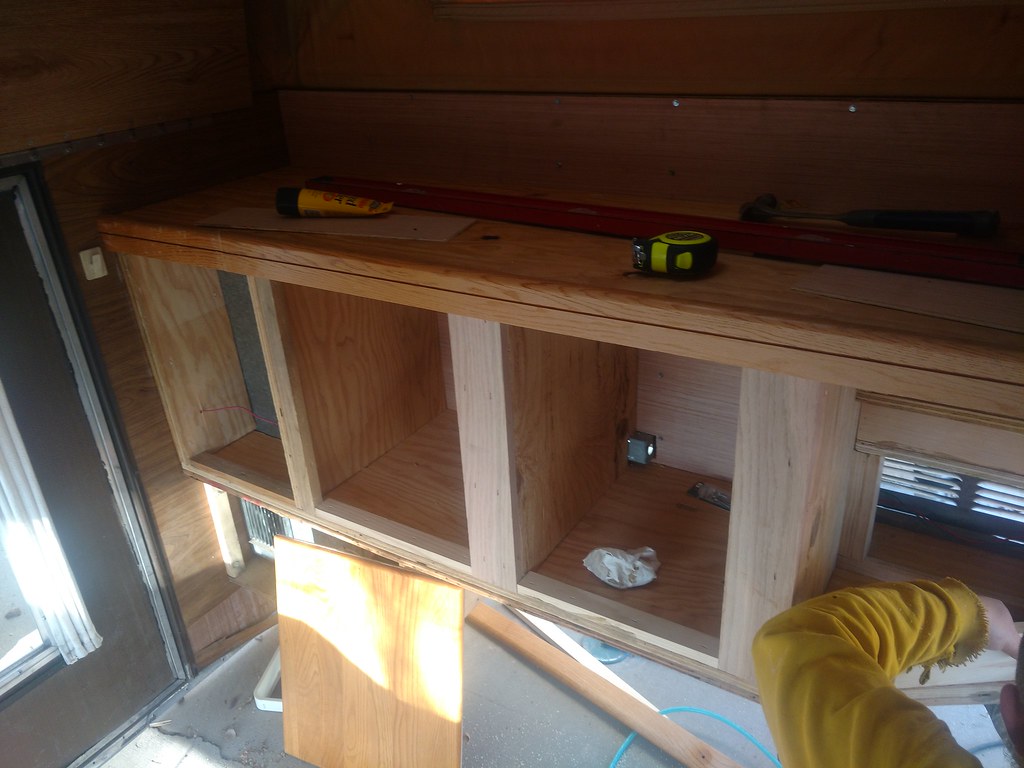
Framework completed.
 More work
 by
Rob Zulian, on Flickr
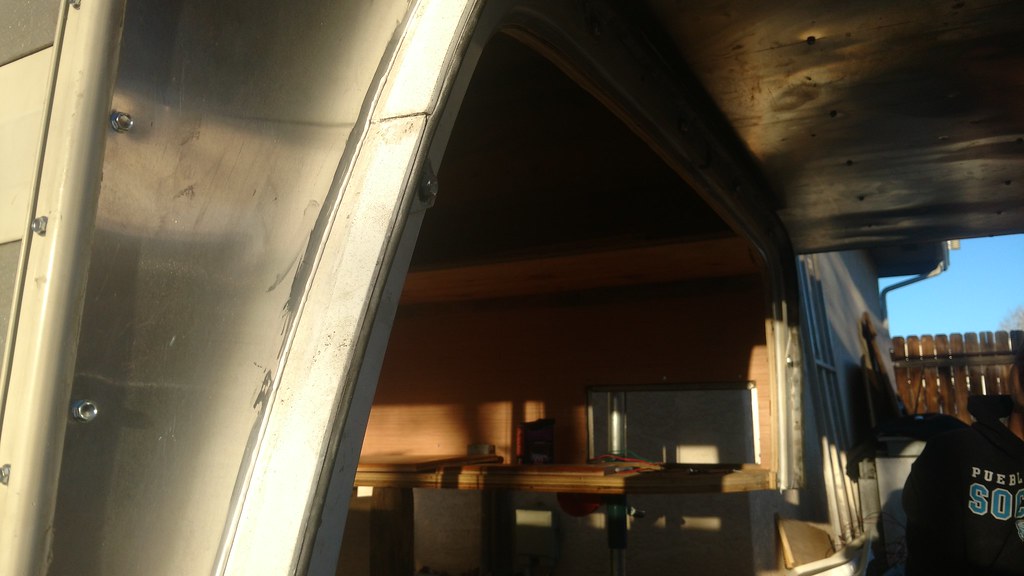
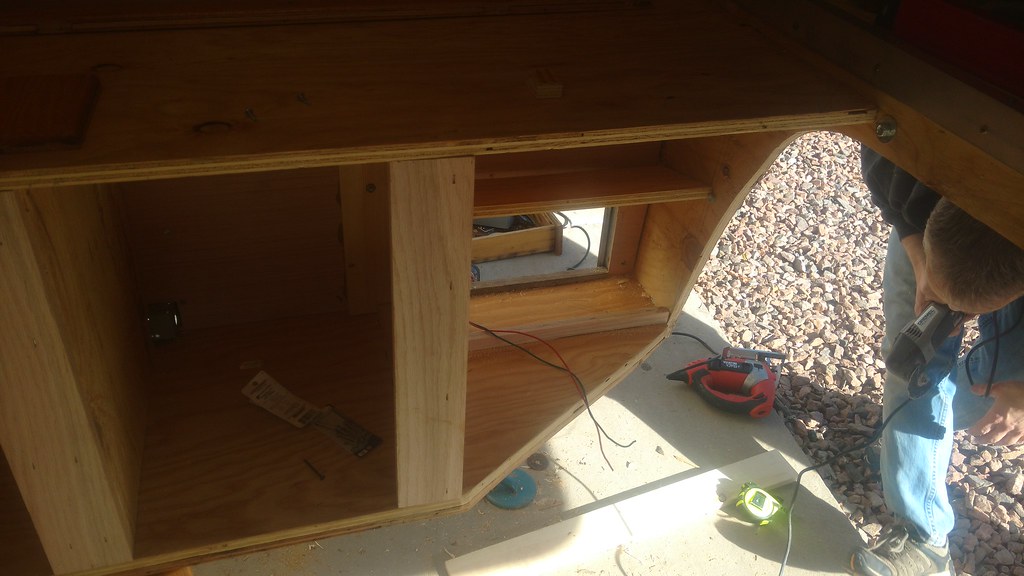
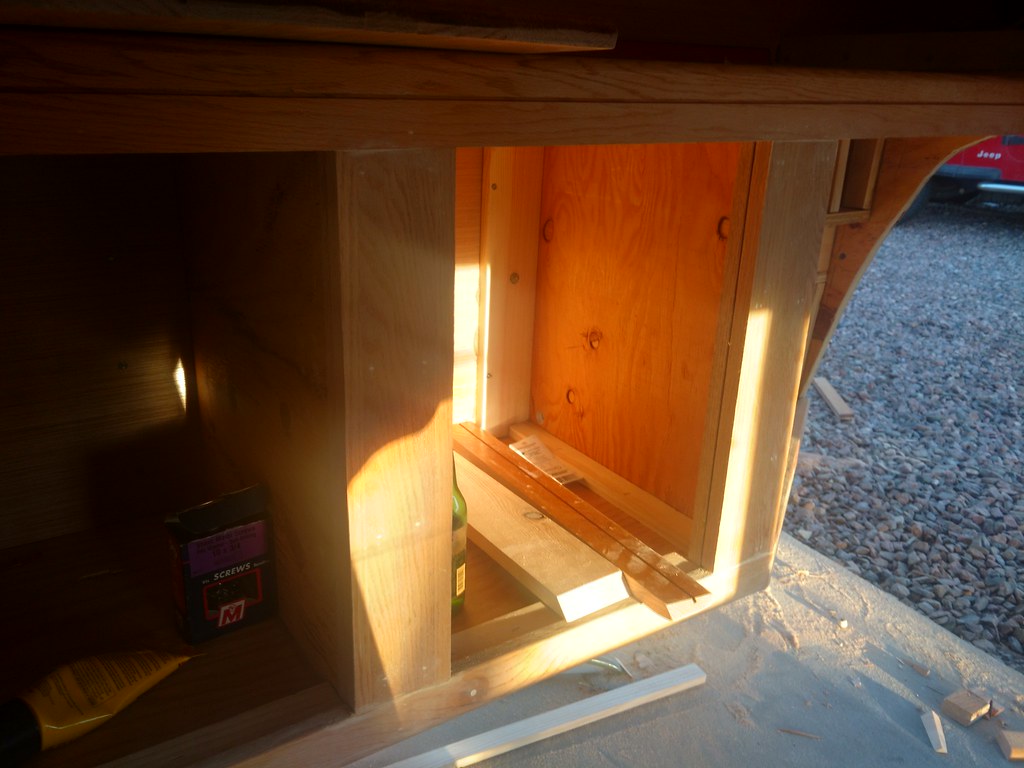
Front corner was cut back to allow for clearance to my drivers seat. You'll notice the cab wall opening is cut open larger than the original version. Again this was done due to interference with the front seat not allowing it to move all the way back and have the seat back in a position I find comfy.
 More work
 by
Rob Zulian, on Flickr
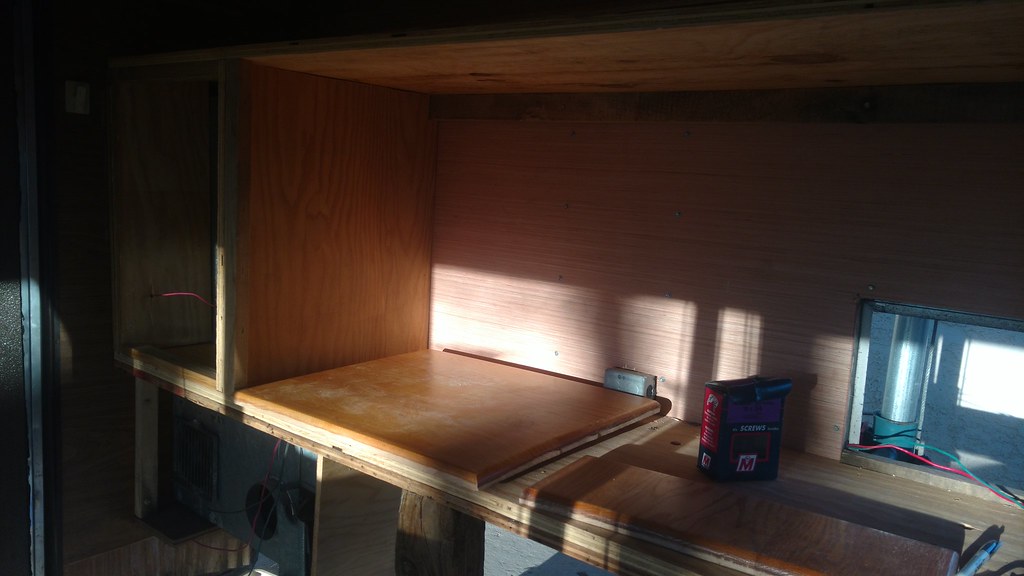
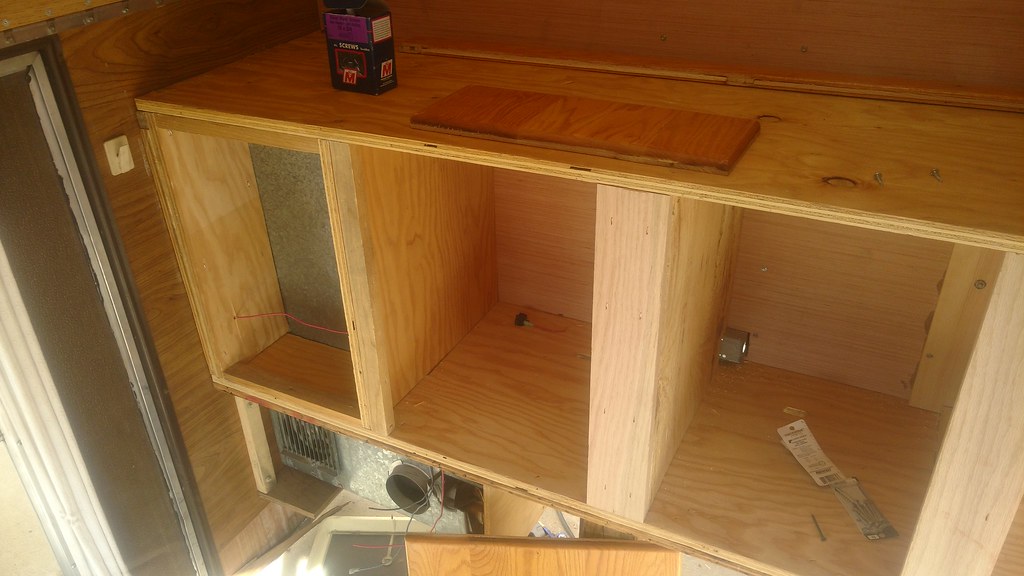
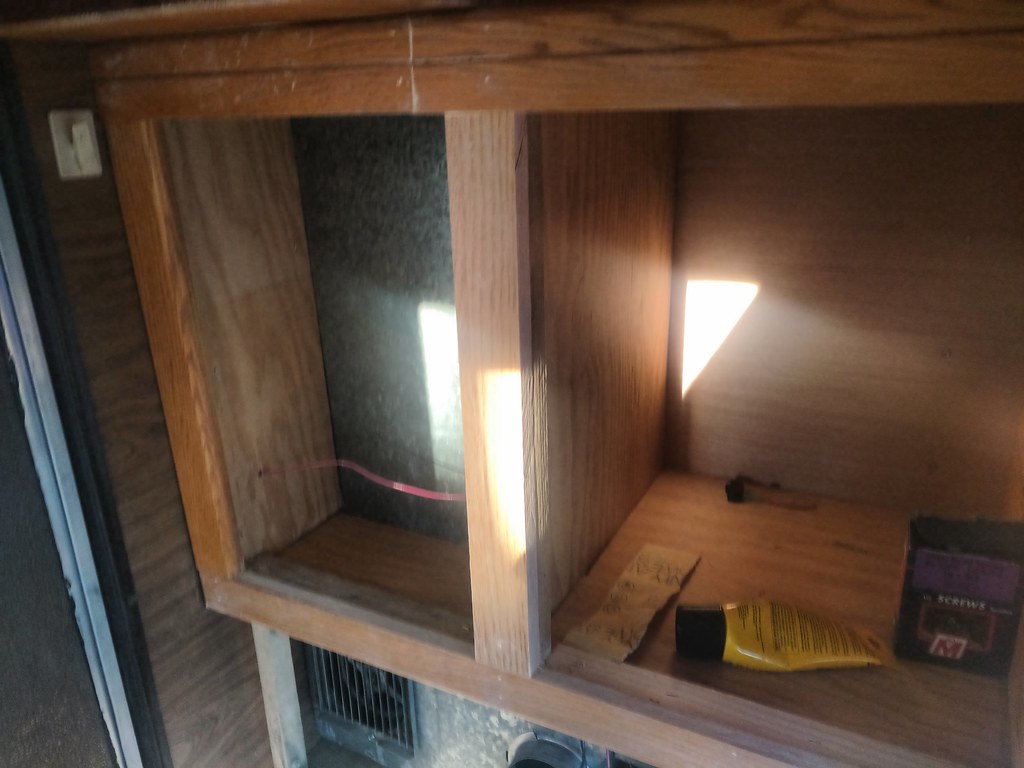
This area will be very usefull. Lower cubby will contain the fuse panel and be the wiring hub for the camper. The middle vertical panel will be where the solar control panel, battery monitor panel, usb charge ports and switches will reside. The upper cubby will be for storage of small items.
 Cabinet work.
 by
Rob Zulian, on Flickr
Cabinet framed out with the oak trim. Still need to hang the doors.
 Cabinet work.
 by
Rob Zulian, on Flickr
 Cabinet work.
 by
Rob Zulian, on Flickr
The countertop will be cut out of stainless steel and inset on the top.
 Cabinet work.
 by
Rob Zulian, on Flickr
The cabinet is a large hurdle to get completed. All that is left to it is hang the doors, sand, stain/poly. Next phase is the inside of the roof. The stock headliner was water damaged and falling apart. So it's getting pulled along with the fiberglass batting insulation. Higher density foil backed insulation will be going back in, wiring run for the solar panel, lights and vent fan. The headliner going back in will be a plain white shower wall board. The wallboard is fairly thin/light and the white will brighten up the interior even with the lights off. Plus side is it's water resistant. We will probably reconstruct the lift panels in round metal electrical conduit and make a stronger setup than the plywood panels that are warped to hell.
From there, the camper needs the lower bench redone and the floor stripped of carpet and recovered in a vinyl flooring of some type. Then it's time to drop the camper on again.