Thanks guys. I have been trying to pick up the pace a bit, but everytime I do something I spot 2 more things Id forgotten about! Continuing on with my to-do list I tackled the front bumper. My options here were a bit limited due to the grill design of the Fargo. The grill openings limited me to using the inner sides of the S10 frame rails (which had to be shortened a fair bit to sit behind the curved grill). To deal with this I capped off the ends of the rails with some plate steel, and then built brackets to reach the bumper. These trucks didnt have bumper brackets- the bumpers bolted right onto the front frame rails. I wanted adjustability, so I made 3 inch mounts that sit inside the bumper (which is 4 inches inside). By mounting the bumper at the mid point, I have a half inch adjustability up and down at each mount (I made a bunch of big shim plates to allow me to fool around with levelling things out-I still need to drill the holes in them). Oblonging mounting holes on the mounting brackets if/as required will allow for minor side to side and in/out adjustment. Heres what I ended up with:


The issue of the gas filler tube was something I had been grappling with for a while. I really like the stock look of the Fargo with the filler cap in the corner of the cab, just behind the drivers door, and I wanted to keep that original look. In the end, I opted to put the filler in the box, and leave the stock filler mounted in the side of the cab (modified to protect against anyone ever accidentally trying to fill my cab up with gasoline!).
I then got working on the new filler. I decided to come up through the bed, and conceal the filler inside a permanently mounted toolbox. I wanted the new filler to come straight up from the S10 tank and out of the bed at a 90 degree angle. The S10 tube is bent, and after a few measurements I had angle figured out. I ordered a Gates model #24712 45 degree filler hose tube and this gave me a perfect angle. The vent tube also needed to be cut and welded to a new angle, but this was just a quick cut and some mig welding. One thing I noted was that the check ball was missing from my S10 fuel filler. The plastic tabs that prevent it from falling downwards were still in place, so how on earth could this thing be missing? Once again, thank god for that old Blazer in my driveway. After a miserable half hour in rather frigid temps I had removed the Blazer filler and confirmed that the check ball was still in it. Heres a shot of the S10 filler, the Blazer filler and the check ball that came out of the Blazer filler:

Heres the S10 filler, with the excess length removed to shorten it up:
[url=https://flic.kr/p/2kE66GA]

By gentle bending of the plastic tabs, you can remove or insert a fresh check ball. A few hours later I had my modified S10 filler done and coated with some paint (and I can now say that I have performed my first ball transplant

) The modified filler is about 5 inches shorter than stock. Here is the finished filler:

Next was the bed. I spent a ton of time getting the correct heights for the bedsides and lining everything up nicely. Actually, nicely may be an overstatement. This truck was bashed so badly that its simply not possible to line things up perfectly, so I focussed on eliminating things that catch the eye and basically averaged out all the errors. For the bed itself I opted for 14 gauge checkerplate steel. It will quickly rust to blend in with the rest and it keeps me from losing more bed depth. If I ever decide that I want the look of old wood, I can easily get my hands on old barn boards around here, and mount them on the bed. I could even use relatively thin boards as they would just be a veneer over the steel. With the help of an able bodied assistant I was able to cut that sheet of checkerplate to length, trim out the spot for the filler tube, and slide the whole mess into place, sort of
..On our first try it got stuck between the bedsides and we couldnt figure out why. It turns out that the 48 inch width of the sheet was actually 48 ¼. After a long slice with the angle grinder it slid right in. Angle strips for the bedsides are not something that I can easily pick up around here, so I just used the thinnest angle iron I could find (still a bit thick for my liking, but plenty strong!). Instead of welding the strips to the bedsides I opted to use bolts as I dont know what the future holds for this truck and I want to be able to make changes easily. The bed rests on a sturdy frame that I made for it. The frame is 100% square and sets the box right into place without the need to measure anything. The supports on the frame will also keep the checkerplate from sagging if I walk in the bed. Realistically the heaviest load this thing will ever see is a person walking on the bed. Now it was just a matter of drilling a bunch of holes and tossing in nuts & bolts.

Hindsight thought: If I ever do this again, I will just reuse the S10 bed and crossmembers. The tiny bit of extra bed depth that I got was not worth the hassle and cost of making the fancy frame. With the bed on it was time to finally finish off the fuel filler. As Id said earlier, I really wanted to keep the outsides of this thing looking as original as possible, including keeping that cool old filler tube that sticks out of the cab behind the drivers door. I however had no intention of running fuel through the cab, so heres what I did to keep the look. The original filler tube was left in place, but it was cut off inside the cab and a plate was welded inside:


And now I had that original look, without the possibility of anyone ever sticking a gas nozzle into it and filling up my cab:

Of course I will need to add gas to this thing so I added the modern S10 filler tube but kept it out of sight. My filler tube now comes up out of the bed
...

...and it lurks inside of an old ammo box
.
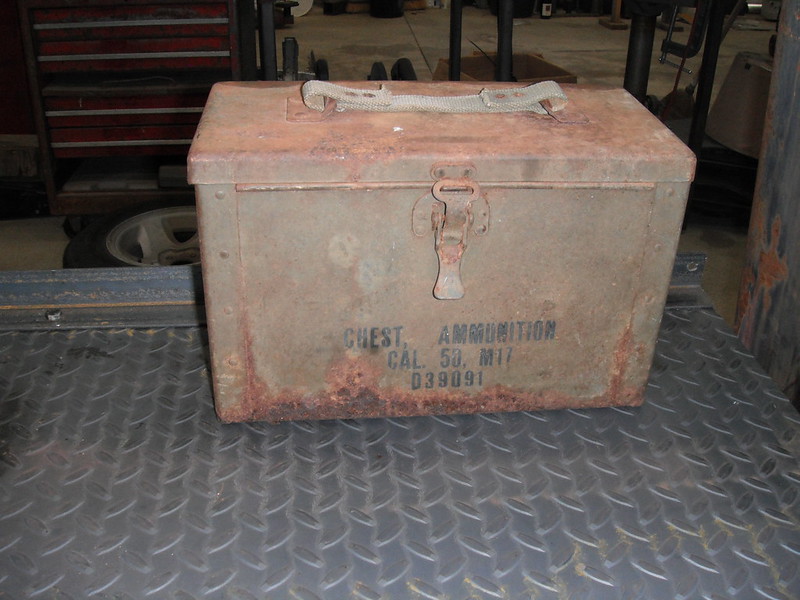

I will eventually replace the old ammo box with a larger toolbox that can also hold a jack, flashlight, emergency repair tools, etc. but right now with the covid lockdown in effect I have no swap meets or flea markets to go to in order to hunt down neat old stuff. And heres the tail end of things now:

Thats enough for this post. More to follow!