Budget first:
previously was 1278.61
new money:
coil spacers from belltech: 42.32
bumpstops: 9.99
rear axle: 266.68 from city salvage
drum turning: 21.56
new total: 1619.16
well, that did not go according to plan.
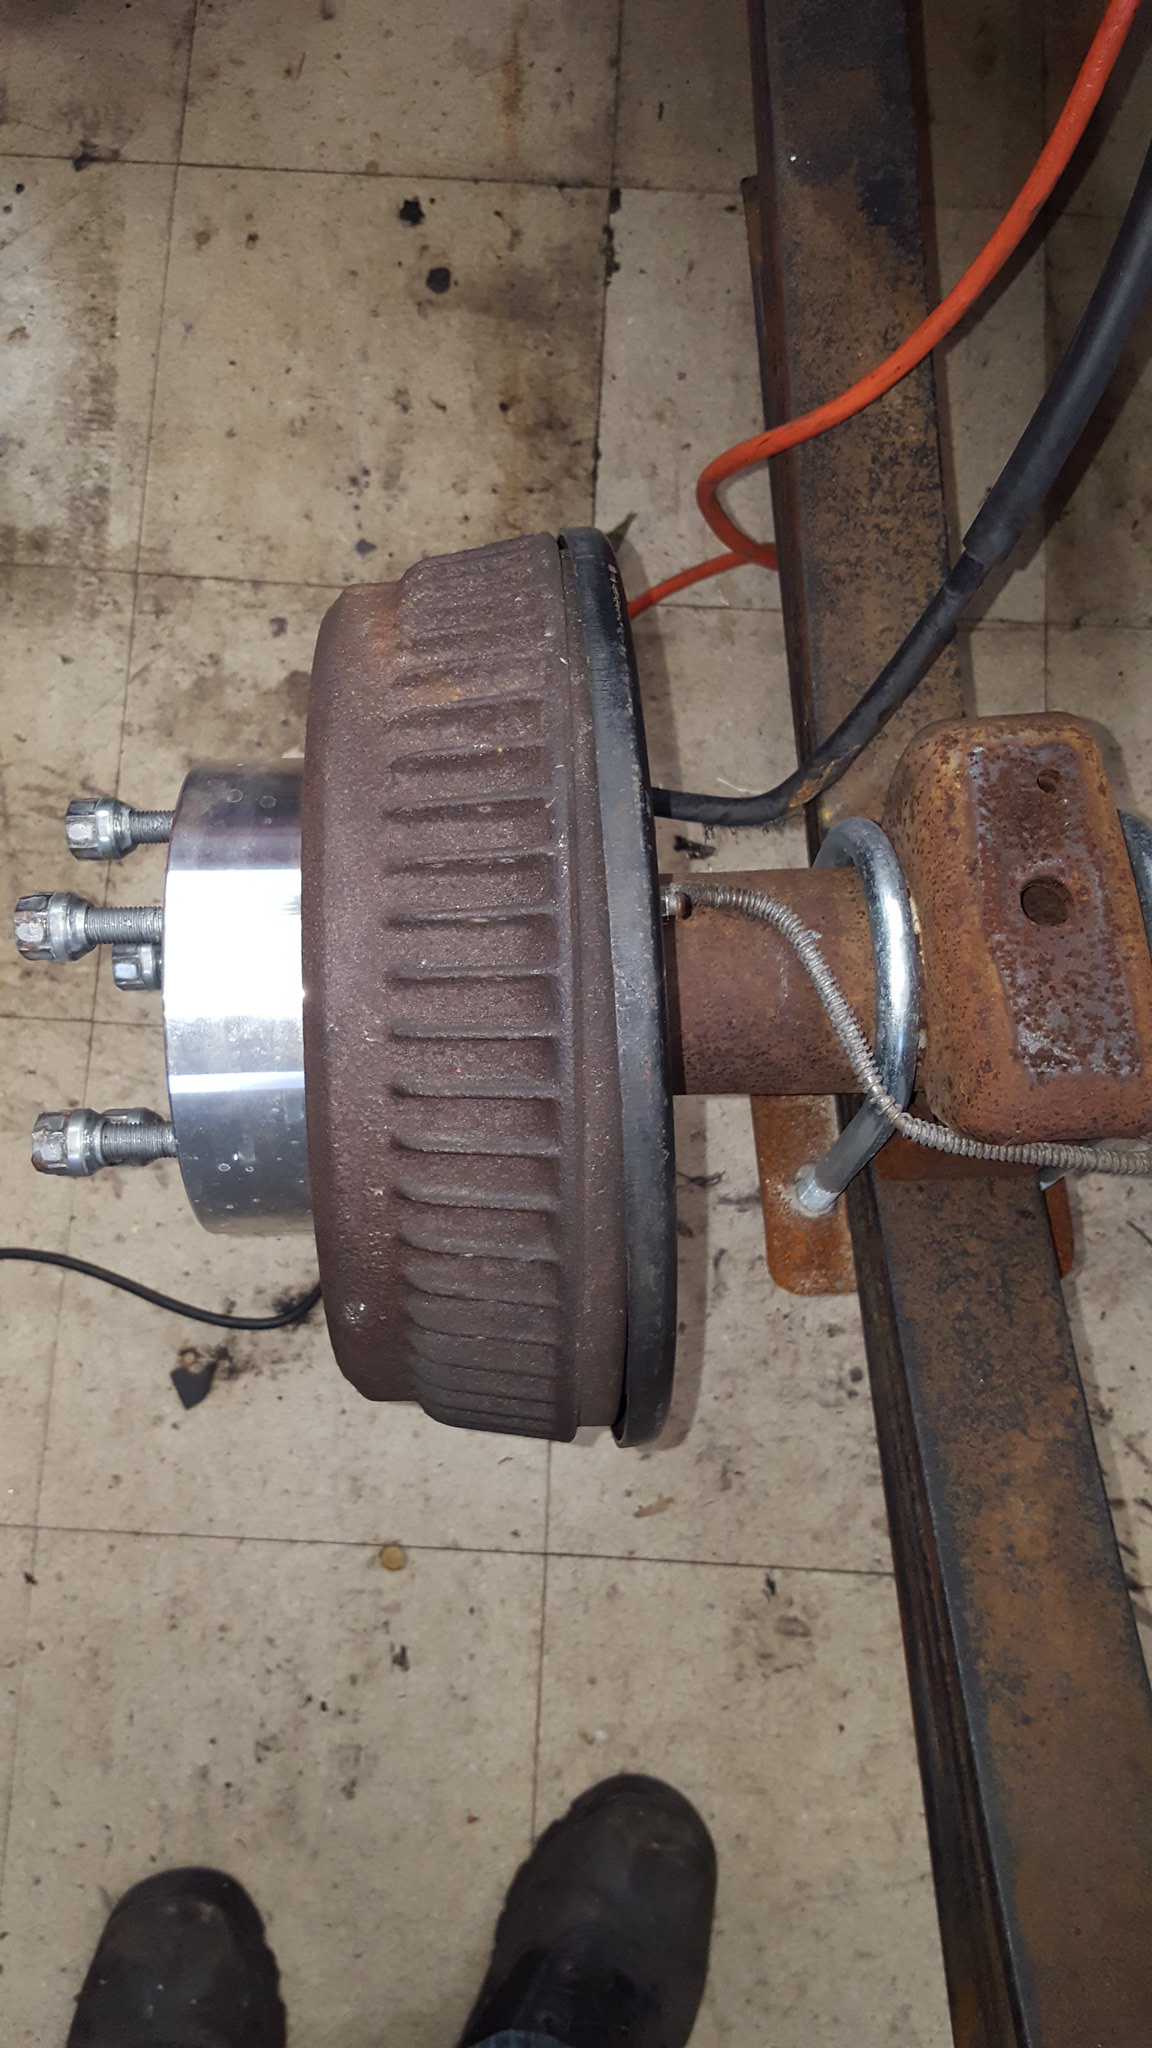
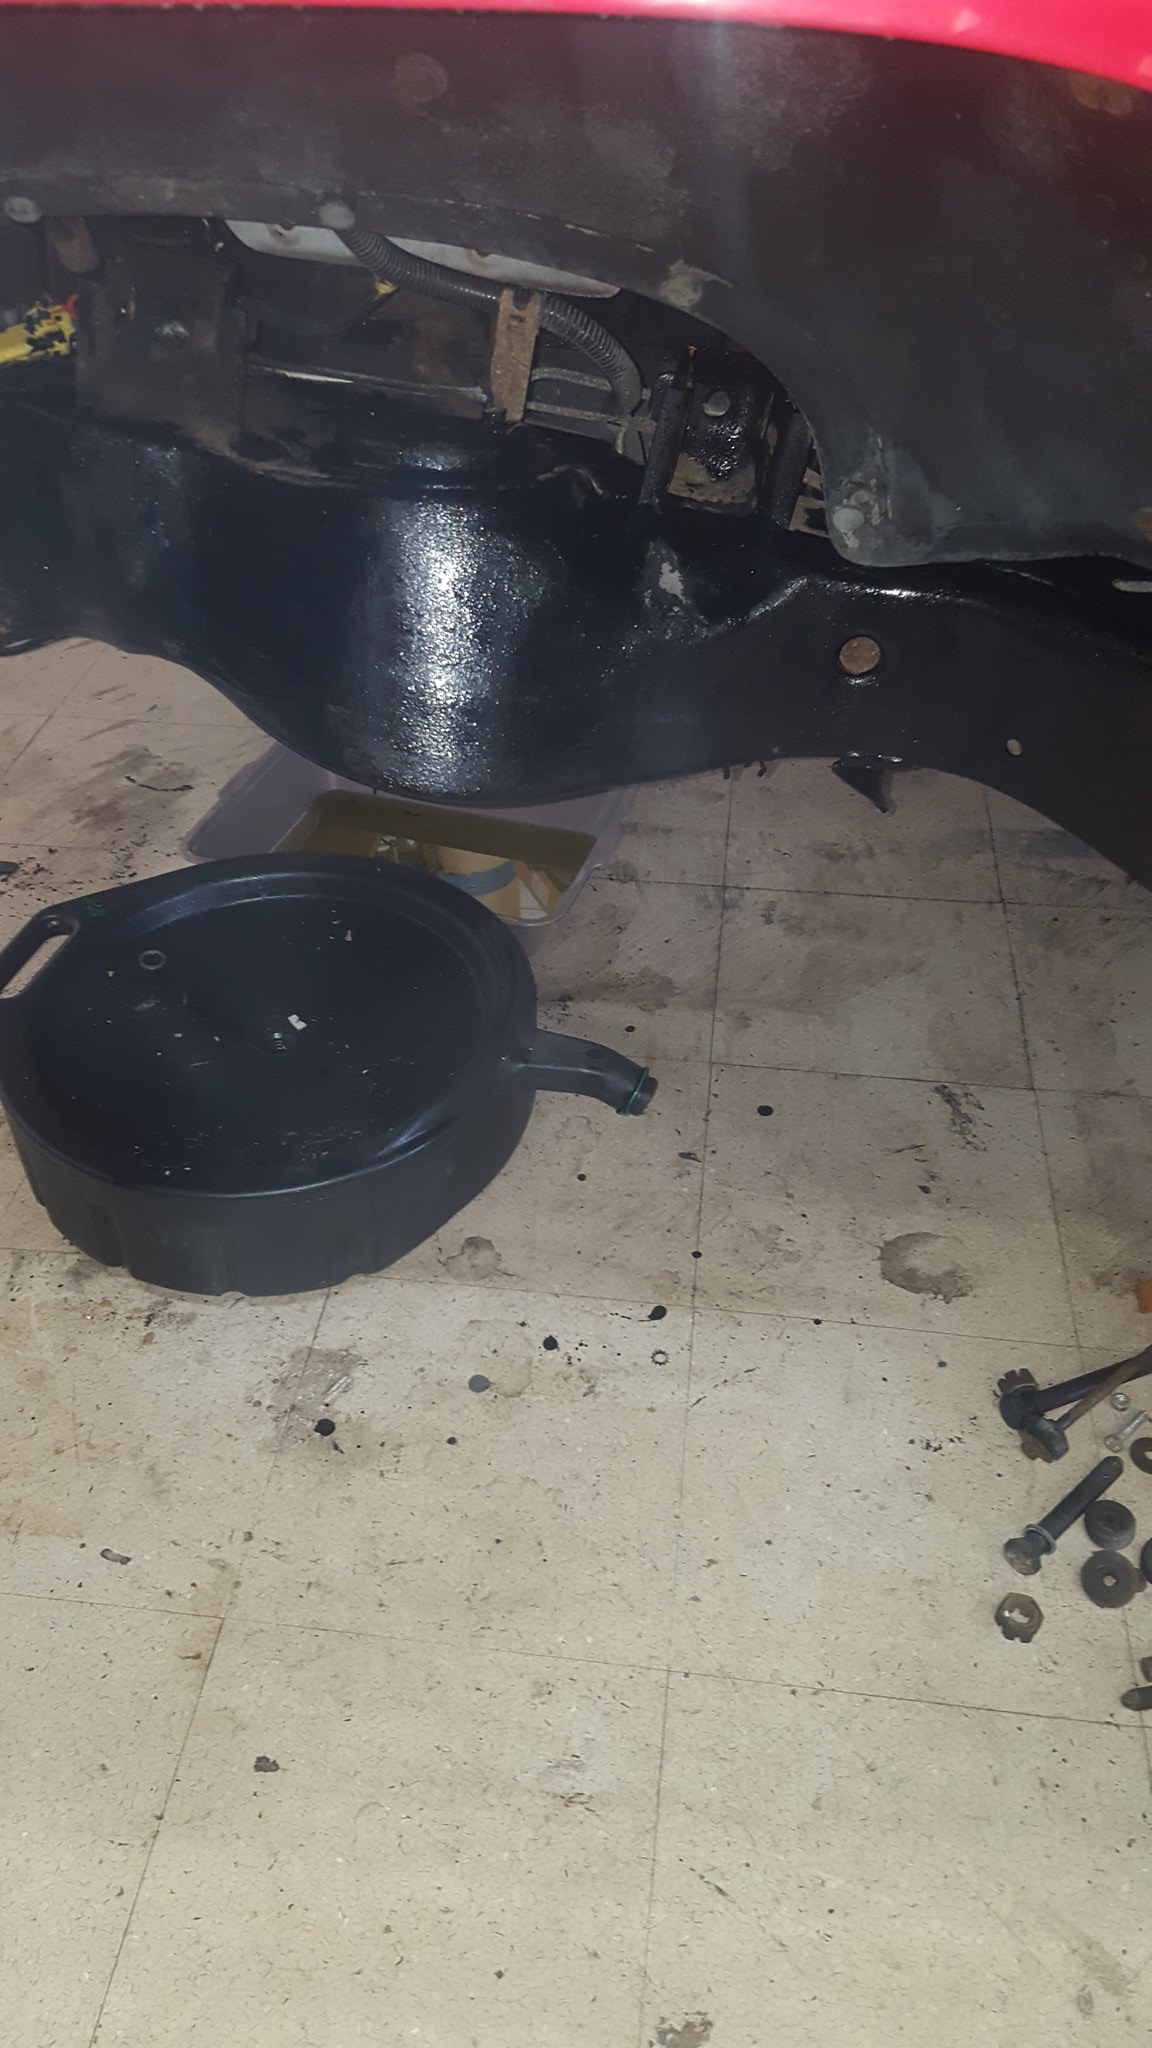
I guess where things went pear shaped was when I found this:
 20180321_135249
 by
Michael Crawford, on Flickr
I had suspected the axle wasn't square in the chassis, but this made me question weather it was bent. After some thorough measuring, I found that it was. Severely. So, a call to my local salvage yard had another open 3.42 rear dropped off on my doorstep the next day before I got home from work. This was a very unexpected expense. Im also certain I could have done it cheaper, but the convenience of delivery and having it removed for me, with the added benefit of a warranty, made it worth the money. After all, I would have had to give up a day, and borrowed a truck, to hopefully find a rear with the same ratio that was good, pull it, bring it home, etc. to save about $100. money well spent.
 20180322_204724
 by
Michael Crawford, on Flickr
whats even better is that the emergency brake cables on this rear are in good shape. Mine were not, and I had to cut them anyway to get the rear out. So, there's the hundred bucks right there.
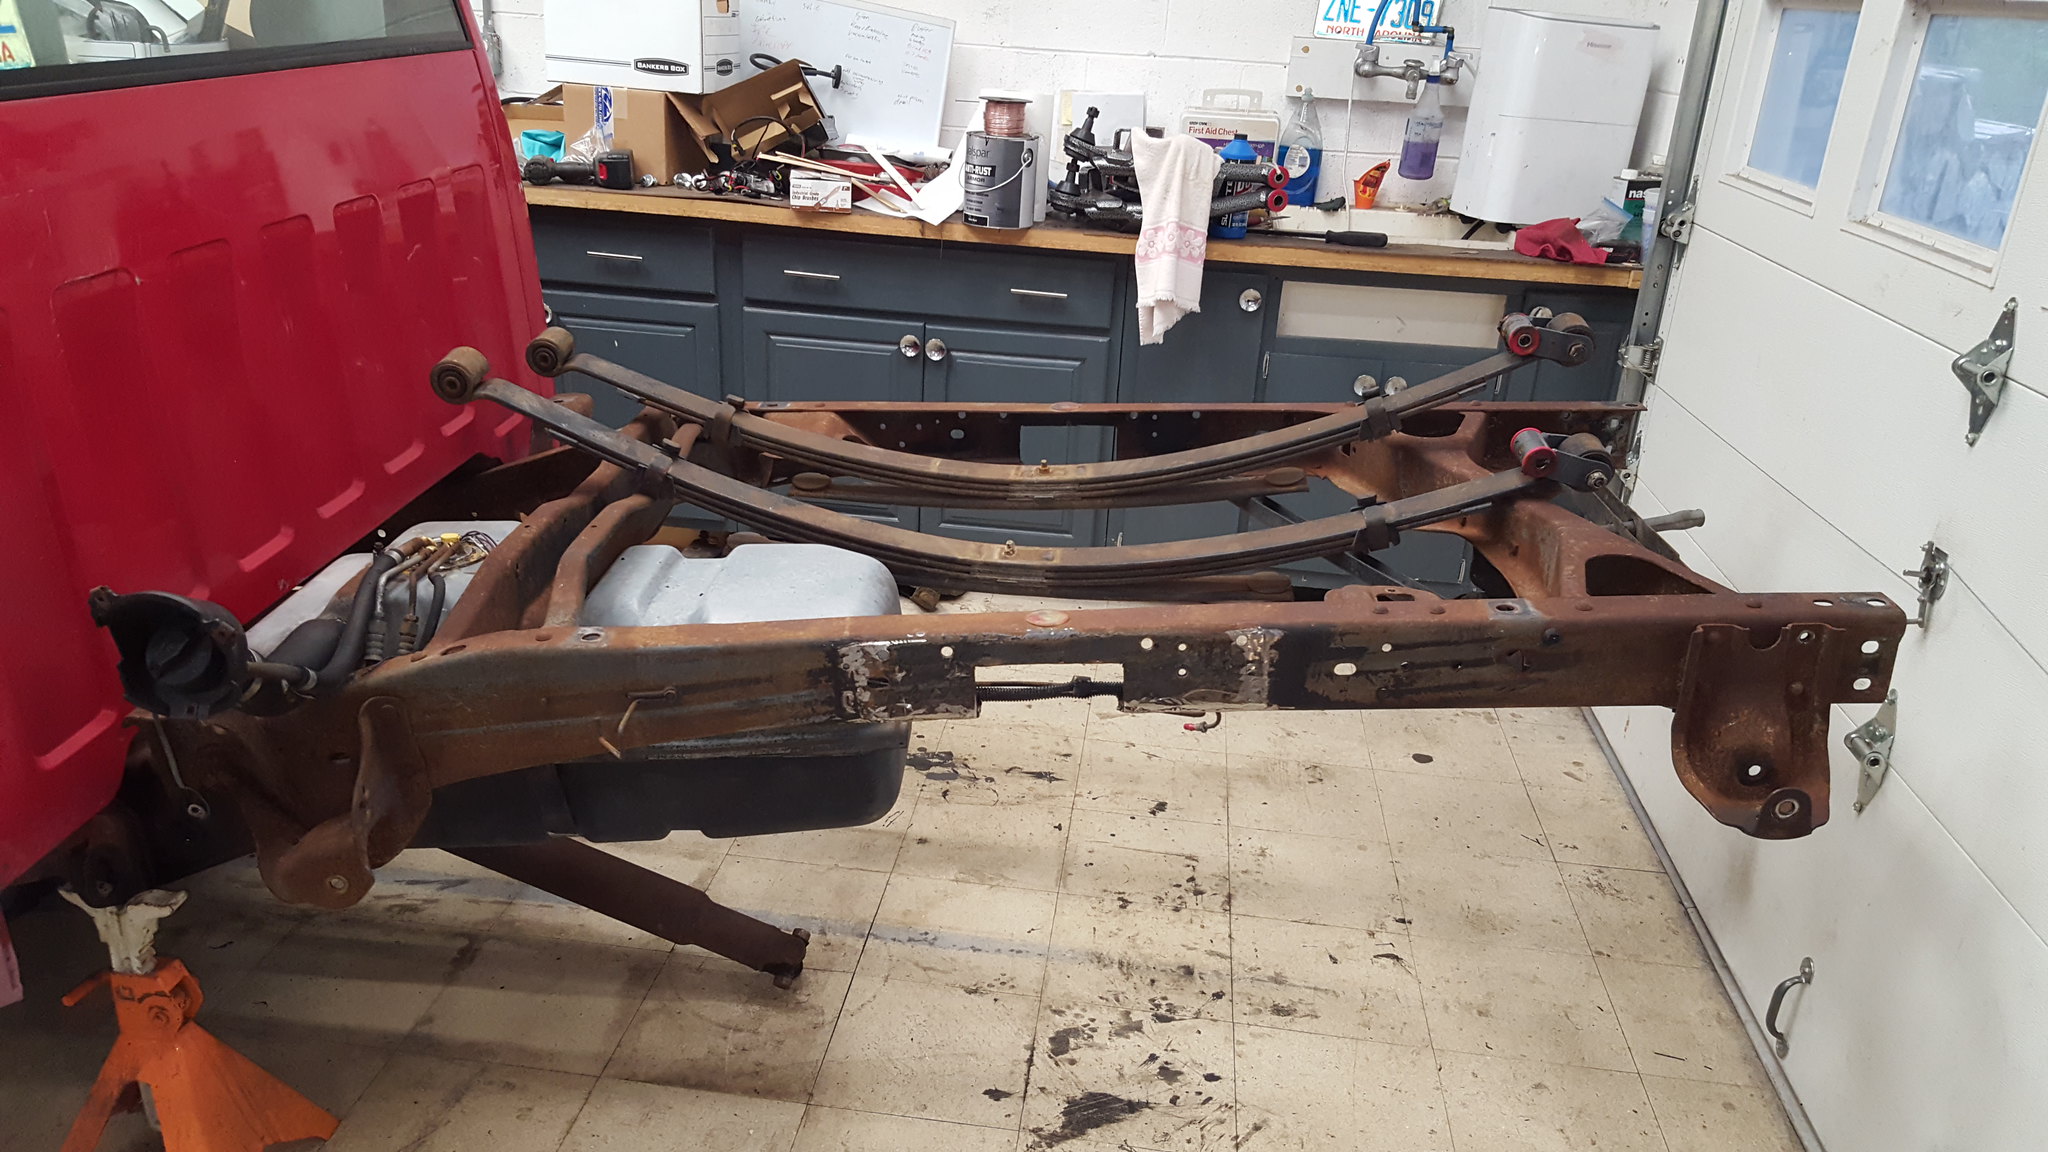
Anyway, while I was waiting on the rear to come in, I made the executive decision to redo the notch. I knew it would bug me forever if I didn't redo it. So, I pulled the bolts, ground through all the welds, and ripped the notches free. They are now in the scrap pile. Pulled the exhaust, etc from the back end as well. Stripped it all.
 20180321_190505
 by
Michael Crawford, on Flickr
took the time to remove the overload leafs, pain and re-grease the leaf packs as well as make new centering pins, clean and paint the back of the frame, clean and paint the new axle, and clean and paint the front of the frame after I ripped all of the front suspension out.
 20180322_204701
 by
Michael Crawford, on Flickr
 20180325_141238
 by
Michael Crawford, on Flickr
 20180323_224551
 by
Michael Crawford, on Flickr
 20180324_000515
 by
Michael Crawford, on Flickr
 20180324_104047
 by
Michael Crawford, on Flickr
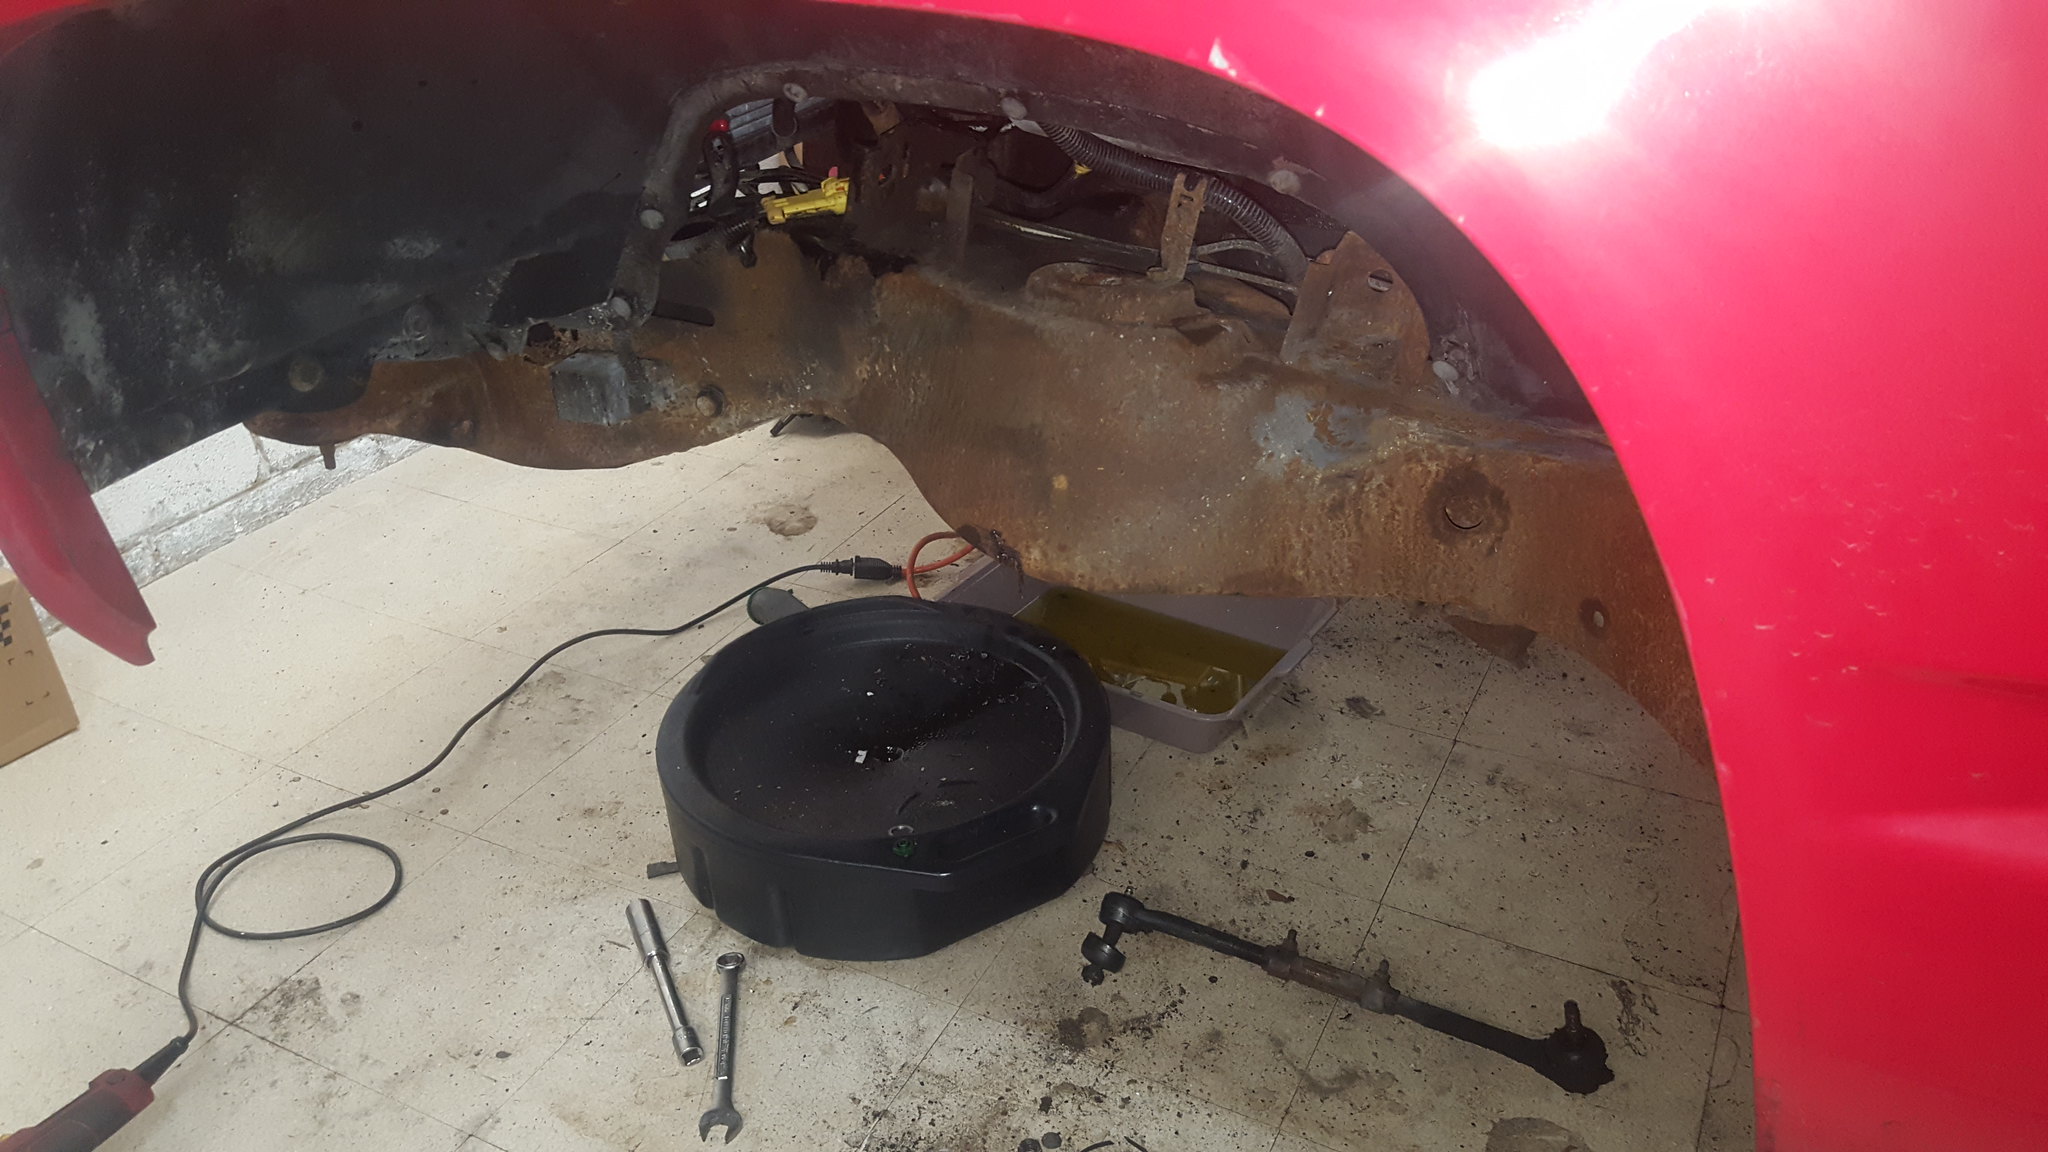
I went ahead at this point and drained the power steering system and tried the jeep grand Cherokee box. The mounting pattern is different, as well as the hardware size, it would work if I was willing to modify the frame, but I am not. So, the stock 200k box is staying for now. Im not super happy about it, but such is experimentation. I will go ahead and replace the lines that are still stamped with gm part numbers, as they stay damp. I also already have replacements, and the system is already drained. No better time.
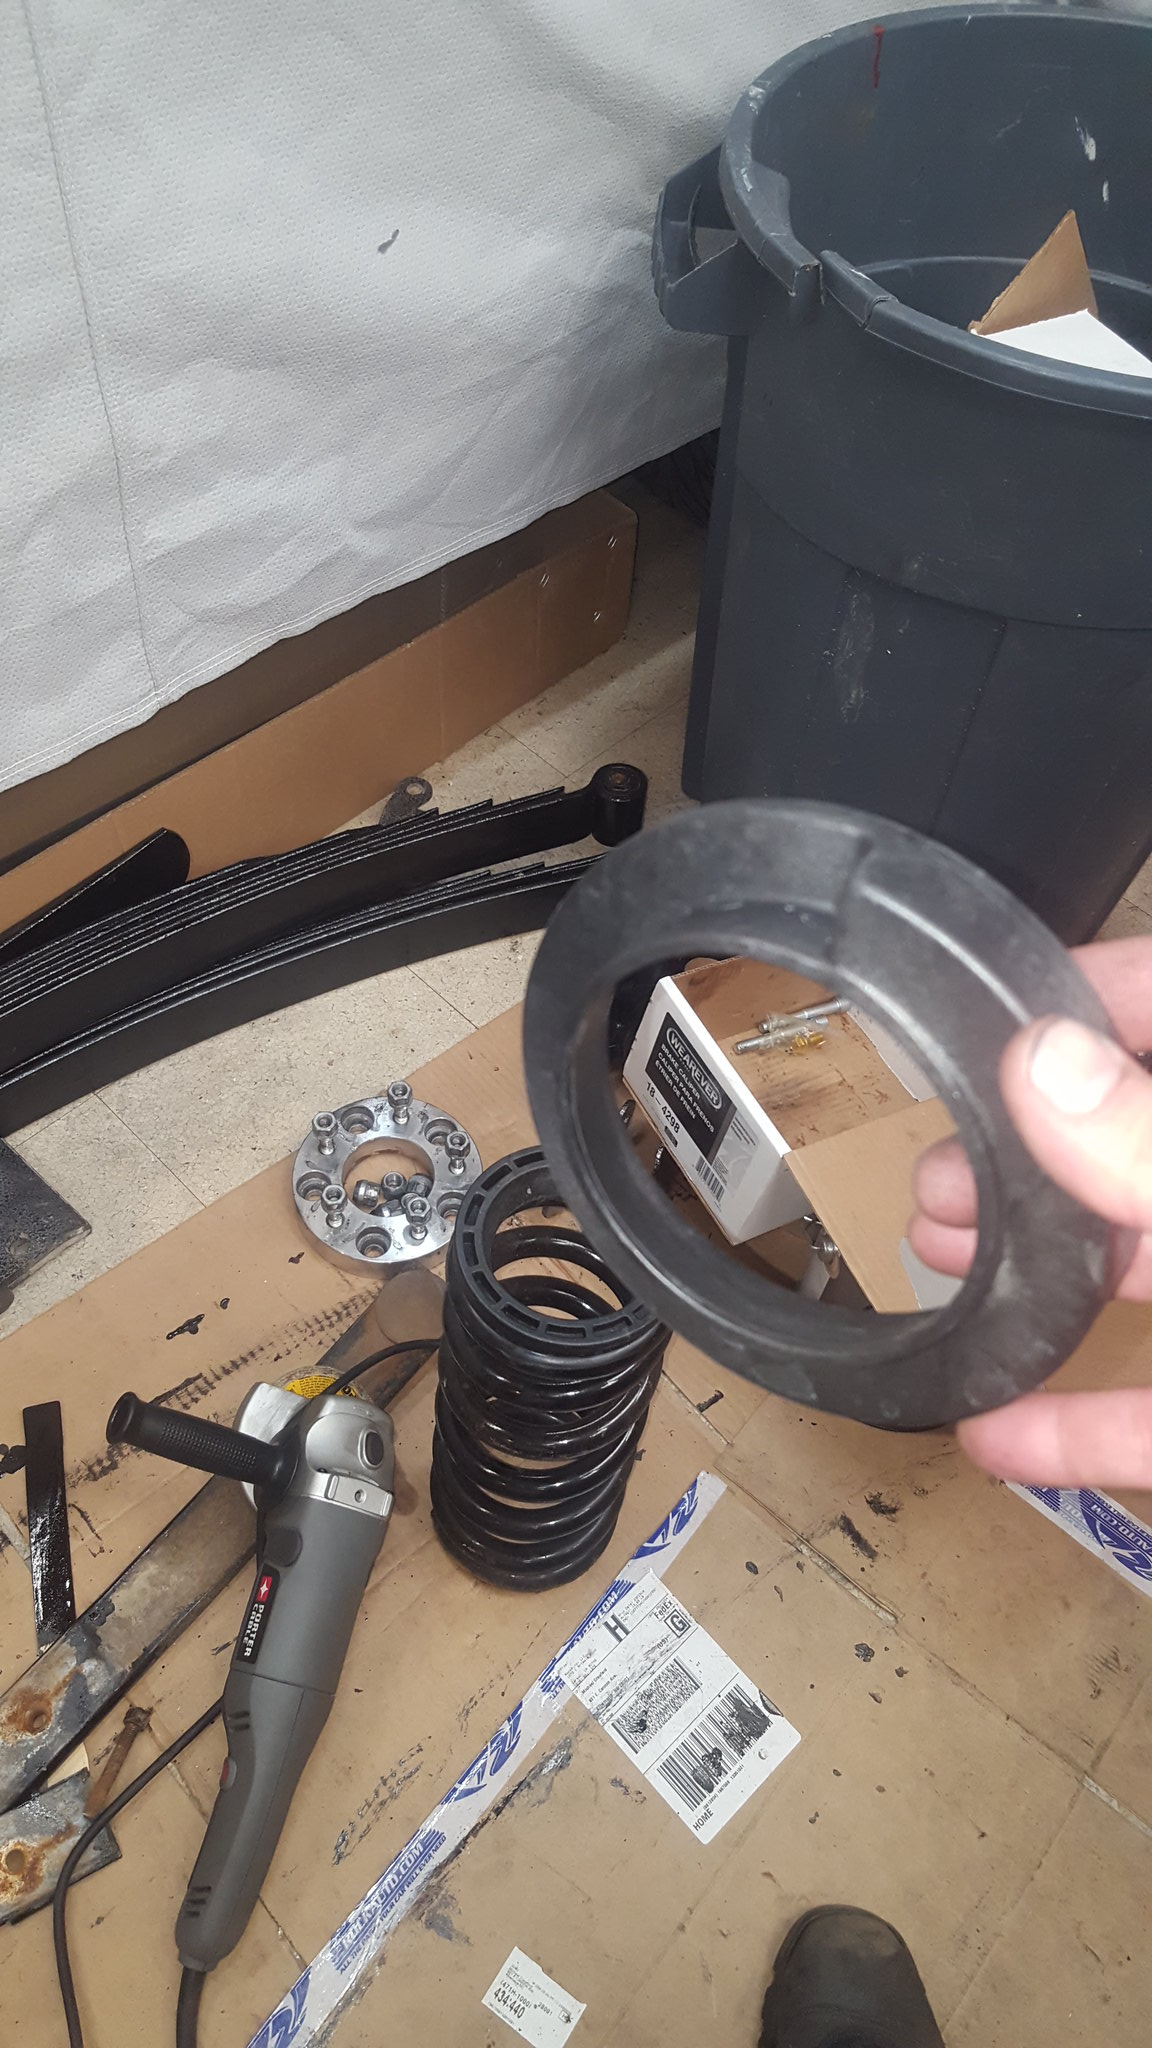
So I went on to put new parts back in. first, a couple points of housekeeping. DJM specifically states that the drop LCA CANNOT be used with drop spindles. This is due to scrub line. On stock wheels, the pocket for the spring hangs well below the rim. Therefore, if you get a flat, the control arm hits the ground, and **** gets BAD. With that being said, this truck is on 18s, and will probably get 20s at some point. The 2 inch drop arms are a 3 / 4 inch above the wheel lip at the lowest point, and I know the consequences if things get really bad. I feel comfortable here. i probably wouldn't on 17s. The other note is about ride height. According to spindle height measurements, this truck really was 4-6 when I bough it. 2 inch springs, 2 inch spindles. Adding the 2 inch arms would make a 6 inch front drop, which would be just too damned low for a daily. But 5 wouldn't. So I picked up some belltech 1 inch coil spacers. I've used these before and like their design better than anyone but daystar lift spacers. But the daystar cant be found that short for this cheap (by me this past week at least). I used some duct tape to hold them to the coil to make install easier, as they can slip while you're trying to maneuver everything.
 20180324_000508
 by
Michael Crawford, on Flickr
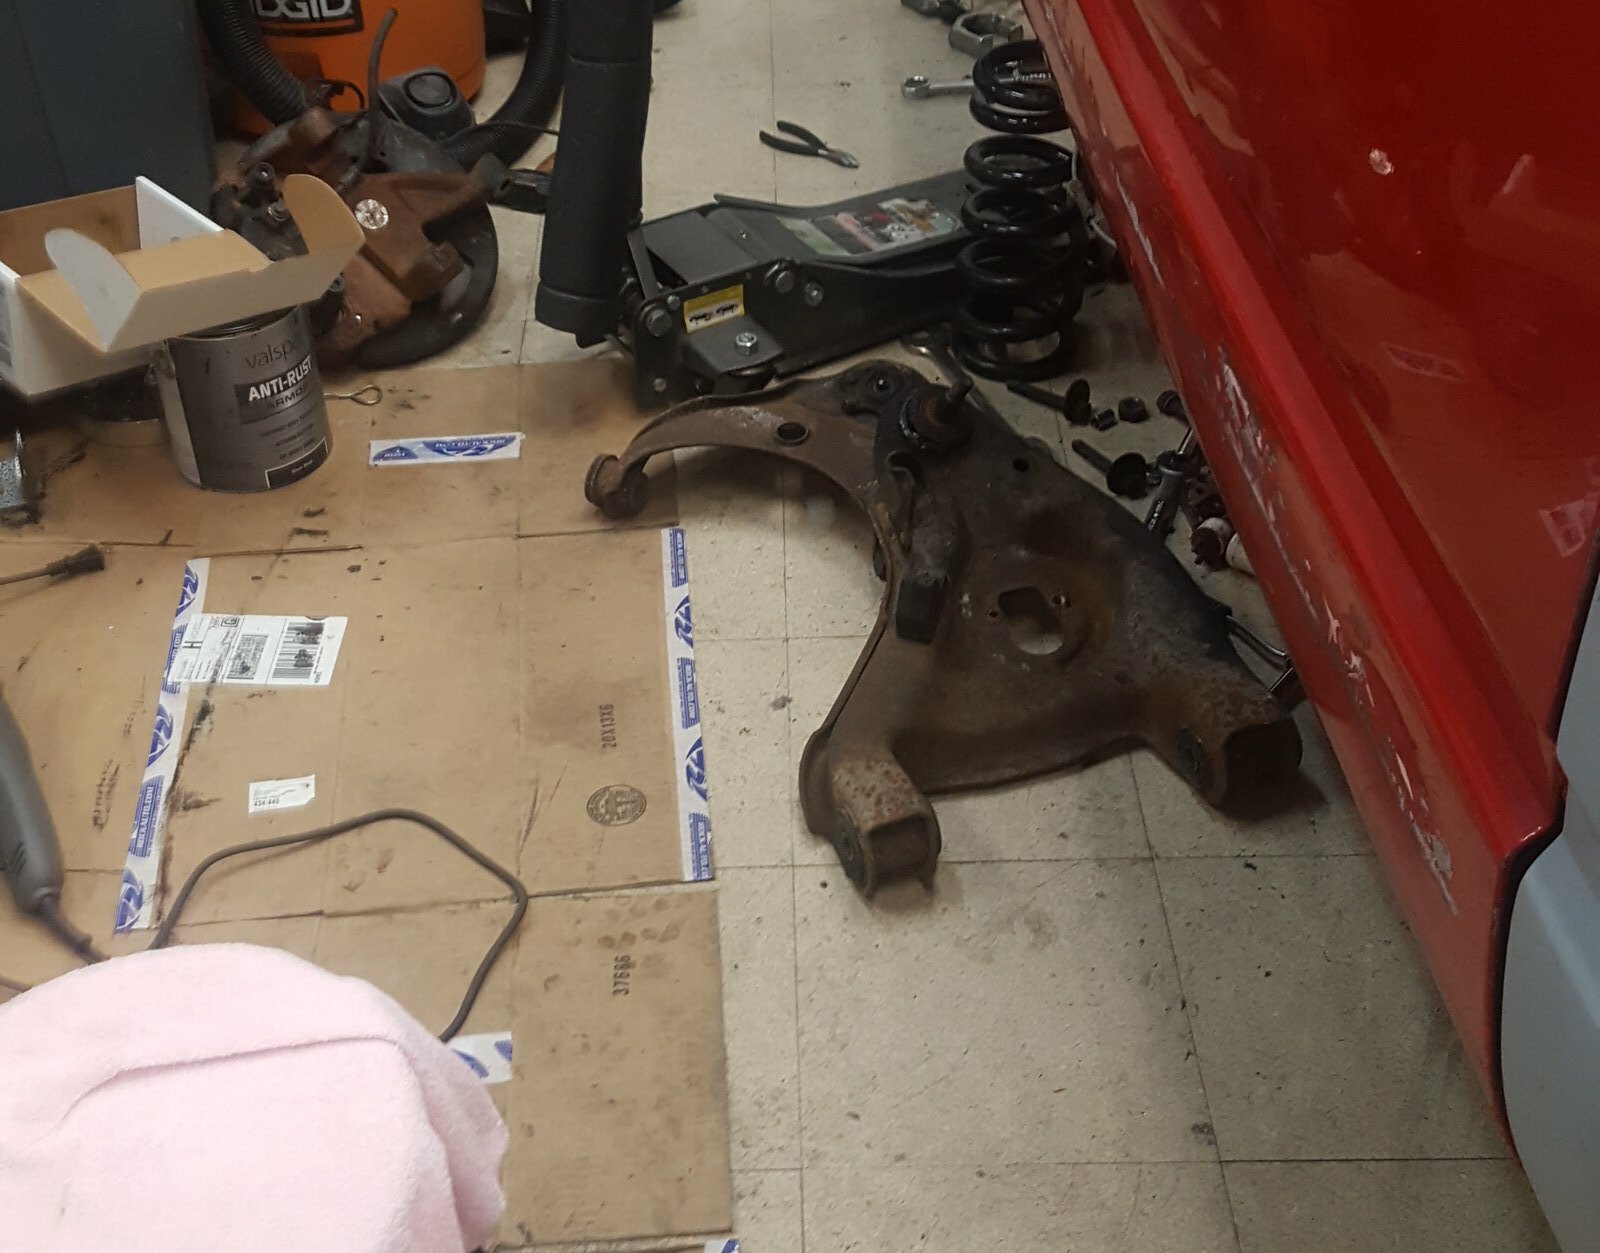
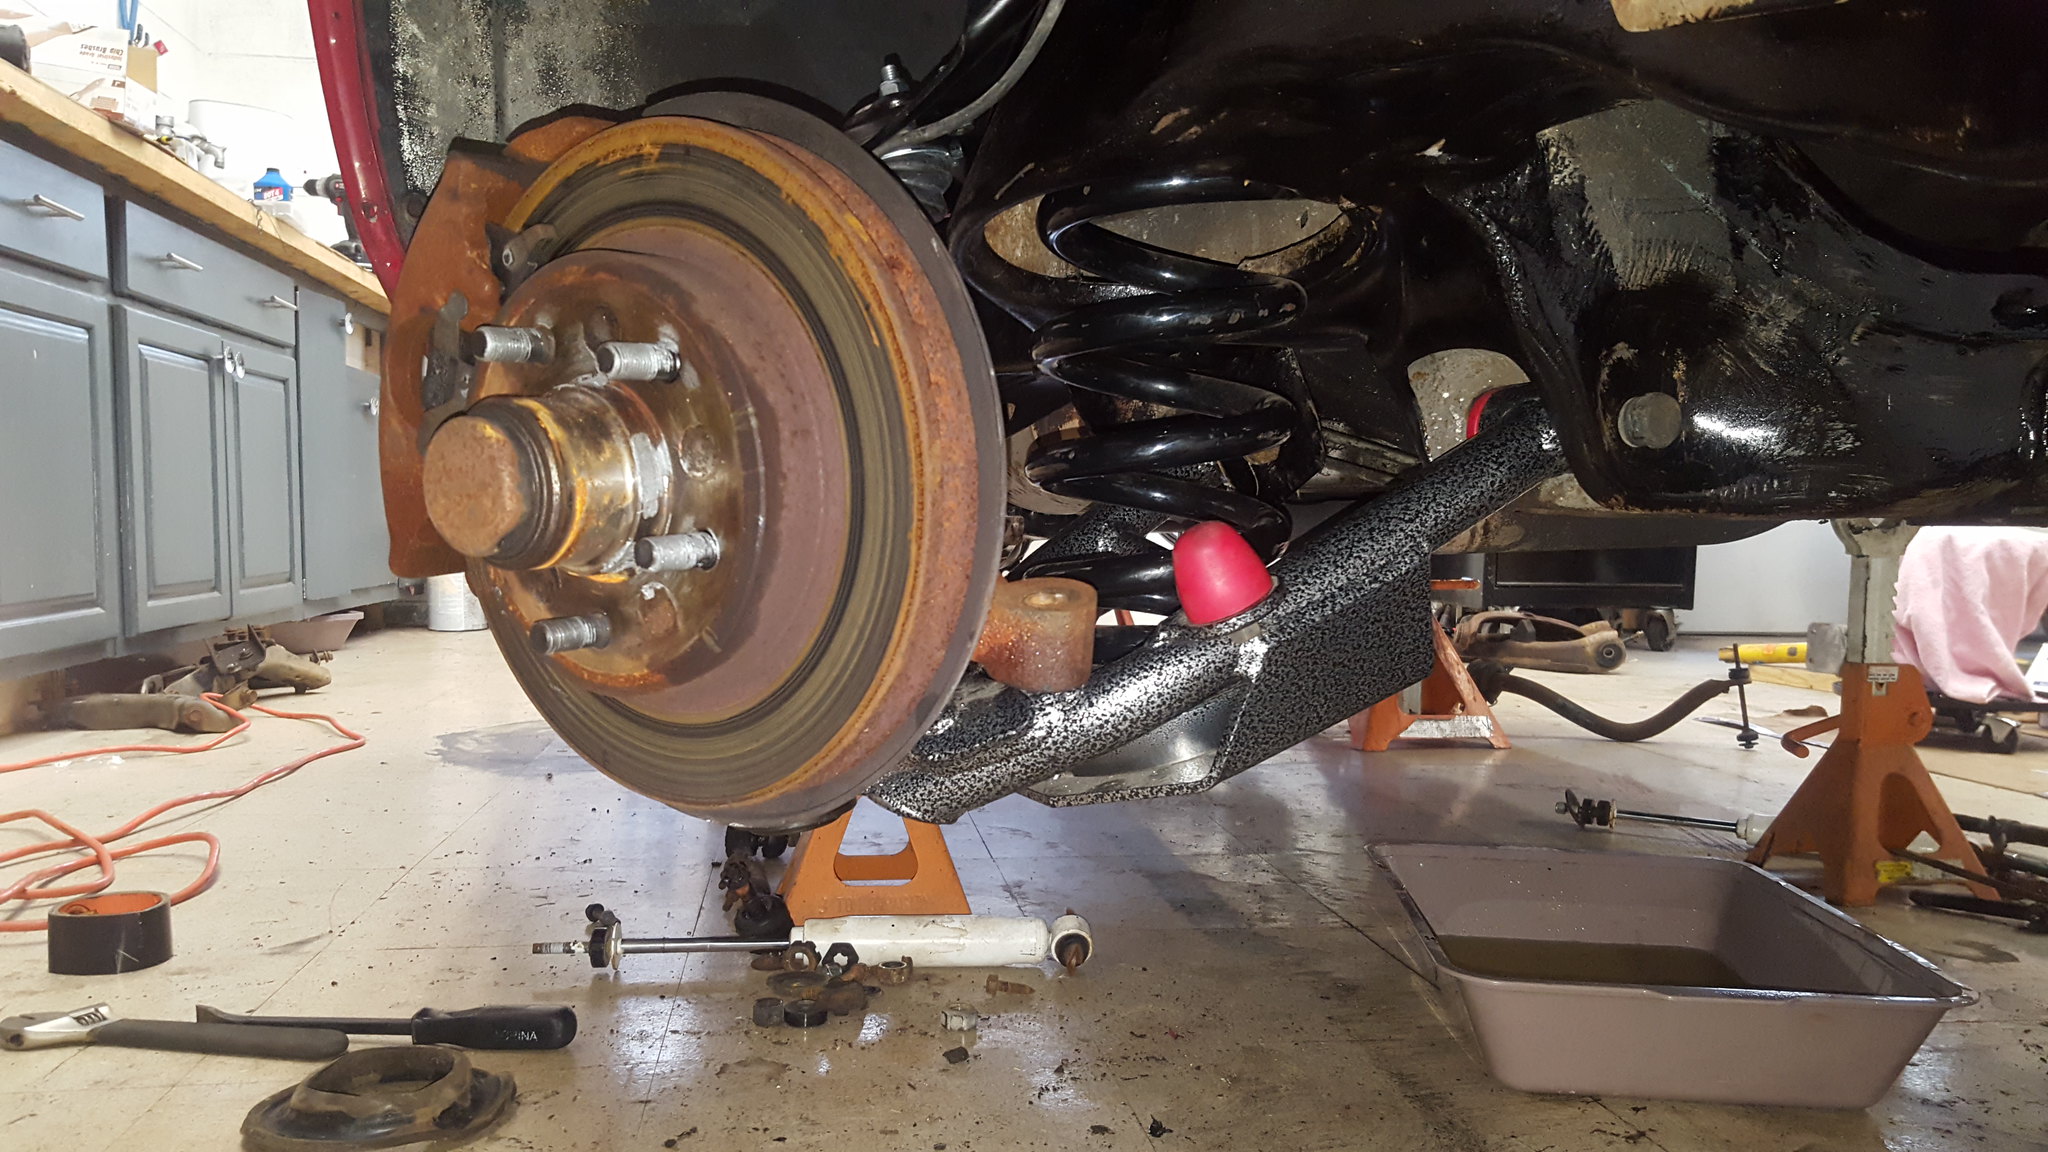
so then I went ahead and got the front end put back together. New upper and lower arms, spindles, springs, spacers, idler arm and bracket, brake hoses, cotter keys, cleaned up hardware, etc.
 20180325_095025
 by
Michael Crawford, on Flickr
 20180325_141313
 by
Michael Crawford, on Flickr
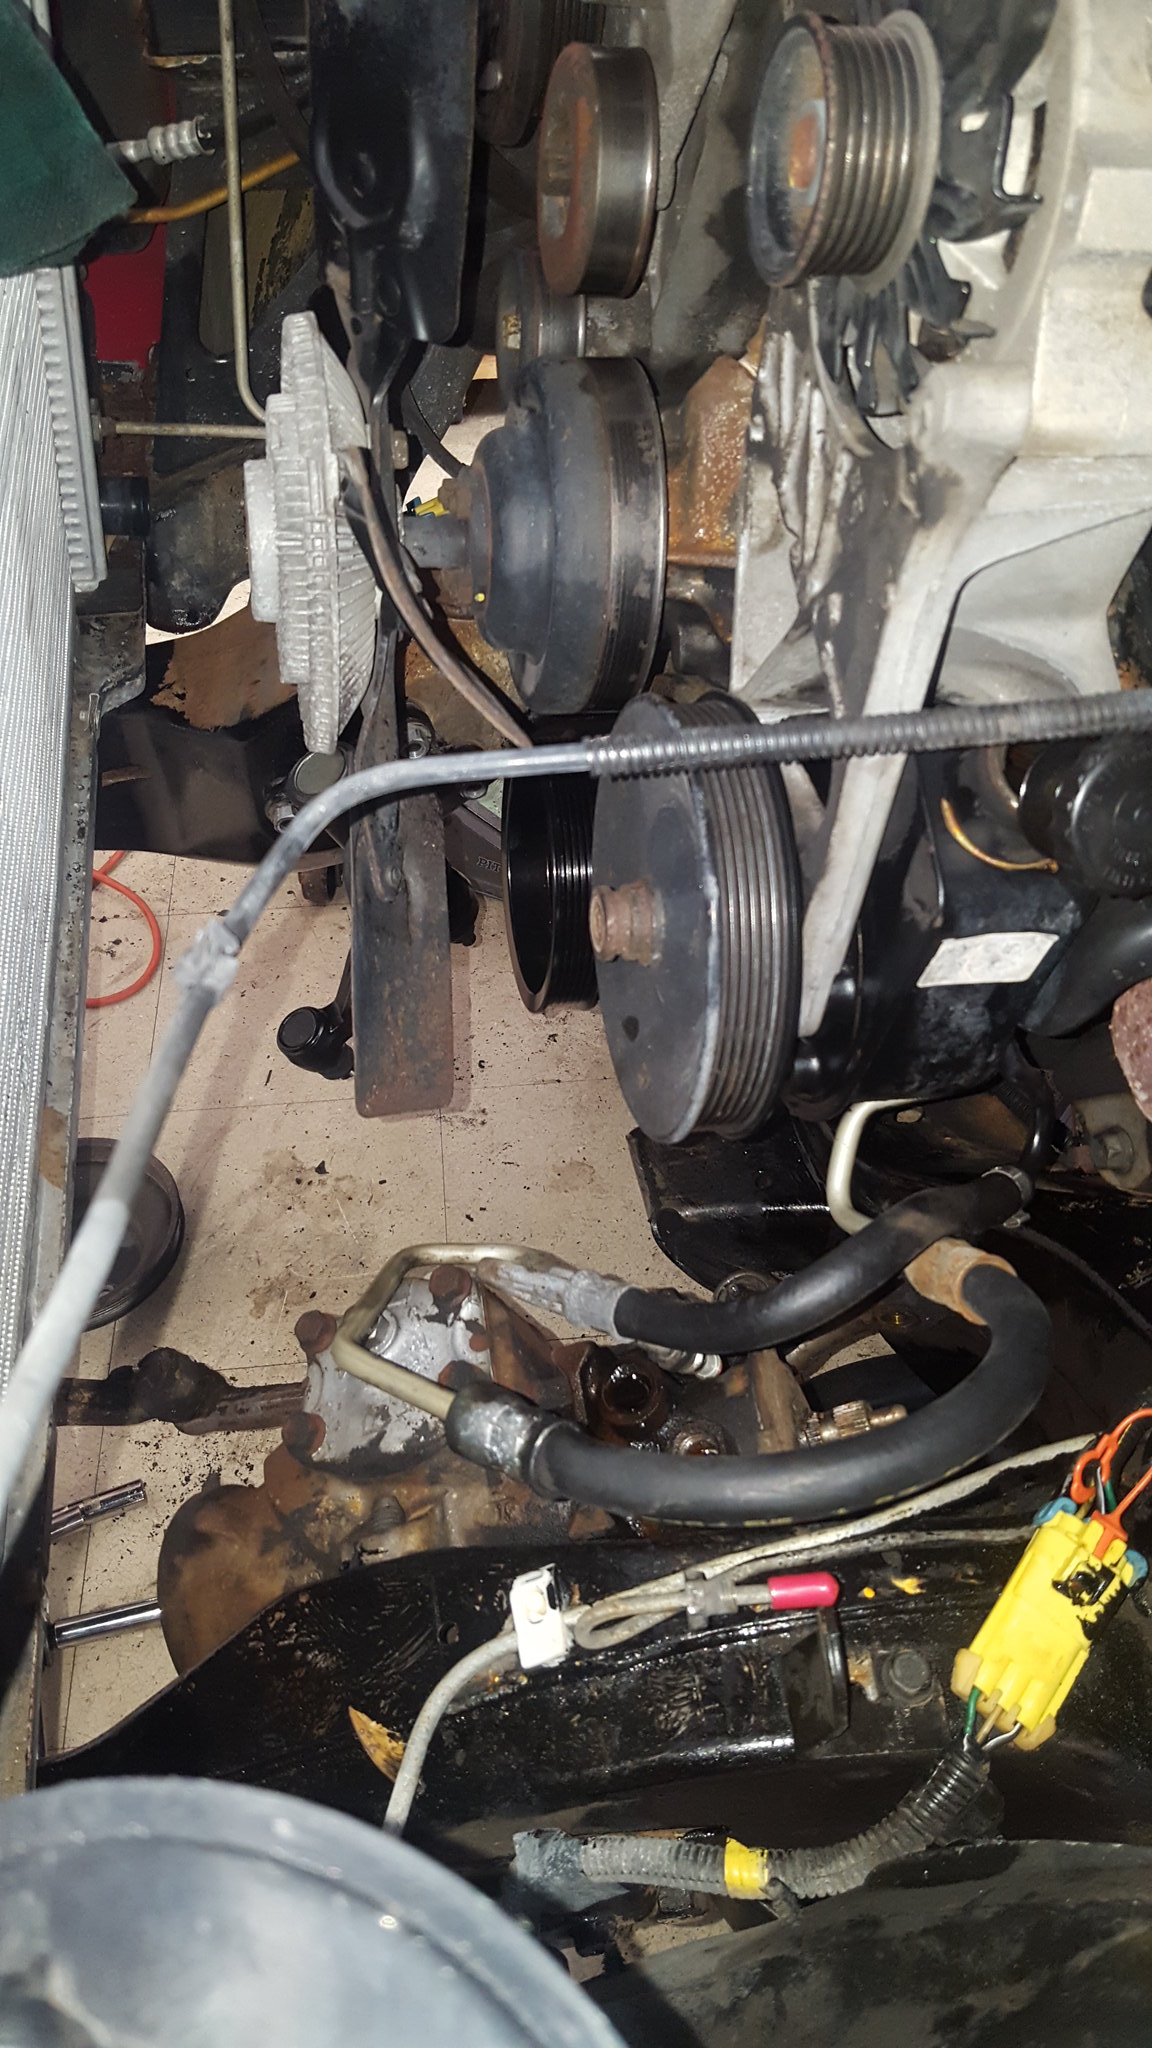
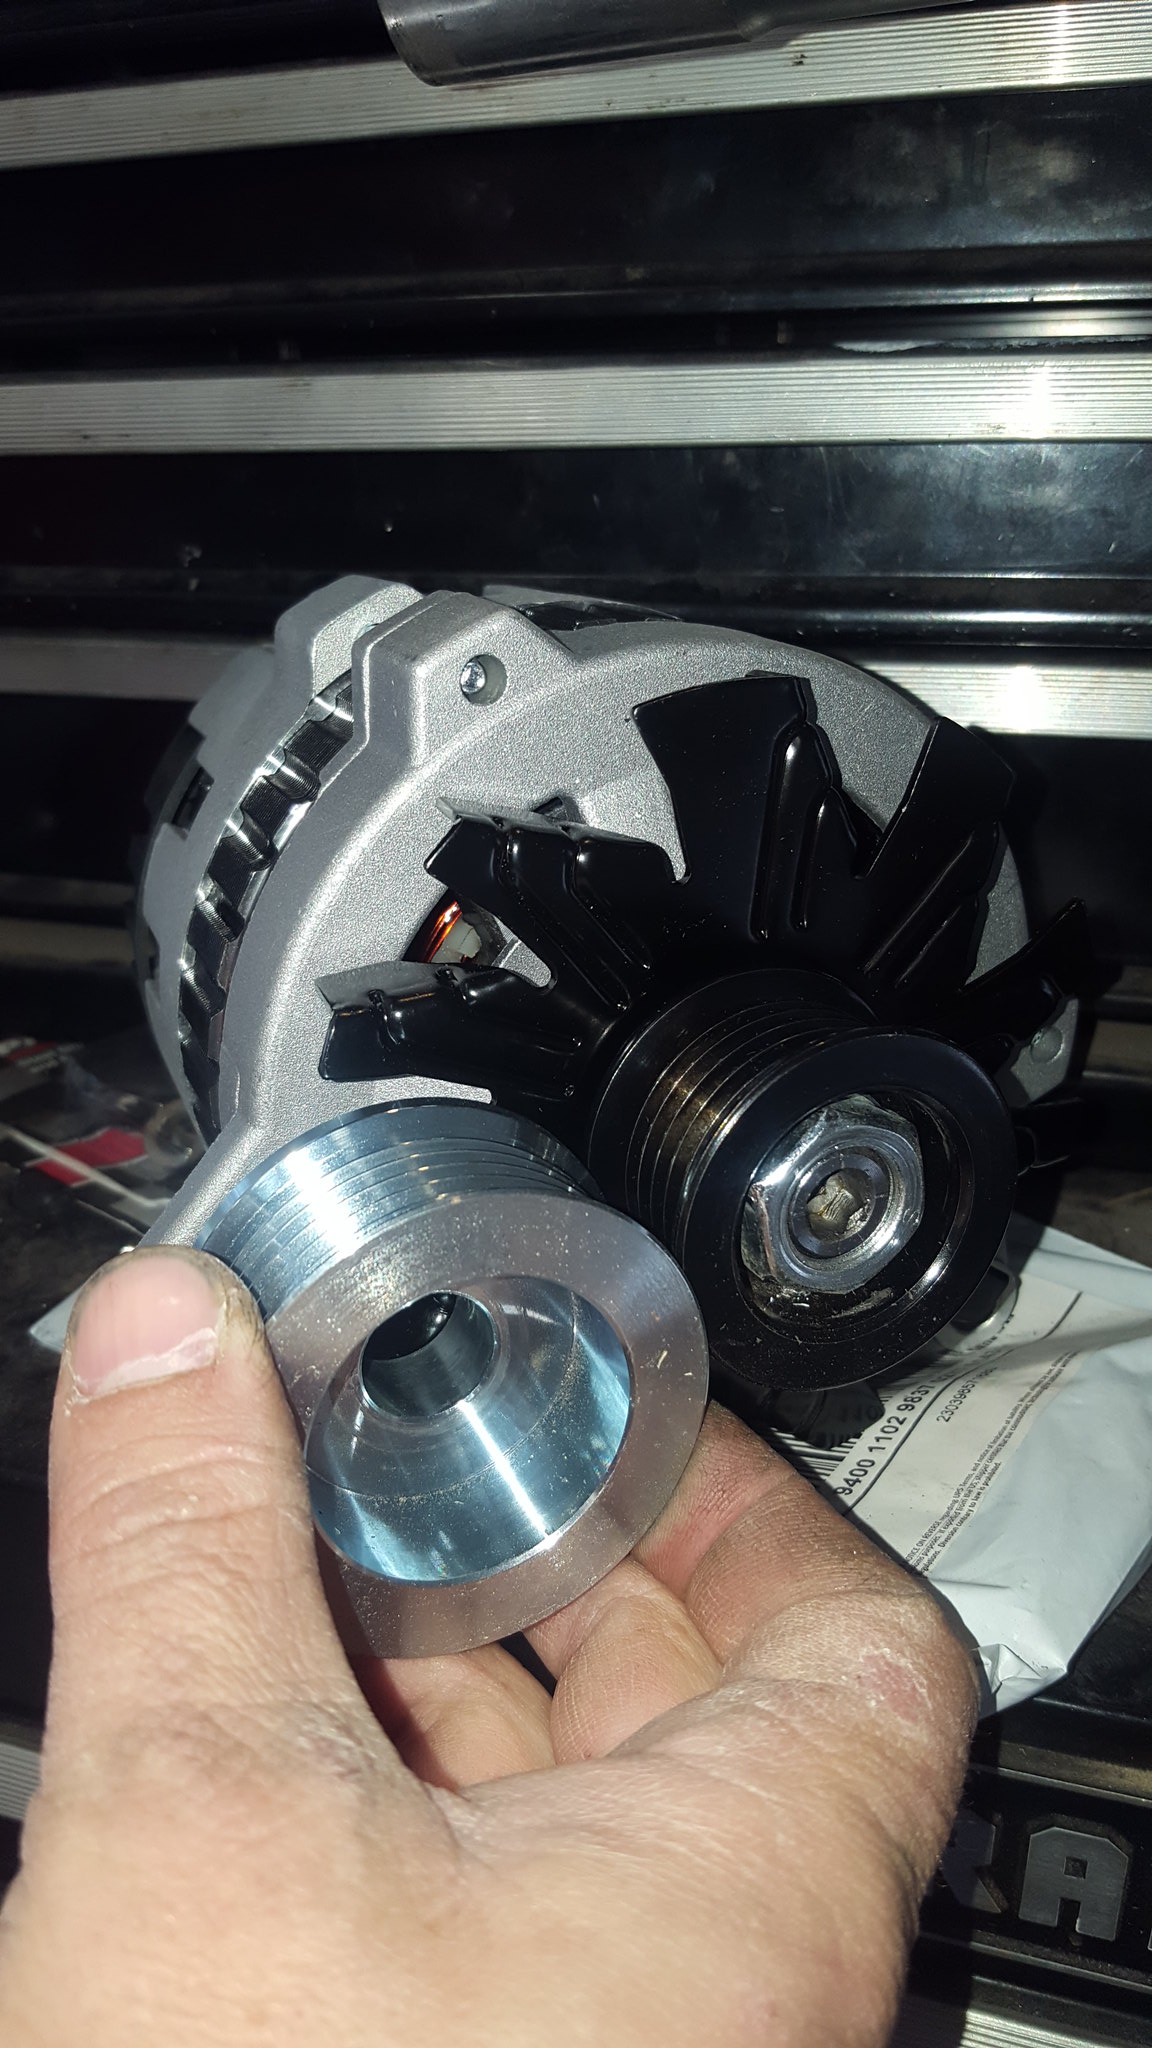
since the front sway bar was out of the way and the steering linkage is still not doing anything but hanging off the pitman, I went ahead and put the under-drive pullies on. Never have more clearance than now.
 20180325_141250
 by
Michael Crawford, on Flickr
 20180325_163723
 by
Michael Crawford, on Flickr
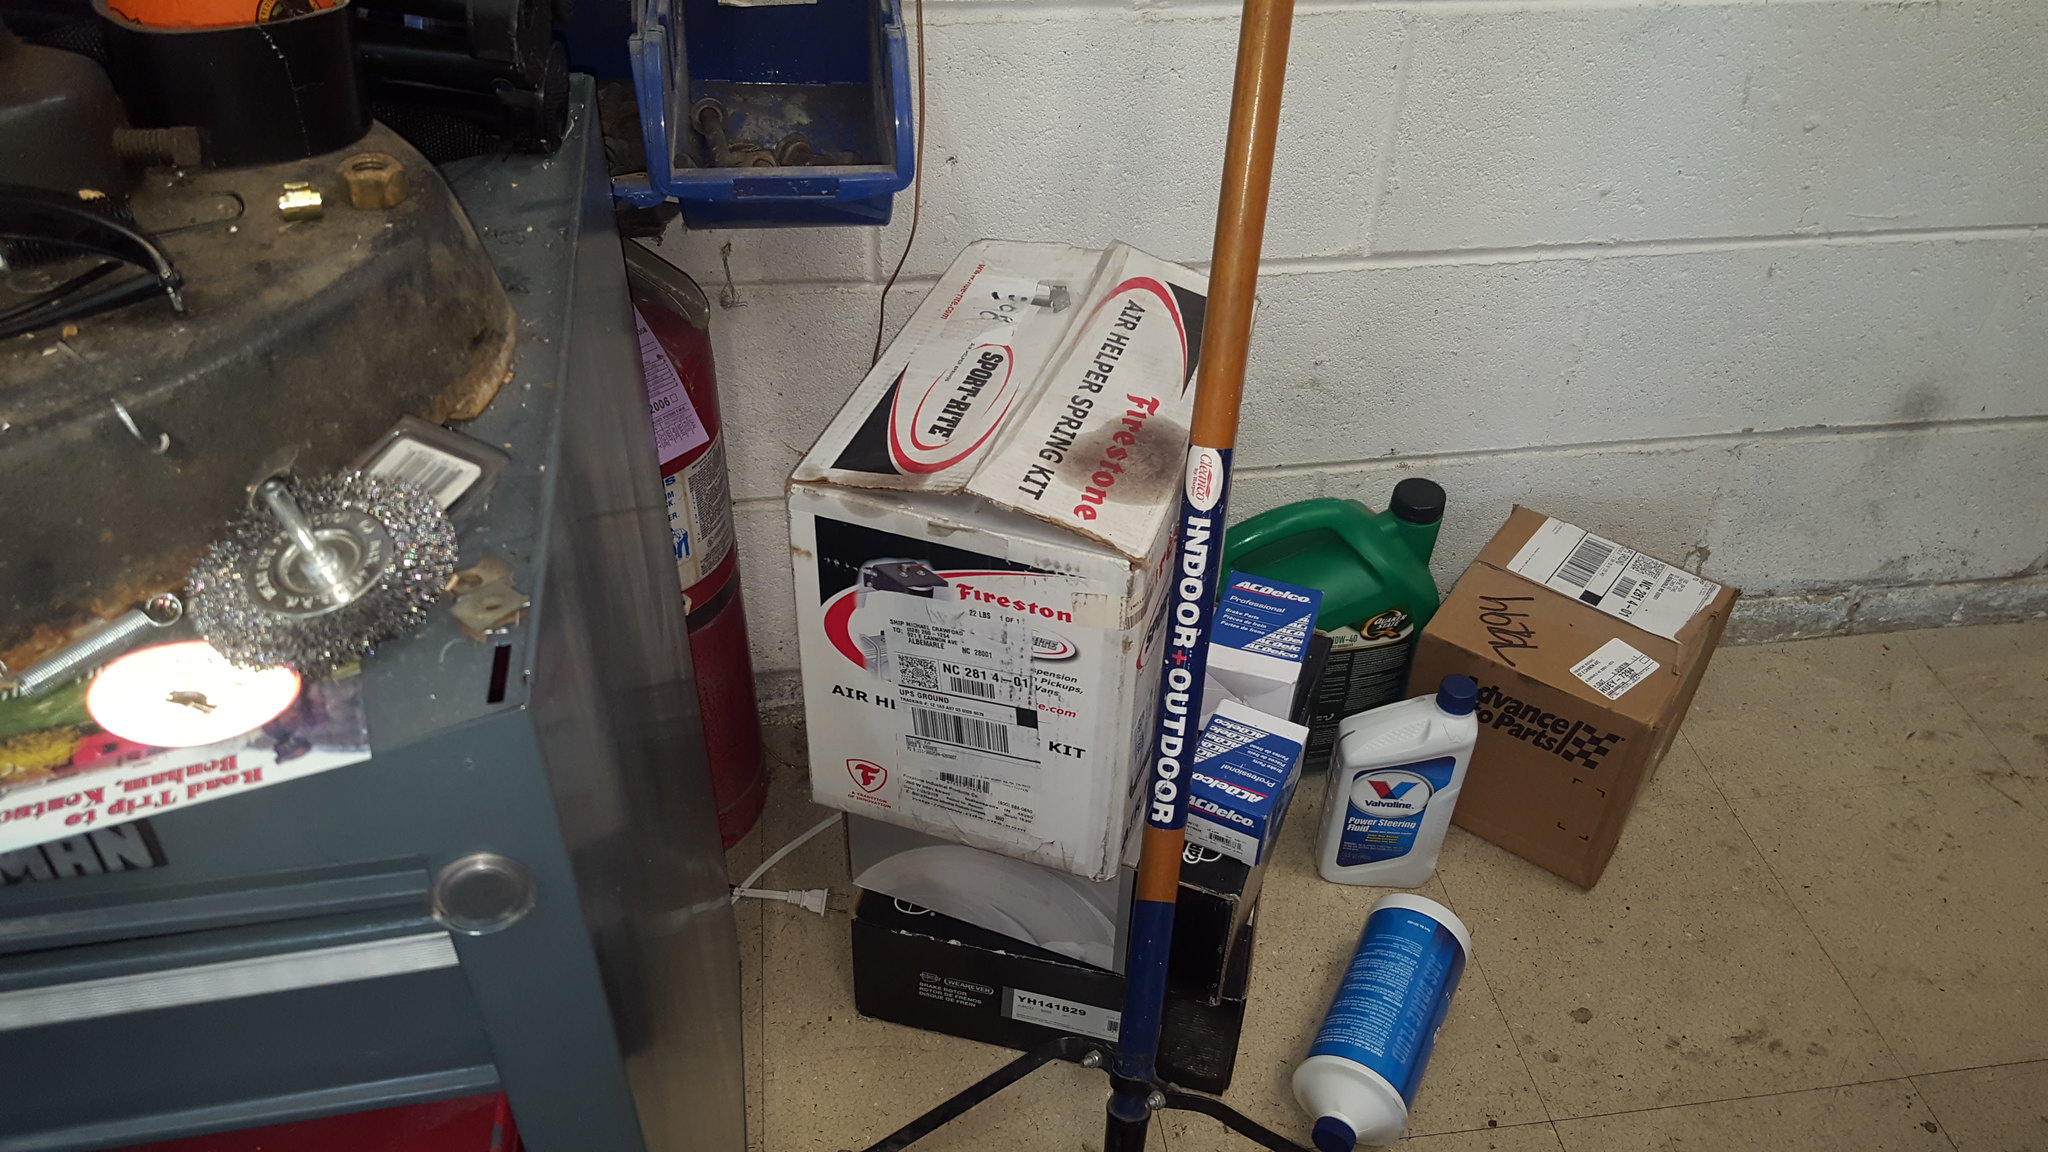
picked the drums up from being turned, and got my rear air bags in from Firestone.
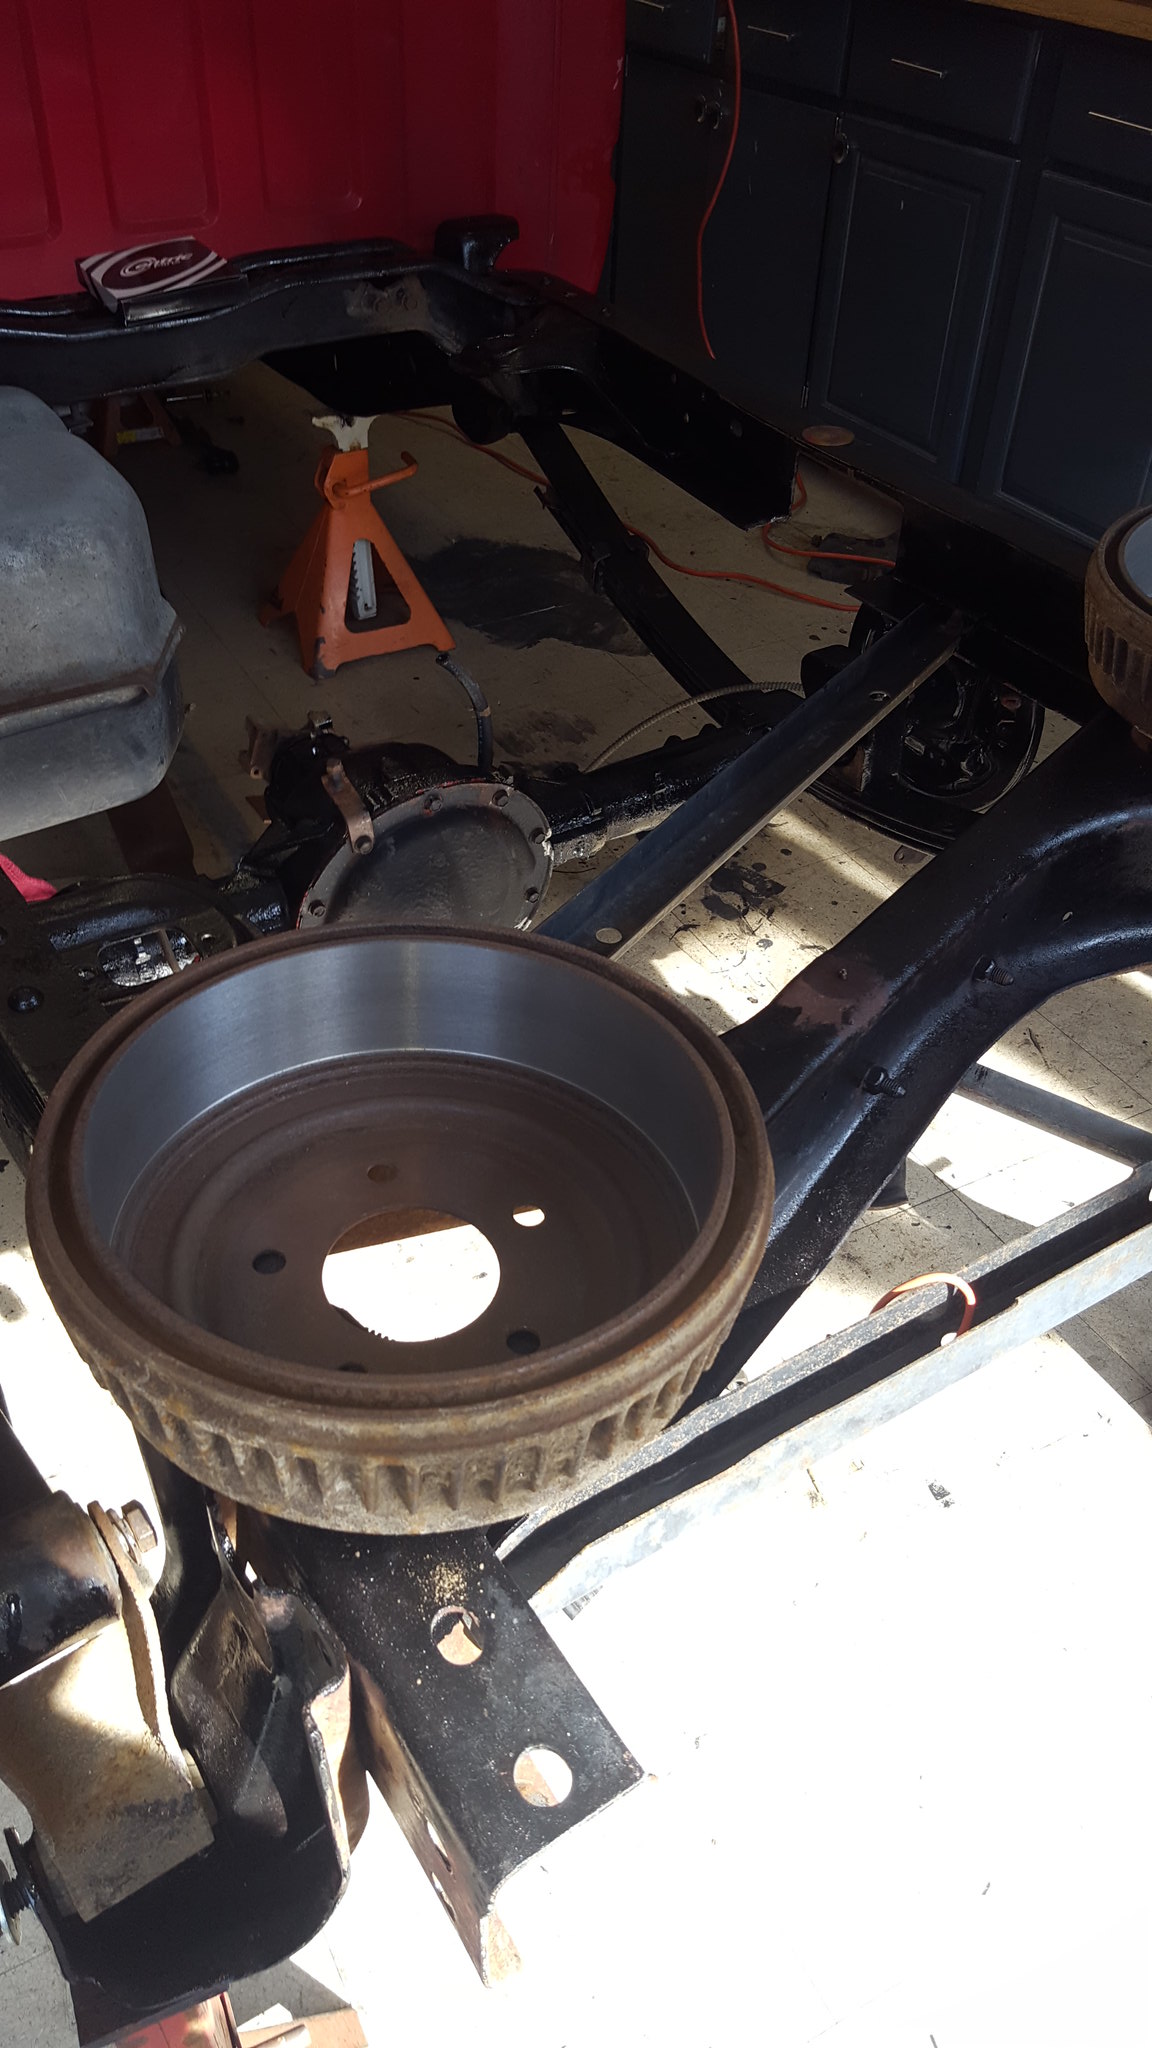 20180325_164104
 by
Michael Crawford, on Flickr
 20180325_141318
 by
Michael Crawford, on Flickr
this is about where I had to call it quits. Doing this I re-injured my shoulder that hasn't been right since the elky was totaled. In addition, I have eaten something that didn't agree with me, so im on the couch with ice water, peptol bismol, and Tylenol. Watching kids movies with the family.
As a parting note, Art sent me a picture of the straightened and painted tailgate out in the sunlight. Im excited.
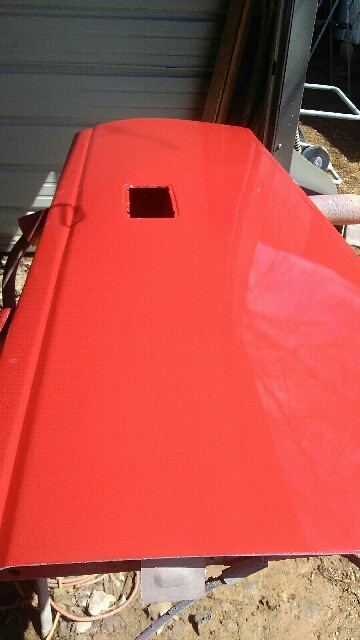 PART_1522002511968_PART_1522002510997_Image15220025109751
 by
Michael Crawford, on Flickr