So here are some more truck stuff photos before we get back to traveling photos. Up until this point I had still been using the sleep platform that I threw together for our first camp trip years ago. It worked. It was already built. It took up more space than it needed to. It had been modified many times and was better than when I built it, but over the years I had learned a lot about what I liked and didn't like about it. I had rebuilt it many times in my head and every time it worked out great. Yeah, well, it's cheaper than building materials.... Anyway, I thought I had figured out the best plan that balanced stout with functionality, weight, and ease of installation/removal.
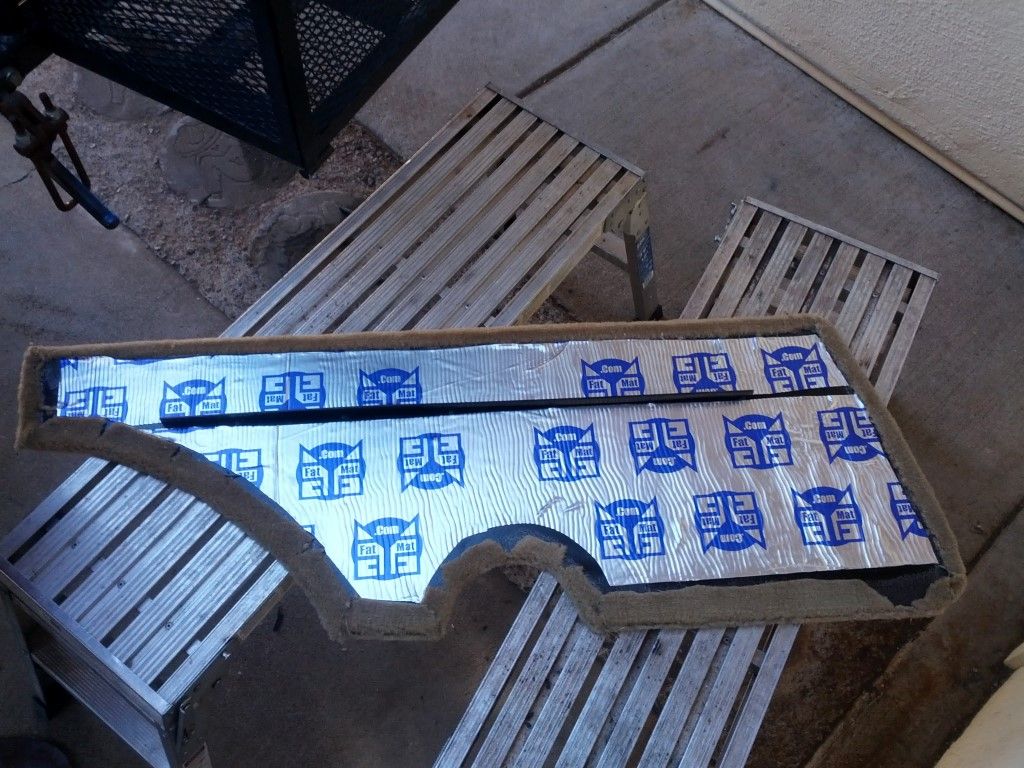
I started out by making a new driver side rear side panel. I had done the right side as well as the left front piece, but somehow was still using the vinyl covered cardboard left rear piece. That one made a nice template on some sheet steel that I zipped out with the plasma and it got covering from the same piece that supplied material for the other panels.
Next came the platform and first on that list was the framework. The original used 2x4's. While durable, plenty stout and easy to assemble, they take up way too much space. Each side had two 2x4's screwed together. One horizontal on the bottom, one horizontal on the top, and one vertical here and there for support of the two horizontals. Now, if you add the thickness of the 2x4's together you get 3". Now each side has one of these structures, so 3" x 2 = 6" total. That is 6" of total width lost to wood. Overkill?? Yes, but it did work. Anyway, that is very valuable basement real estate, so for the redo I opted for some 1" square tube framework with some 1x2" tubing in the center. With only two 1" vertical pieces of tubing I effectively gained 4" of total width under the platform.
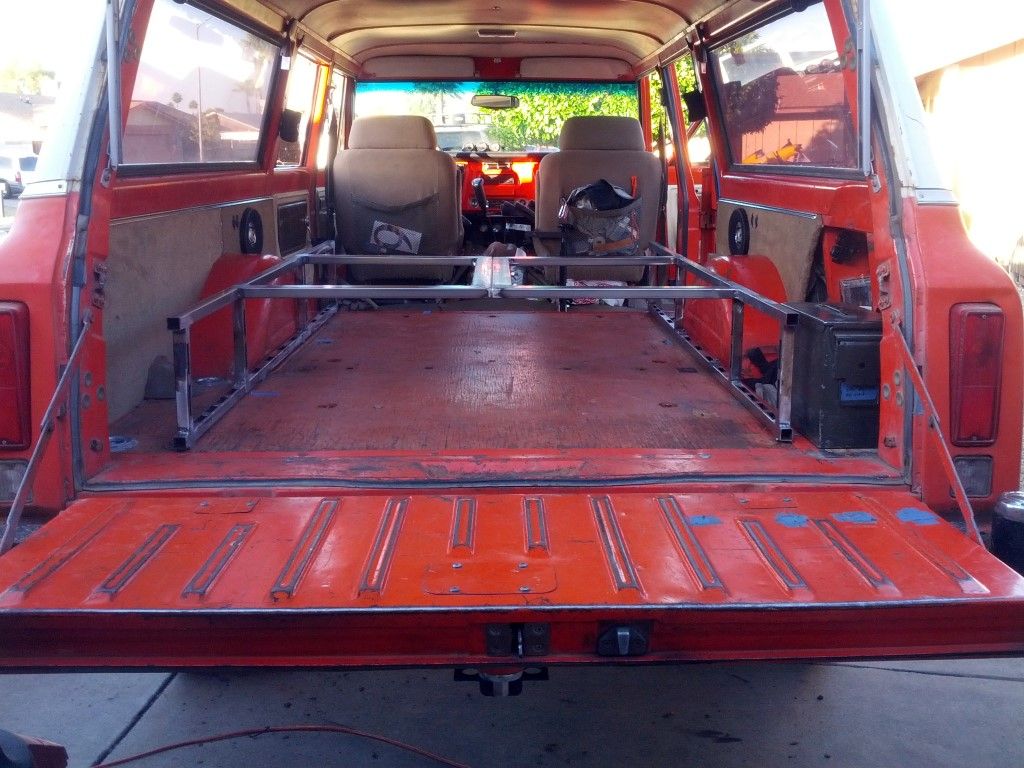
The 1x2" tubing allows the base to be disassembled for installation/removal. At this point it really isn't needed, but as soon as I add anything off of the sides, it won't go into or out of the rear door opening. The two pieces of tubing that run parallel in the middle are bolted together. Take the bolts out and the center falls in and can be removed. Also, if you look closely at the 1" square tubing used everywhere else, you sill see that it is riddled with E-track holes. Yep, good ol' free E-track holes. One thing that I wanted in the new setup was some form of tie down ability as well as some sort of bulkhead provisions. The E-track solved both issues. I can tie stuff down under the platform as well as use D-rings and straps to make bulkheads where needed. Why so much attention to load securement UNDER the platform?? When traveling down less than smooth roads/trails, things under the platform move at will and often end up being inaccessible. Some things always need to be accessible, other things are rarely if ever used and can be stored deeper in the middle. Without some method of securing the items, they all become jumbled up and their whereabouts are unknown.
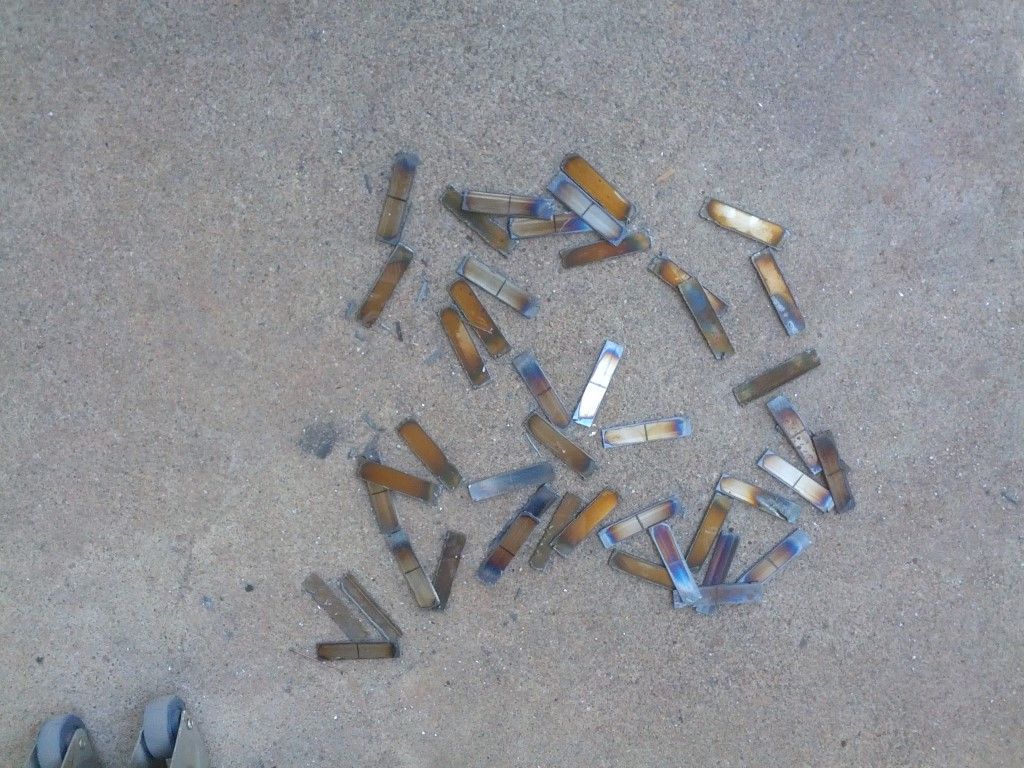
Some E-track debris:
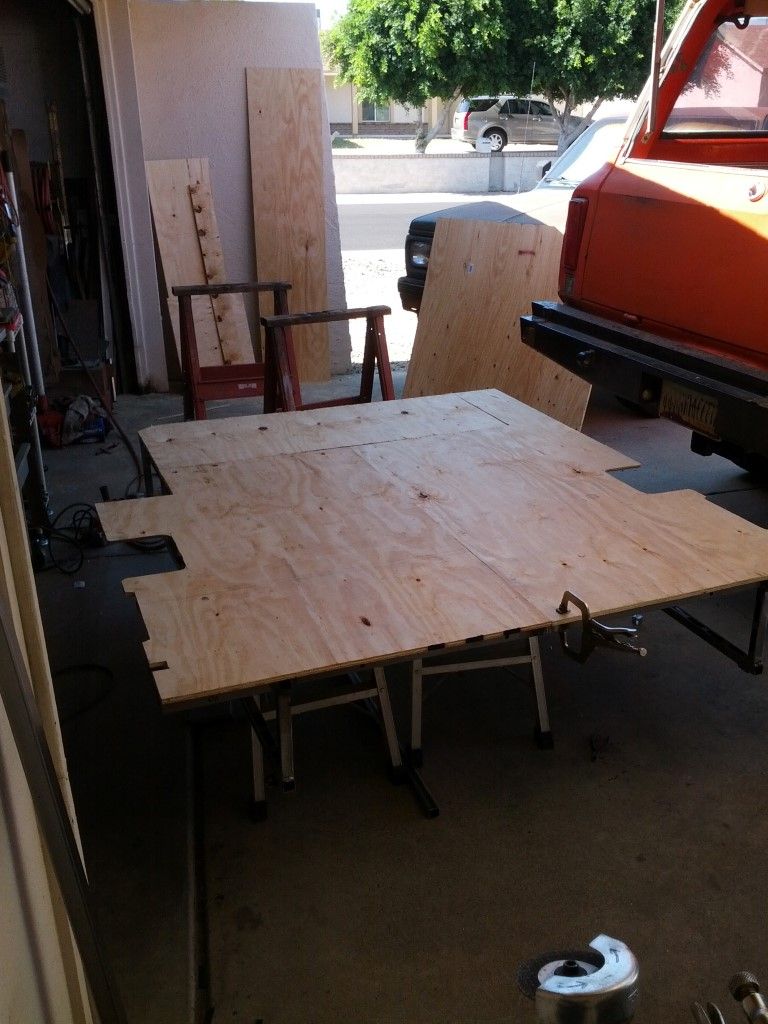
So after determining what the tallest item is that needs to ride under the platform I dropped the height to a fuzz (scientific measurement) over that. That is a very critical as the lower the deck gets, the better the headroom up top is. I took a couple specific measurements of me and my wife to determine how much room was needed and I was able to make enough to allow her to sit upright on the deck. I am close, but not quite enough. When camping, her comfort is more important. I went with slightly thinner plywood on the deck this time as every fraction counts. I also gained 1/2" in basement depth by getting rid of the 2x4's and using the steel tubing. What I was able to do is make the platform deck the same height as the wheel wells. I cut the deck above the wheel wells so the wheel wells actually stick through the deck. Those are the symmetrical notches on opposing sides of the deck:
Here it is outfitted with more tie downs and some hinged panels for access to the basement from the top.
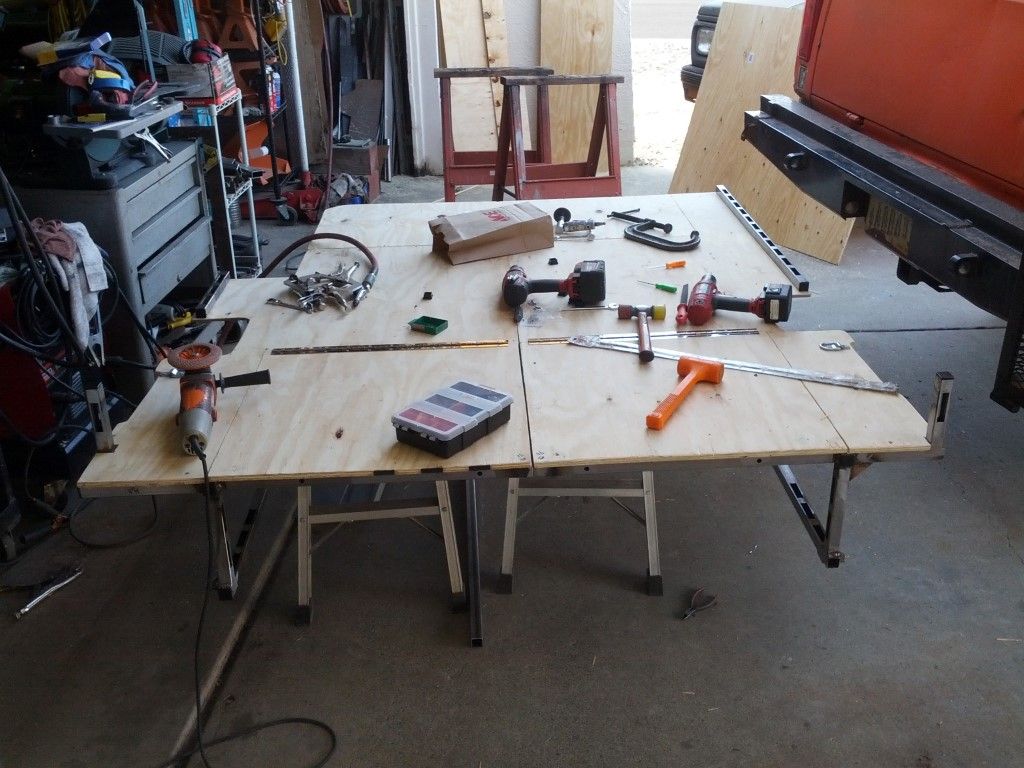
The two pieces of square tubing standing vertically at the front corners are for E-track D-rings and straps to create a bulkhead to hopefully prevent everything on the deck from sliding off the front when descending long, rough trails. I also added tie down points on both sides (some are not visible from the top). All of this works together to hold everything in place and keeps it on top of the deck instead of mixing it all up and barfing it off the front when going down a trail on the brakes.
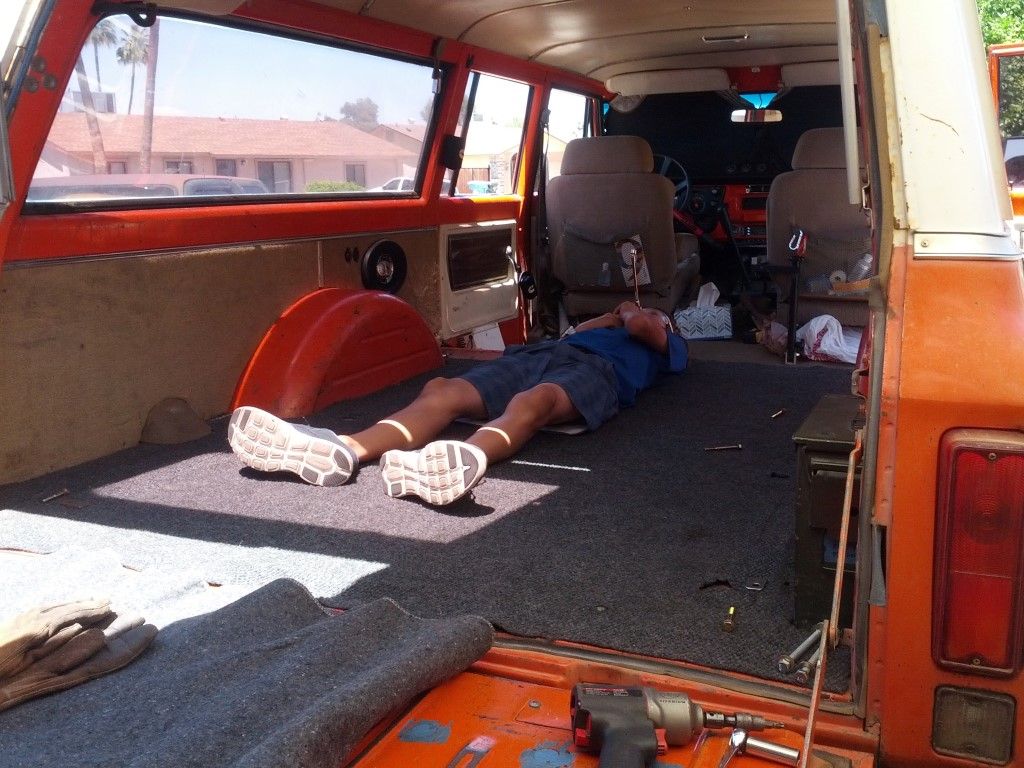
I prepped everything and got it ready to go. I sent the boy in to finish up a couple things, but I think he found a squirrel on the headliner or something:
So there it is. A whole lot of engineering/scheming on a seemingly simple item. So was it worth it?? It all turned out great and with several trips on the setup I can say that all of the planning and time spent getting it all right was very worth it. I use the center of the basement for the things rarely used and I use the ends for items that are needed more often/everytime. Everything stays put up on top very nicely now. Not shown in the pics is the carpet that rides on top of the platform for both noise abatement and aiding in equipment retention. Add everything up and it is a very nice unit now. I'm glad I finally took the time to redo it.