Wow, it's been a while since I updated, but I got a lot done, so here goes.
In trying to update the truck to be more modern and reliable, I went with a proper bulkhead fitting for the electrical harness. I thought 22 pins would be plenty, but it was just barely enough (I actually had to move the power connections to their own bulkhead fitting).
 IMG_20190406_130735
by
Shawn Wallbridge, on Flickr
The dash side, while I was terminating the pins.
 IMG_20190413_145133
by
Shawn Wallbridge, on Flickr
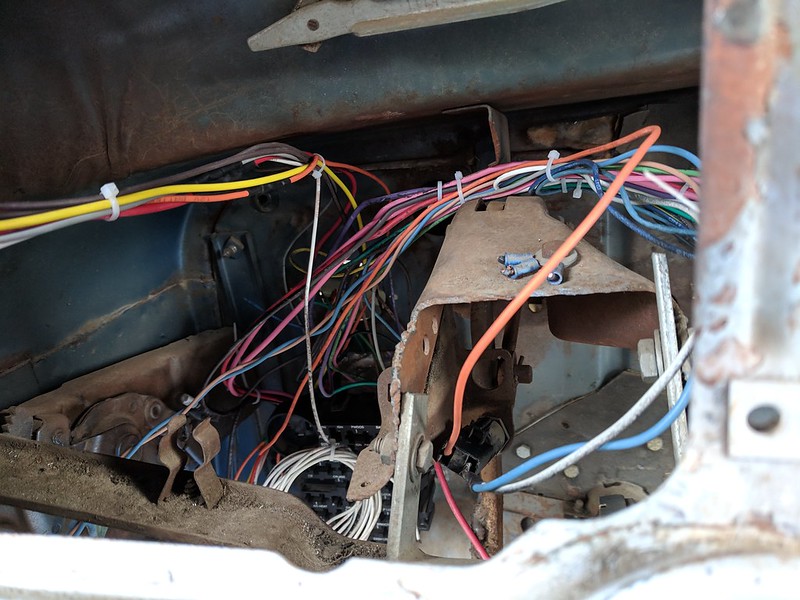
The entire interior harness is run, trying to keep everything fairly well organized.
Not quite done in this picture...
 IMG_20190407_175158_1
by
Shawn Wallbridge, on Flickr
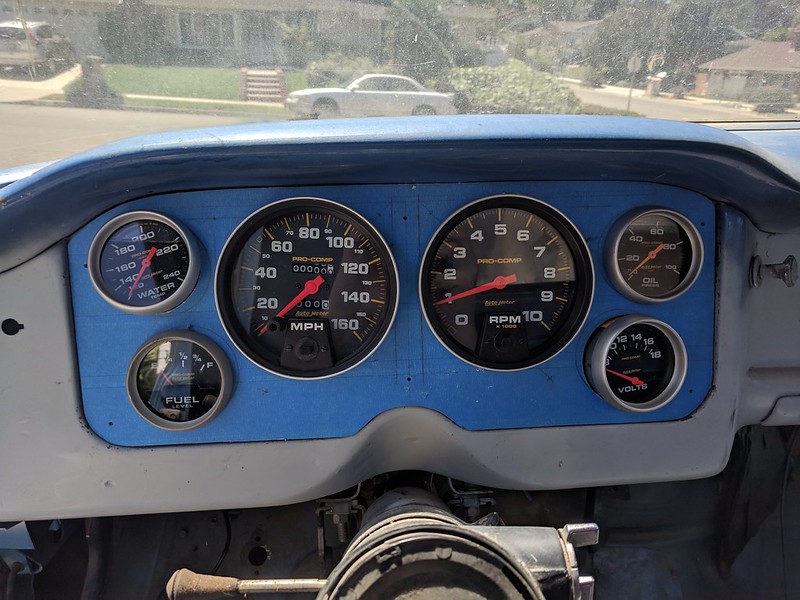
I finished the dash, though it hasn't been mounted yet. The tape is gone too

 IMG_20190406_122525
by
Shawn Wallbridge, on Flickr
The front harness is pretty much run, but I haven't done the termination as I had to modify the headlight buckets to ensure I could get the connectors through.
 IMG_20190413_163750
by
Shawn Wallbridge, on Flickr
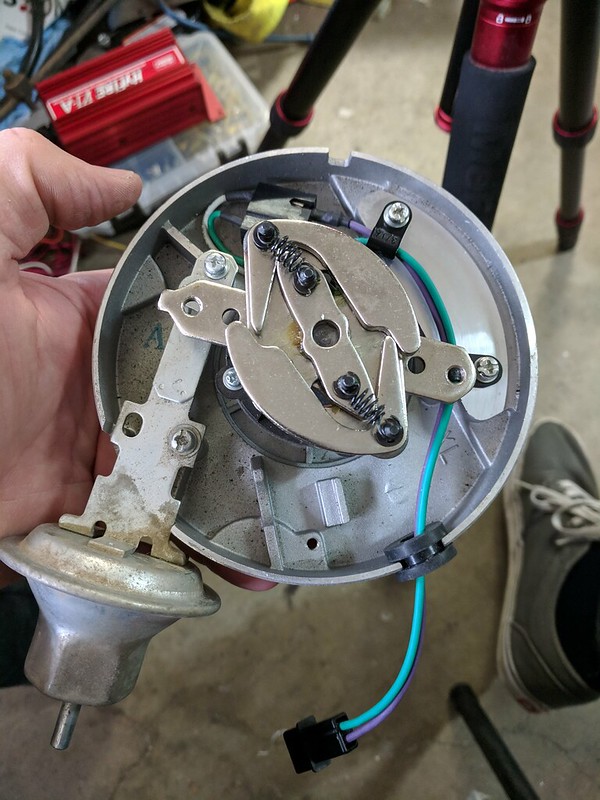
I had an old Mallory CD ignition box from my old C20, but I had to modify the HEI distributor to remove the ignition module, I probably should have made the harness myself, but it was $6 and came with everything to install it.
 IMG_20190420_111945
by
Shawn Wallbridge, on Flickr
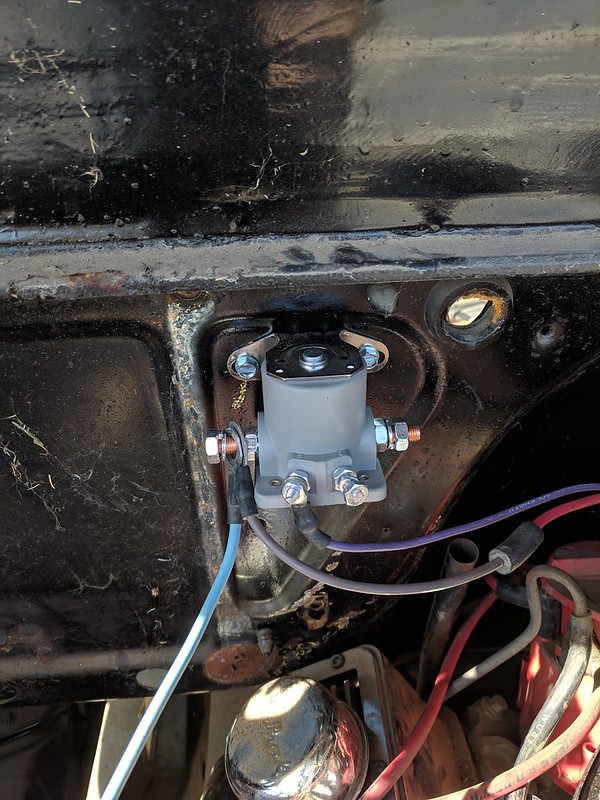
Going with the reliability theme, I also moved to a Ford started solenoid, to reduce the chances of having a hot-start issue.
 IMG_20190413_164917
by
Shawn Wallbridge, on Flickr
I also wanted to get rid of this nasty mess...
 IMG_20190421_115619_279
by
Shawn Wallbridge, on Flickr
So I cut it out (badly)...
 IMG_20190420_164524
by
Shawn Wallbridge, on Flickr
And welded in a new piece (badly)...
 IMG_20190420_174109
by
Shawn Wallbridge, on Flickr
It definitely isn't the best job, but this is just a daily, not a show truck. It was my first welds in almost 3yrs.
 IMG_20190421_124857
by
Shawn Wallbridge, on Flickr
I will be putting some seam sealer on the inside to make sure I don't have any leaks.
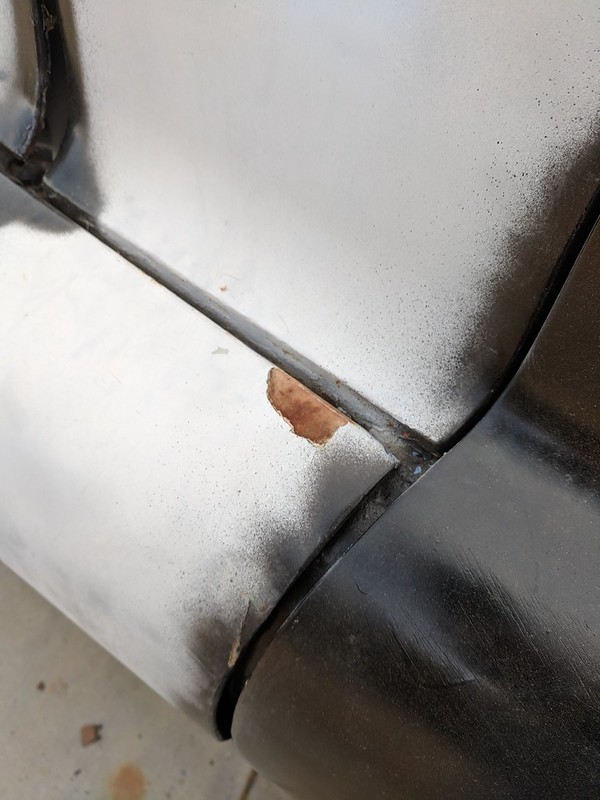
Since I had the sander out, I decided to give the fender a quick once over, then of course I wanted to see what the paint is going to look like, and I love it!
 IMG_20190421_130209
by
Shawn Wallbridge, on Flickr
Not too bad for a spray can. I do hate the power antenna hole though, I don't really want to spend the time removing it now, so I have to live with it.
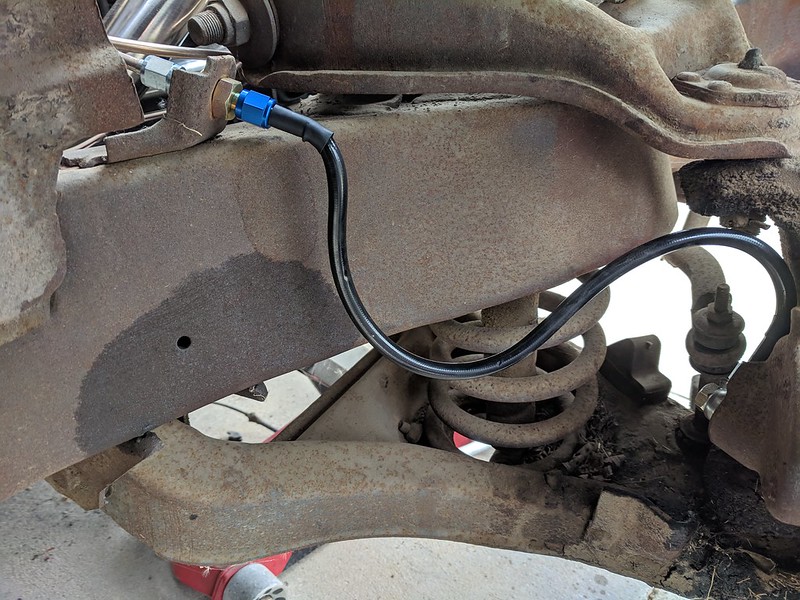
I also wrapped up the brakes, all new hard and soft lines, new prop valve and of course, line lock

Here is the rear...
 IMG_20190427_151644_613
by
Shawn Wallbridge, on Flickr
It's 1/4" NiCop line, Earl's -4AN fittings and Afco Kelvar flex brake lines.
Here is the factory master, Wilwood prop valve and generic Amazon line lock.
 IMG_20190427_151644_583
by
Shawn Wallbridge, on Flickr
Here is the front, again same fittings and hoses.
 IMG_20190427_122121
by
Shawn Wallbridge, on Flickr
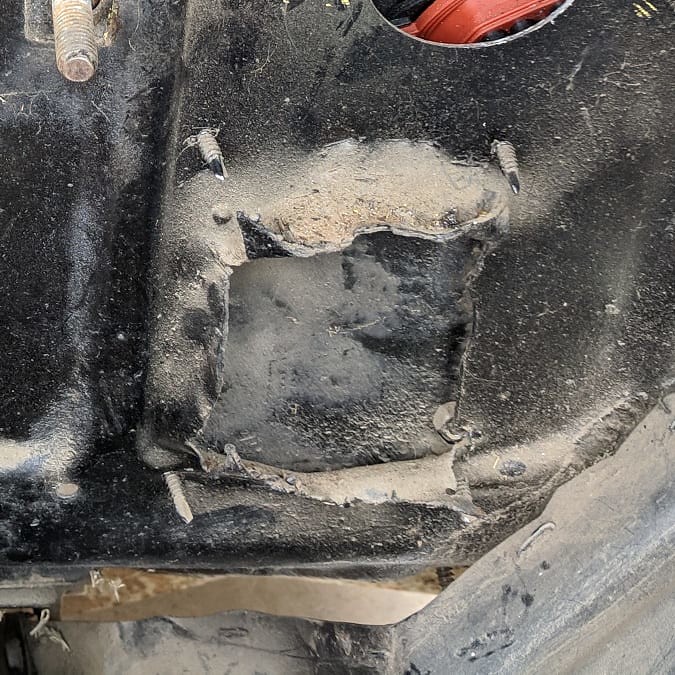
Then I wanted to move on to the fuel system. But, if you remember, I had a nasty mess behind the tank. They had very badly replaced the cab corners, and hadn't bothered to paint the inside, so I had a lot of surface rust in the corners, but it also had a lot of rust behind the tank, and looking at it closer, they had a decent amount of actual holes all along the back of the cab, but they didn't bother fixing it...
 IMG_20190427_161417
by
Shawn Wallbridge, on Flickr
They just threw some bondo over it and it even looks like some foil tape.
So, I cleaned it up as best as I could for now, and put down some POR15 I had for my Camaro.
 IMG_20190428_150011
by
Shawn Wallbridge, on Flickr
I forgot to take a before and after, so I have a half way through and after...
 IMG_20190428_172812
by
Shawn Wallbridge, on Flickr
 IMG_20190428_172821
by
Shawn Wallbridge, on Flickr
Now that the back half is dry, I can do the front, then after that dries will be the steps and doors.
Of course, one of the awesome parts of working on old vehicles in California, is evicting the tenants.
 IMG_20190428_164715_701
by
Shawn Wallbridge, on Flickr
I also cut out the headlight buckets last weekend, after letting them sit in some EvapoRust. The stuff is awesome, if you have the time, it's great to get rid of rust with almost no effort. And it didn't damage the plastic adjusters on the buckets.
I also painted the back of those in POR15, and will do the inside first thing tomorrow.
The goal for this weekend is getting the new battery tray mounted. I was going to mount it to the frame, like the 48-53's, but the Camaro clip comes too far back. So I am going to use the Jegs mount I bought, since it's a bit more solid, and looks a lot better (it's also smaller, so hopefully it clears the valve covers).
I also want to get the fuel lines run tomorrow, even though I need to wait for a bulkhead fitting before I can wrap it up completely.
The other thing I am waiting on is the Clutch-head sockets. I looked at all the local stores for them, but couldn't find them. The online restoration stores wanted a ridiculous amount for them, so Amazon to the rescue, but alas they didn't have Prime shipping, so I don't have them yet. I need those for a bunch of stuff, including checking out the inside of the gas tank. And I need to modify the sending unit for a bigger hose, not sure how that is going to go. I looked for aftermarket tanks, but all I could find was bed mounted (not an option, as I want to be able to the truck as a real truck, and not have to worry about putting stuff in the bed and blocking the filler), so I either need to modify the existing tank, modify a new stock tank, make my own tank (welding skills probably aren't quite there yet, and no tig), or have someone build me a tank. Thankfully I know a
guy... He did some work on the Nova I used to have.
I also want to get the engine primed before I put the distributor back in, so I need to install the fuel pump block off plate, make sure the oil pressure gauge is hooked up, and put some actual oil in it. I really hope it doesn't have any big leaks. As much as I would love to go LS, that would very easily add another month before it sees the road, and I really really want to get it on the road.
Oh, and I got a good deal on a blem'ed Champion 3 core aluminum rad. I haven't installed it yet, but soon, when I get closer to starting it.
But before I am 'allowed' to start it, I need to get the exhaust on it, which is most likely a weekend in itself, so maybe next weekend.
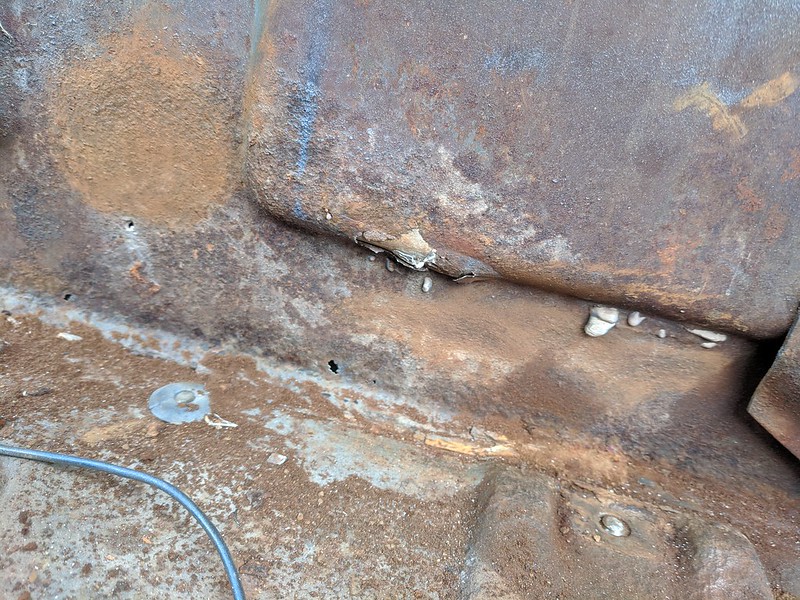
Oh, and not sure if I posted this yet, but I had a piece of bondo that had come off...
 IMG_20190407_175741
by
Shawn Wallbridge, on Flickr
So I decided to hit it with a grinder to at least prime the metal and prevent any further rust...
 IMG_20190413_123418
by
Shawn Wallbridge, on Flickr
And big surprise, it's not pretty

I will probably hit the entire fender with my
Eastwood SCT (another great tool, btw, it's as good as they say it is)
In reality the entire truck has a lot of bondo, so I am torn. I can just hit the areas that I won't be able to get to later, knowing they will look nasty underneath and spray the rest the way it is. Or, I can strip everything now and have a fairly scarred and beat up, but bondo-free truck. I certainly don't have the time to properly fix everything now. I would like to strip it all now, but in reality I have to get it on the road, so I will probably meet part way in the middle.
Same deal with the frame, though I am more likely to leave it as is, since I expect that at some point I will want to fix or at least reinforce where they have hacked.
I think that's about it, hopefully these pictures aren't as massive (and unreadable) as the last post. I sure wish I could edit the posts.