At this time we supported the rear-end with the jack and proceeded to remove the removed the stock panhard bar, mount and differential bolt. Once the panhard bar was removed we supported the rear-end with jack stands as after we remove the springs it would only be attached to the trailing arms. Next we removed the rear springs so lolife99 could make his way up to the upper shock mounts to remove the factory rivets. Let me tell you, I learned from lolife99 one of the easiest ways to remove factory rivets (if you don't have air tools).
Items needed:
4 1/2" Grinder
Cutting Wheel
Grinding Wheel
Punch
Hammer (a BFH

)
The process:
Step 1: Take your grinder with a cutting wheel and "X" the rivet itself, and try to get the majority of the excess cut away
Step 2: Take your grinder with a grinding wheel and grind the remaining portion of the rivet down flush with the frame. (At this point you will begin to see the stud part of the rivet in the frame)
Step 3: Once you can visually see the rivet stud, grab your punch and hammer. Place the punch in the center of the stud, and proceed with hammering the opposite end of the punch. After a few good whacks, the rivet will pop out and you can move onto the next one.
Once you get good at this, it will only take a minute or two to remove a rivet.
Now for a lot of what the following pictures dont show. After the rear-end was free from the truck (aside from the trailing arms), we needed to break the U-bolts free. Out of everything on this truck, this was one the roughest patches we ran into during the entire install. After banging, prying, and a little elbow grease, we were able to break the trailing arms/rear-end/U-bolts free.
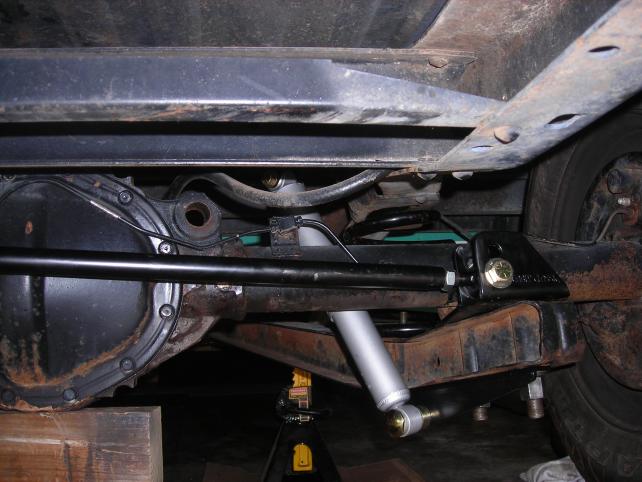
Once we had everything blaster apart, we could begin installing the pieces. We started by putting the lower shock relocator brackets in place, along with the new Super-Trac bar mount on the passenger side trailing arm. With this now in placed we grabbed the U-bolts that were supplied to us by ECE. Now, as see ten mentioned in one of his posts, out of all the parts ECE supplied us with this was only 1 of 2 we ran into issues with. Regardless of the U-bolts being different lengths (hardly noticeable), one U-bolt was narrower than the other. Now for most guys this is not a big deal, for me
it is. See I didnt have a vise to stick the U-bolt in and pry on, so it was off to a shop down the road that would end up paying off in the long run. (Thank you for great neighbors!) Not only were we able to pry the U-bolt wide enough to reinstall, but I also had to borrow an 1 1/16 (IIRC) deep well socket used to tighten down the U-bolts. One other thing to mention at this point are the recommendations of torquing the U-bolts to 215 ft. lbs. Use an impact and you should be good to go
(The cheapest torque wrench I found that went from 25-250 ft. lbs was $119 at Sears.)
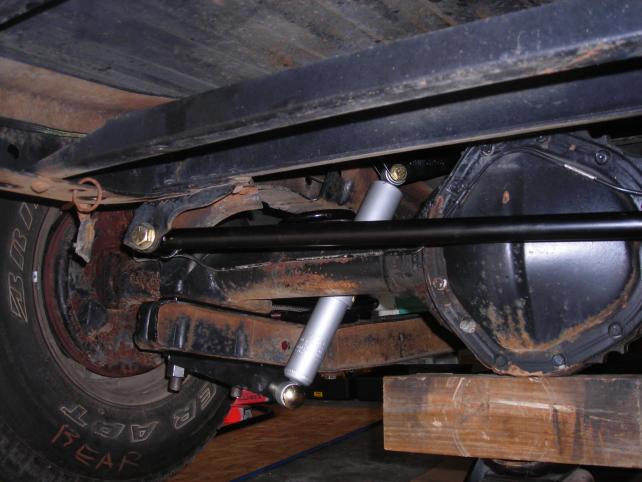
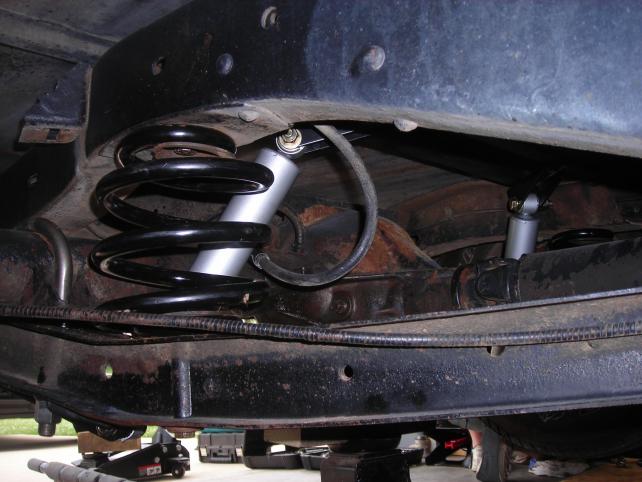
After we got the U-bolts mounted up, we installed the new upper shock relocator brackets, and then installed the springs. After getting the springs mounted up, we moved onto the new KYB gas shocks. Now at this point, its time to refer back to the measurements I took a week prior to the install and begin to install the Super Trac bar. After referring to the past measurements, and using a ratchet strap to get the rear-end centered, we cranked everything down and she was about ready to set her back down on the tires.
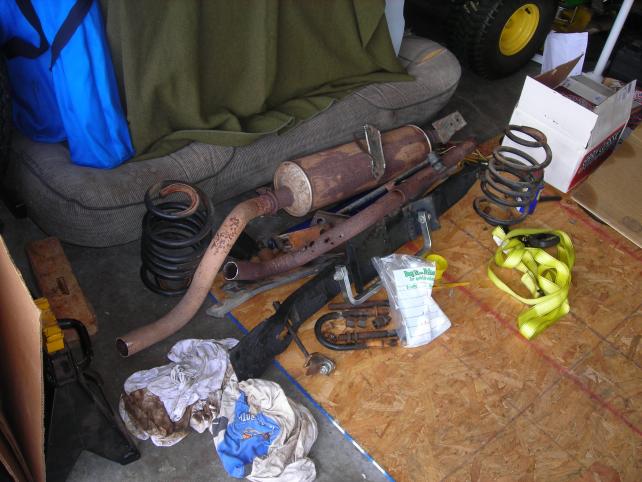
Nothing like seeing a nice pile of parts sitting in the garage, but generally when theres old parts in a pile, something had to of taken their place.... but what?????