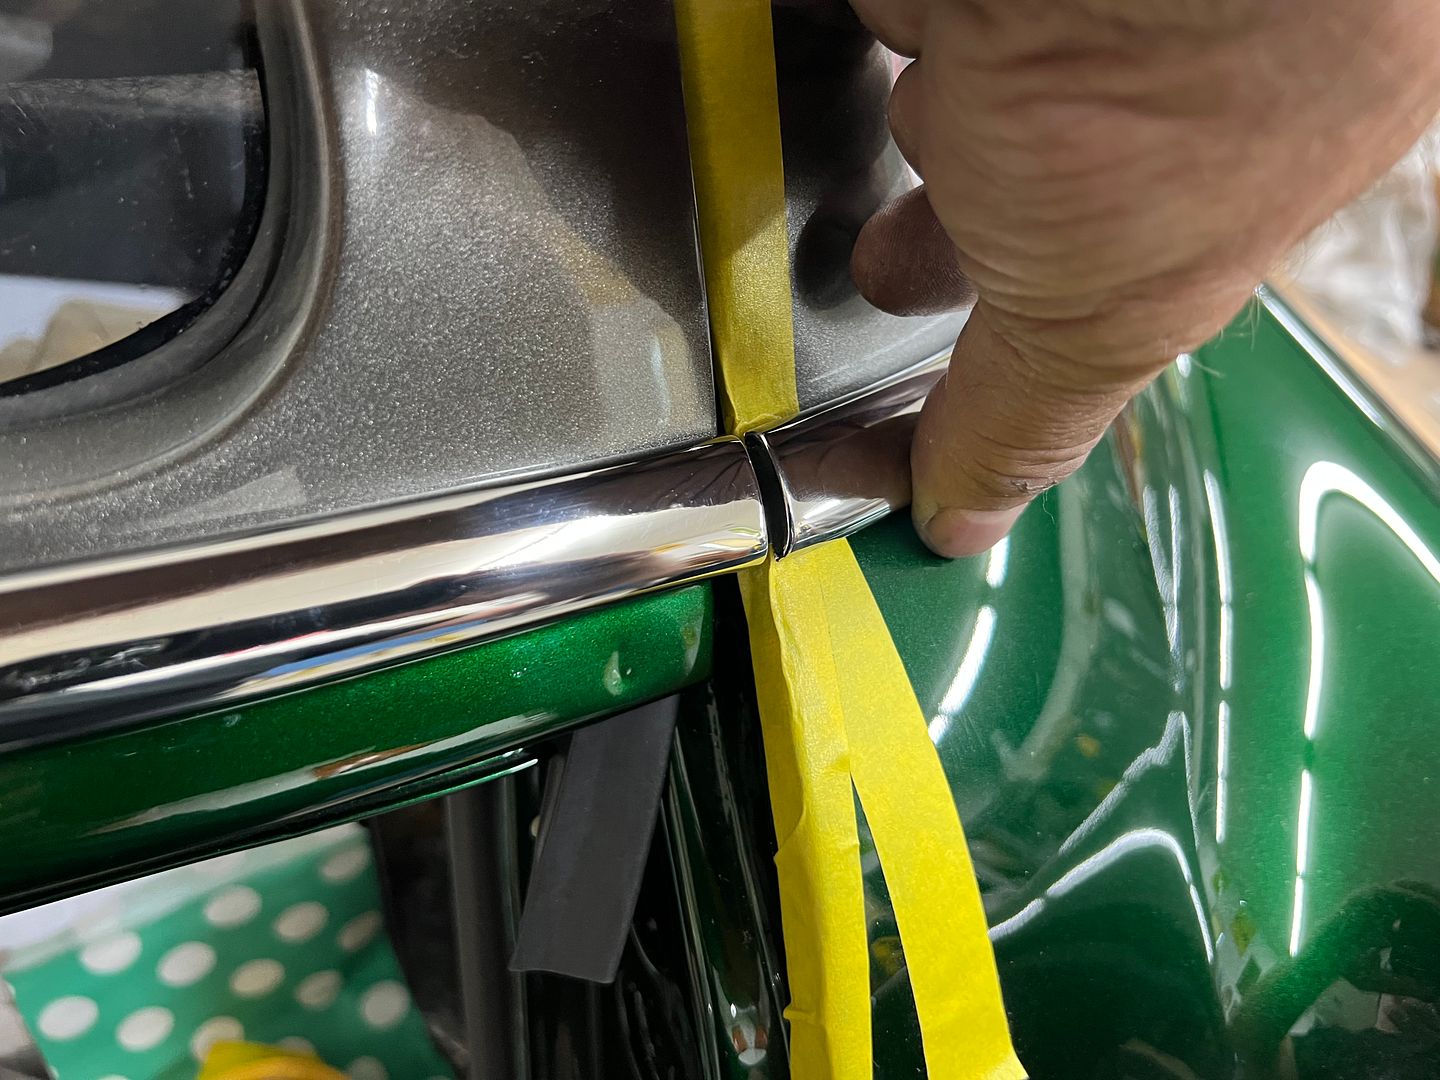
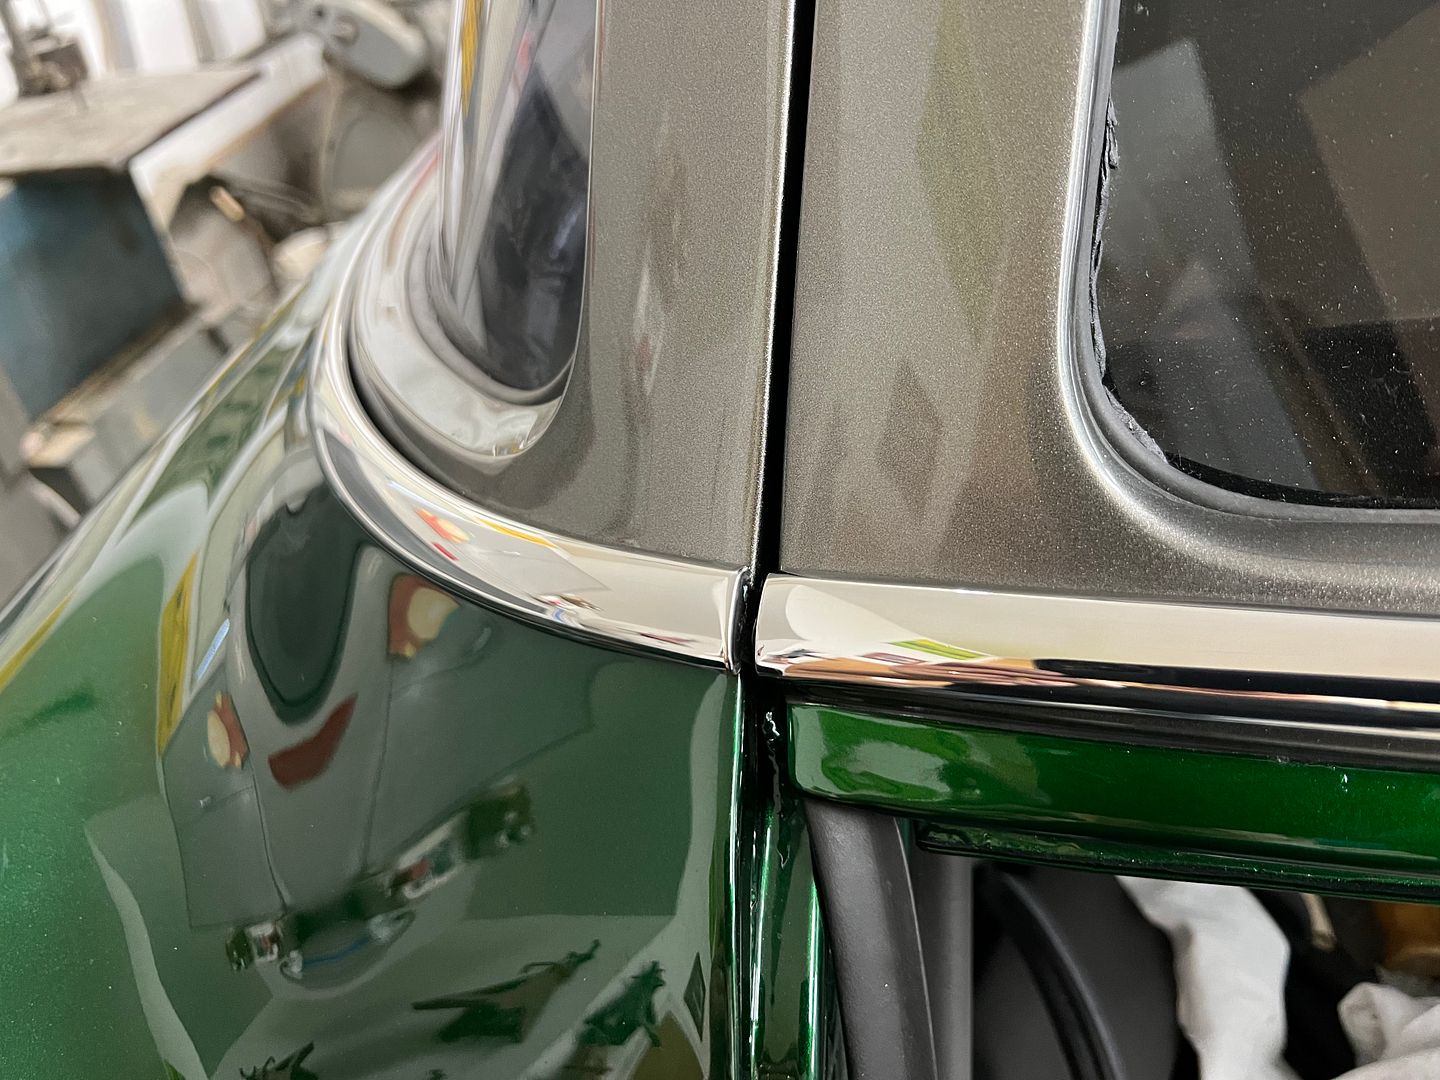
More installing stainless trim. The screw holes for the beltline trim that wraps into the tailgate opening had been filled when we shaved the lead seams. So we used some tape to protect the paint as we aligned the side trim to the lift gate trim before drilling the holes.
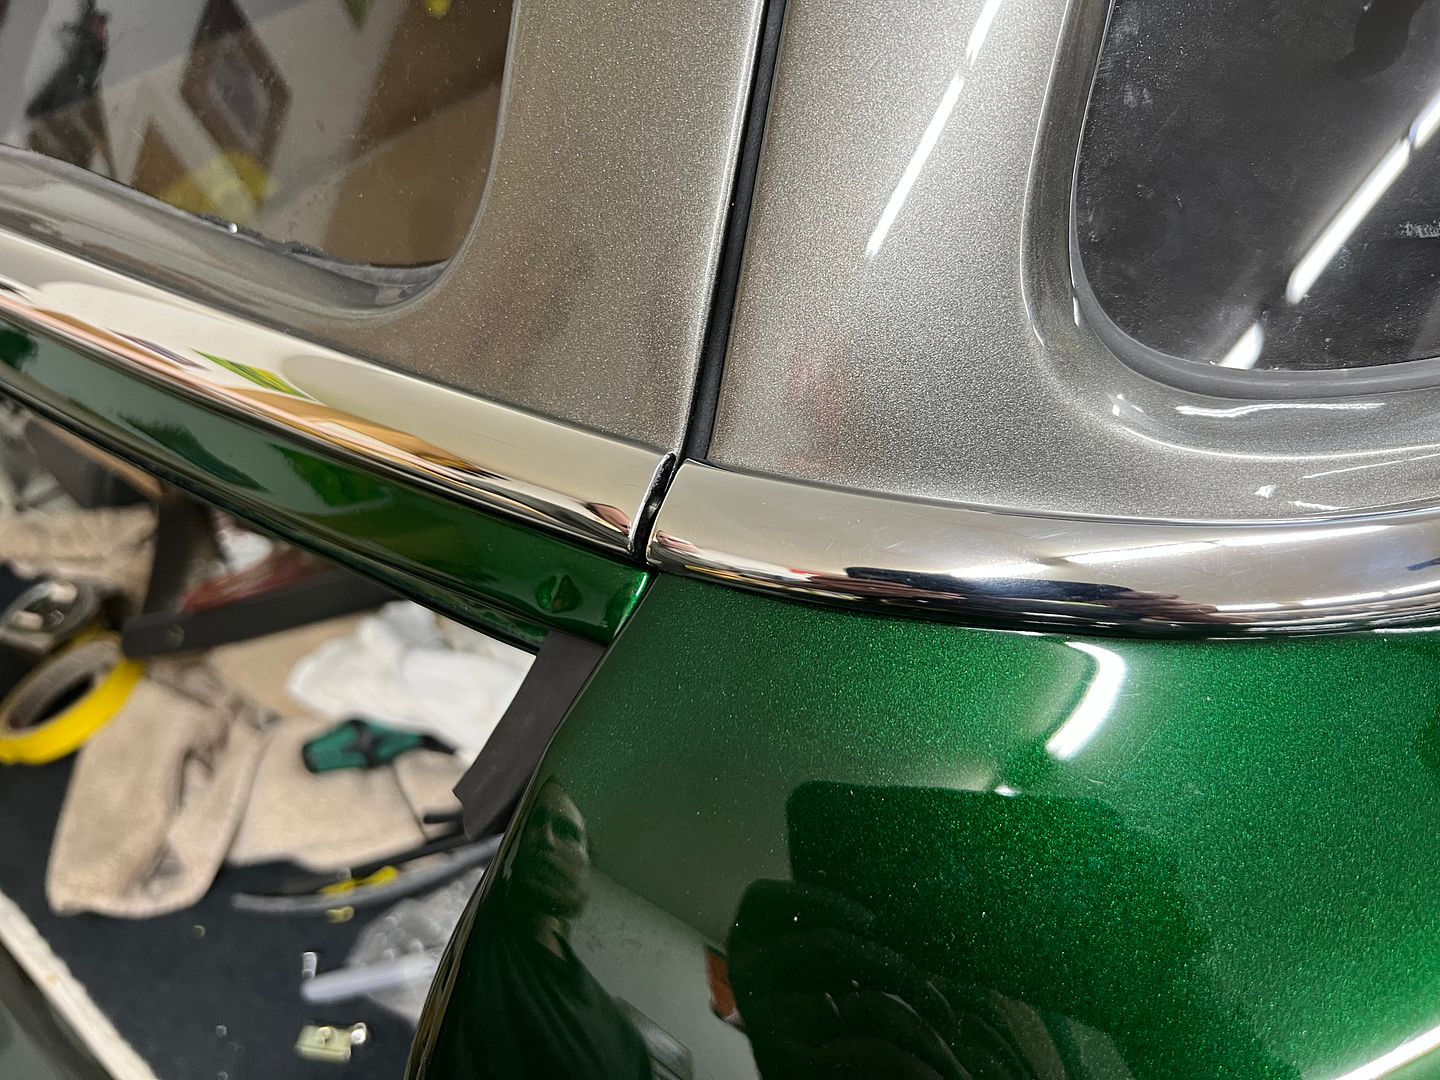
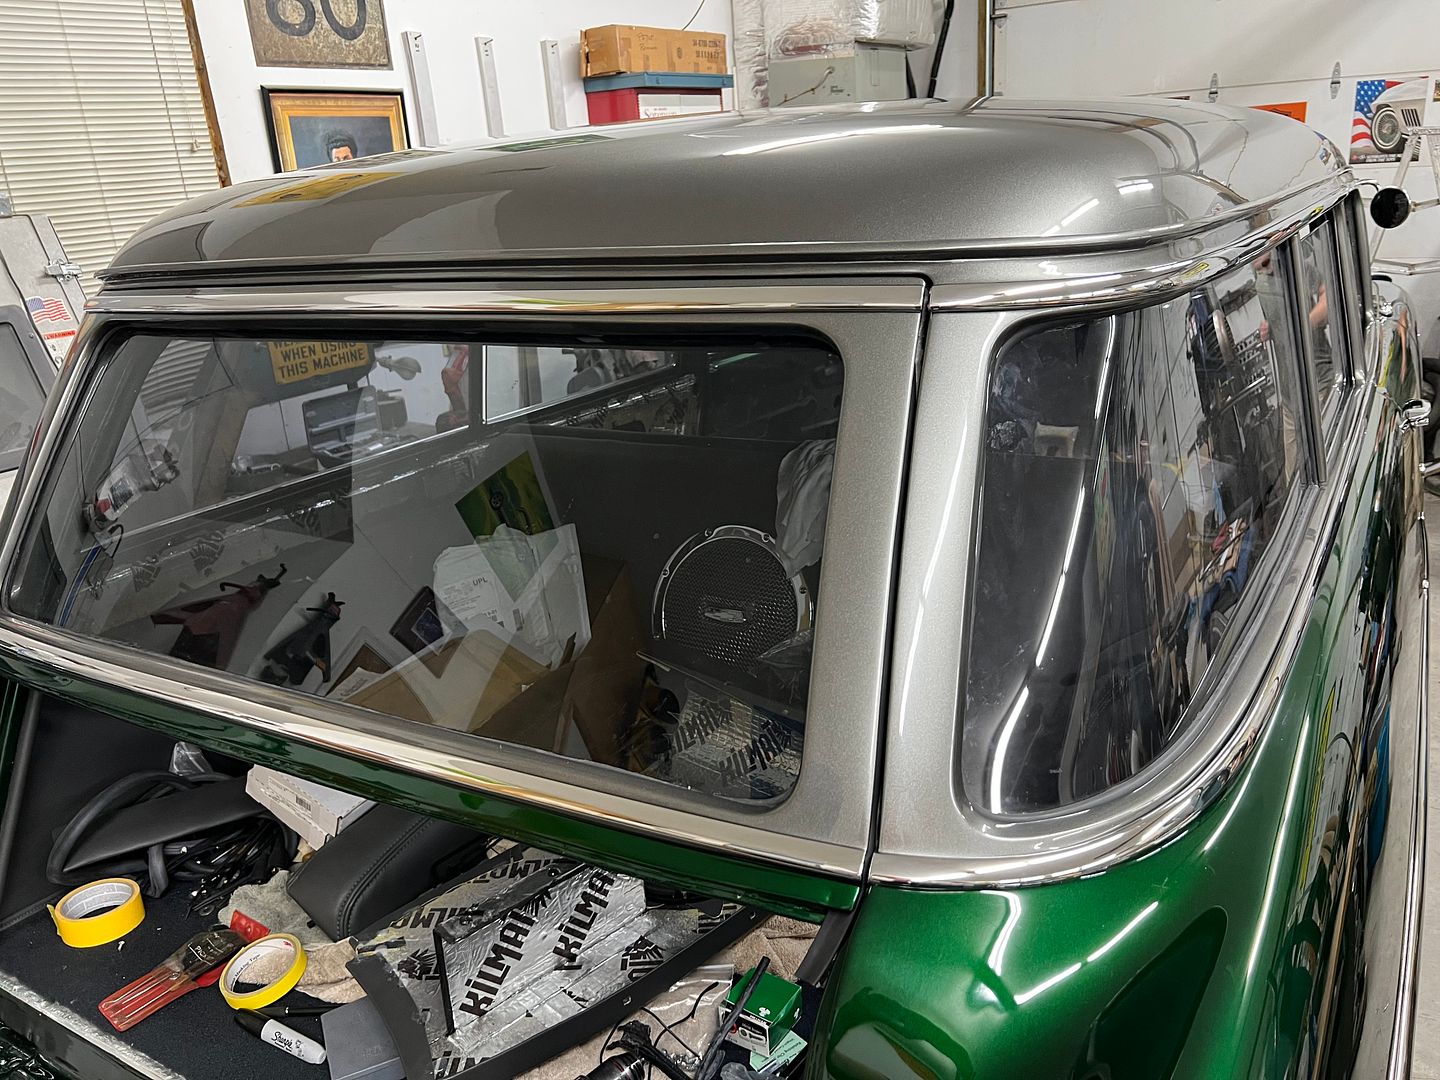
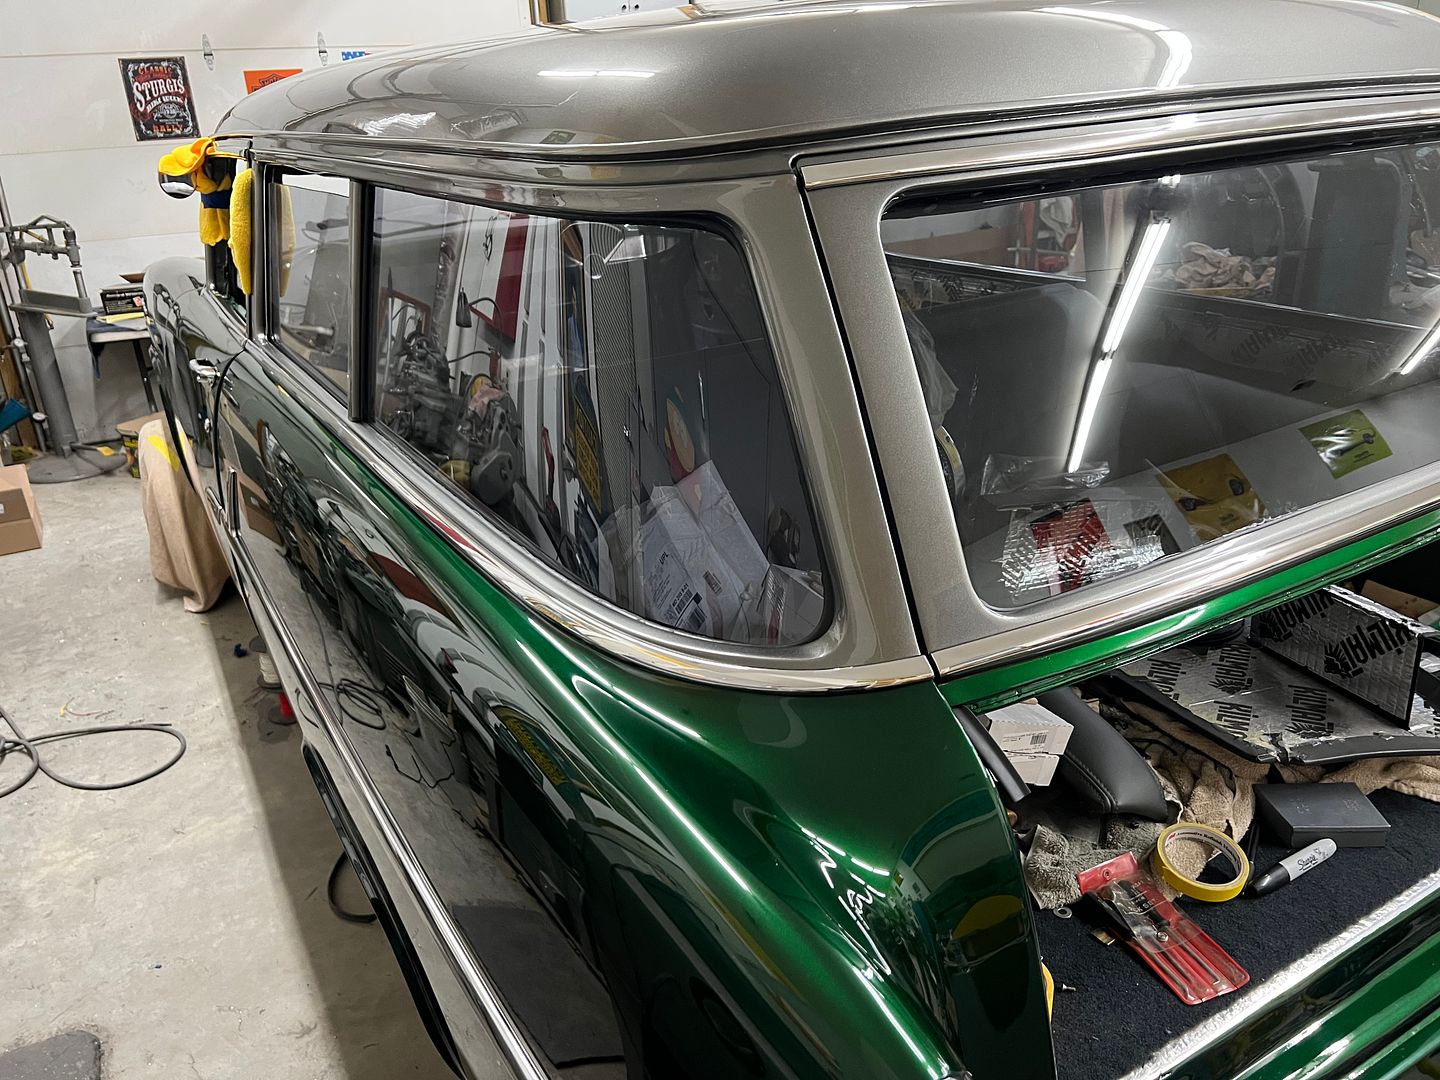
One piece to go on the left side, awaiting the trip from WI.
Next, we attempted to install our vent windows in the "reconditioned" frames the owner had bought. Only we noticed they weren't so ready for installation...
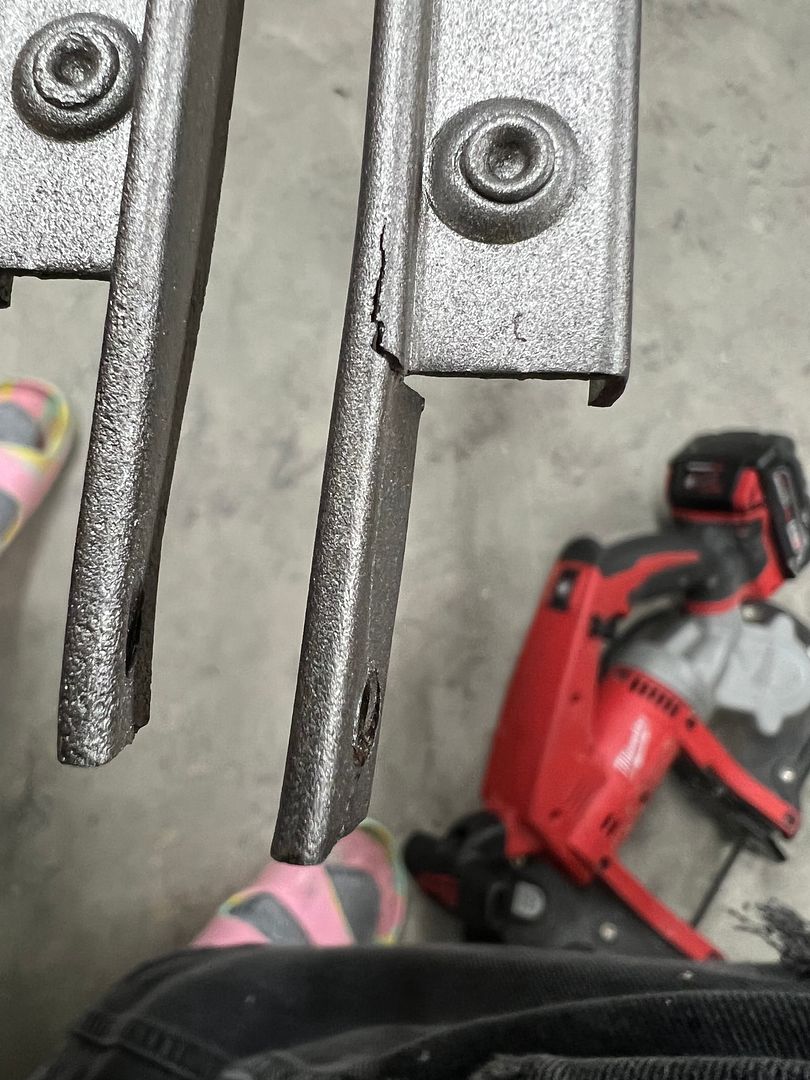
and bent...
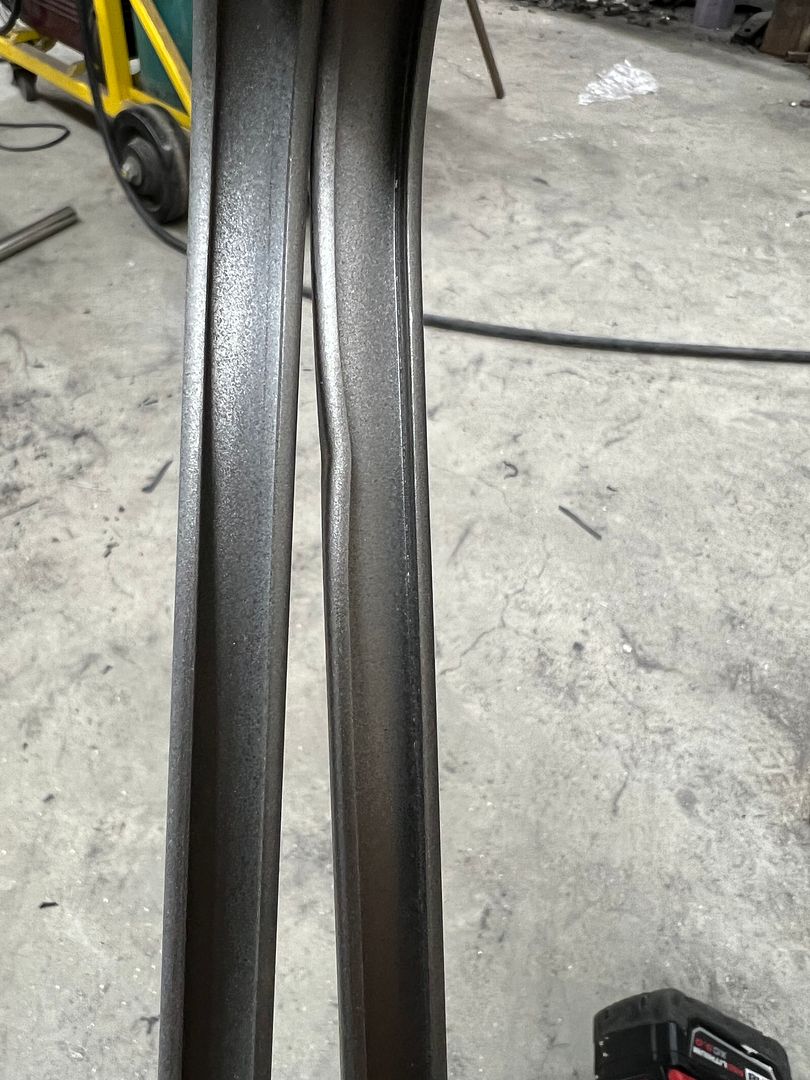
Well, since we're on a roll, lets check the stainless trim that divides the vent and side windows. This had been "reconditioned" and included with the bent and cracked vent frame. Looks like they just polished up the dents and scratches. Not going to meet our standards.
https://www.youtube.com/watch?v=ToR2iF0sNeQ
So we media blasted the original frames, which had no damage, and dropped them off at the Shop at Shorty's for a Cerakote finish.

Inspecting the stainless trim, we found the originals to be less beat up than the reconditioned stuff, so we opted to straighten out the originals. Here's a comparison of the trim, the two on the left are the reconditioned that had been polished right over the defects. The two on the right are the originals, the left of the two has had any dings/dents pushed from the back in prep for our refinement process. (except the one up top I missed) The right one has gone through our w/d 360, 600, 1200, 1500, 2000, and 2500, all done wet. There are some minor scratches still, so we'll go through this process once more prior to buffing to make sure we have a flawless finish.
https://www.youtube.com/watch?v=UIQcvWRF9nU
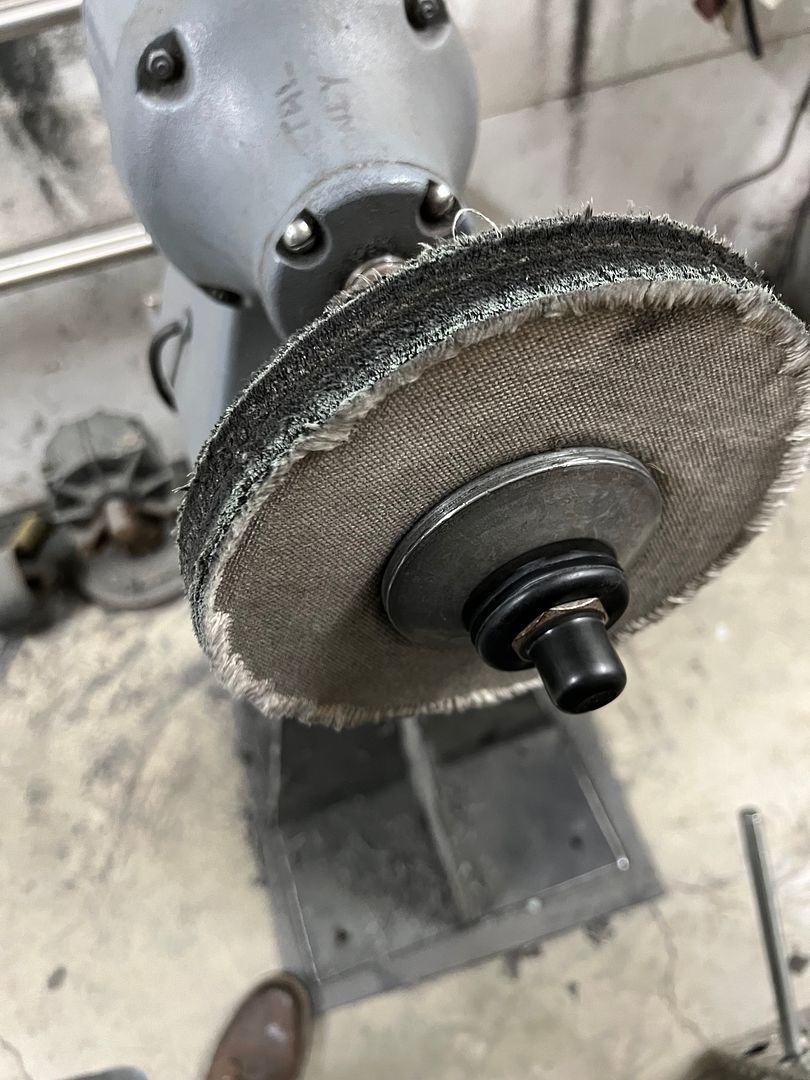
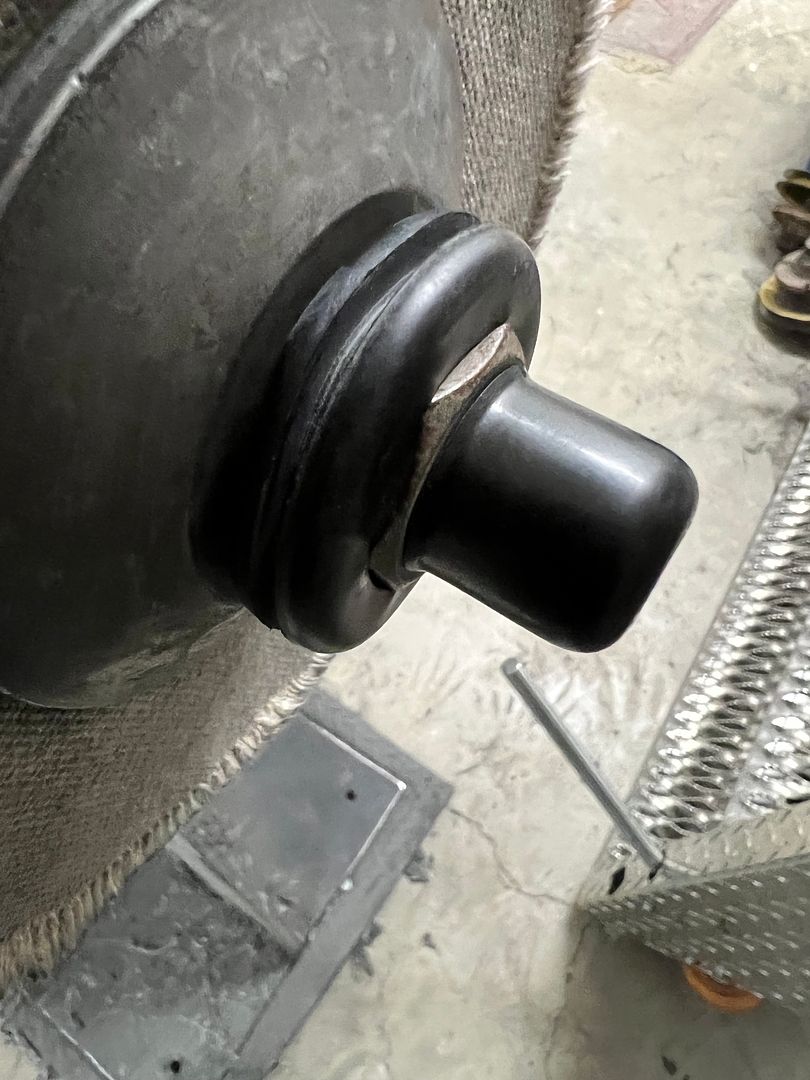
And a helpful hint for those who dabble in polishing stainless. We've all had occasion where the stainless slips off the buffing wheel, bouncing off the buffer shaft, causing another 2-3 hours to correct. We added a rubber grommet to cover the nut and a plastic end cap to cover the threads. Less chance of damage from those mis-steps.
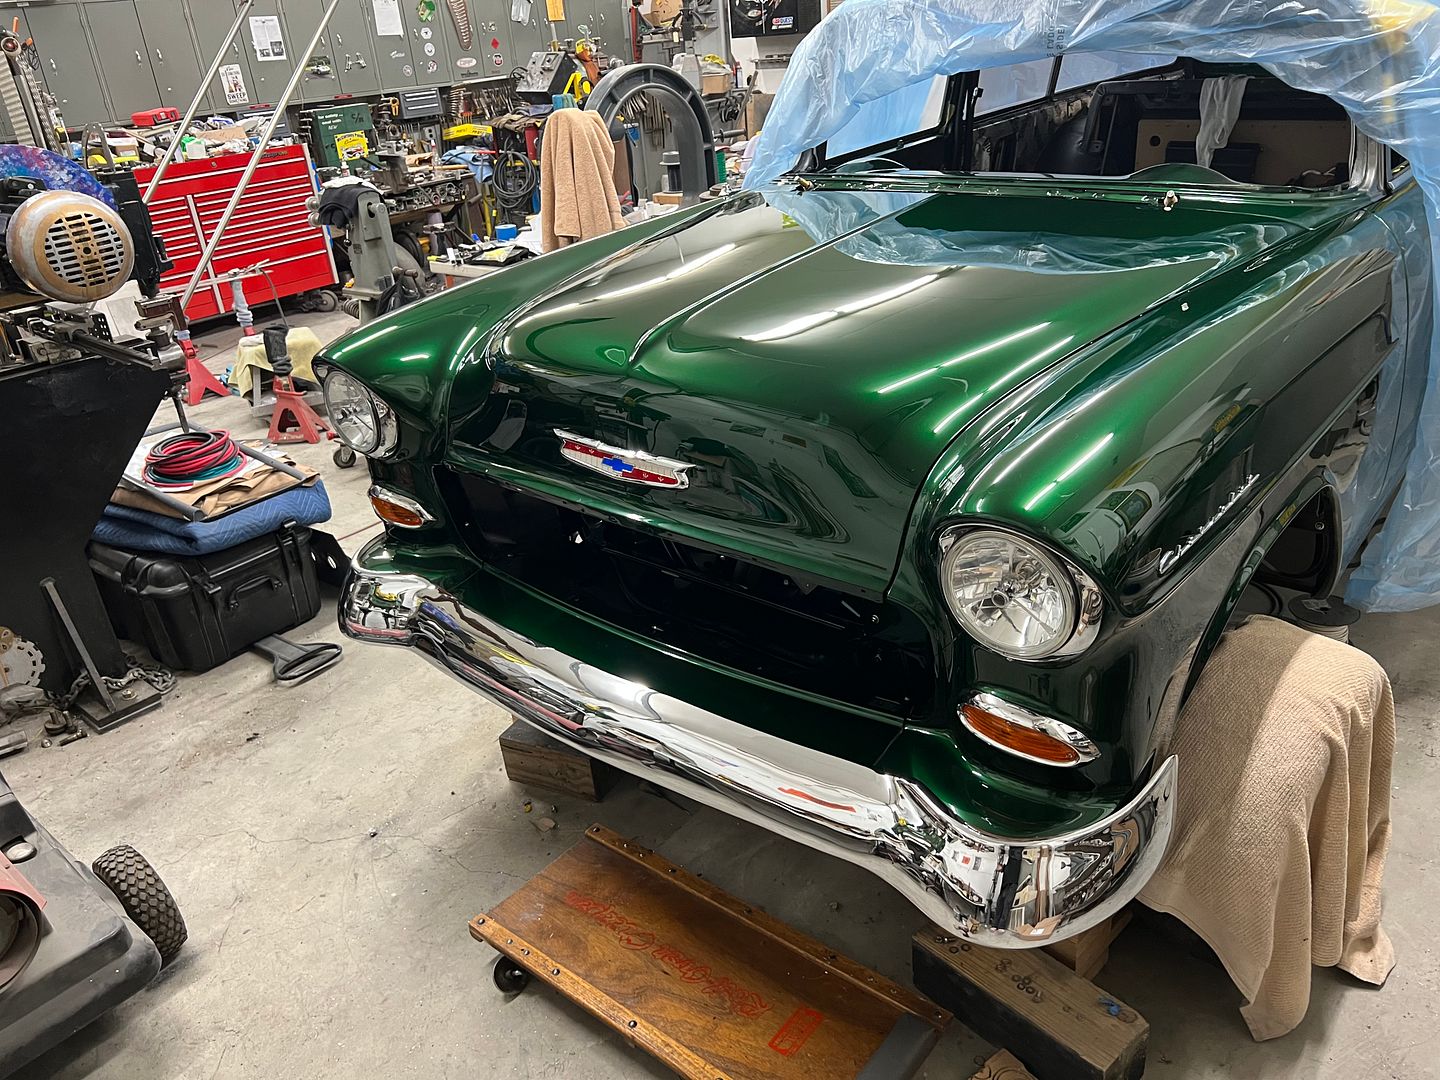
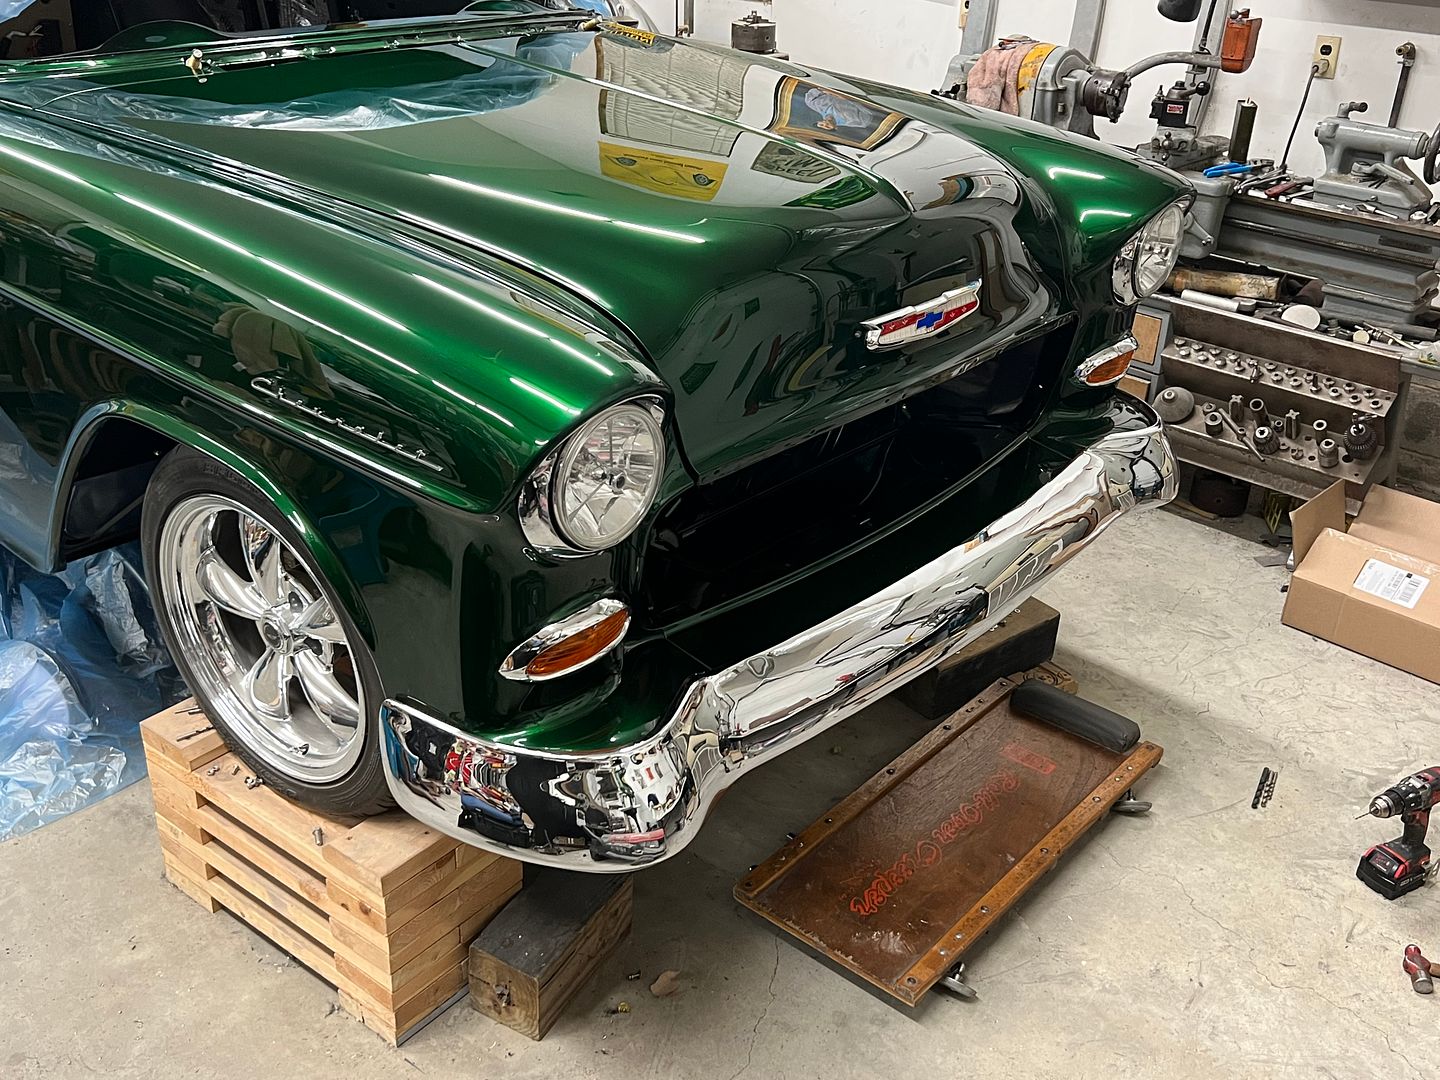
We did get some more chrome on the front. Look, no bolts!!