Quote:
Originally Posted by 350TacoZilla

|
I dunno if i would consider it an upgrade but i don't want to get into that right now but ill keep reading up on it thanks for the piece as i never knew about it before.
Now onto the some more progress a couple of things happened, one the hubs and rotors are assembled and ready to go back on the truck but I'm waiting to ask my uncle about something tomorrow and I've decided to take a couple more steps that aren't really anything worth noting but ill be taking off the caliper mount and dust cover just for the heck of it while I'm there and since the dust cover is no longer made ill clean it up and paint it before it rusts to pieces.
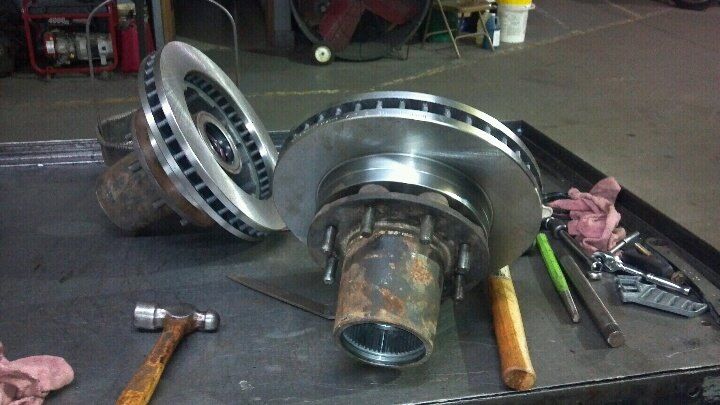
Here are some pictures of the progress.
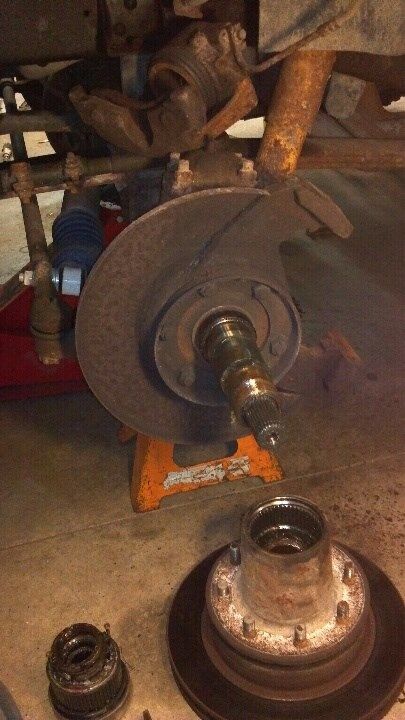
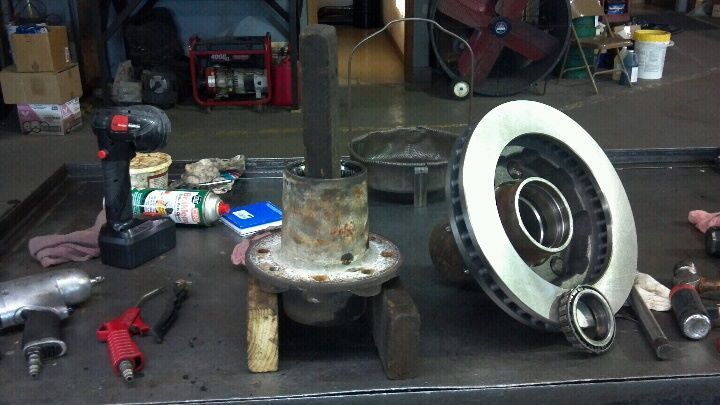
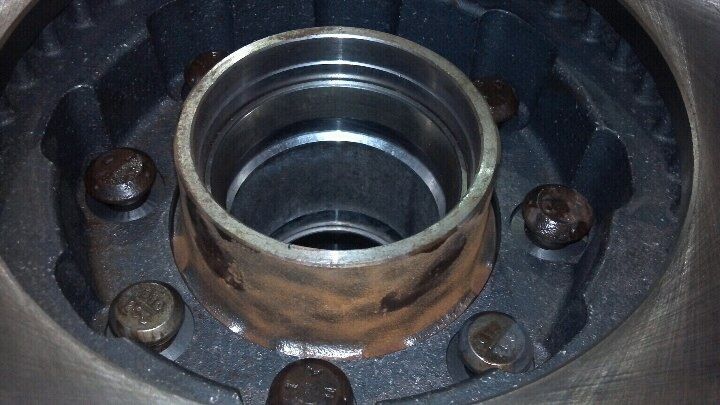
Continuing where i left off, this is what you should have at this point
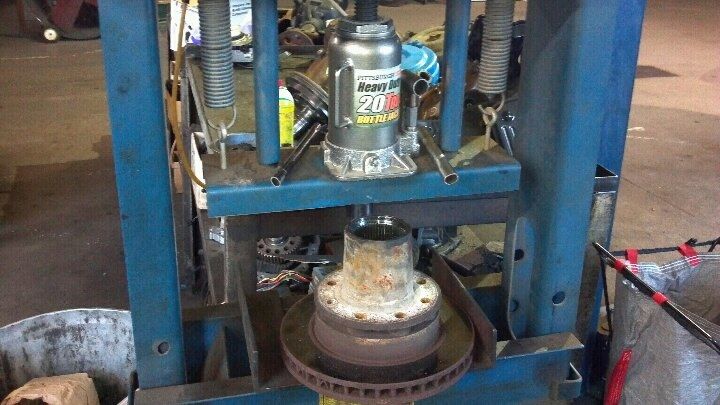
Now time to take the hub and rotor and get the studs out. You can do this however you please if you don't want the studs you can beat them out of need be or do like i did since im saving the studs i pressed them out. The press i used didn't exactly fit everything the best but i made do using one of my lug nuts which is open ended and flat so i threaded it about 1/4in from the bottom and put this bolt on top and pressed them out pretty easily on the first rotor

The whole setup using a trusty harbor freight jack
I don't have any pictures but on this one the hub did not fall off the rotor like the other one so i just flipped it over in there and put a piece of wood and pressed it off the rotor which took no effort so then you end up with this
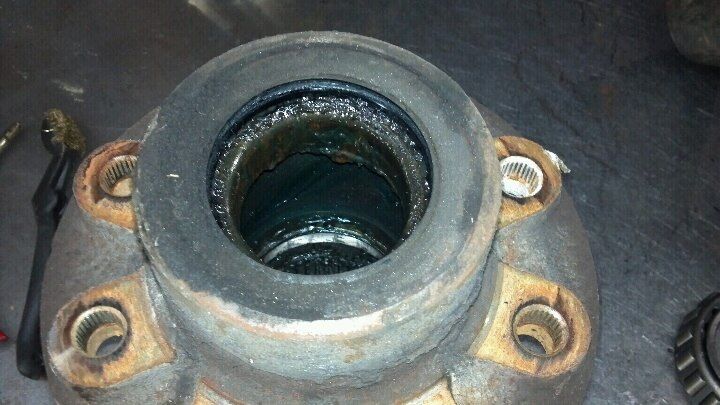
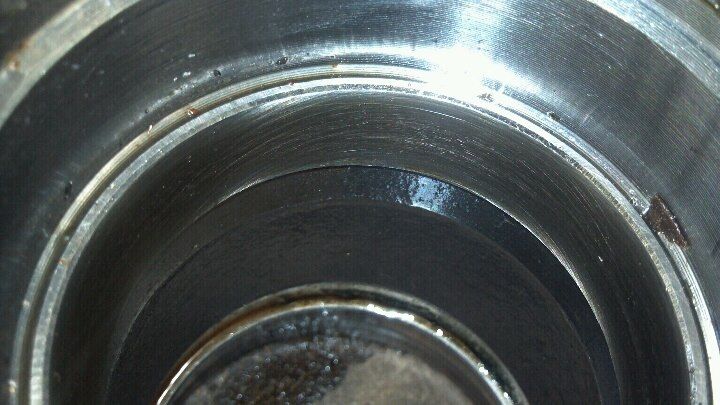
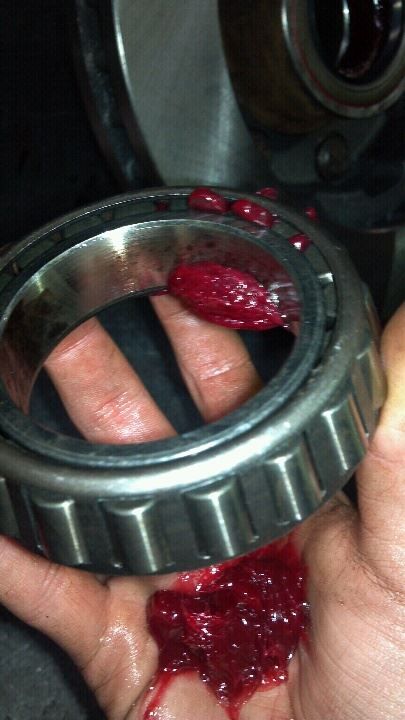
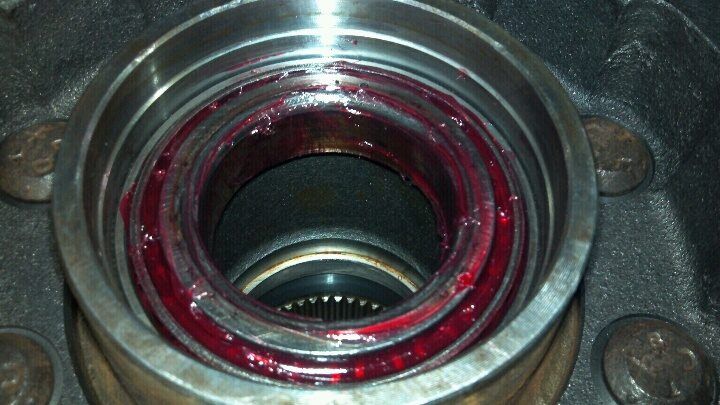
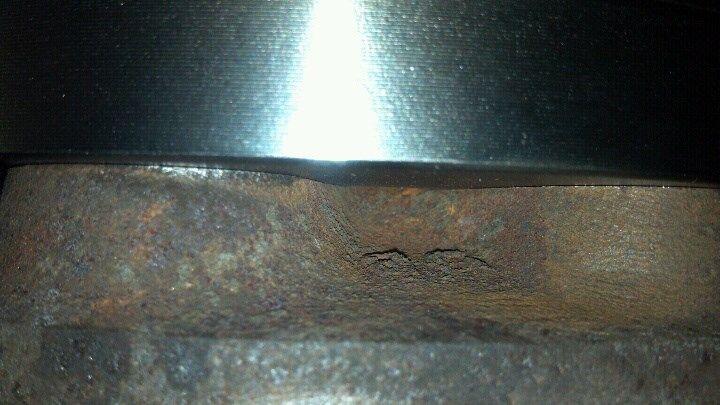
Now is a good time to replace the seals while your here and check the bearings my seals were junk as you can tell from this they were also seated wrong
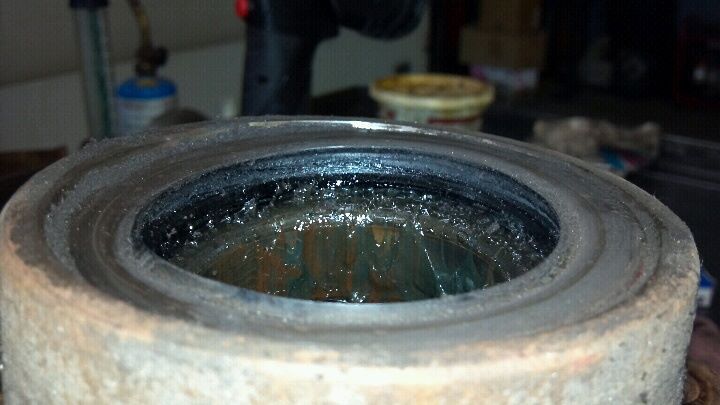
The way i got the back bearing out was doing this, take a block of wood and hit the bearing from the hub side which will knock the bearing and the seal out at the same time, be careful not to hit the race. And no you don't have to do anything the way I'm doing it this is just a step by step feel free to change it as you do it
If you do it my way you end up with this after a bit
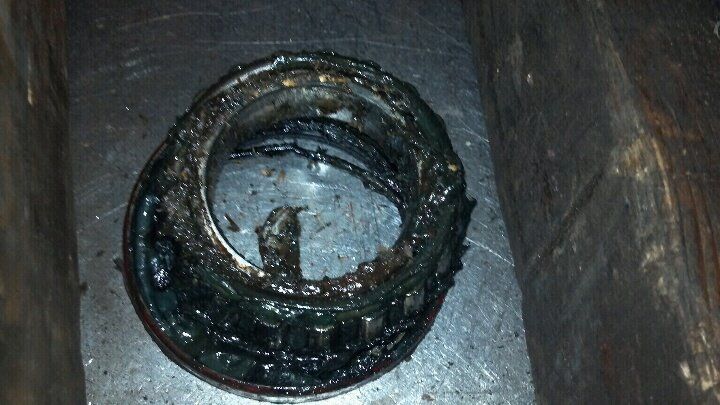
Seals bad. My other rotor the spring was stuck inside the bearing so good idea is to probably replace them

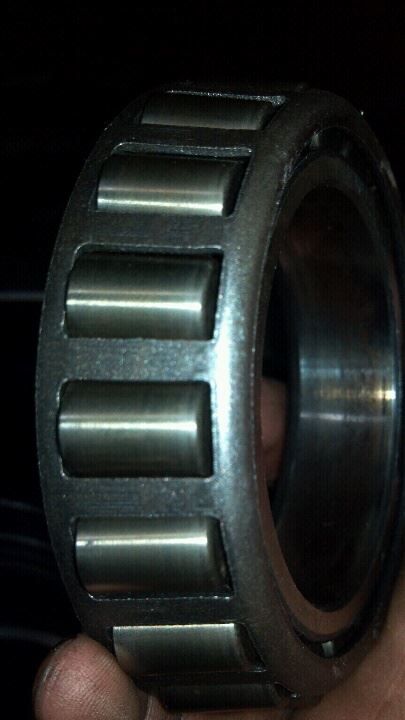
At this point i would suggest cleaning the hub like i did, i washed it in solvent then put it in the parts cleaner then you can check the races to see if they need replaced luckily mine didn't. You can also clean both bearings however so i used solvent again and then air and check them here is the inner bearing, all my bearings are perfectly normal so i will not be replacing them just the seals
Not sure why but my camera seems to make the bearings and races have all these non existent scratches and stuff something with the flash and reflection but they're good trust me

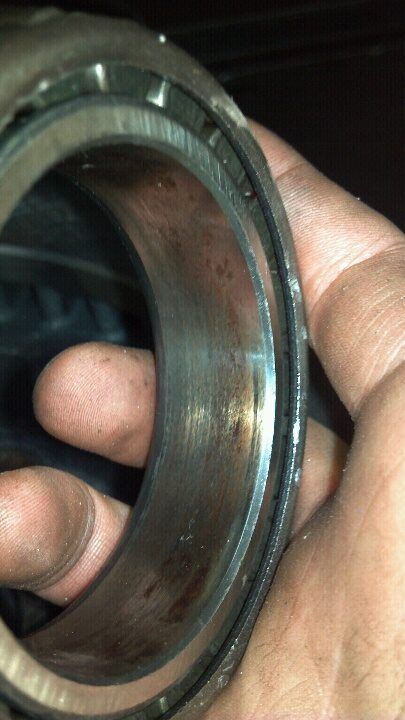
First race looks pitted but that's left over from the parts washer i didn't wipe off
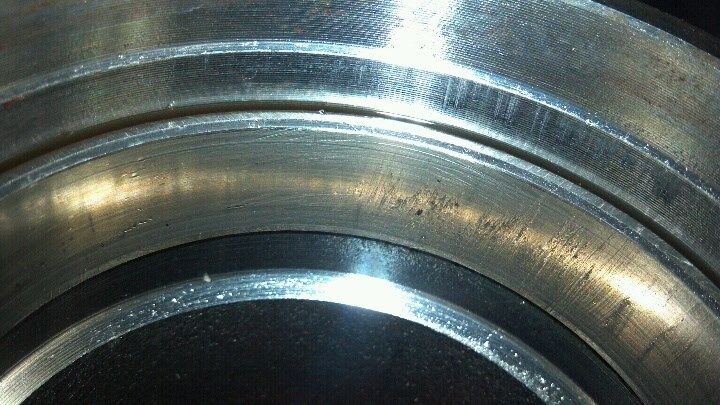
Second race
Now after its all cleaned out i then suggest cleaning the mating surface for the rotor you do not want that to have anything on it so it can press flat against the hub, i wire wheeled it
Then i wire wheeled the other side where the wheel bolts to as well
At this point if you want you could just paint it but i didn't, but now on to my least favorite part. Packing the bearings. Assuming your bearings/races are good or you got new ones here's what i do. By hand. You could also use a bearing packer its up to you, the way i do it is put a big glob in your hand as then push the grease through the bearing until it comes out the top as show then i lightly coat the whole bearing in grease
Now put the bearing back in the back of the hub making sure it sits in there correctly
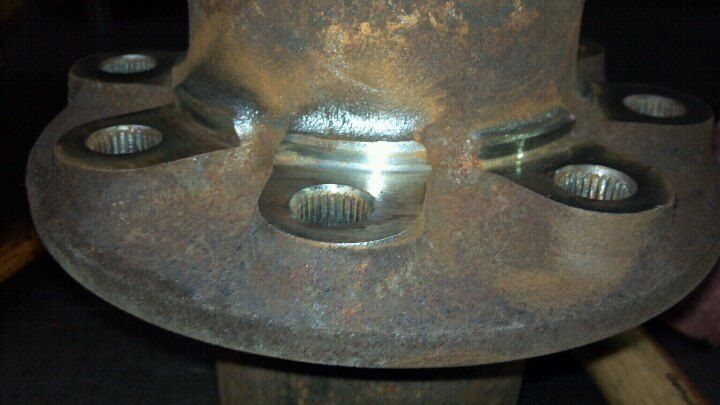
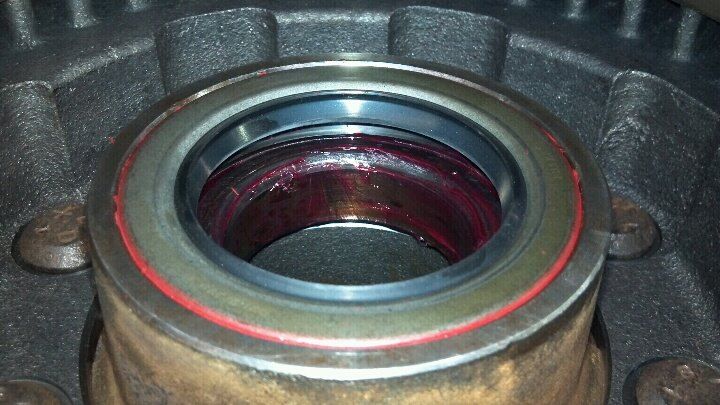
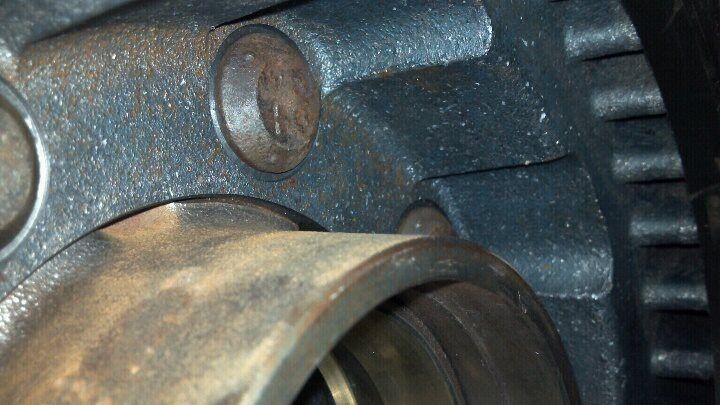
Put the new seal on. This is the updated seal per say the original is a single lip the new is a double lip
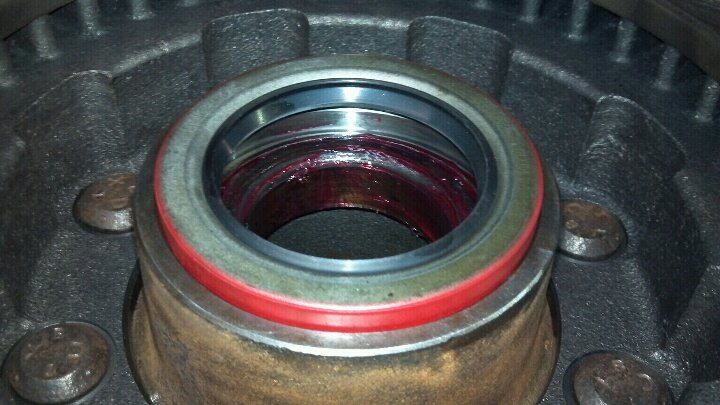
Notice how the studs are already in?! Confusing isn't it lol but don't worry about that i did some stuff backwards but don't let it all confuse you. Now i lightly tapped the seal in with a plastic headed hammer and made it flush but you could press it or use a big socket just do whatever to get it in there
Now time to clean the studs and put them in. I let them sit in solvent then cleaned them with a wire wheel but do as you please or if you bought new ones it wouldn't matter
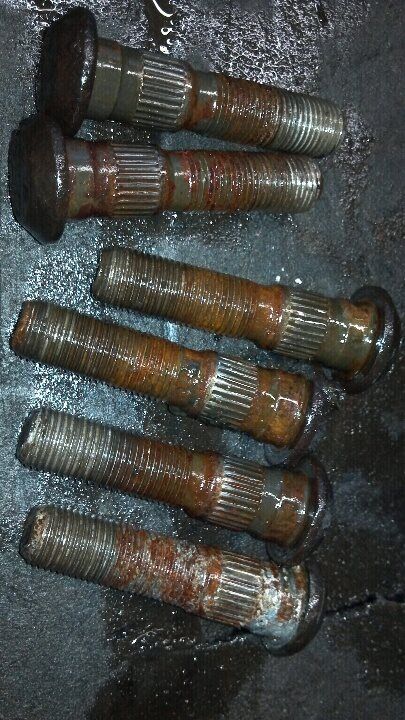
Put the studs in the rotor and the way i did it was with a piece of metal and a mini sledge but you could press them in or use the lug nut method, whatever suits you just make sure they are in. When i pressed them i had one side down to far and there was a very slight rock in the rotor i happened to of noticed so i switched to the hammer and it is was cured
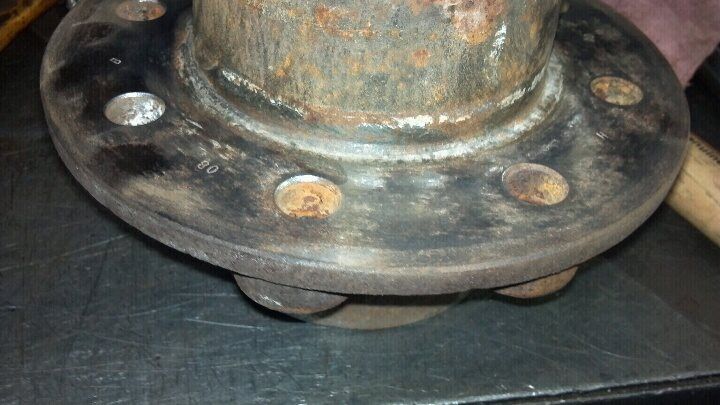
Check to make sure they seated all the way and the reason i like the hammer and punch setup is because when you do that you can hear them seat as the sound from hitting it will change but again to each their own
Check the outside for no gaps as an added precaution
After all that hard work you end up with this
I will continue this tomorrow stay tuned for some more picture heavy posts