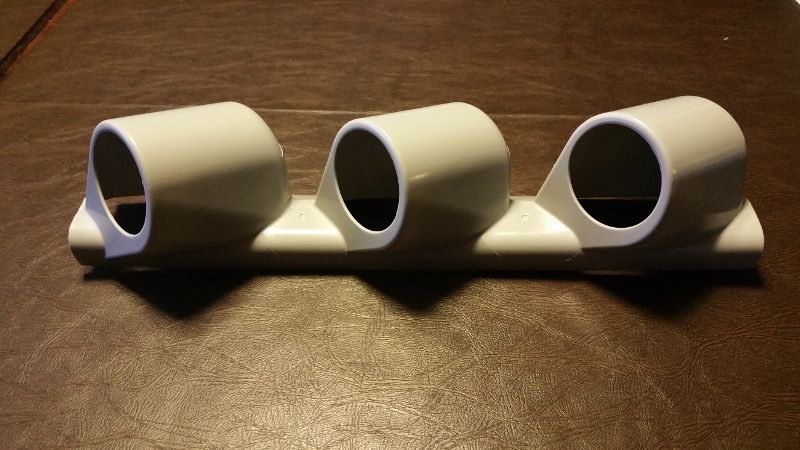
73-87chevytrucks.com Triple Pillar pods are now available. We will be shipping these starting next week. I am currently packaging them and have 1000 on hand. This will be a regular production Item, so we will keep these in stock. Right now I have to figure out the demand on these.
You can purchase yours here at this link for $105.95 + $10 shipping to Continental Lower 48 States. Please email us at
webmaster@73-87chevytrucks.com for shipping outside of the lower 48 States:
http://store.73-87chevytrucks.com/me...y_Code=7387INT
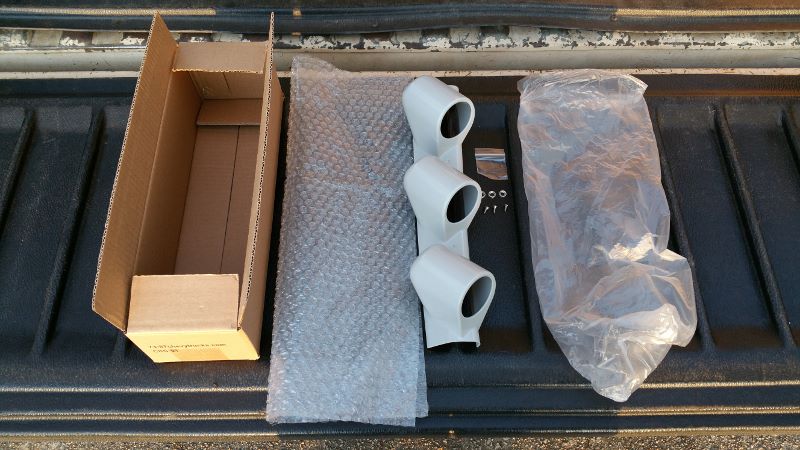
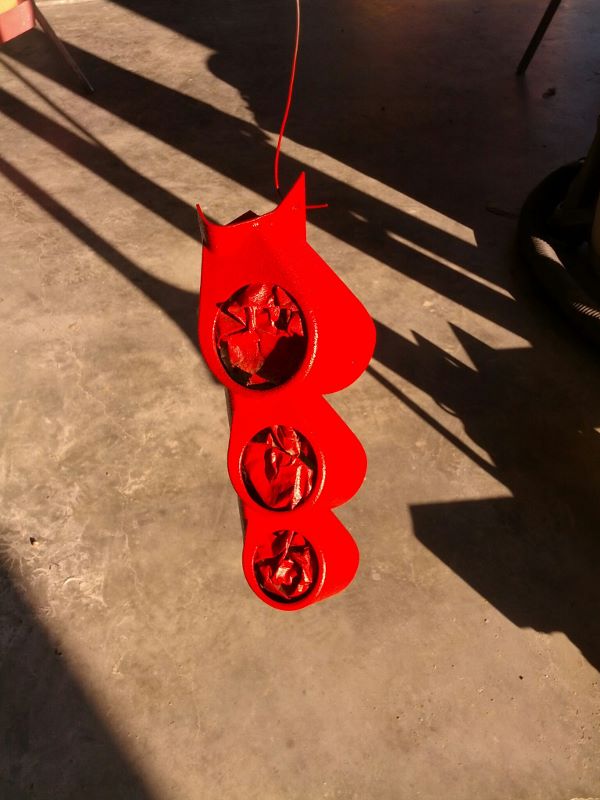
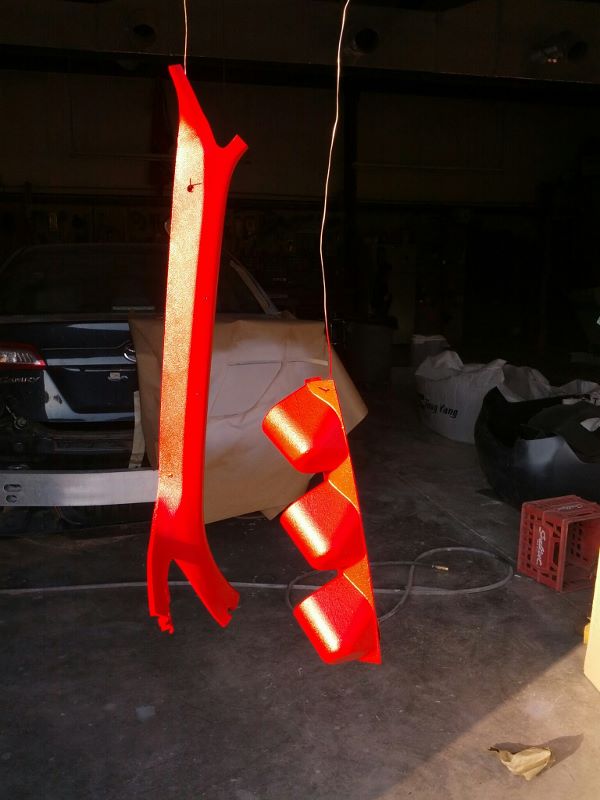
This is what comes in the box. Instructions (basically this information on our recommended install procedure), the pod, (3) #6 Stainless trim screws and washers. Note that it is expected that the pods will be painted to match as they ONLY come in one color, gray.
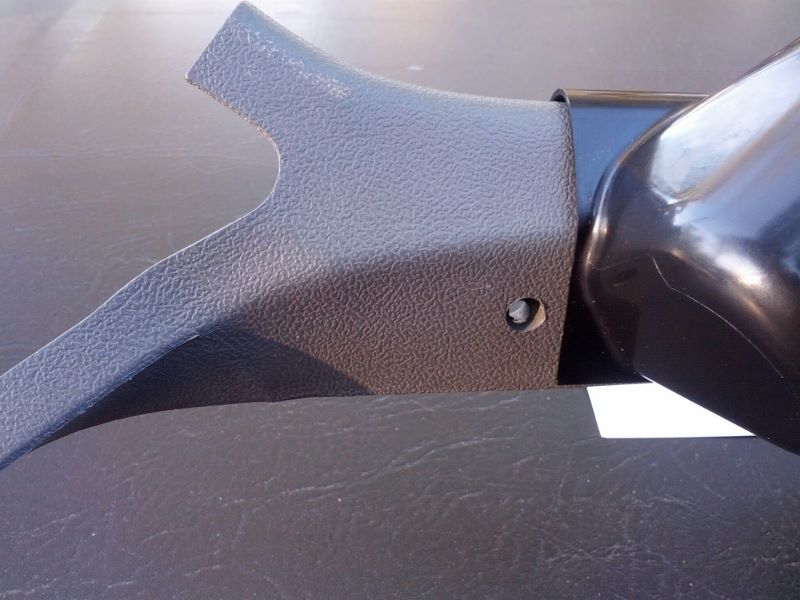
On the back of the pod there are 2 injection "bumps" that will have to be filed off. Note below the top has them, and the bottom does not. These will need to be removed prior to fitting to the pillar. I suggest using a round file to remove it.
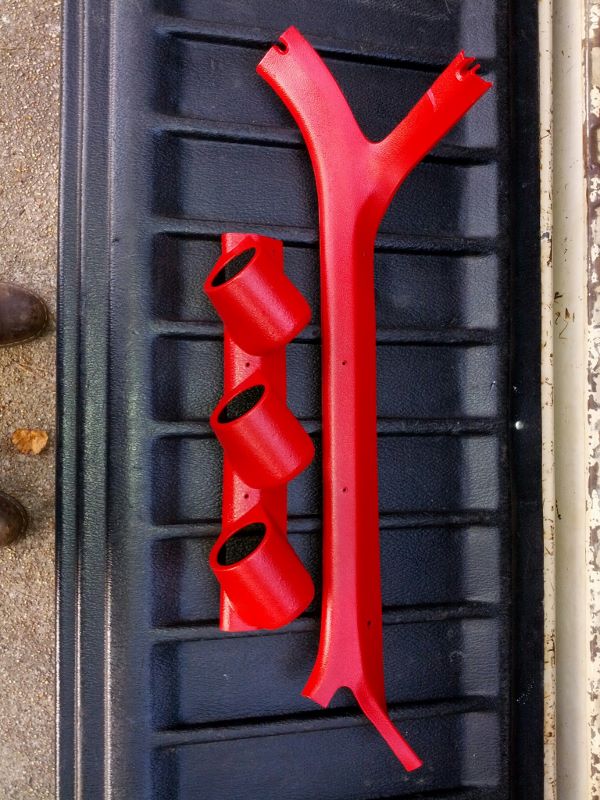
Once you have these removed it is recommended that you position it in the vehicle to your liking as far as height. There is a limited amount of height available and you do not want to cover the screw hole as shown below. Mounting this too high will cause it to not seat well on the pillar.
Once you determine where you want them to go you will need to drill pilot holes through the pod and the pillar. The opposite side of the Injection "bumps" is where it is recommended to put these holes. It is recommended that you clamp the pod down over the pillar so when you drill through both it will not move. You can see the points to drill below:
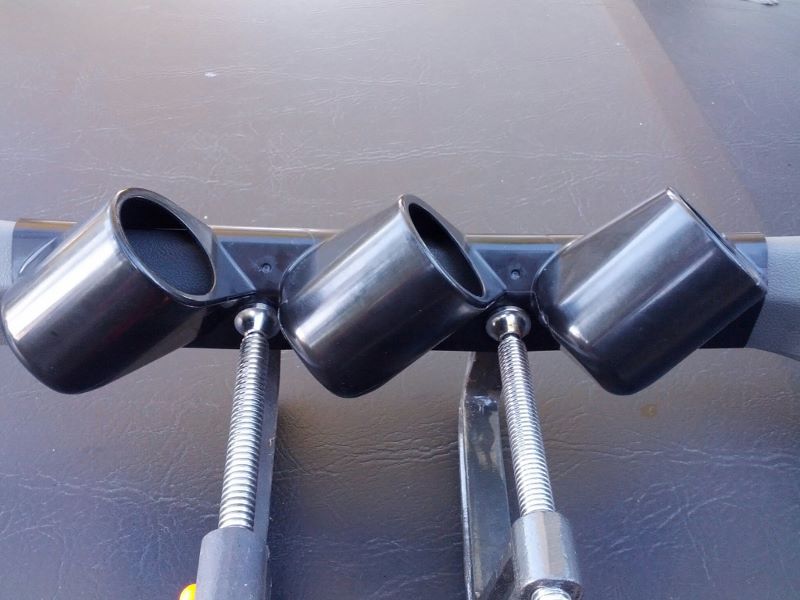
Once the pod is where you want it drill the 2 holes.
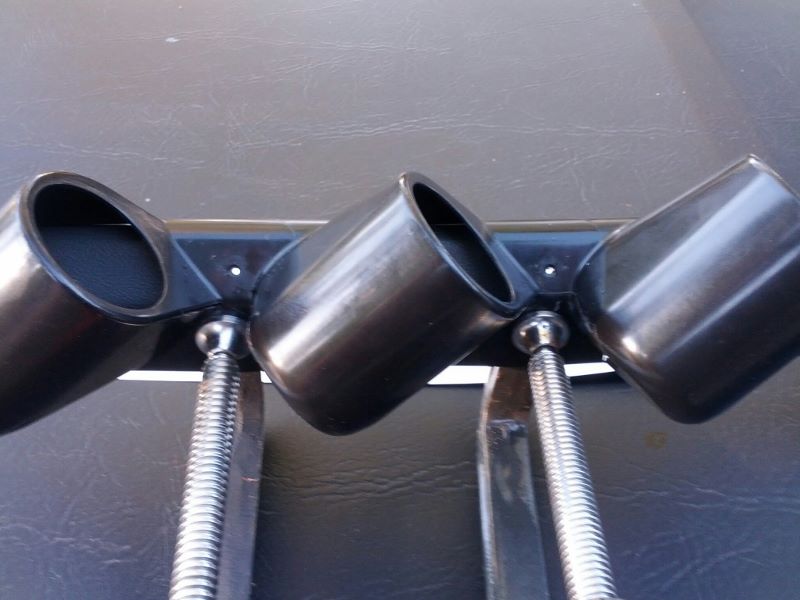
For the best optimum fit it is recommended to drill a hole at the top side. This is especially true if you mount it high. You can see the screw at the top back edge here:
 Painting/texturing
This is left to the purchasers discretion, but this is how we did this. What was needed was a can of Duplicolor bedliner and a can of either SEM or Duplicolor Vinyl and Fabric.

Painting the pillar is just a matter of following the instructions on the can. Make sure you clean the pillar off. If it has been previously dyed used Lacquer thinner, otherwise you can skip straight to dishwashing soap and water. Adding ammonia will help strip off any oil. Once washed, rinse it off and let it completely dry.
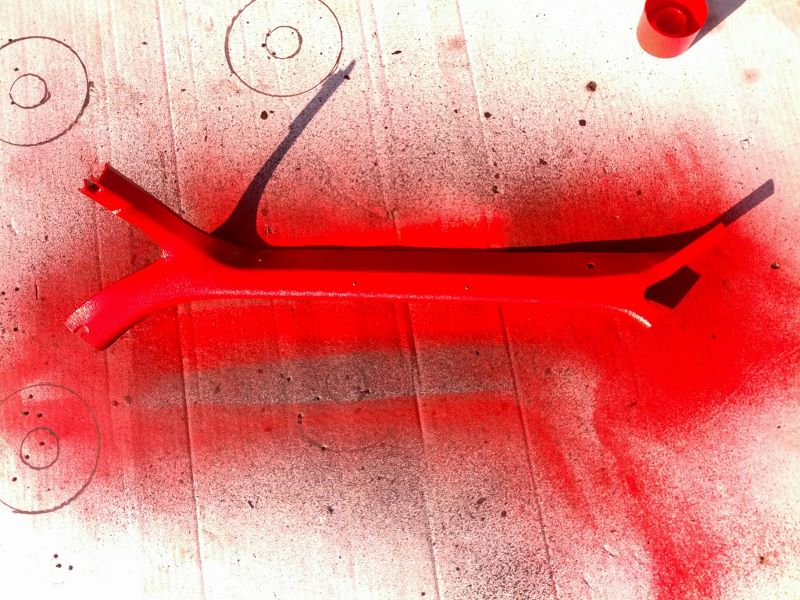
For the pillar pod, you want to completely scuff the whole exterior surface. There is the possibility of mold marks, just sand them off. We used a red scotch brite pad. When you are with the surface wash it off and dry it. Now is the time to add the texture. For best results I recommend holding the can of bedliner at least 16" away and spraying and start and stop well after the part. Typically 2 or 3 light coats should give you a good texture. This is up to the purchasers discretion
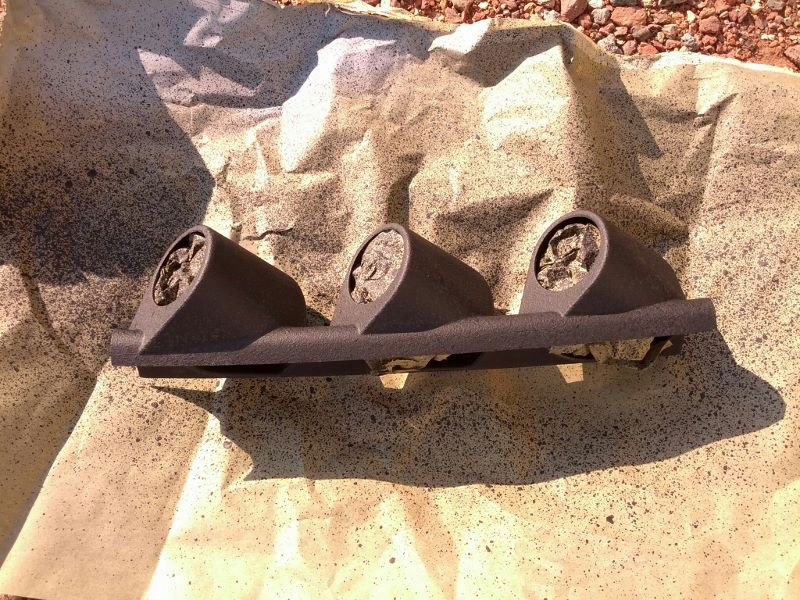
We sprayed the pod both laying down and hanging up to get an even coat. Once satisfied it was time for the Vinyl spray of your choosing.
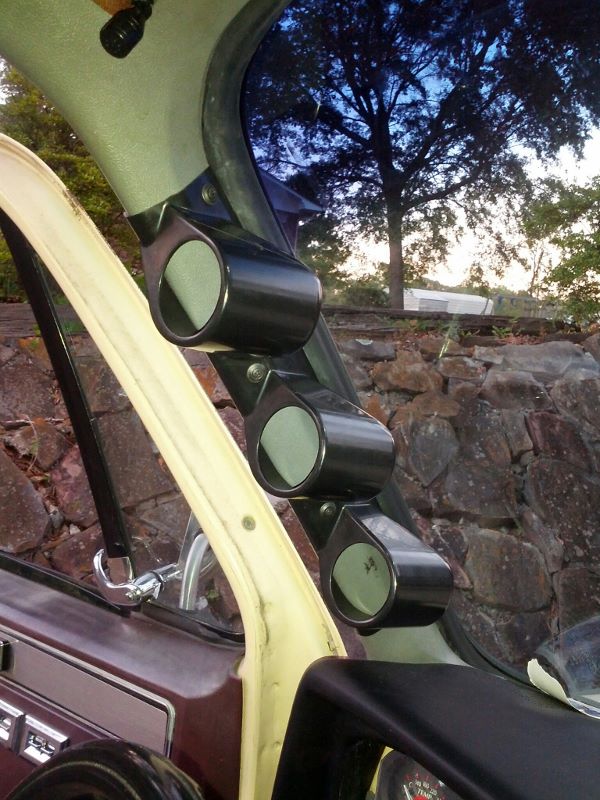
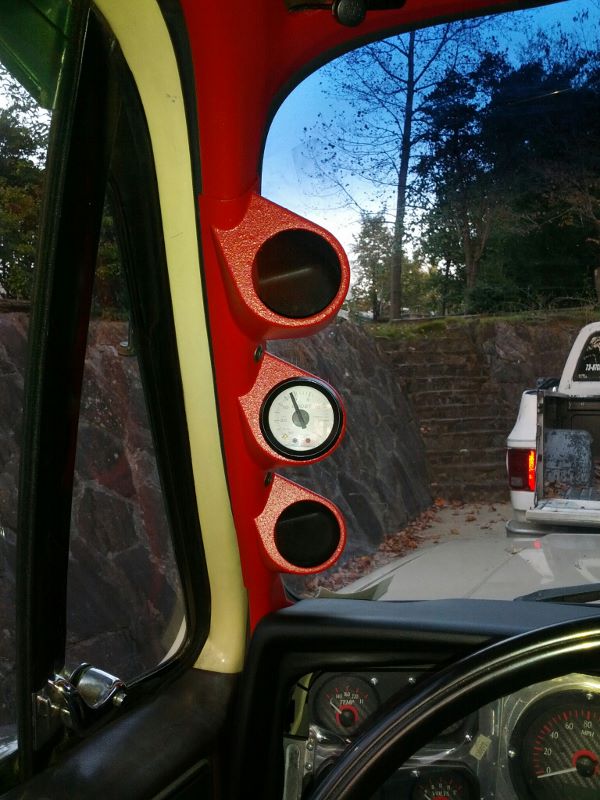
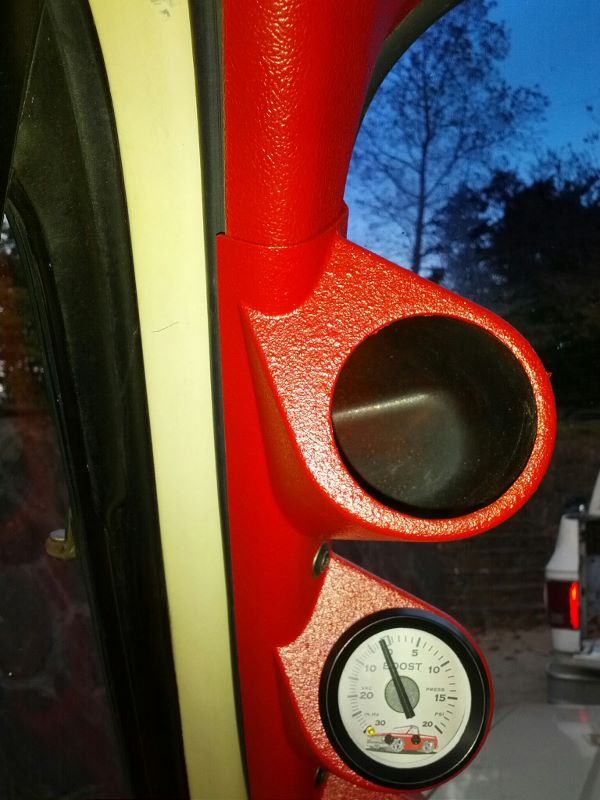
Here is the original pillar with the triple pod mounted to it installed in the truck. Along with a close up for the texture.
Note: The pillar pod holes were sized to allow for the smallest 2-1/16" generic gauge we could find. Some might require a bracket so you may want to confirm prior to purchasing. For the Autometer gauges they will require some light sanding to open up the hole. They are very tight fit and ramming one in without sanding will end in it being VERY difficult to remove.
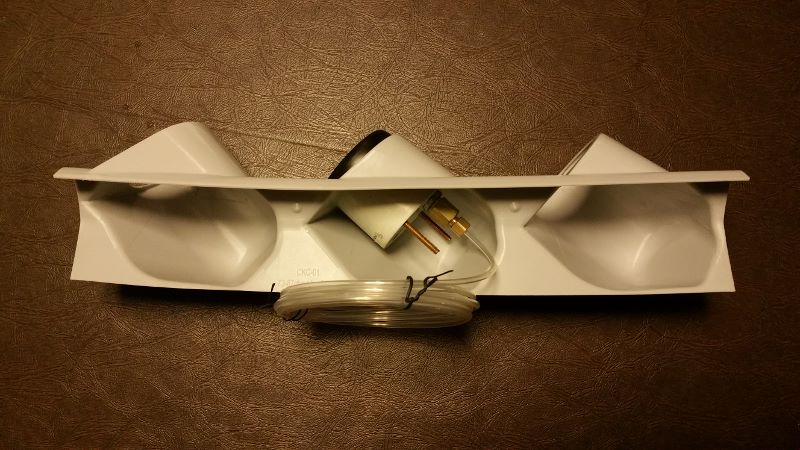
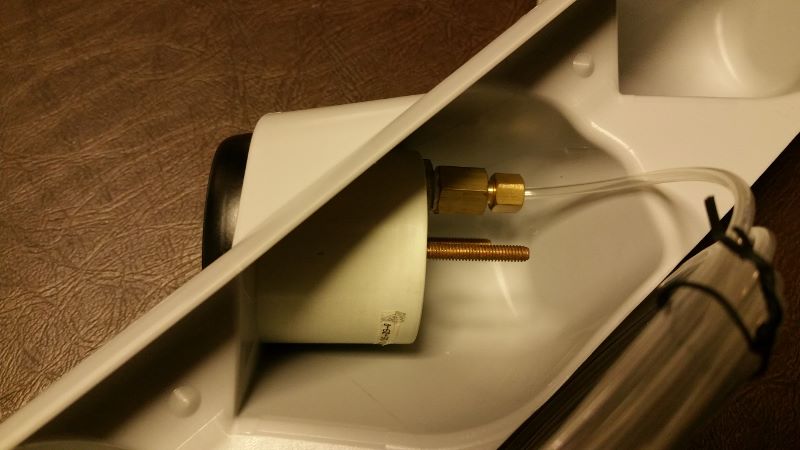
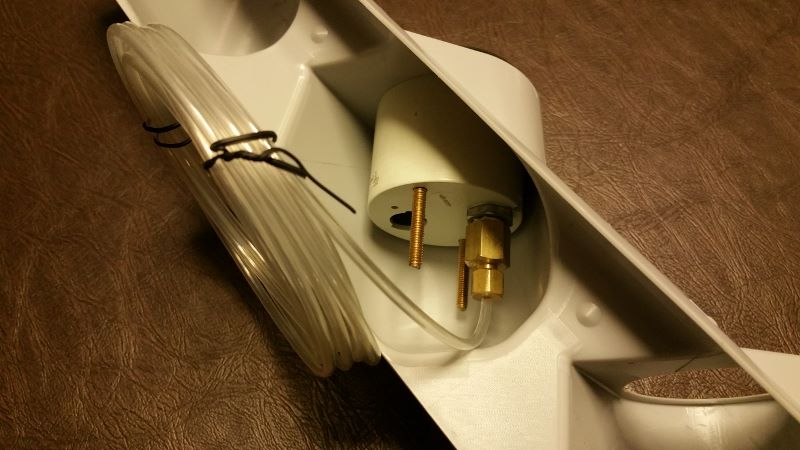
For routing the gauge or wiring this will require holes to be drilled per the sender required. Keep in mind how tight a bend you can turn and how you need to get it out. We designed these with enough airspace at the back to allow turns for the typical Autometer gauges.
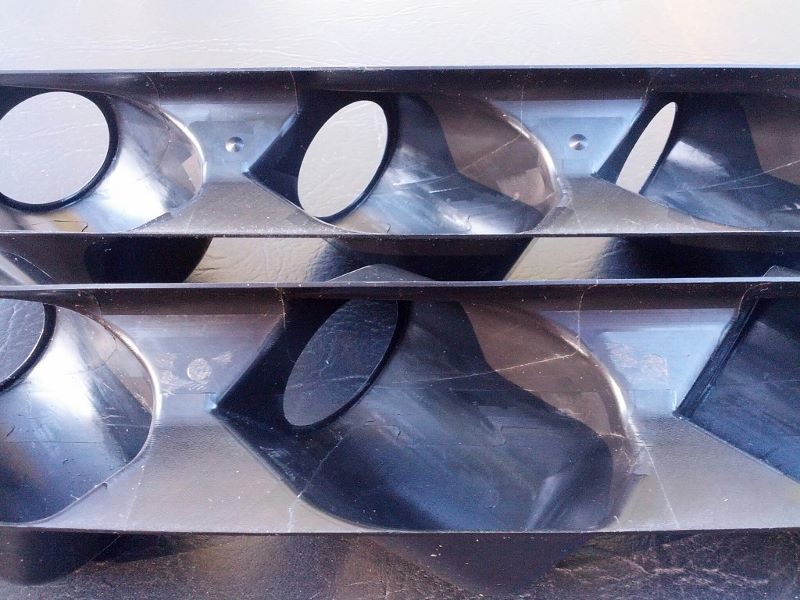
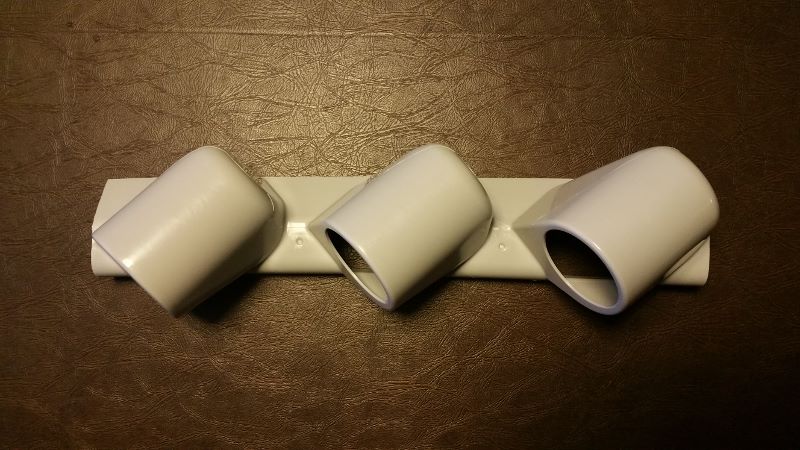
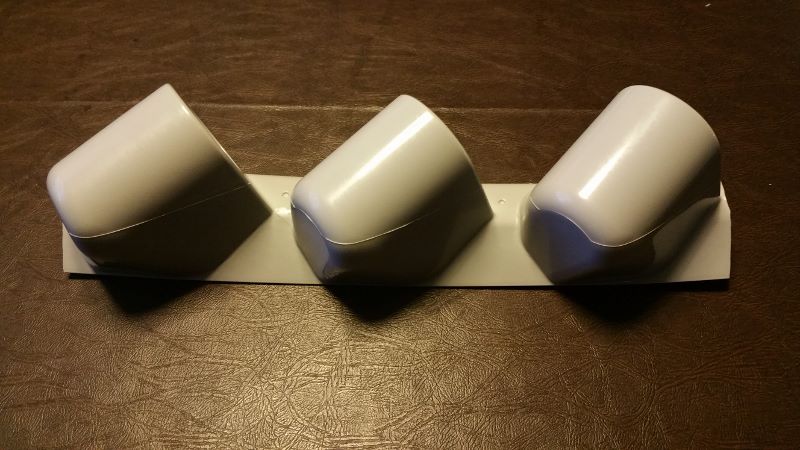
Here are some more pictures of the pods themselves
Here is the pod with a boost gauge installed for reference: