I guess I should update the thread since I've been using this thing all summer.
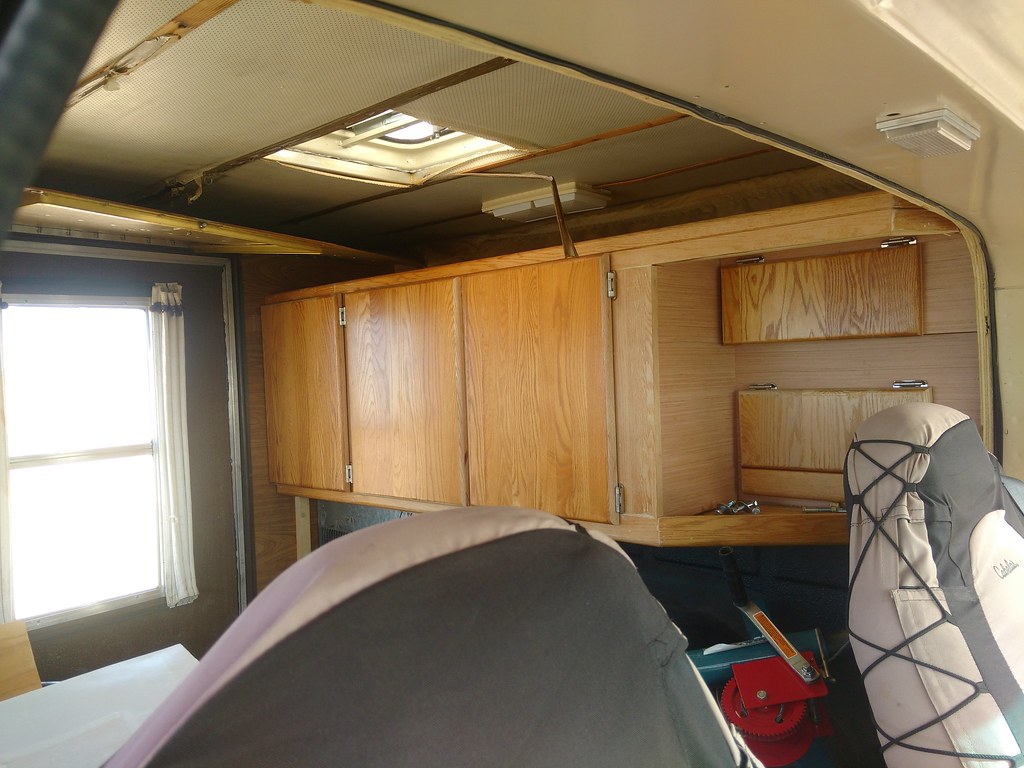
So picking up on the cabinet construction. This got moved forward on a faster pace since my friend put his house on the market at that moment so we needed to get it together soon. We got the doors hung and added other little bits to the mix.
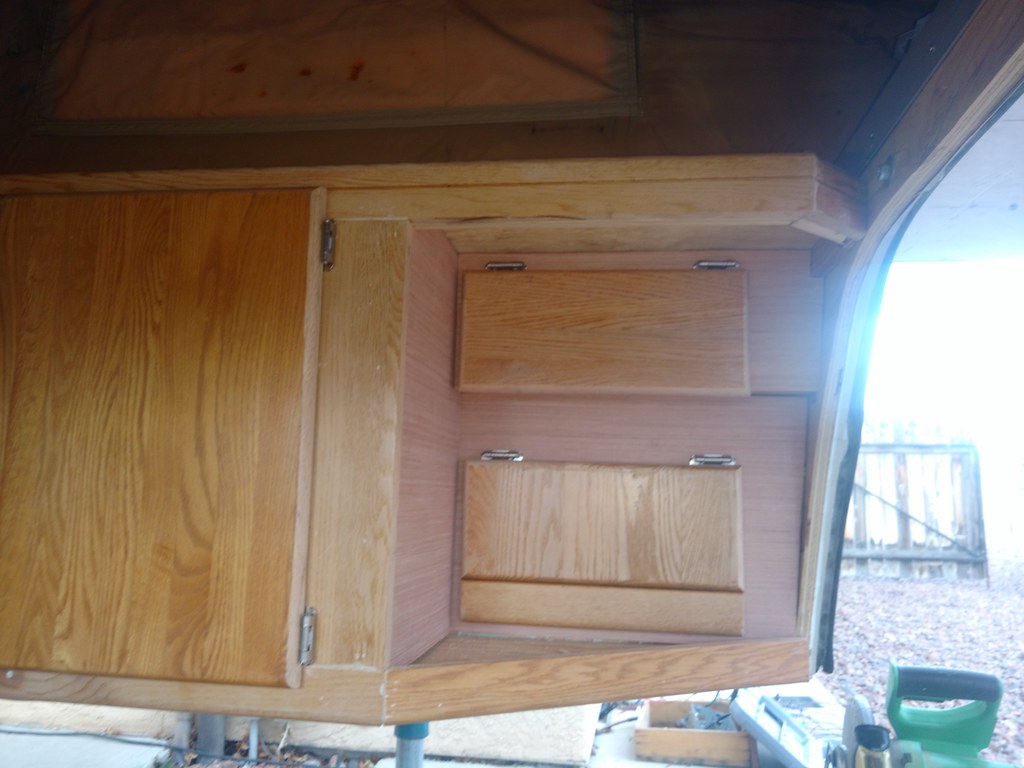 Cabinet work.
 by
Rob Zulian, on Flickr
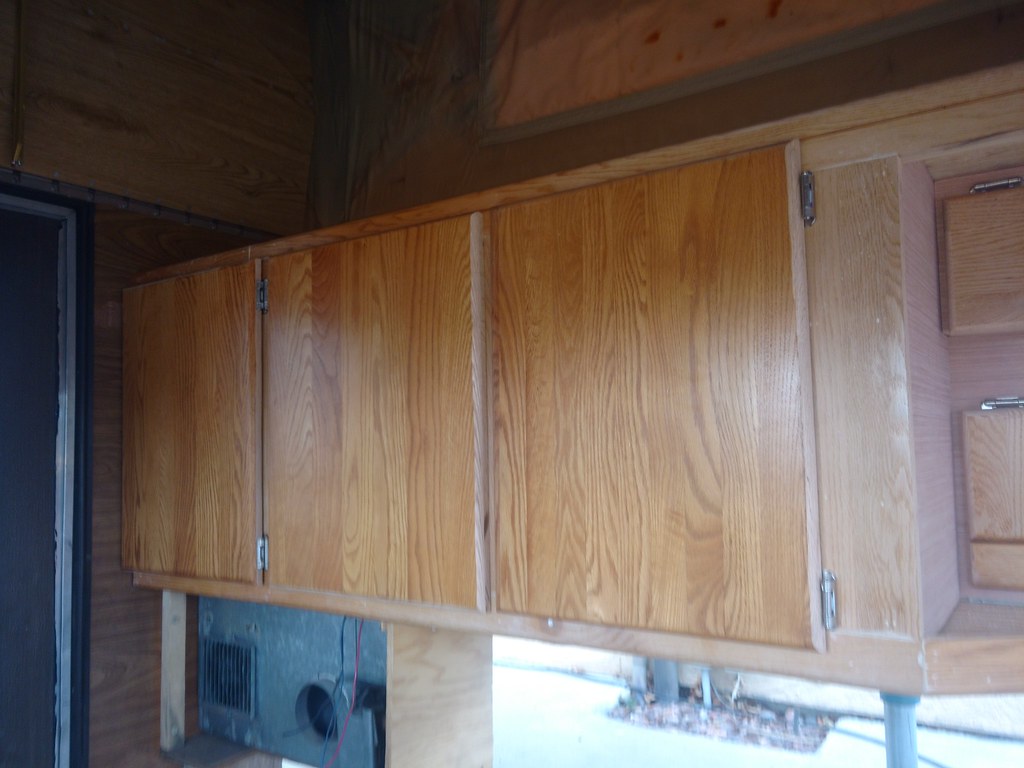 Cabinet work.
 by
Rob Zulian, on Flickr
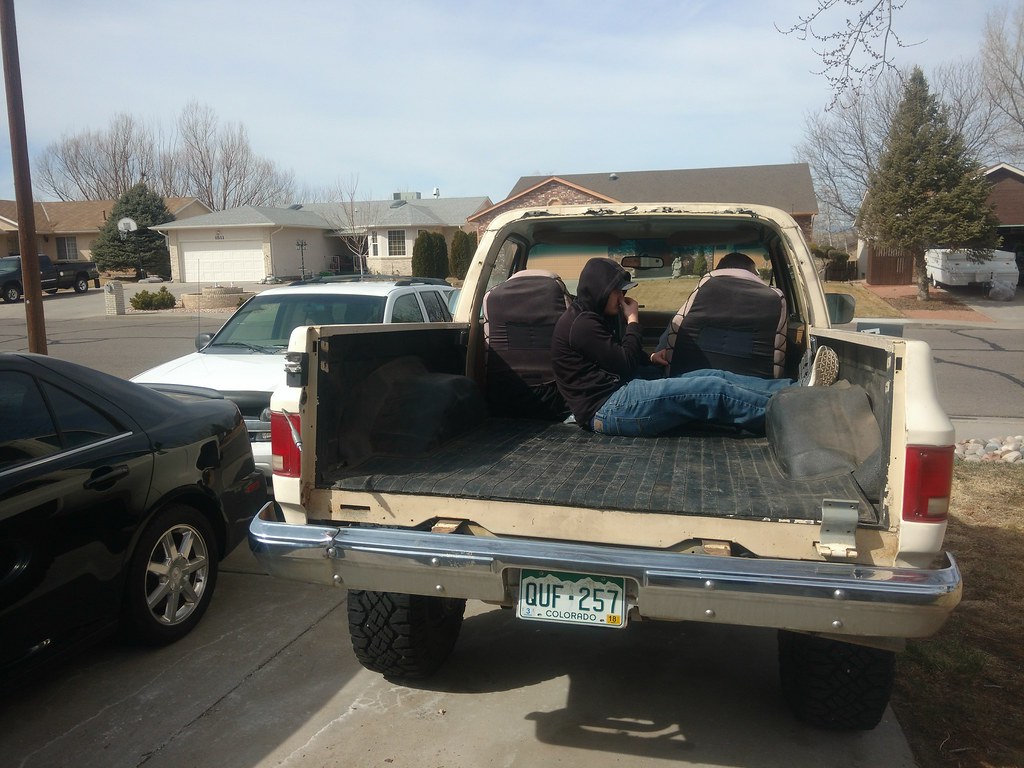
The cabinets really being the only thing left to get done inside, we ripped the roof off at my house and went back to John's to install the camper. The tailgate proved to be a pain as one of the bolts for the hinges on the body side had a head snapped off some other time and would not facilitate removal. Had to take the hinge off the gate just to get the gate off. (I actually didn't extract the broken bolt and hinge until prep was happening for the desert trip)
 Camper install day!
 by
Rob Zulian, on Flickr
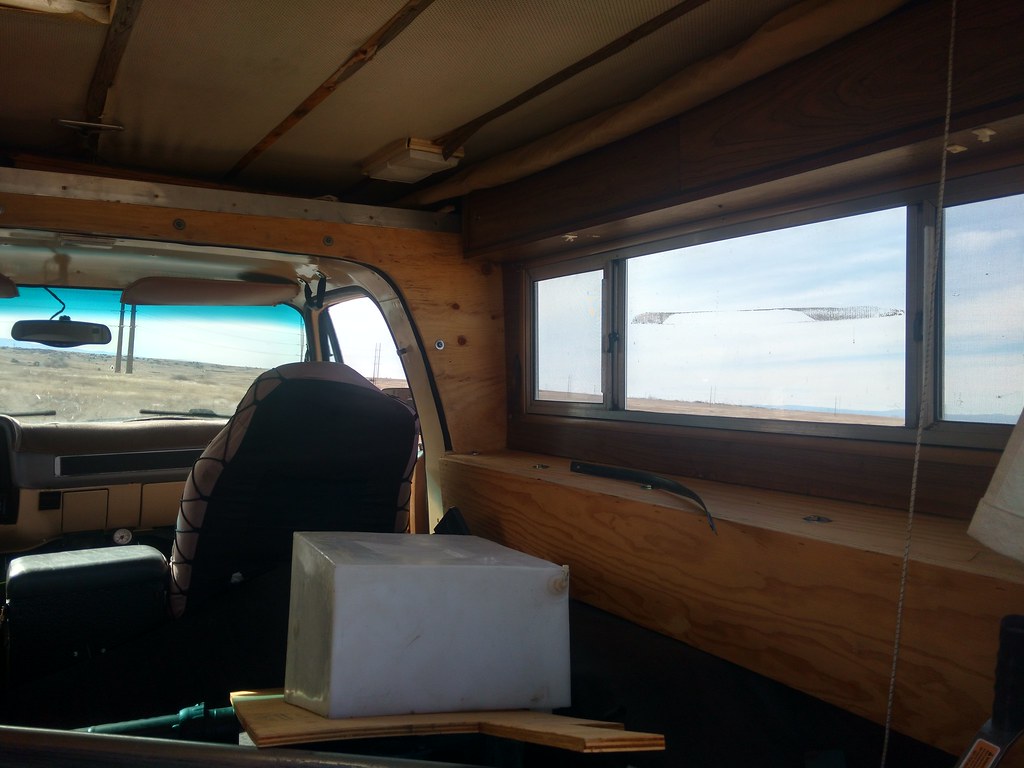
No pics taken of the install as it didn't look any different than the last couple of times it went off and on. But once it was on I stopped on the ride home..
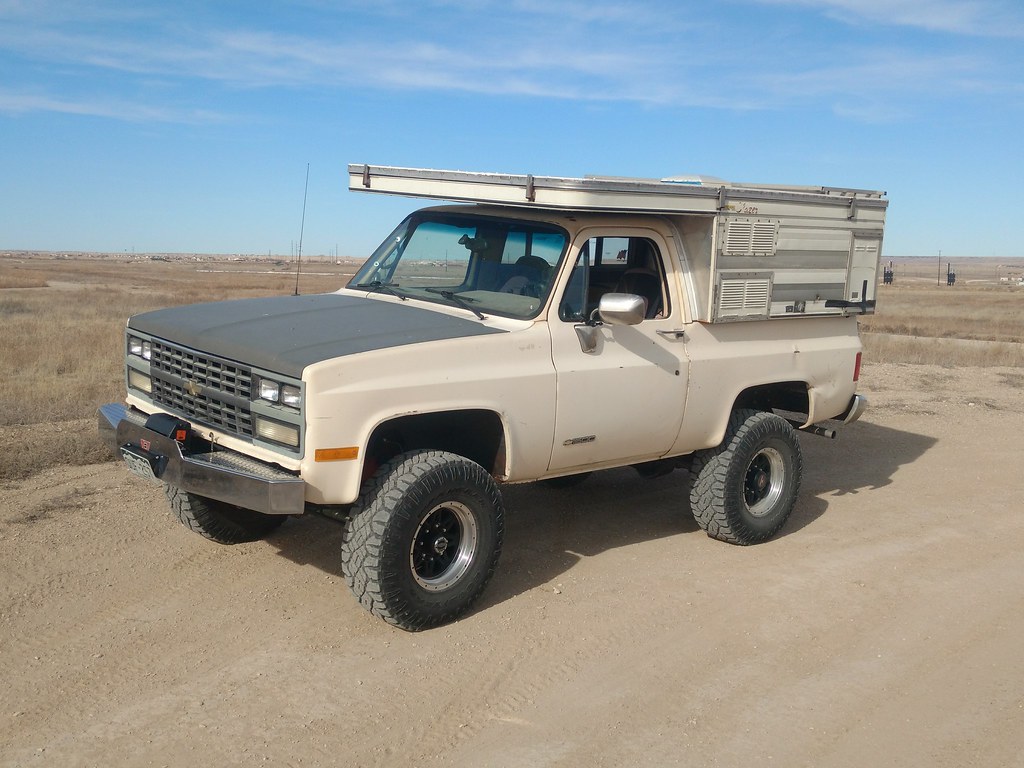 Camper install day!
 by
Rob Zulian, on Flickr
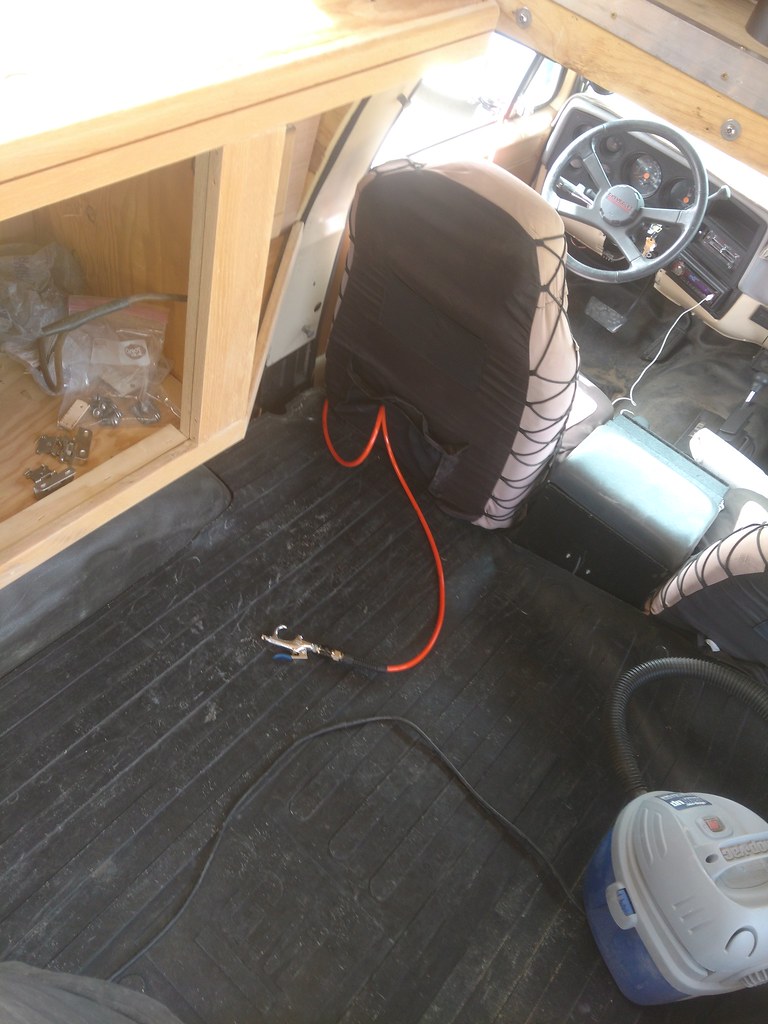
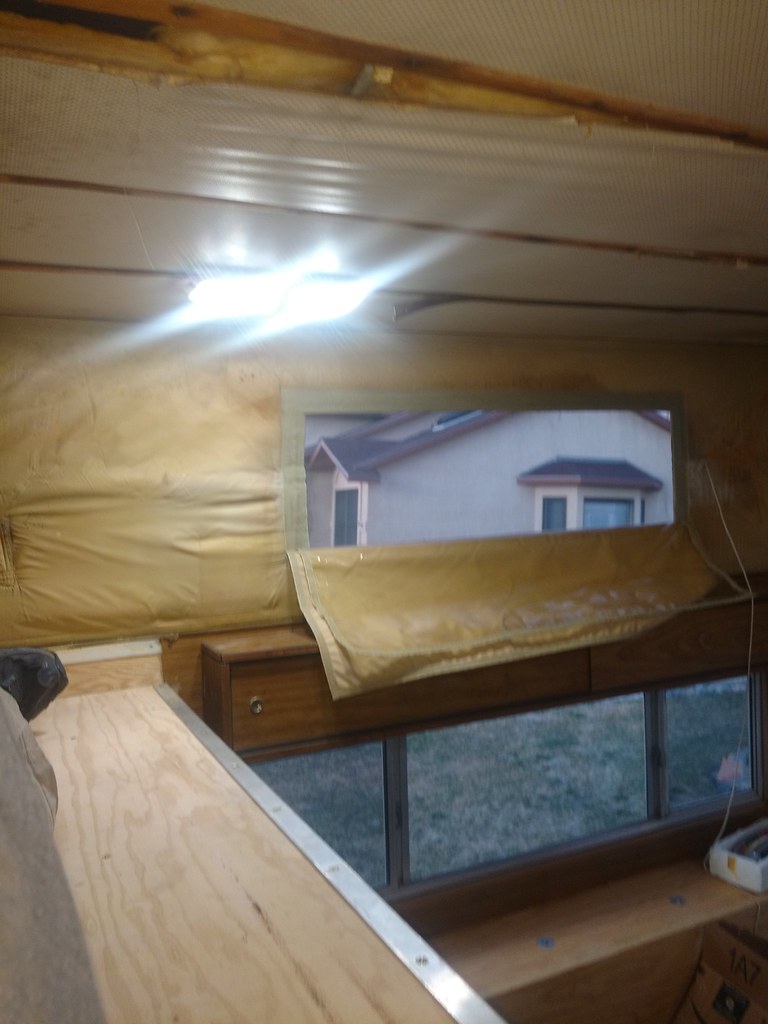
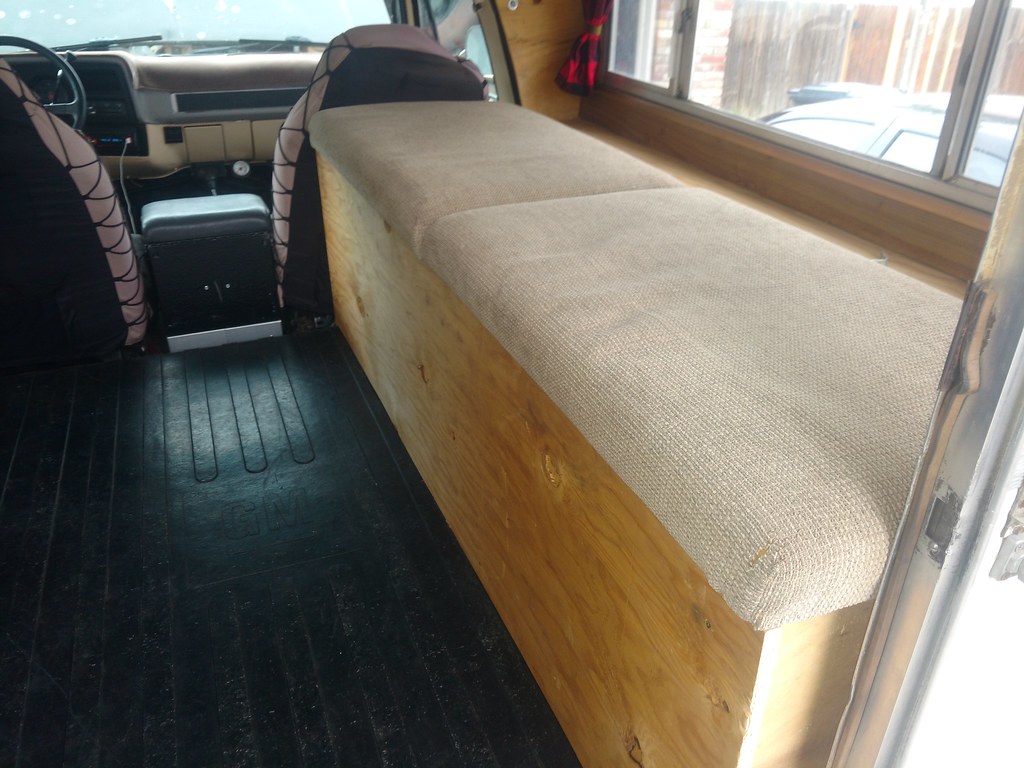
Looking back into the camper you can get an idea why I deleted the fridge as my seatback is right where it would have been.
 Camper install day!
 by
Rob Zulian, on Flickr
Still need to build the lower bench at this point..
 Camper install day!
 by
Rob Zulian, on Flickr
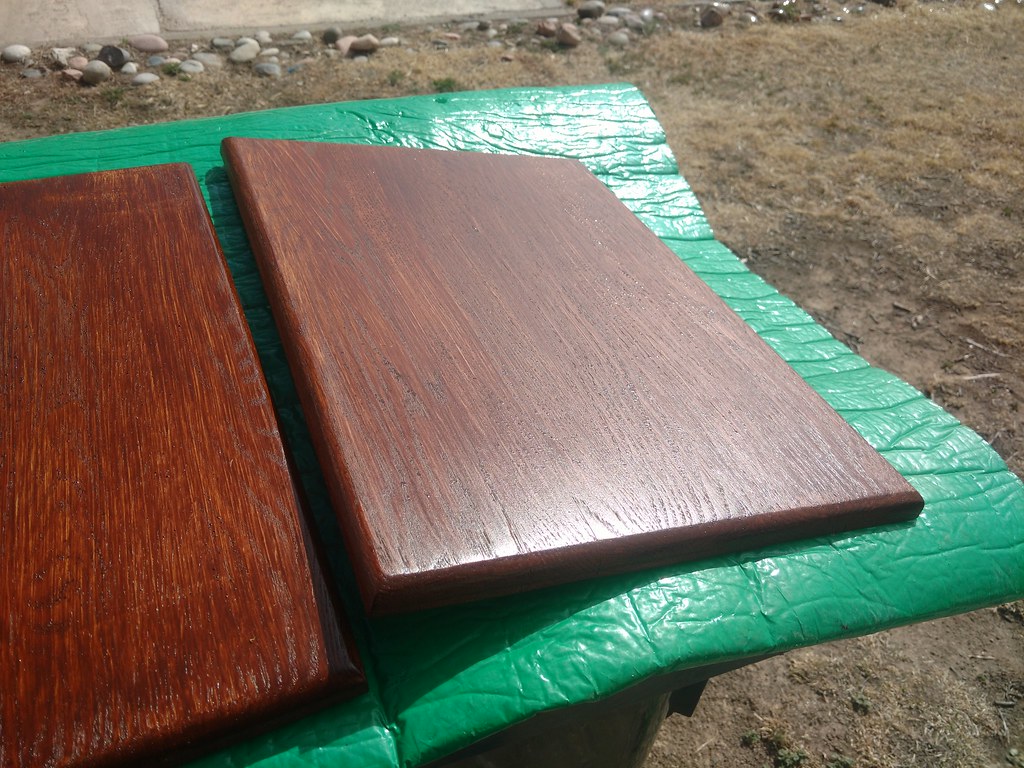
Once home I could get to business on sanding the cabinet and doors down for a fresh stain/poly.
 Camper work day
 by
Rob Zulian, on Flickr
 Camper work day
 by
Rob Zulian, on Flickr
I was able to use my onboard air compressor to blow out the dust after sanding.
 Camper work day
 by
Rob Zulian, on Flickr
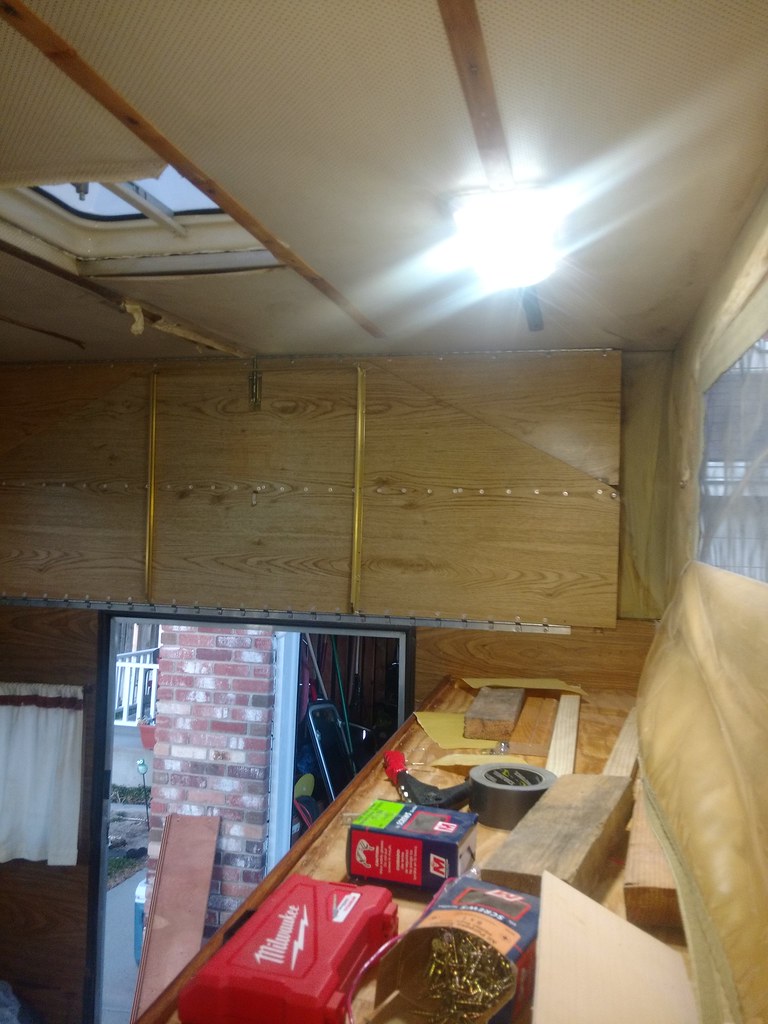
Lots of room to work inside with the top up. The stuck hinge was a great spot for my tumbler as I worked though..
 Camper work day
 by
Rob Zulian, on Flickr
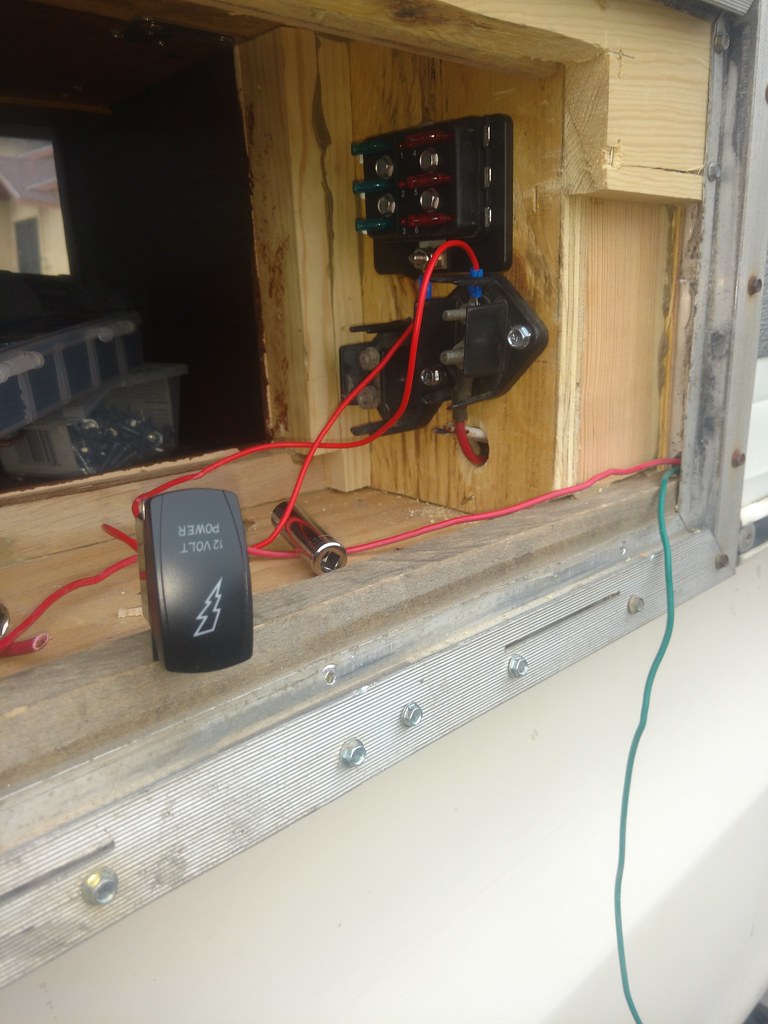
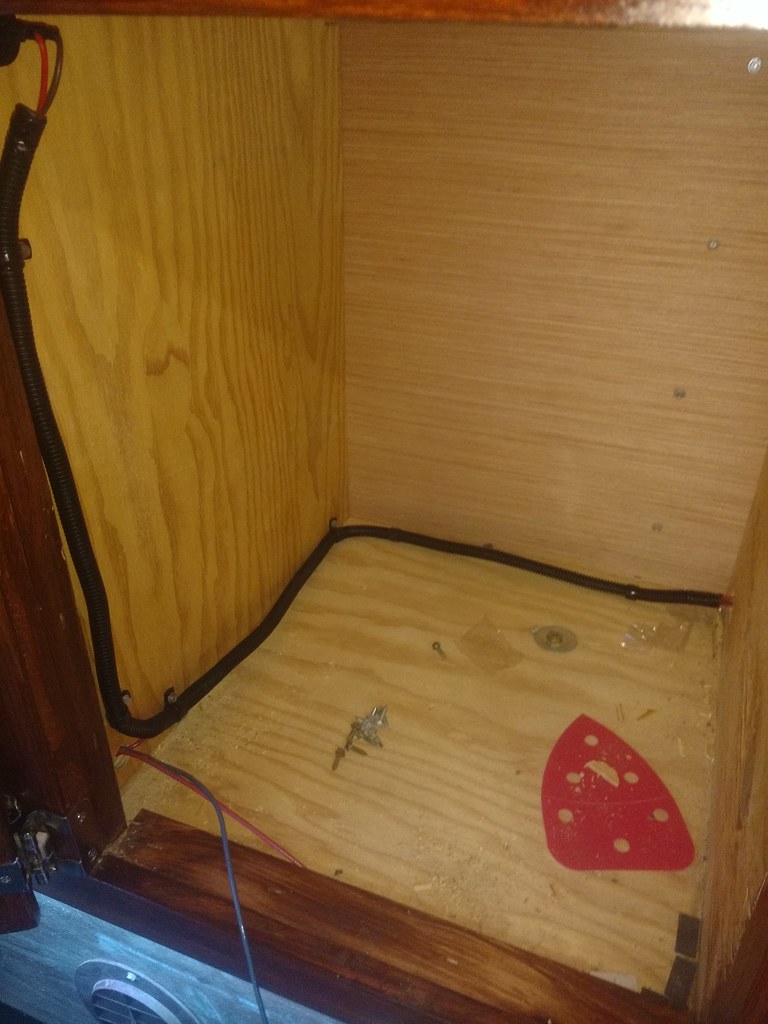
I also got started with the needed 12v goodies I had planned for the camper side of things. With the plans for a 12v fridge eventually I ran 12g power and ground from the aux battery to this point. Added 6 circuit (should have gone with 8) fuse panel and power/ground junctions blocks. The entire camper is switched so it can be completely shut off to limit drain when parked/not in use.
 Camper electrical
 by
Rob Zulian, on Flickr
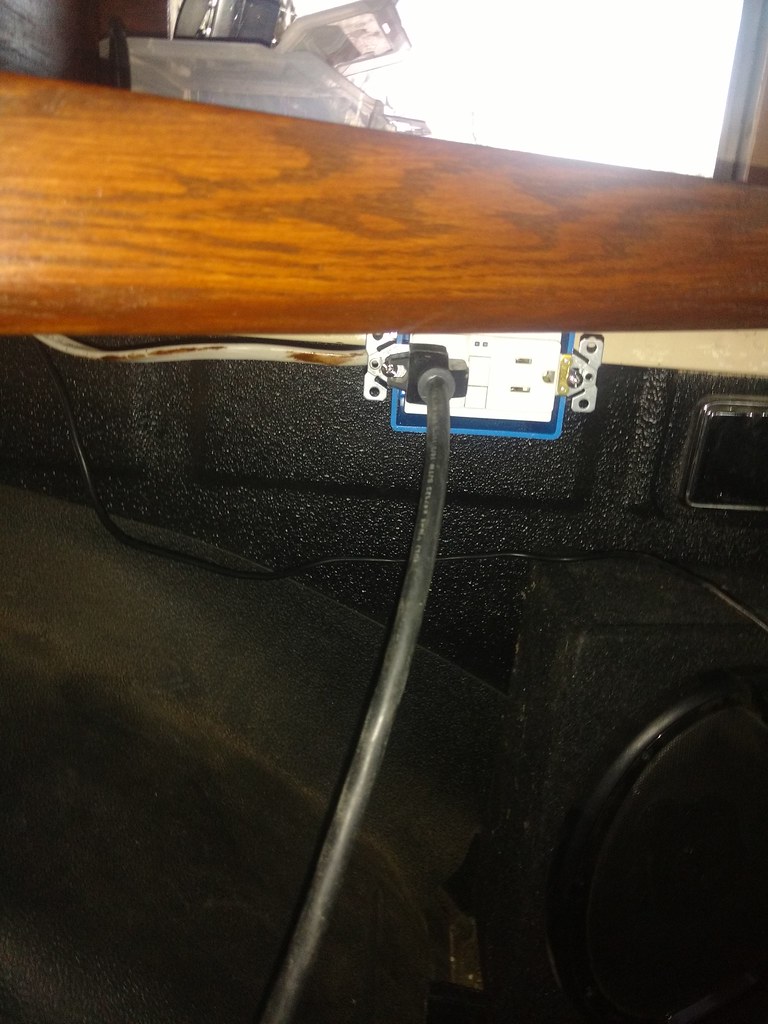
I kept the 110v plug that was already on the outside of the camper and ran it to 1 outlet with a GFCI breaker. At most I might run a shop vac or my laptop power if I'm plugged into shore power at a campground.
 Electrical
 by
Rob Zulian, on Flickr
I changed out ALL lighting for LED. Crazy bright and tiny power consumption. Like under 1.5 amps with two of these lights on full.
 Electrical
 by
Rob Zulian, on Flickr
 Electrical
 by
Rob Zulian, on Flickr
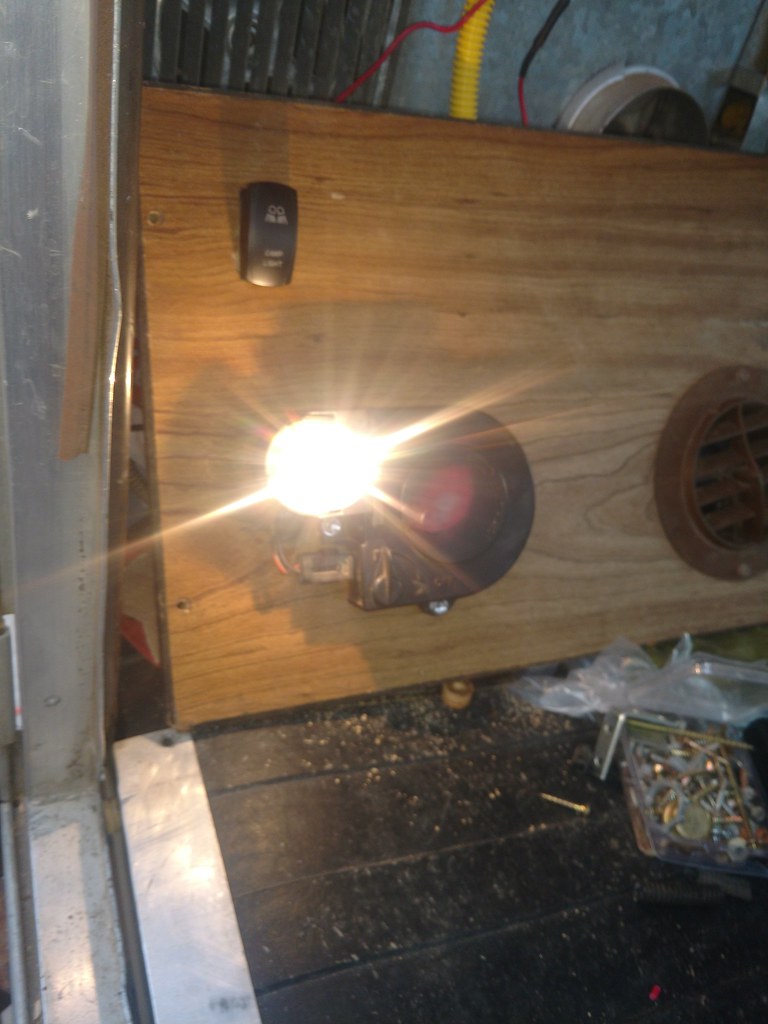
Added a GM underhood reel light to the back near the door too. It's using a LED bulb array too. Stupid bright. Also added a inside switch for the outside porch light above the reel.
 Electrical
 by
Rob Zulian, on Flickr
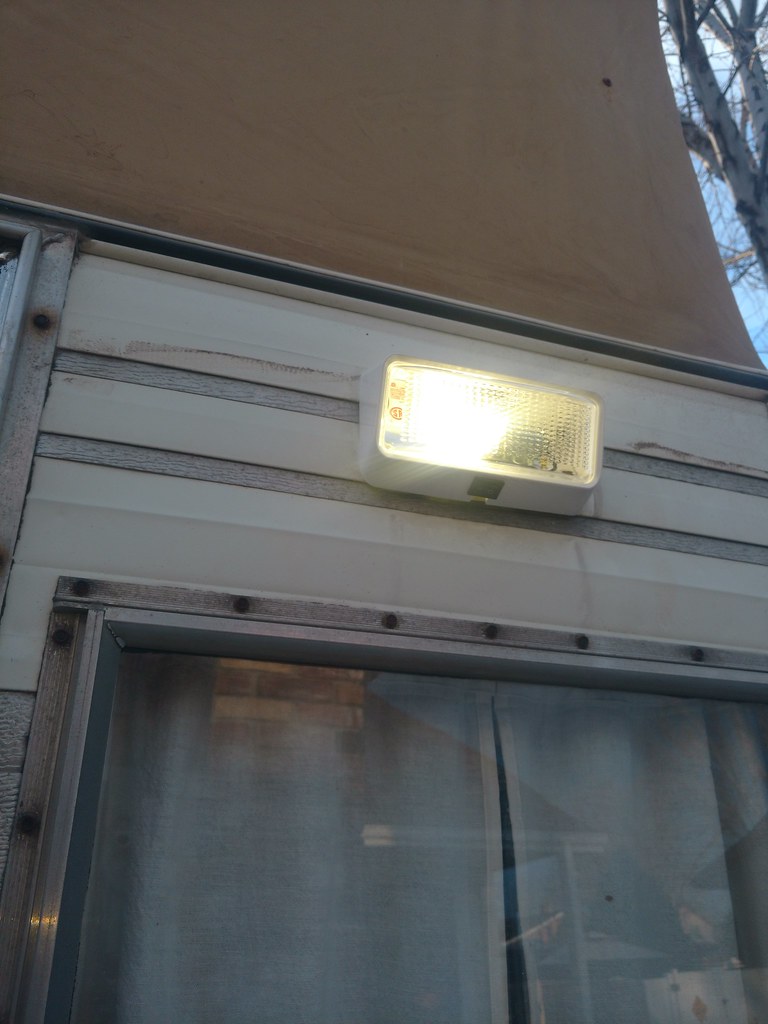
The new porch light. Again, it's LED as well.
 Electrical
 by
Rob Zulian, on Flickr
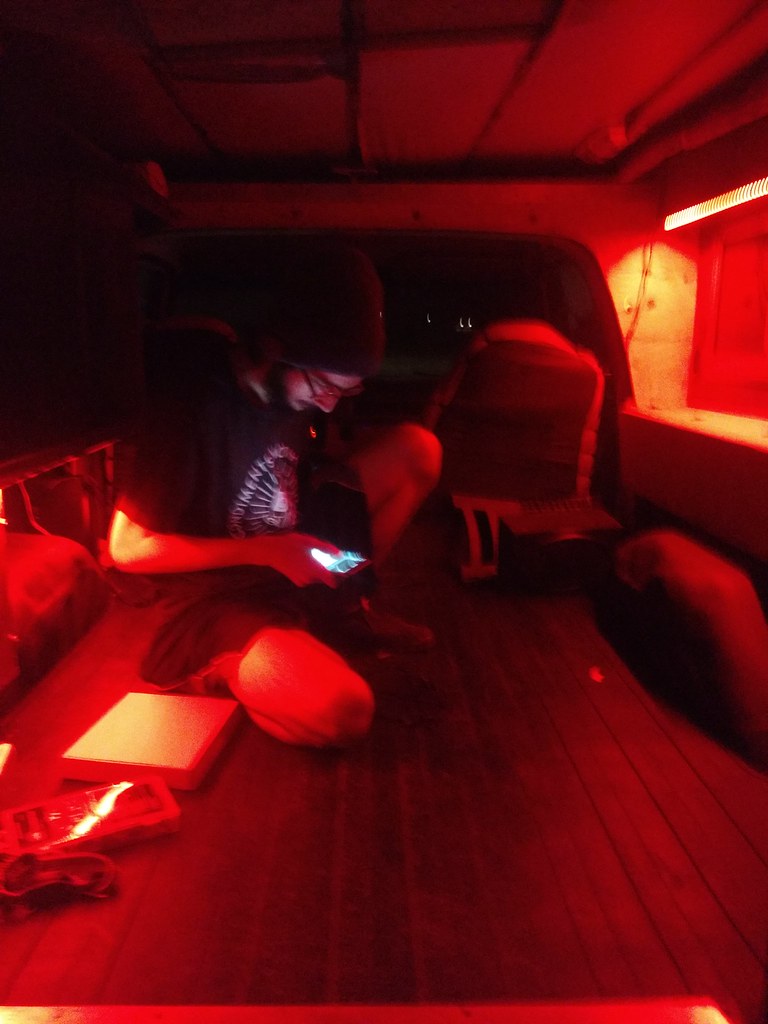
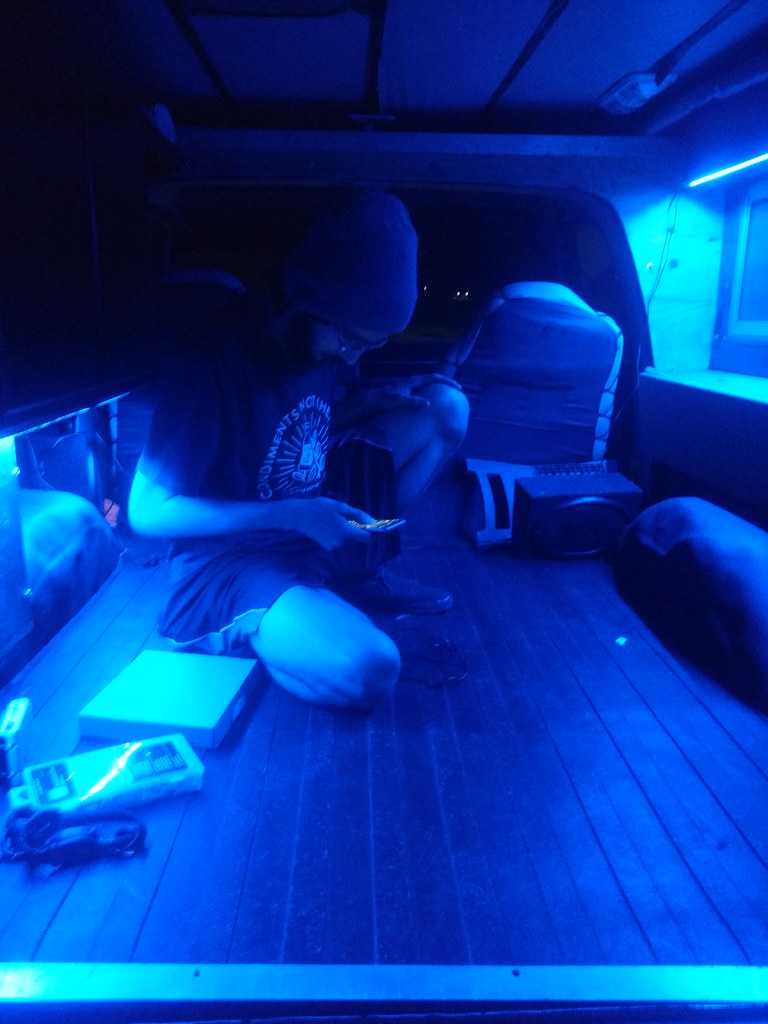
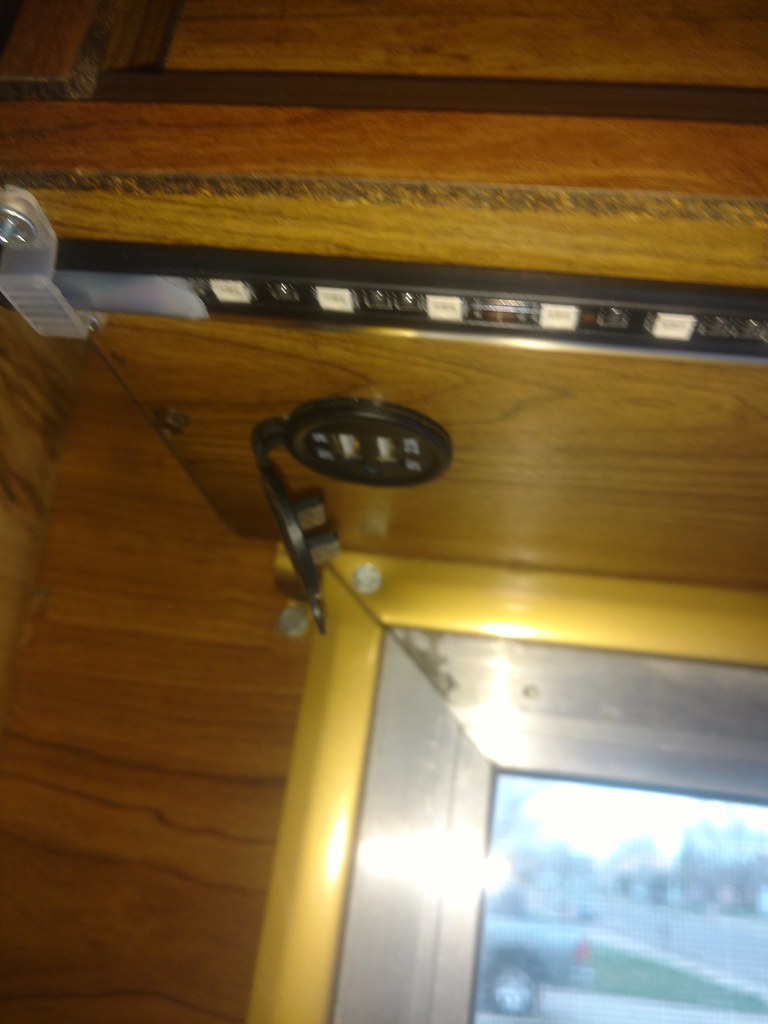
Then I got a little nutty. I added some color changing LED light strips that would normally be sold for lighting up the inside of a truck bed. Really bright, but the plan was using the red color when one might need to get up and use the "facilities" in the middle of the night and not mess with your night vision. Plus it don't attact bugs as much.
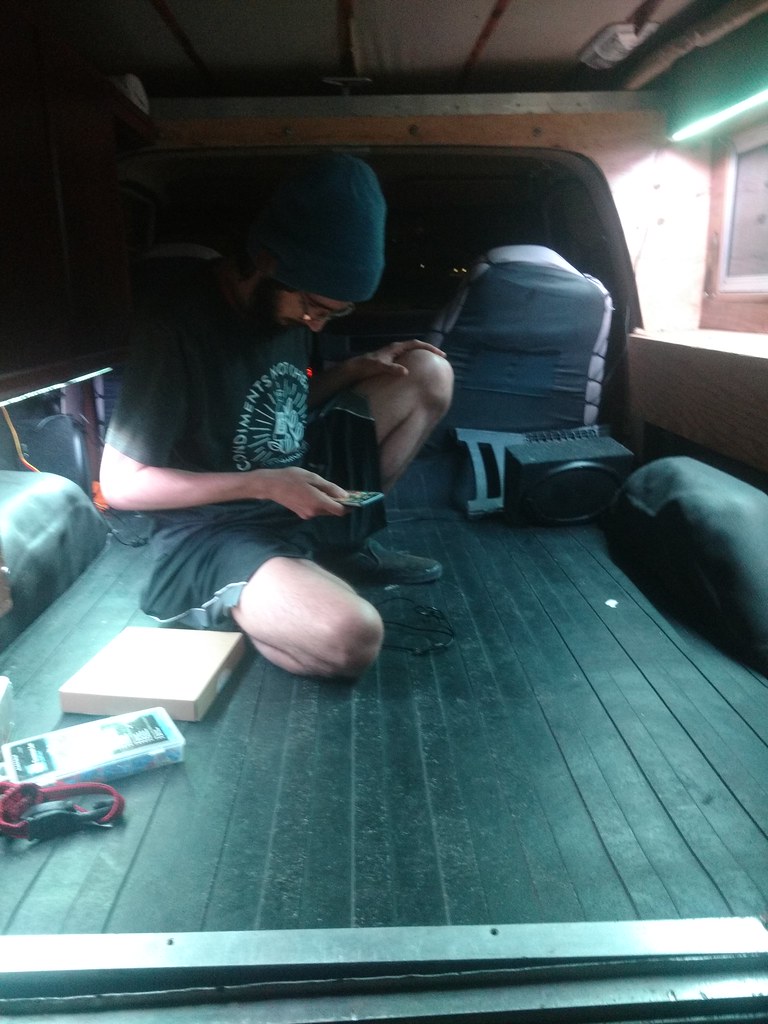 Lights!
 by
Rob Zulian, on Flickr
 Lights!
 by
Rob Zulian, on Flickr
 Lights!
 by
Rob Zulian, on Flickr
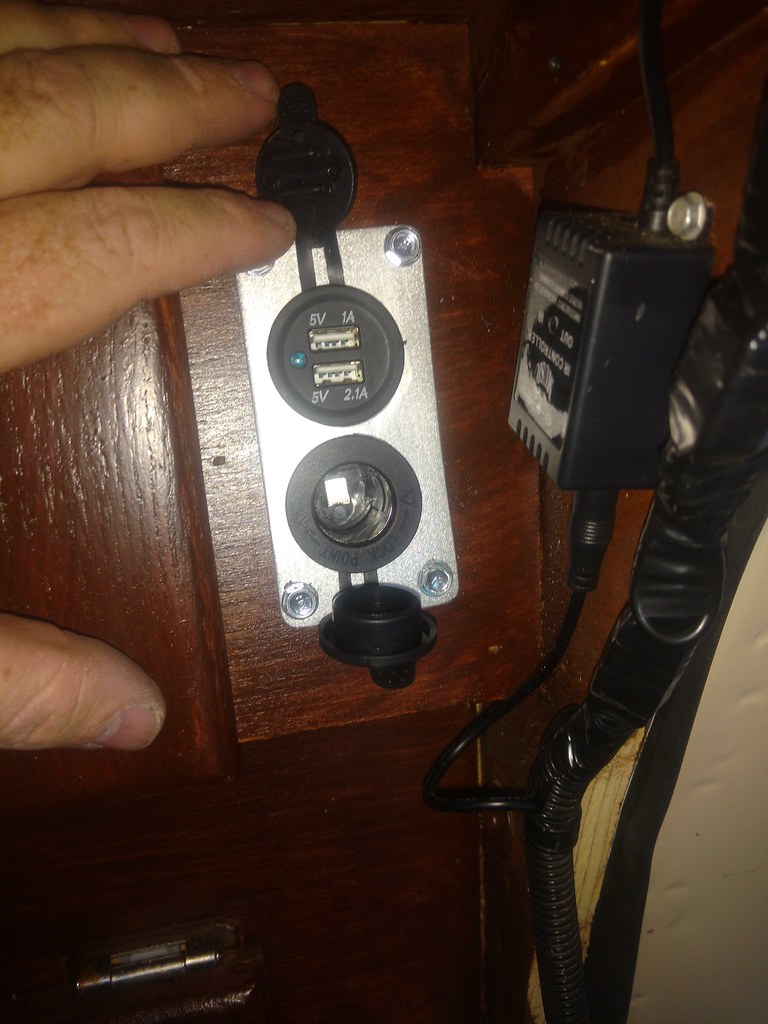
I finished up my little panel where the stock ashtray would normally reside. One thing I found on the previous trip is a need for 12v/USB ports for phones, cameras, ipad, gps. So I added a two port usb to my panel with the aux battery control switch and onboard air switch. The little switch on the top kills power to the USB since it's lit all the time, so I don't kill power.
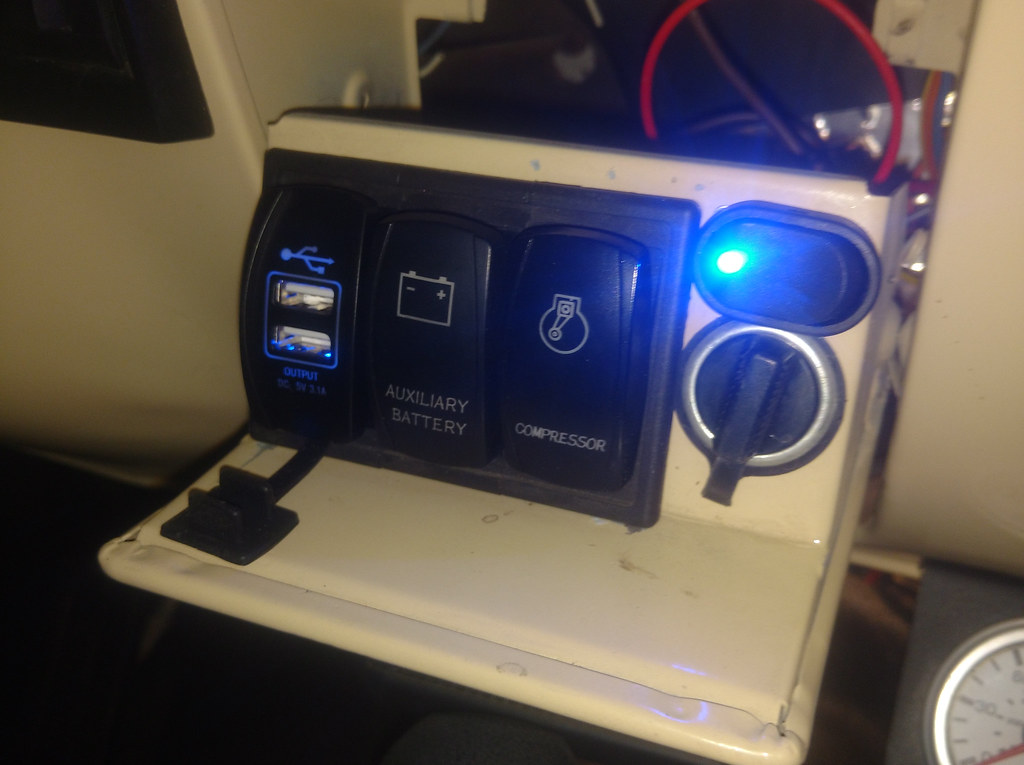 Electrical work
 by
Rob Zulian, on Flickr
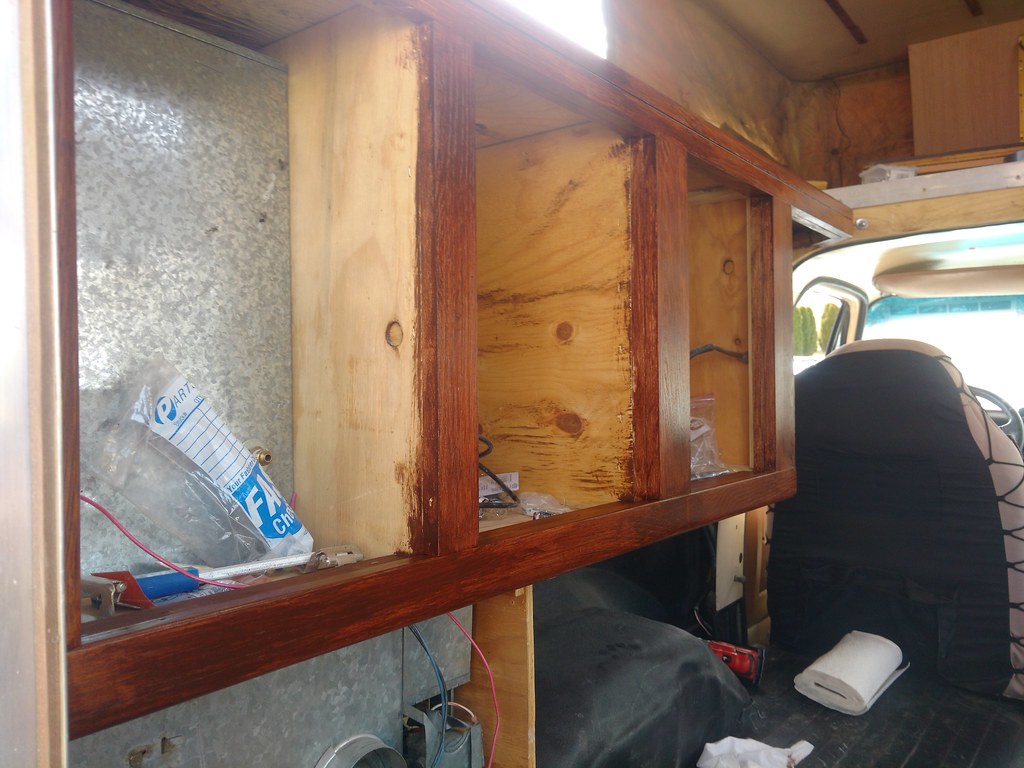
Some of the wiring in the cabinets. In total, there 4 more double USB ports in the camper and two more 12v sockets.
 Electrical work
 by
Rob Zulian, on Flickr
 Electrical work
 by
Rob Zulian, on Flickr
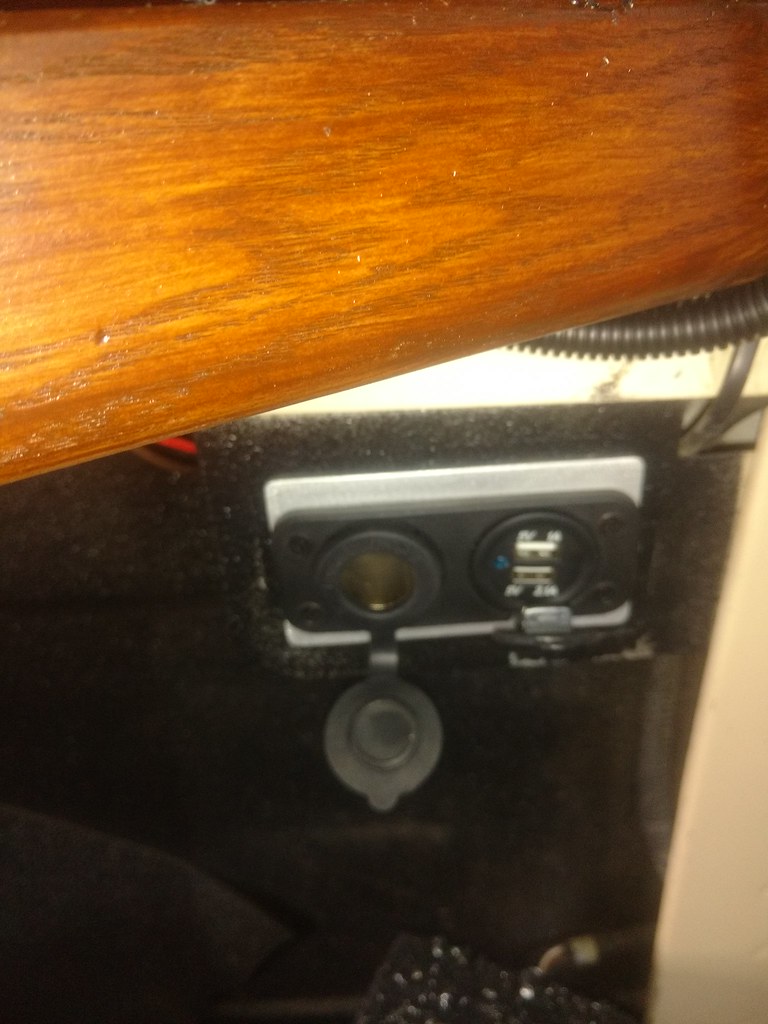
Another repurposed ashtray location.
 Electrical work
 by
Rob Zulian, on Flickr
In the cabinet.
 Electrical work
 by
Rob Zulian, on Flickr
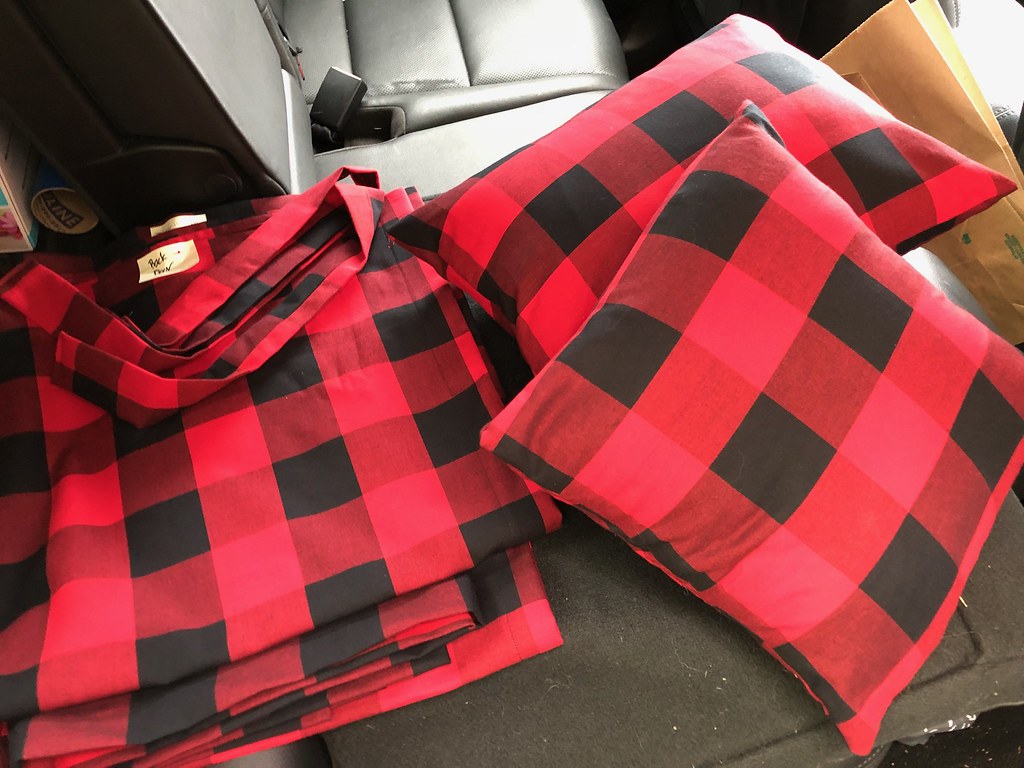
My sisters even got in on the action. I had expressed an interest to copy some of the interior of the newer FWC Woolrich edition as imitation is the most sincere form of flattery. They worked up some buffalo plaid curtains and had enough left over to make a couple of pillows too.
 Trimmings
 by
Rob Zulian, on Flickr
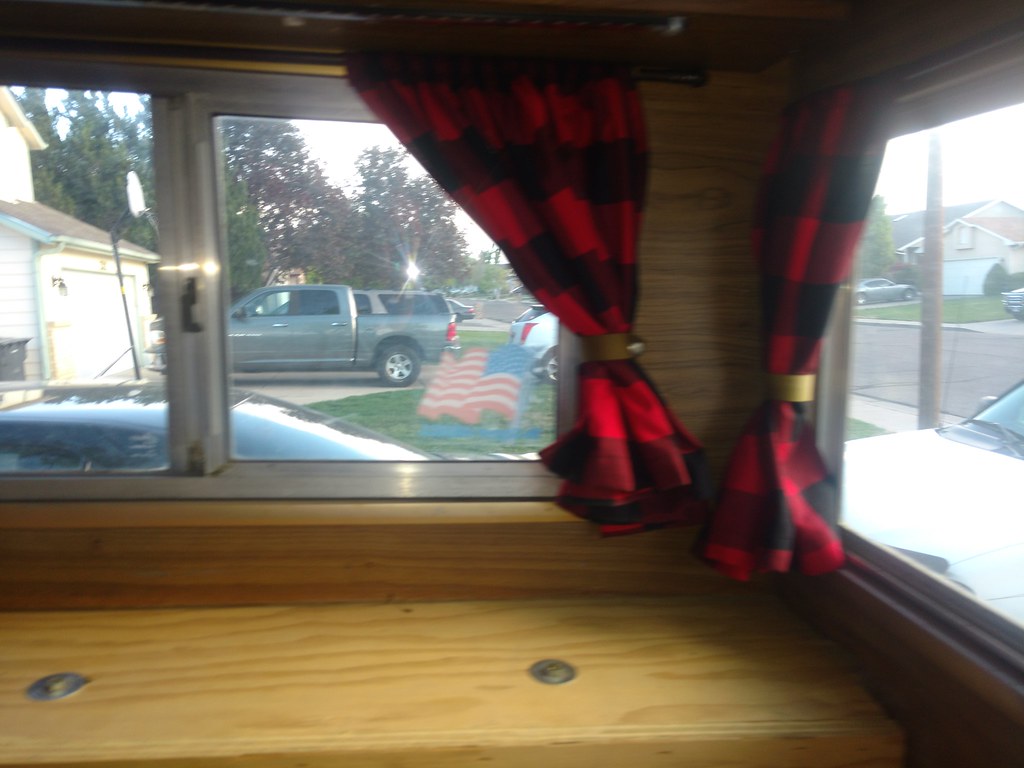 Custom curtains for the camper.
 by
Rob Zulian, on Flickr
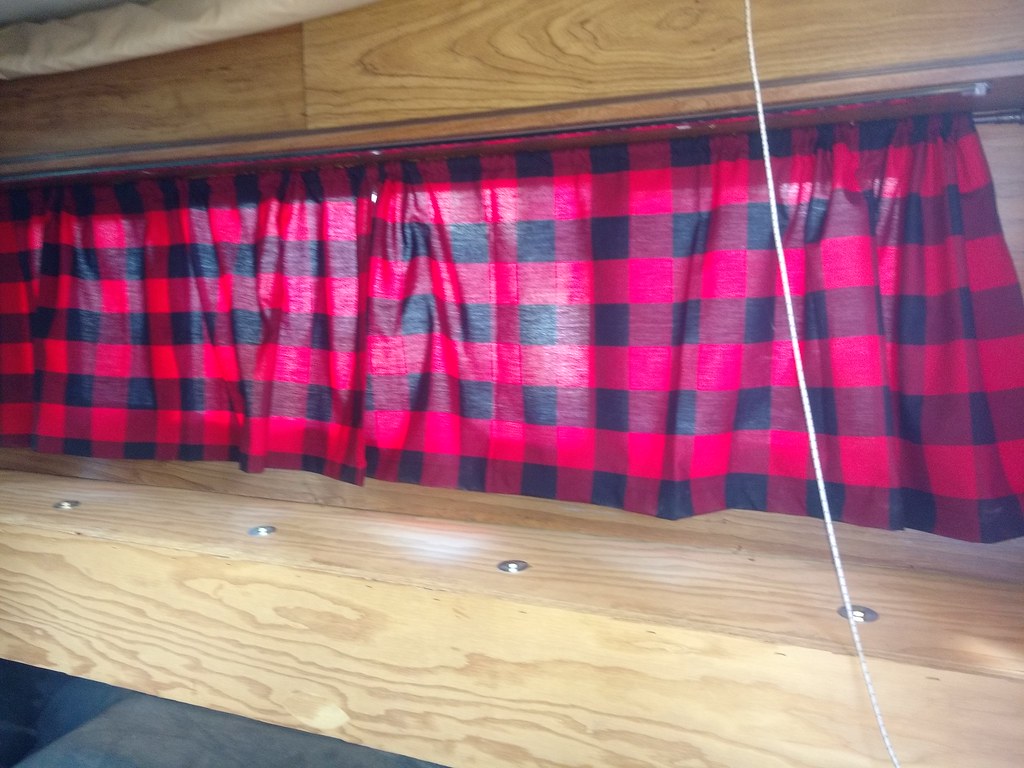 Custom curtains for the camper.
 by
Rob Zulian, on Flickr
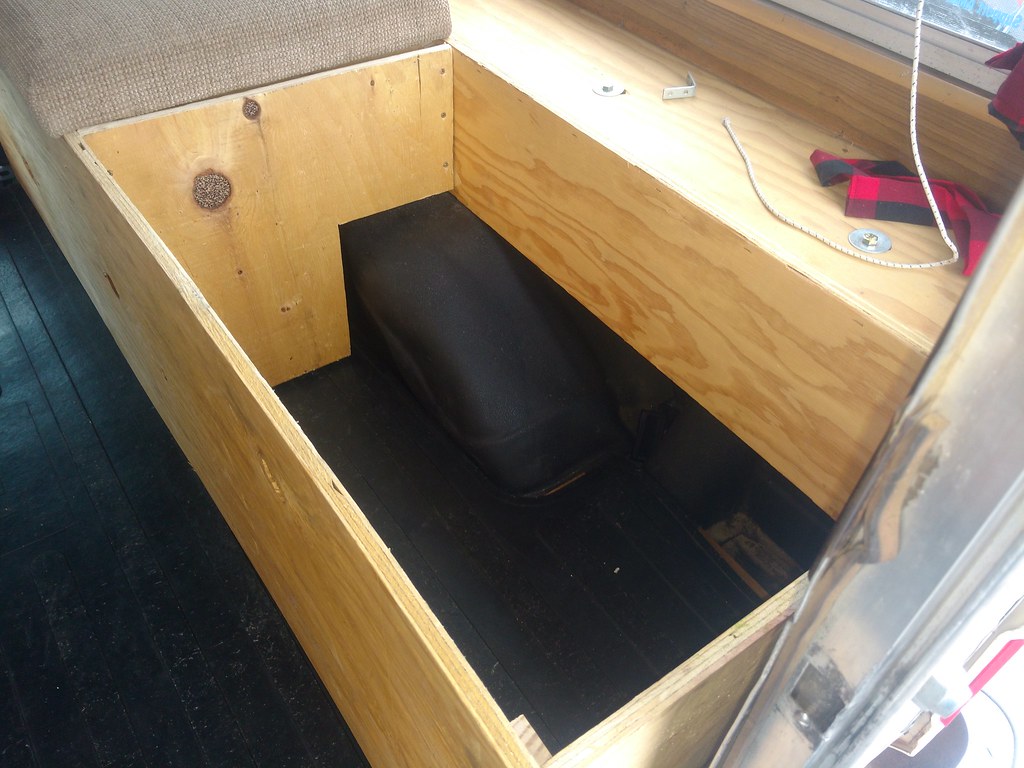
Got Shane back over so we could put together a simple bench that reused the orginal cushions. After using it for three trips this summer, it will be reworked.
 Bench time
 by
Rob Zulian, on Flickr
 Bench time
 by
Rob Zulian, on Flickr
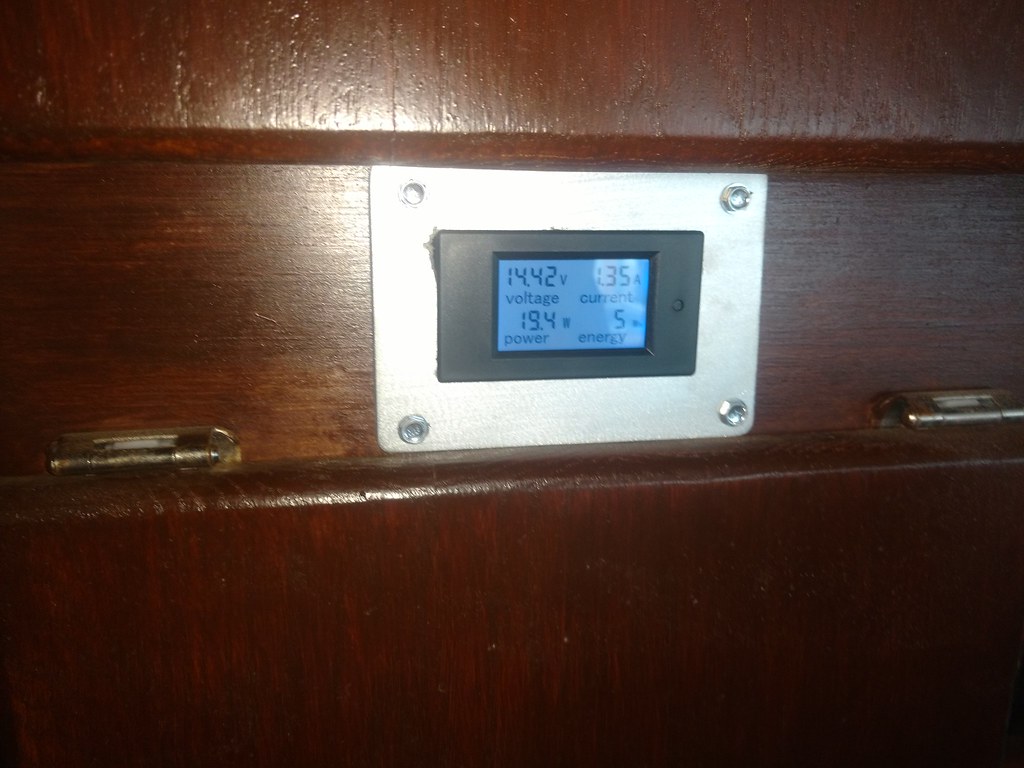
I wanted a way to monitor my power consumption. This little panel was found on Amazon, includes a 100amp shunt for the current measurement. It's installed above the lower front cubby. I can follow the battery voltage, current, watts and total watt/hours. It's pretty cool to know what is going on in the system.
 Bench time
 by
Rob Zulian, on Flickr
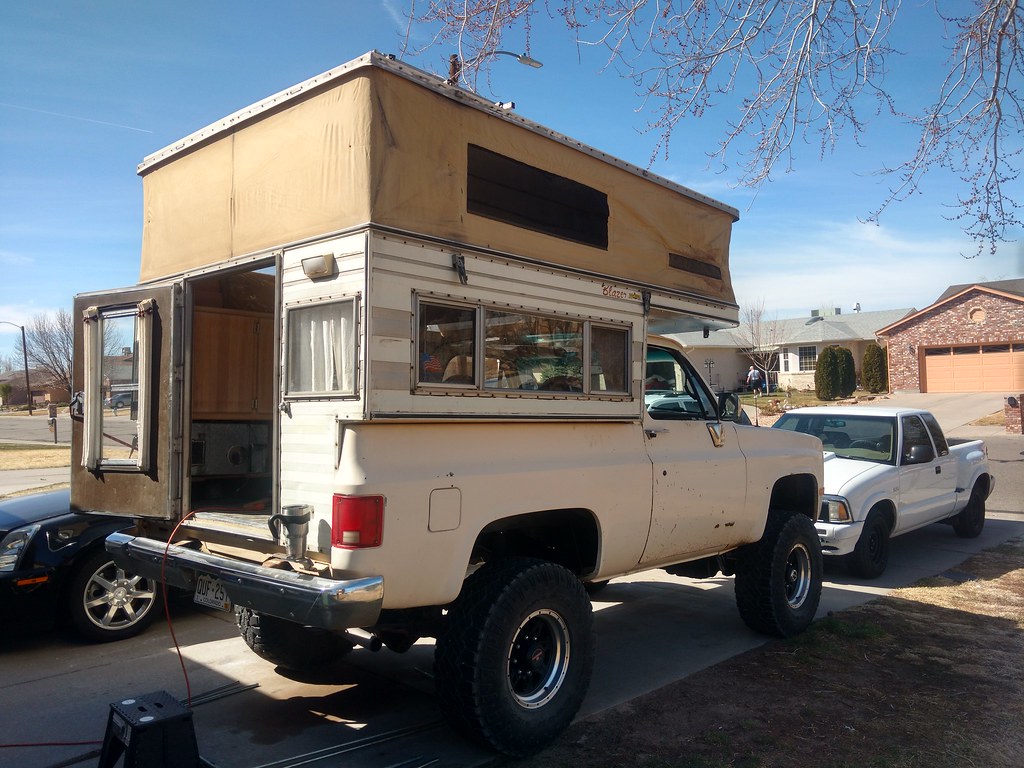
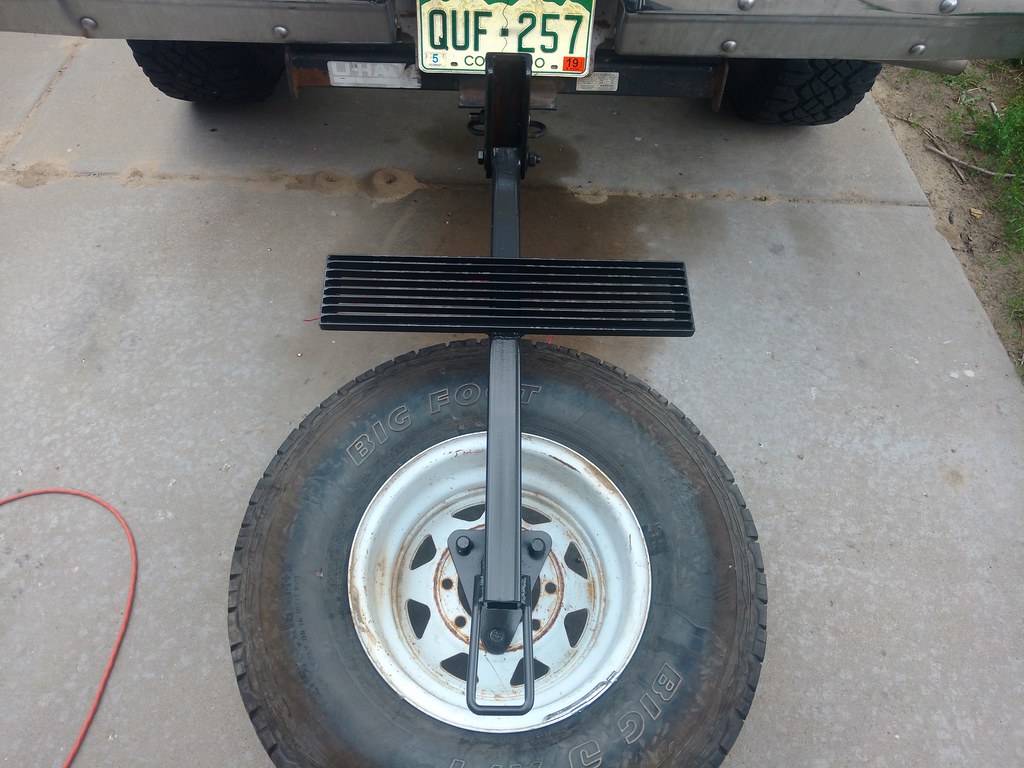
I needed some kind of way to carry a spare as the intended location of our desert trip would have us MILES off pavement and mooching a spare from Larry just woudn't cut it. So my buddy Bill and I whipped this up over a weekend. We had to add a hitch (Larry had a spare in stock) and some square stock with a couple of bolts we got a swing down unit. Bill added the step to make it a little easier to get in and out. This will change too. That dang tire is friggen heavy!
 Final work day before trip
 by
Rob Zulian, on Flickr
That pretty much catches up to where I was at prior to the desert trip. Not much has happend other than using it and fixing the lower bench where it came loose.