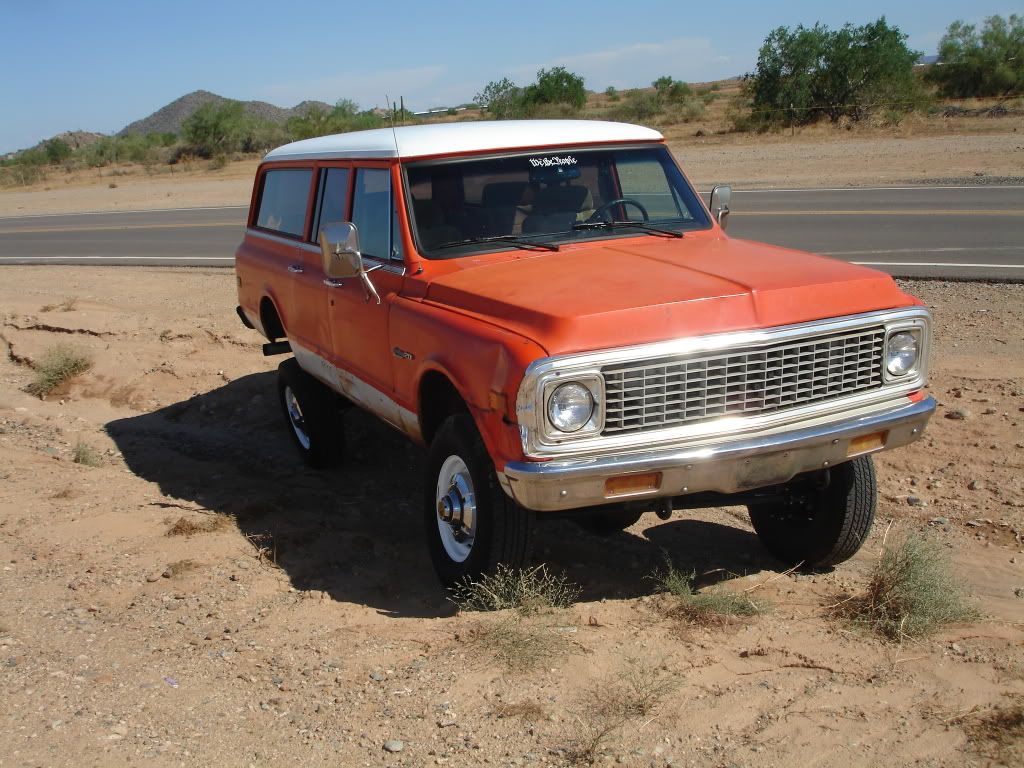
I have been avoiding a situation on this truck for some time now. The front suspension was kind of jacked up in that I never really finished it. Because of my engine being set so low, my engine crossmember was pretty close to my front diff making uptravel rather limited. When I bought my shocks many years ago, I bought shocks that were too long (as it sat) because I had different upper shock mounts for it, but those had not made it into the truck yet. So, I had a couple projects that needed to be tackled simultaneously on it. I started by taking it out and flexing it a little bit to get an idea of where bumpstops needed to be placed.
In doing this I learned something that turned out to be rather important. I had found marks on my crossmember from the diff hose and I wrongfully figured that the diff had contacted the crossmember. What I found out actually happened was the shock was bottoming out and the witness marks on the crossmember must have been from the hose bouncing up to hit the crossmember. I had known my shocks were a little too long, but I did not realize they were that long. Well, ok, I already had bought the bumpstops and mounting material, so they were going on regardless.
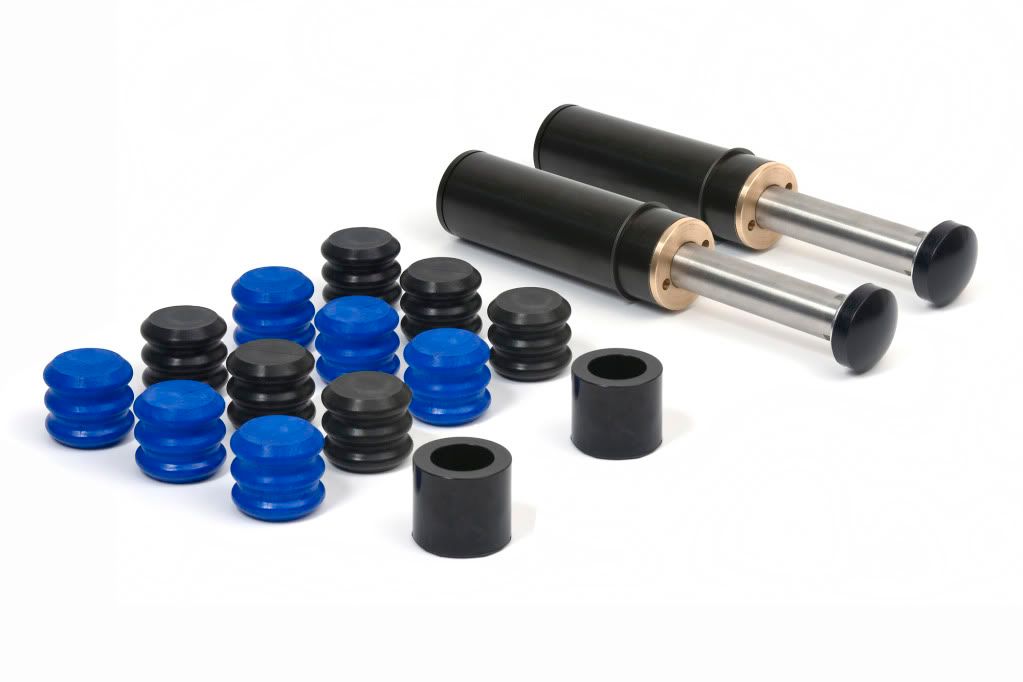
I had been researching bumpstops for some time and had bought some of those big inverted triangle urethane units and had planned on using them, but I had found where several people had experienced failures with otherwise new looking units. I did not like the idea of making them work, just to have them fail shortly thereafter. That got me to looking at air bumps. I liked the features they brought, but I kept hanging up on the fact that they have seals and oil and nitrogen all of which can leak creating a situation of "no-bump". They are very cool, but way more than I need in both performance and reliability. I need something similar but with much less technology involved. During my research I came across Daystar's Stinger Bump Stop Kit. It shares many of the same features of the air bumps, including mounting configuration and basic idea of operation--piston/shaft contacting suspension and compressing a media that resists compression to limit travel. Instead of nitrogen they use a puck made of hard foam. Three of these pucks stack up in the cylinder to create the media resistant to compression. Two different density pucks are supplied so compression resistance can be tailored to your liking. This fit my bill exactly. The features of an air bump that I want without the potential problems of the air bumps. Stupid simple--perfect.
So I got these and did some measuring and decided what I needed to mount them. They will mount in a standard 2" bump can, but that would be pretty easy, so I decided to make some of my own. I picked up a piece of 2-1/4, .125 wall DOM tubing. I quickly found out that the 2"od of the bump did not fit in the 2"id of the tubing. With that, I took it over to my favorite machine shop and had Russ turn out a few thou's on the id. While I was there I had him make a couple aluminum slugs that share the same dimensions as the foam pucks supplied with the bumps. Once he finished with that stuff I was able to get going on my project.
I took a piece of 1/4" plate and flame cut the mounting plate for the tube out of it. I figured out where on the frame it needed to be and then welded the DOM tube to it. I then took some 1.125 x .125 flat stock and made some gussets to it. I took some 5/16" coupler nuts, drilled the threads out of them and welded one toward the top of the tube and one toward the bottom. I then took a cutoff wheel and slotted the tube from top to bottom through the coupler nuts. This provides the mounting/pinch function. I then drilled some 31/64" holes through the plate and the frame and mounted the plate to the frame with four 12mm 10.9 flange head bolts with flange-head steel lock nuts. That got the bumpstops mounted, but I still had to deal with the shocks.
Several years ago I had picked up a bunch of the typical extended shock mounts that get used on these trucks. All that I had to do was mount them. I figured out where they needed to be and drilled the holes and used some more of the 12mm 10.9 flange head bolts and nuts. I then took my air saw out to cut the inner fenderwell for shock clearance. Well, the saw worked for about an inch and then decided it did not want to play anymore so I ended up using a die grinder with a cutoff wheel. Not the most ideal tool for the task, but it did get the job done.
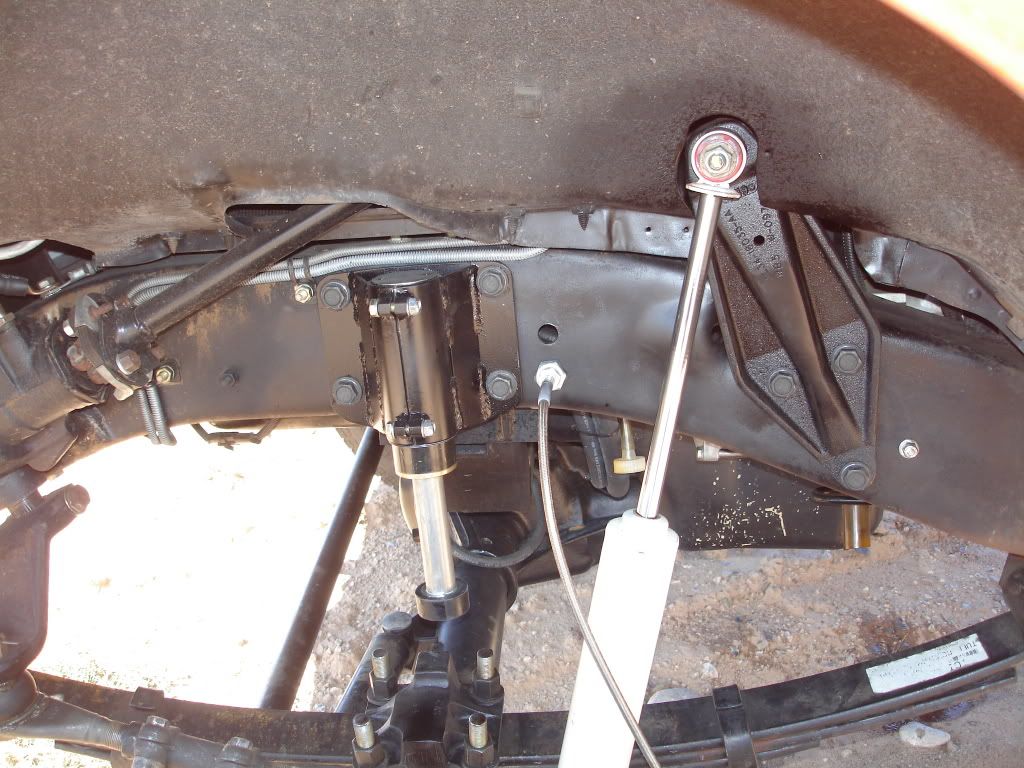
So, that got the shocks mounted. I ran out to my super-secret high-tech suspension testing facility to see how I did. I immediately found that my too-long shocks were now too-short shocks. They went from being bump stops to limiting straps. I did some measuring and found that the fronts would be about the right length for the rears and the rear shocks would probably be better on the front. I swapped the fronts for the rears and headed back out to my private test facility and found that the shocks are almost perfect now.
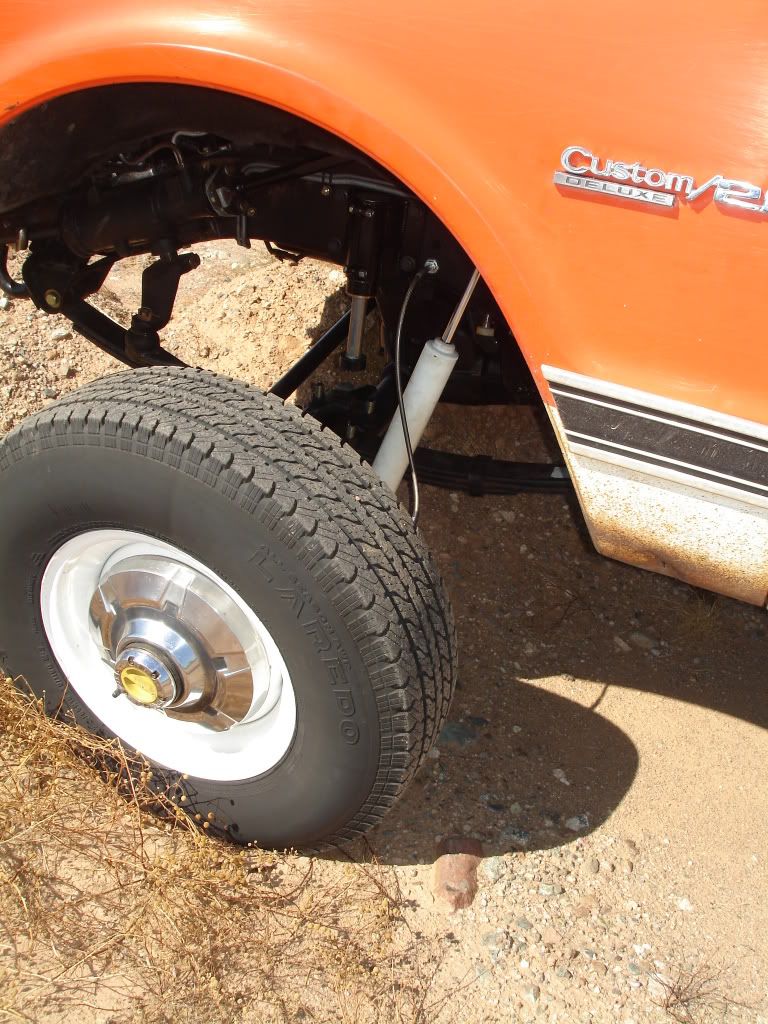
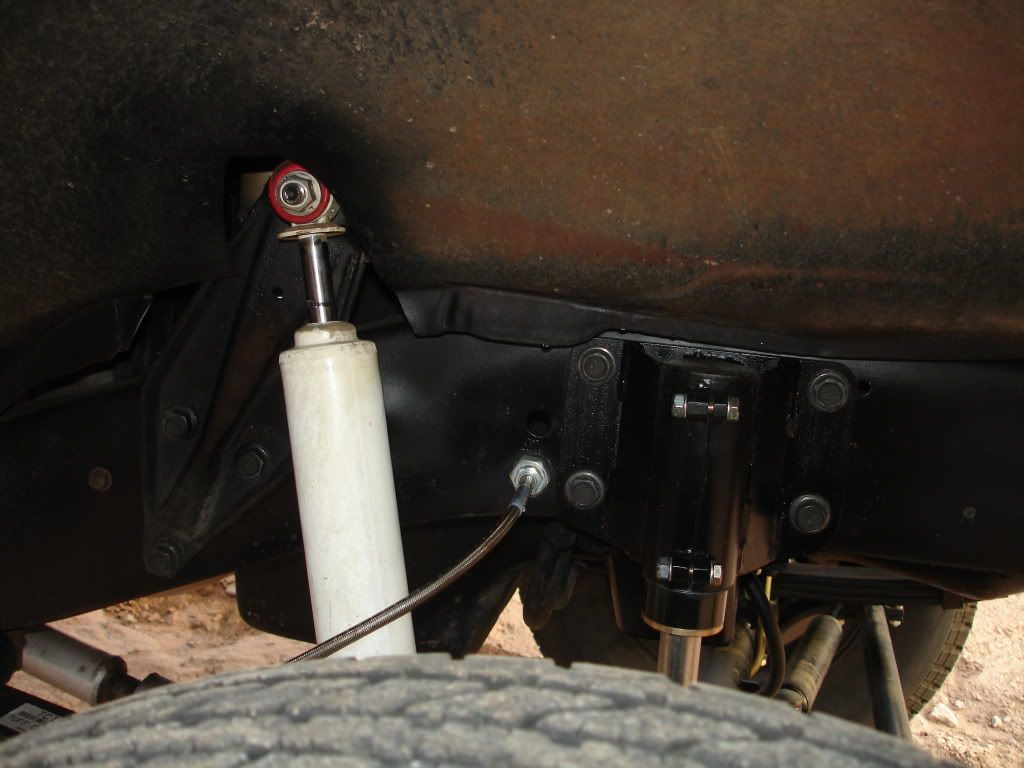
Here it is at bumpstop contact point. There is still some shock travel left, so I will have to keep an eye on it next time it hits the trail. My wheel travel needs to be more limited on the right side because of the differential, so on that side I ran two of the harder (black) pucks along with one aluminum plug (to replace one puck) in the bumpstops. This should keep the wheel travel in the acceptable range.
So, with all of this, I have a much more functional suspension system now. I have not had a chance to run it on an actual trail, but from my first test to the last one that I did, I can tell a major difference in how much the suspension moves around already. A good trail will let me know if I am done or have more to do to finish the suspension up. Well see.
On an unrelated side-note, I did this work last weekend when it was about 108-110 (in the shade) with enough humidity to make it very uncomfortable. I stuck it out, plugged along and got it done. Now, in comparison, this weekend we had a cold spell roll in and it was only 98* this weekend with very reasonable humidity. I guess I should have waited to do it until this weekend. Oh well.