I'll put some of the installation stuff on this thread as well, so its all in one place. It was nice and warm, so I worked on it a while today.
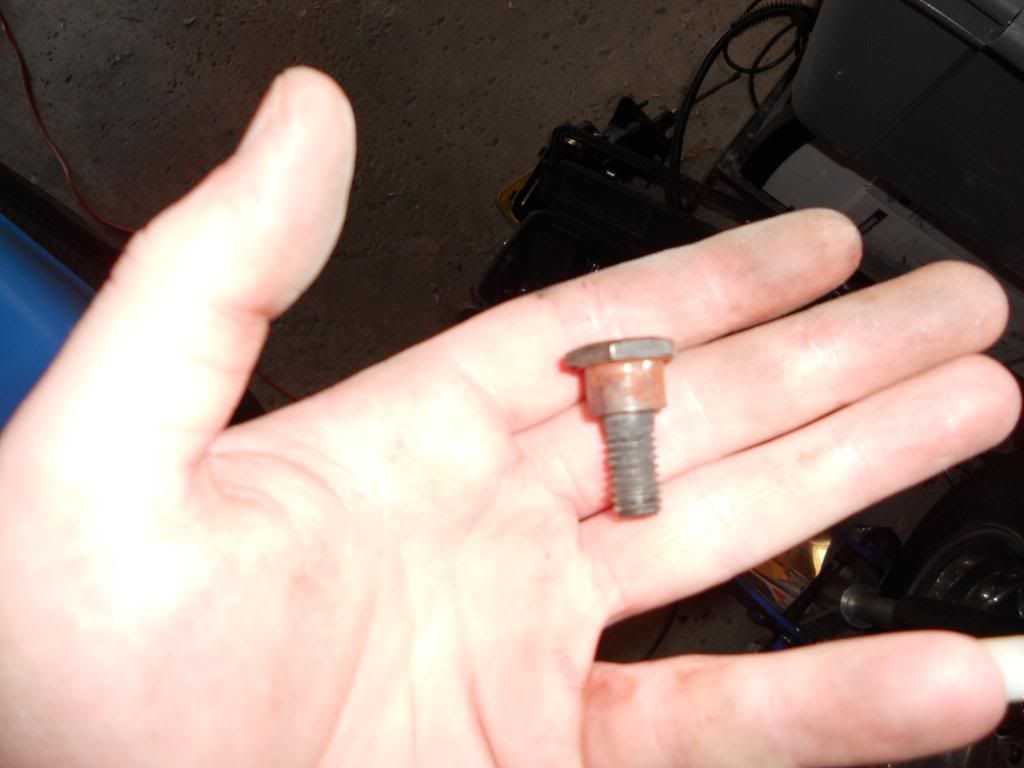
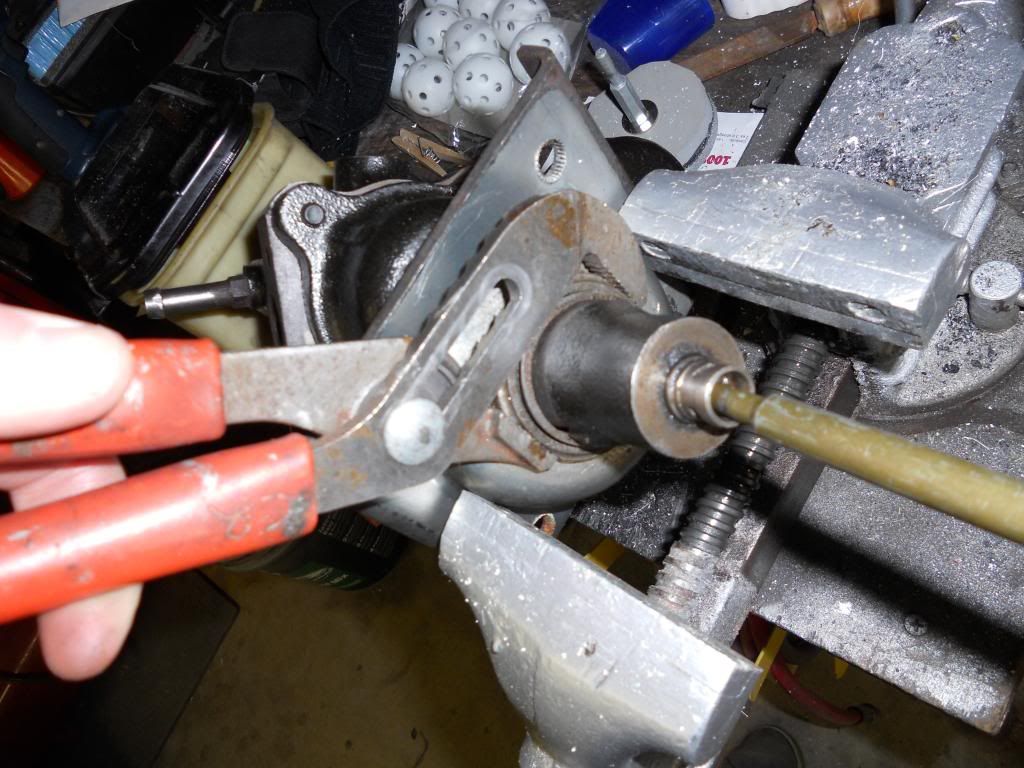
Starting with my old manual master cylinder. Started wuth pulling the bolt off the pedal (no clevis) to release the rod and allow it to come out in the cab (has no physical attachment to the master like some do).

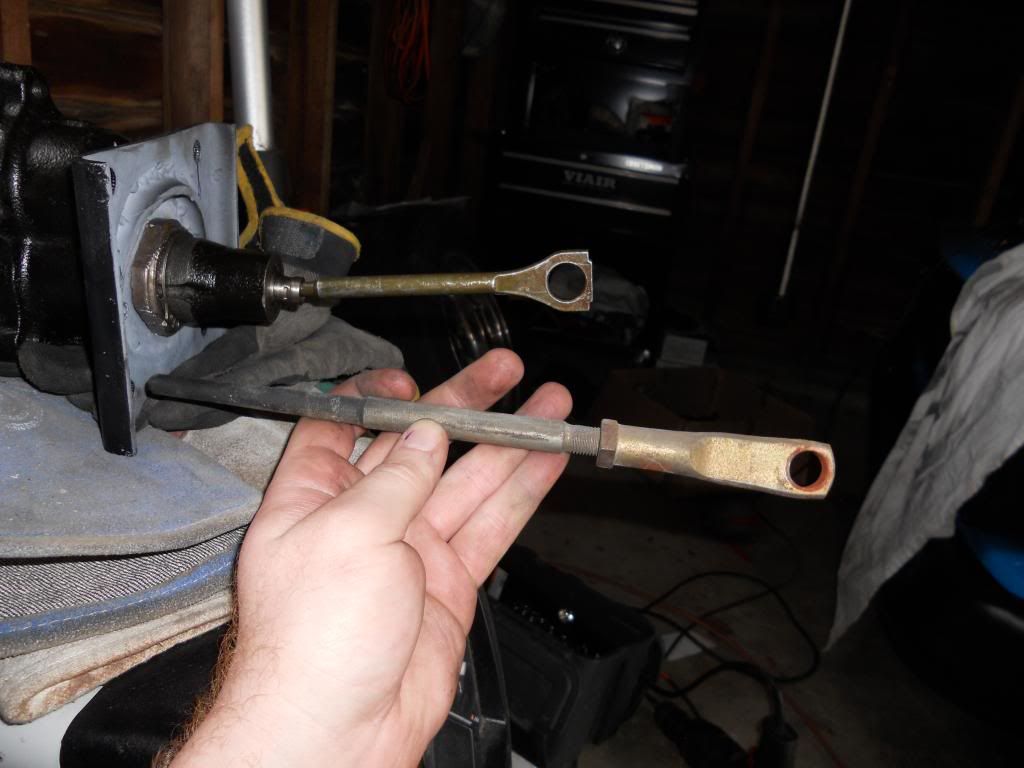
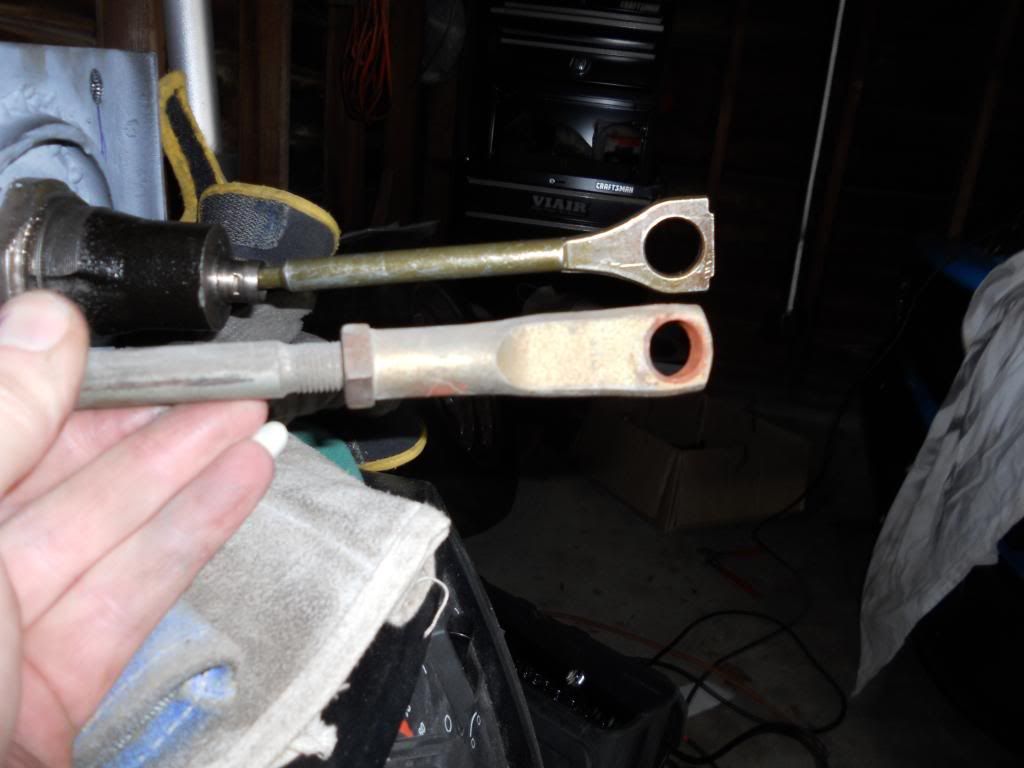
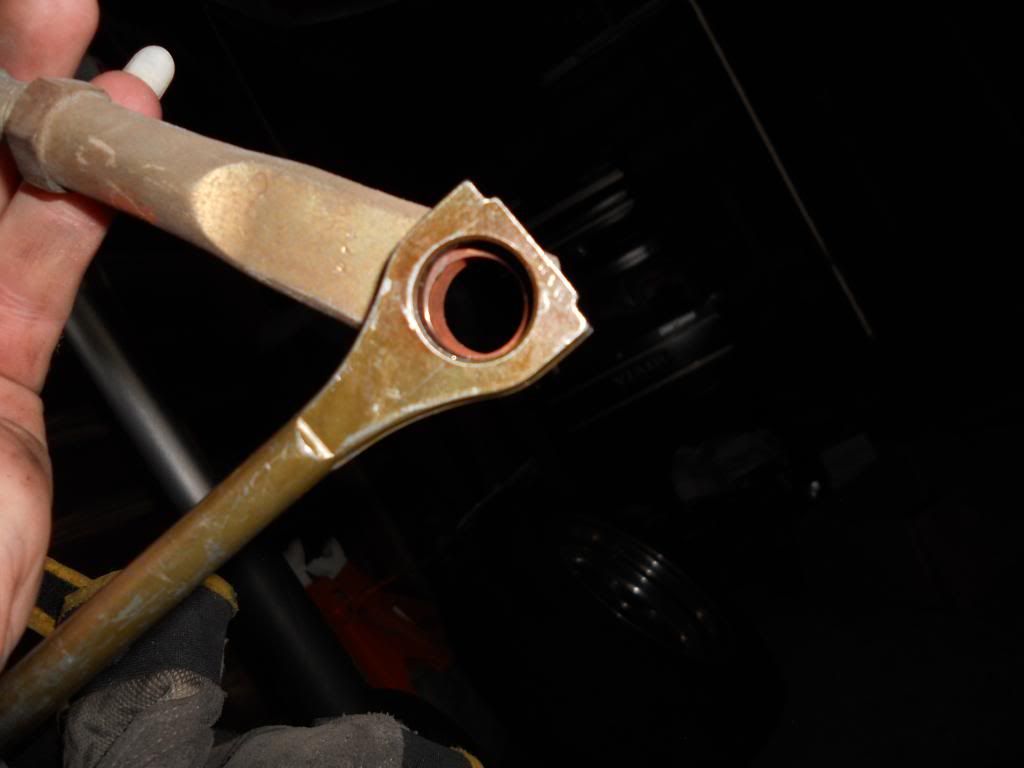
The old rod I have, and the new rod on the hydroboost unit have a very similar end. The picture is a tad deceiving, but the hold in the rod end appears to be the same size. If I run into any problems getting the stroke correct (due to the different mounting depth and pedal style/attachment), my backup plan is to either cut and tap or cut and weld the old end onto the rod, giving me the old rod's adjusting capability.
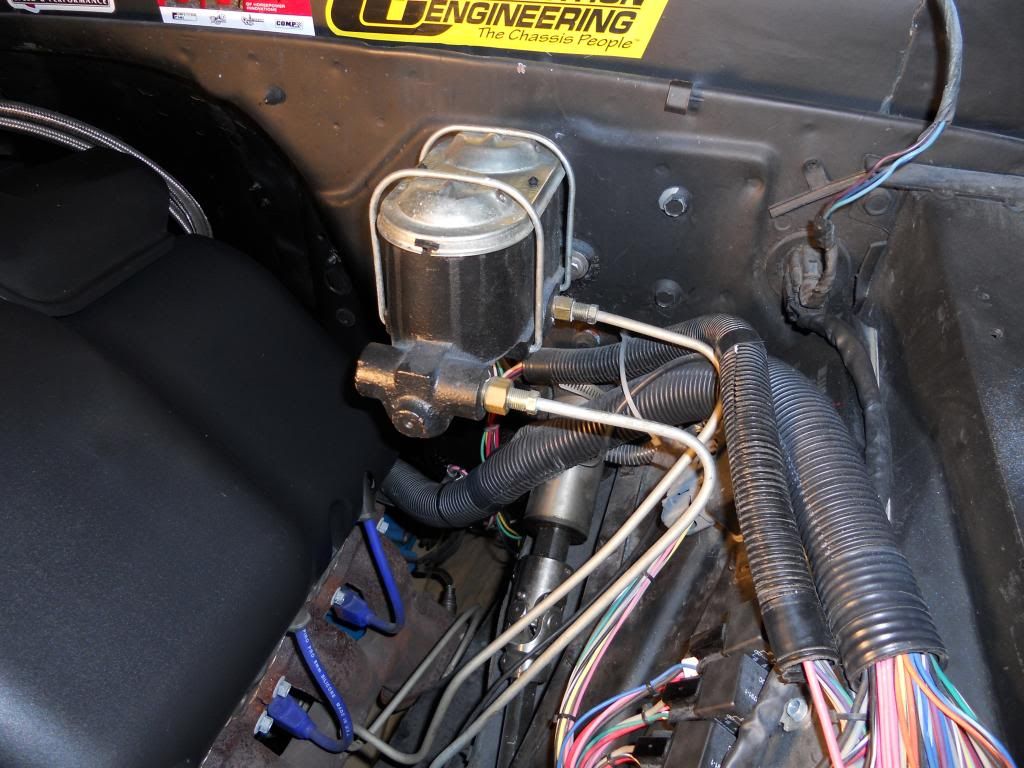
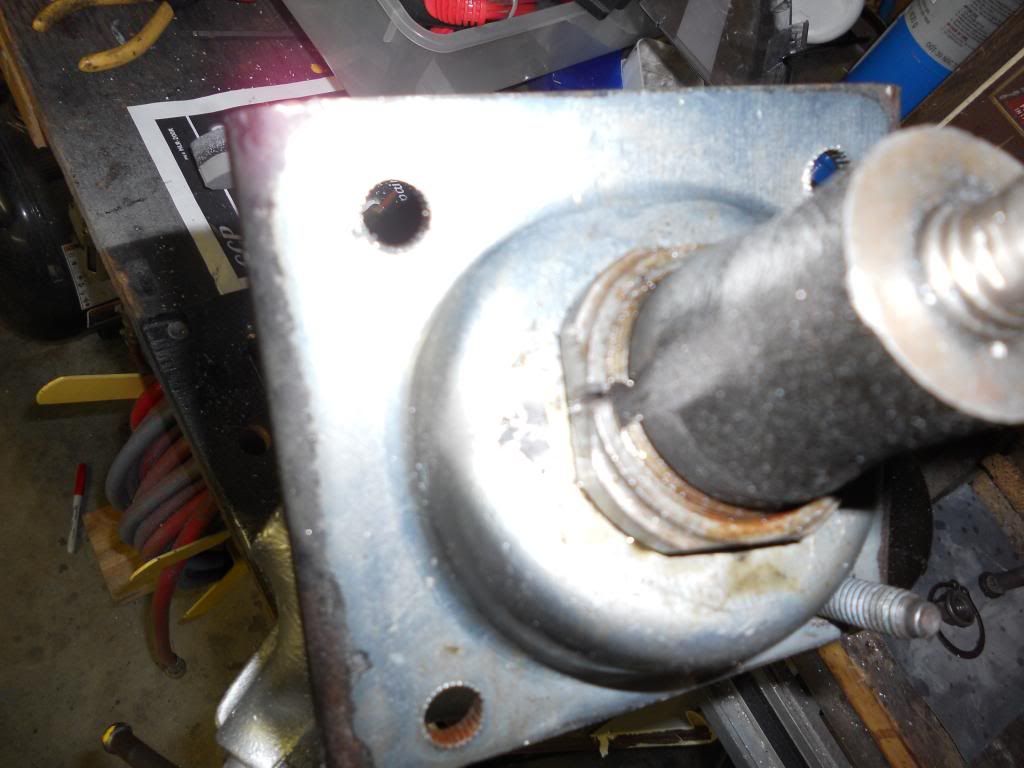
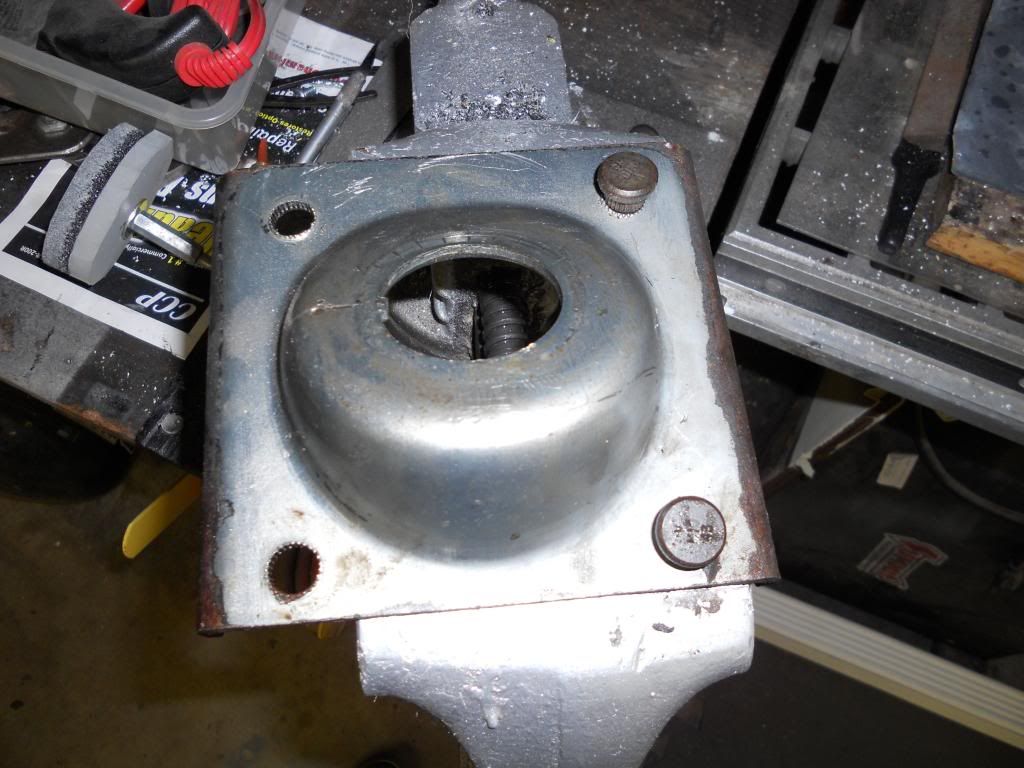
Pulled the master off, to reveal the old-style 2 bolt mounting point, which won't work with the 4 bolt setup I had.
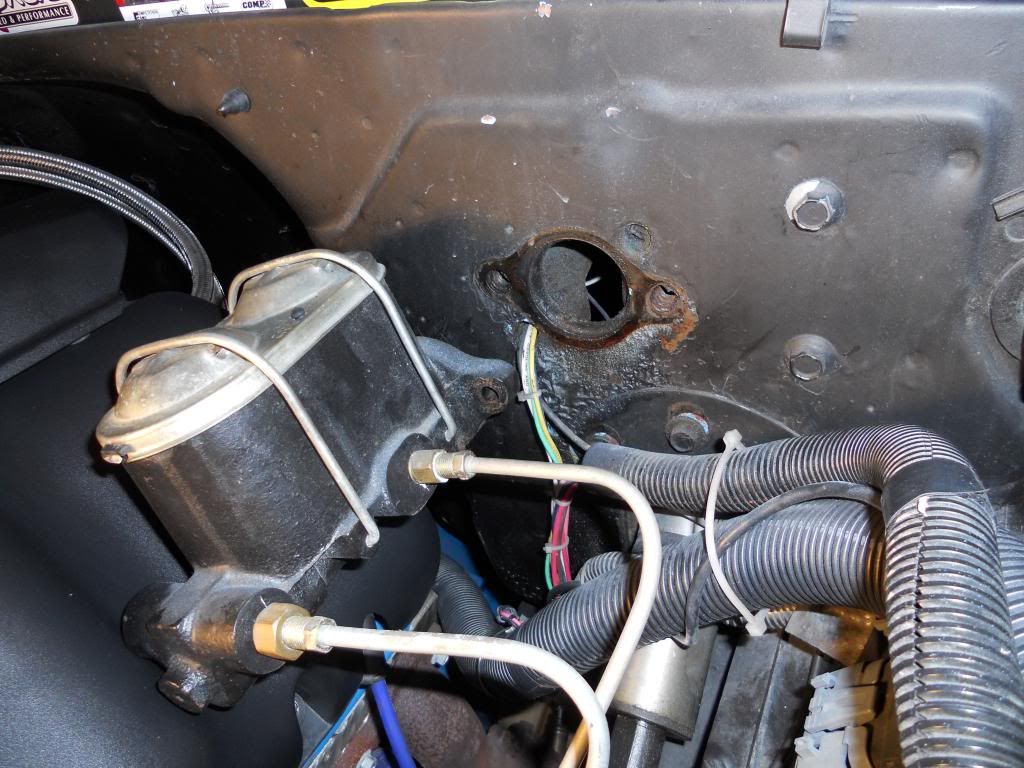
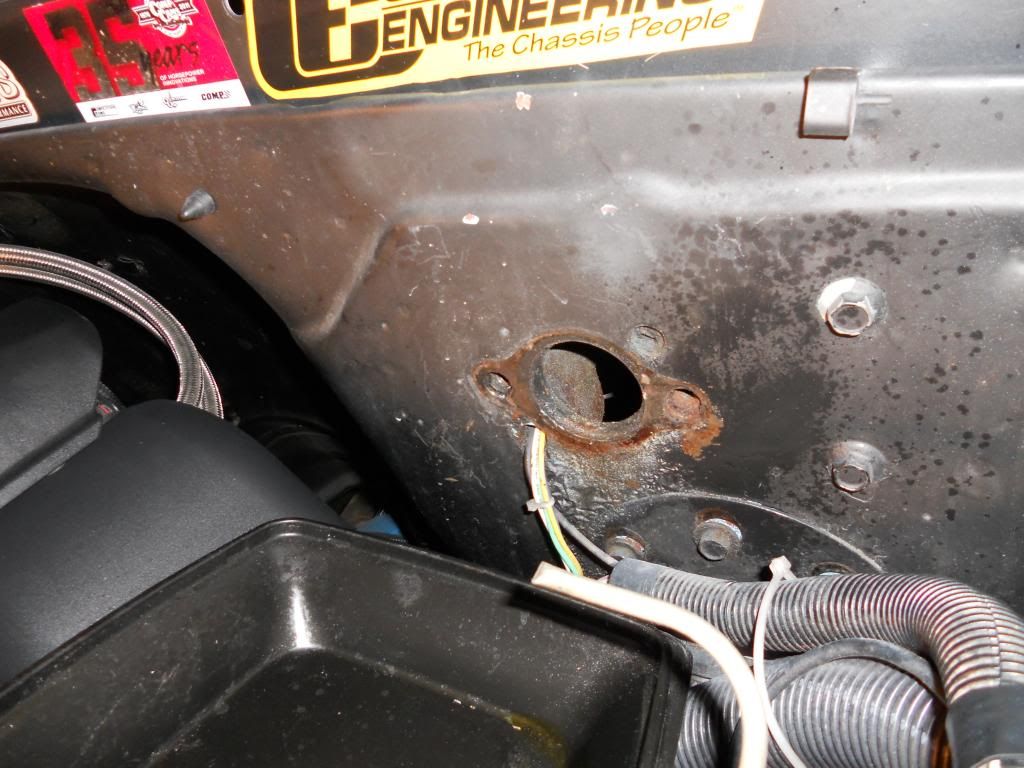
I had two choices; either measure and try to cut/fab a 2 bolt bracket for the booster, OR drill new mounting holes and possibly massage the old opening to fit. On top of that, the astro van bracket mounts at a steep angle, which would put the rod in a rather steep angle that I felt just wouldn't work (and it would look goofy underhood). I decided to try to kill two birds with one stone (and NO material haha). I would run the 4 bolt bracket for the security of the extra bolts, but mod it to fit a level position and dept.
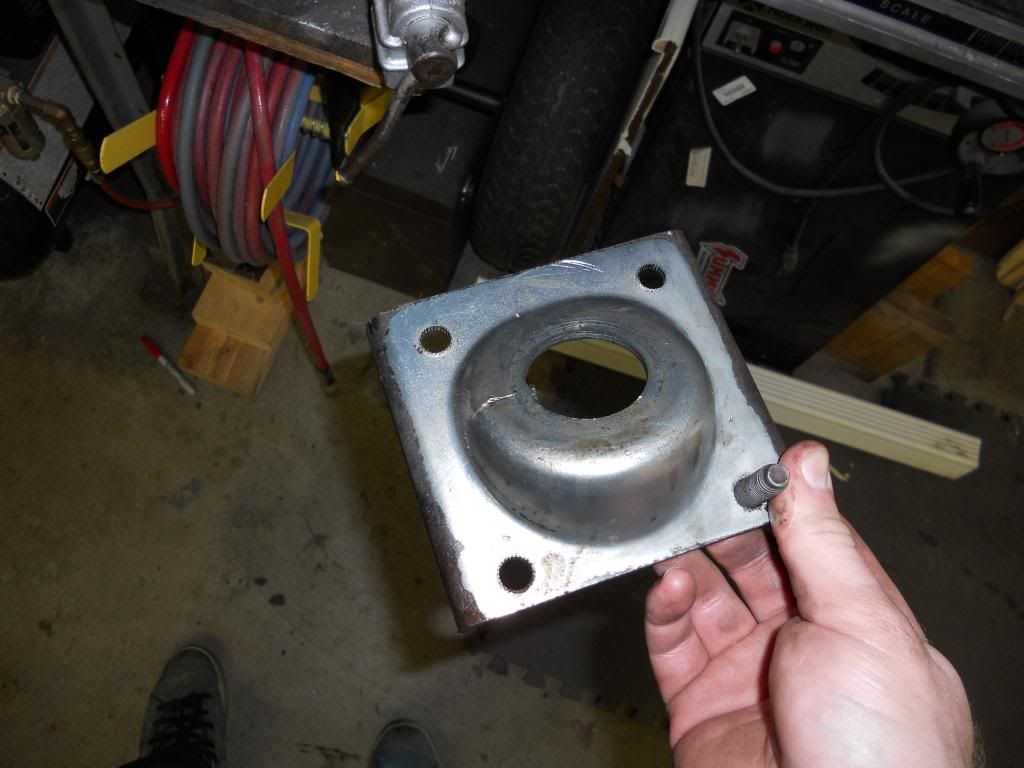

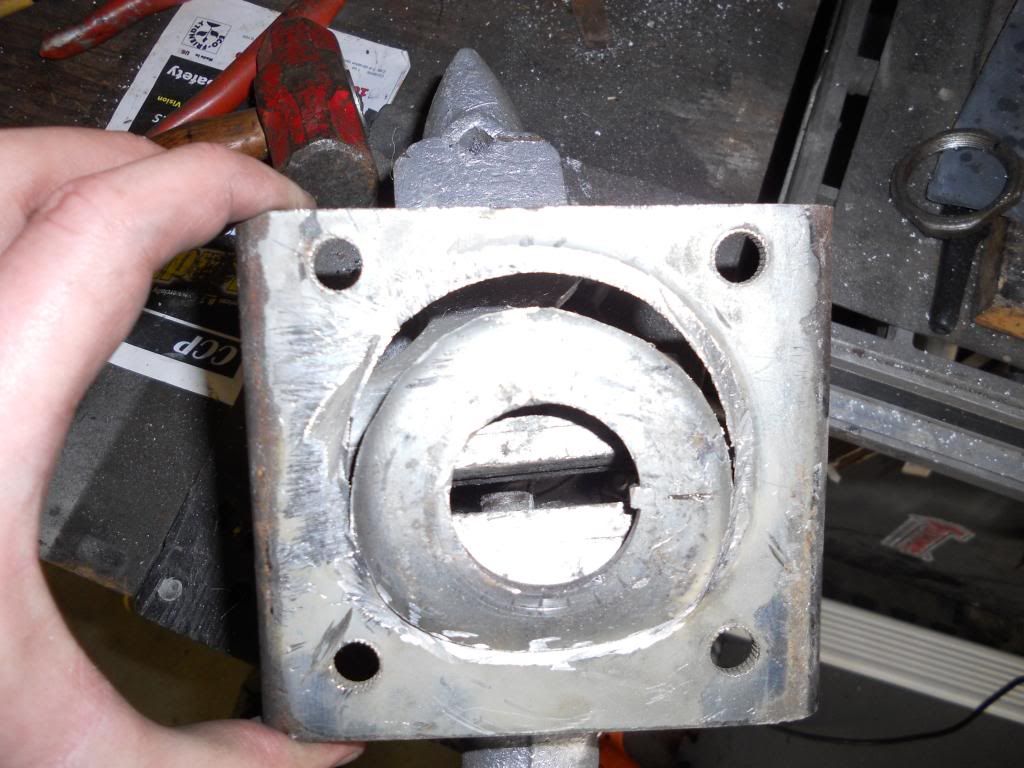
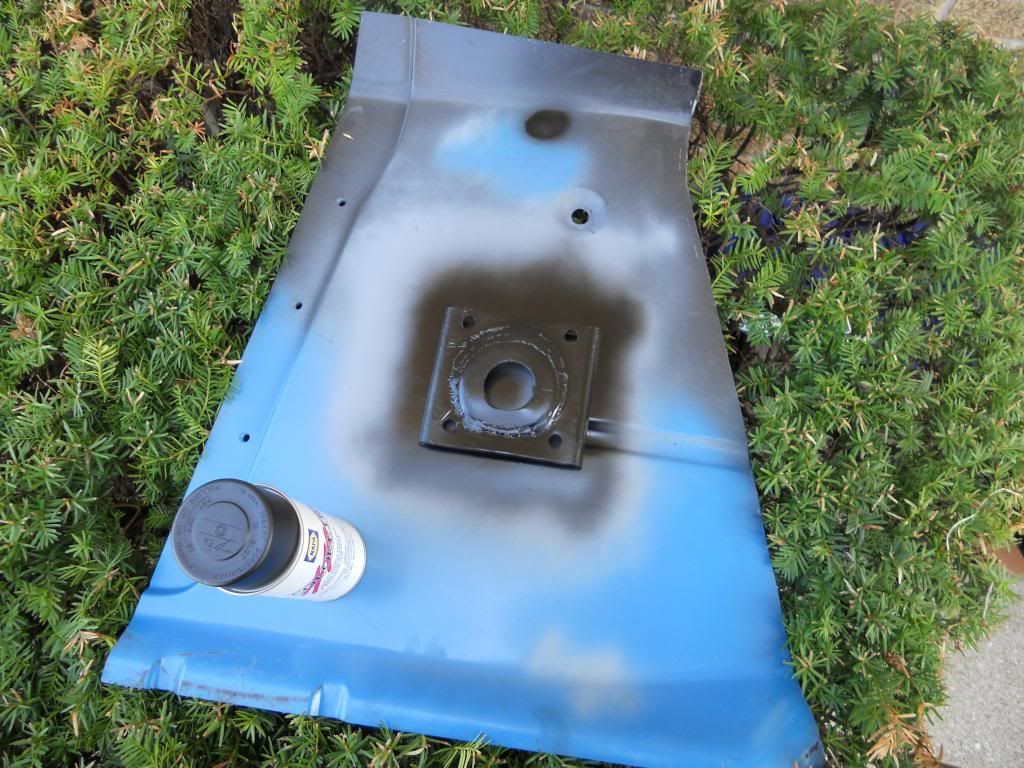
My battery got low so the cam was on charge for the welding. I just used the old removed metal to form a filler piece. and ran two alternating concentric circles of weld holding it in place, and reinforcing anywhere that was cut or scored while I hammered it flat. The filler piece is also supported with stitched welds from the back. The result is a free basic mounting place that already has the scalloped holes for the studs, and the keyed hole for the booster. Then a dry mount of the booster. Starting on more assembly and lines tomorrow.
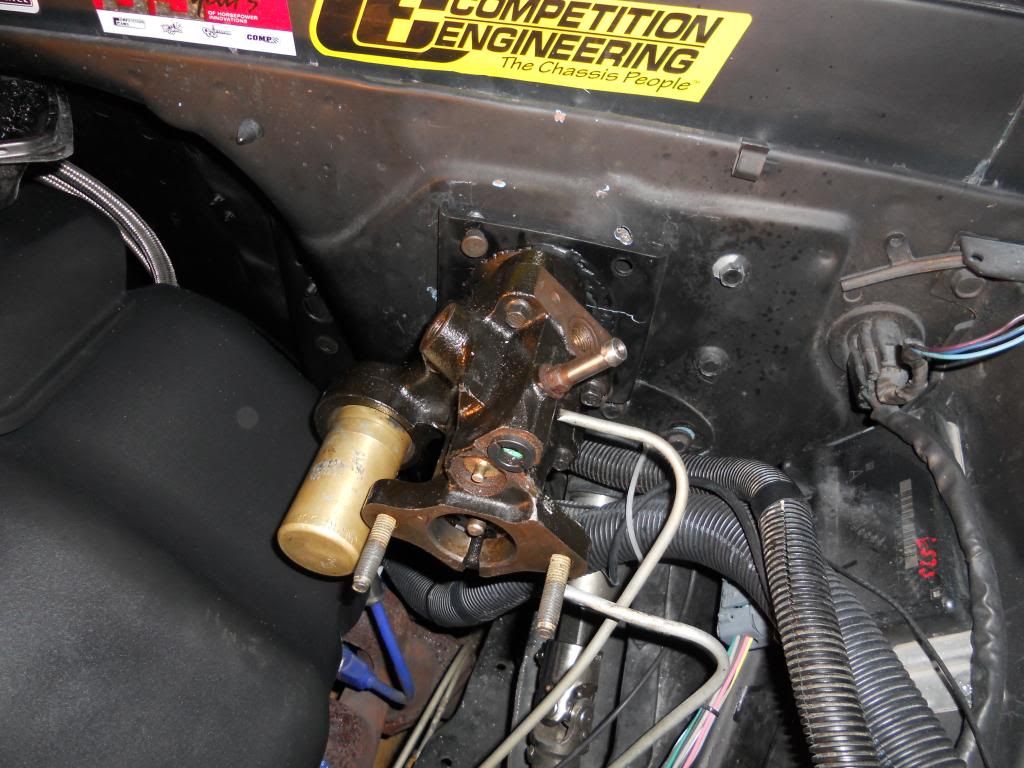

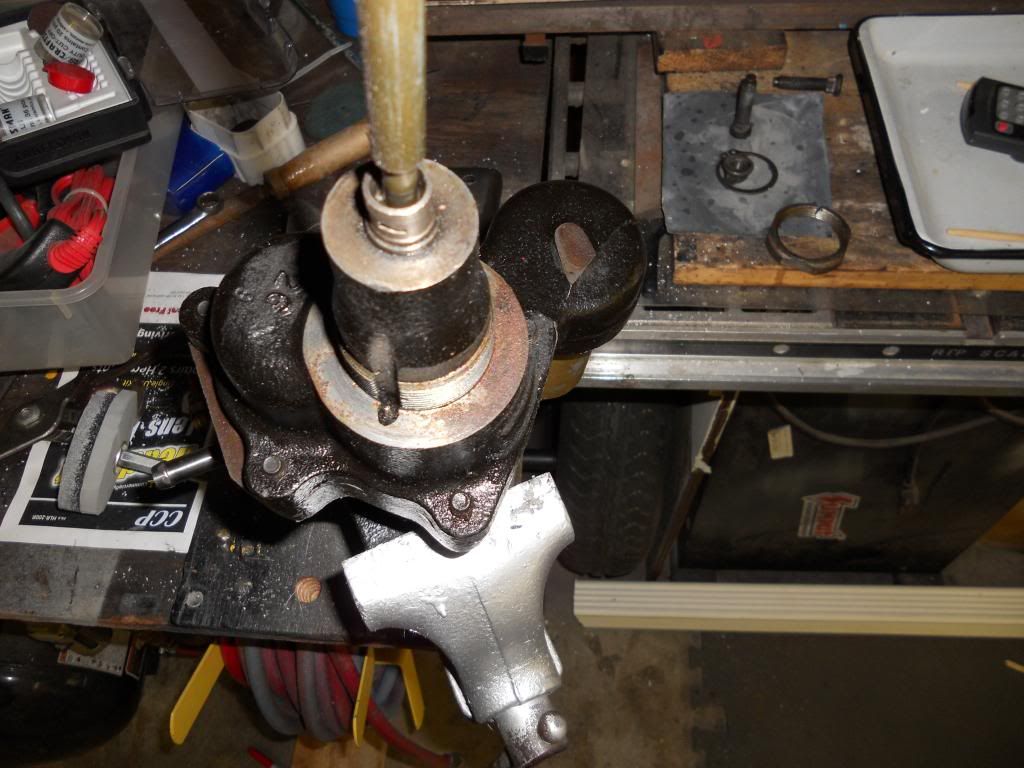
I'm looking forward to wiping all my alignment markings, penetrating oil, and dot 3 residue off all this so my hard work doesn't always look like its never been washed haha. And YES it will be bolted in all the way, the single half threaded bolt probably won't do much for mounting strength
