EDIT 01/07/2011 -
Unity Fog Lamp Retrograde Update
If you are reading this post you may also have an interest in Unity Fog Lamps. Here is a somewhat simple process to modify 1970s-1990s lamps to look like earlier models from the 1940s-1950s. It involves removing the cheap looking flat Unity emblem and replacing it with the earlier raised design.
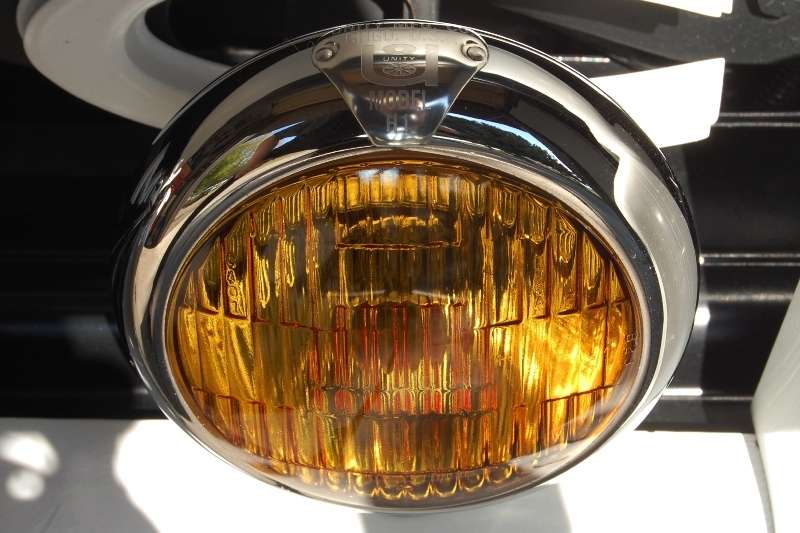
This is what the later design looks like. A cheap looking shield that covers the seam in the rim:
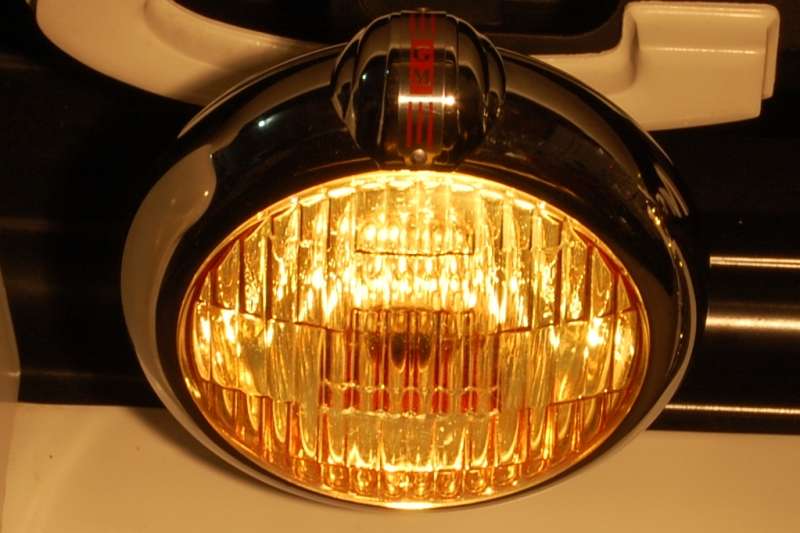
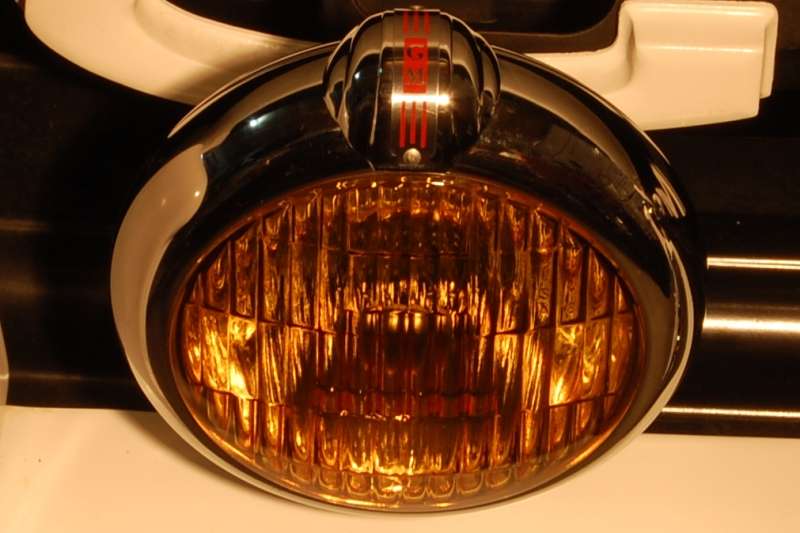
And here is what the early raised emblem looks like by comparison:
The base part number for the fog light emblem is 4595-xx. In this case the part number is 4595-GM. 4595-U is the version that spells out UNITY instead of GM. There are quite a few other brand names available as well. Although similar in design, this is not the same part that fits on the spotlight heads. Those are larger with a different profile and are listed under part number 6295-xx. Unityusa.com offers these on their website, or you can purchase them from Accessoryland.com.
Although the new emblem can simply be installed over the flat version, under close inspection it can be seen under the raised emblem, so I decided to remove them. Heres what it takes:
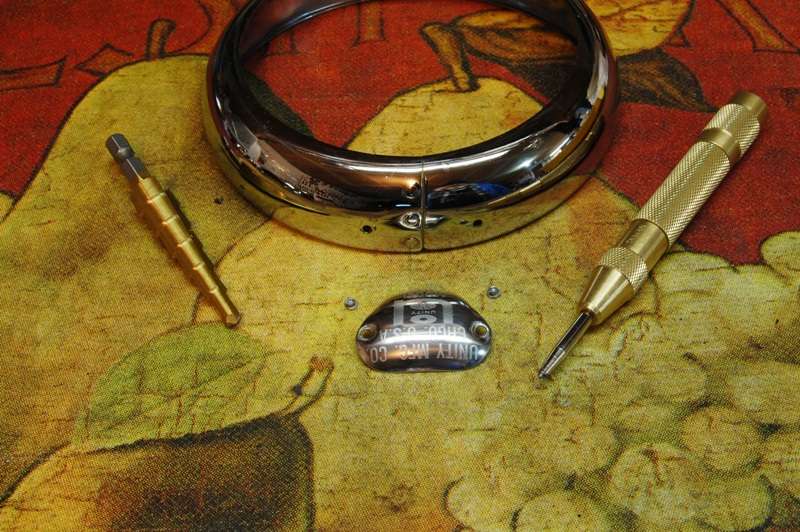
1. Remove the rim/bulb assembly.
2. Wearing face protection, carefully remove the bulb retaining springs and the bulb from the rim.
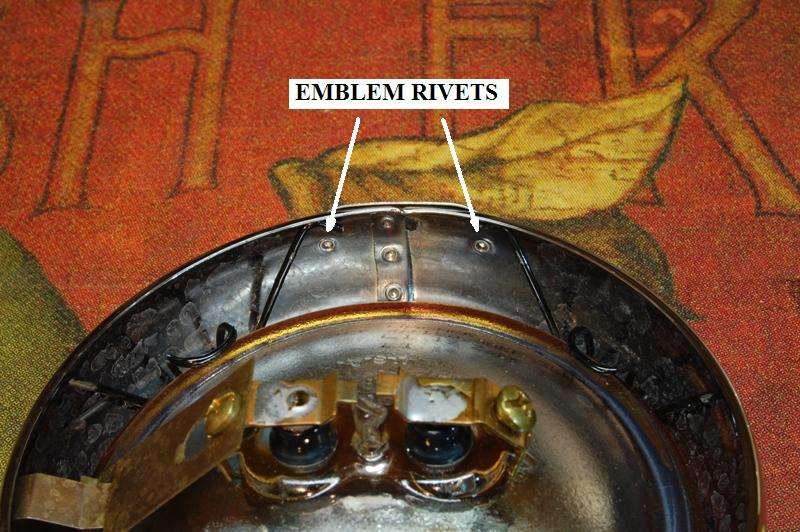
3. From inside the rim, gently drill the lip off the rivets.
4. From inside the rim, drive the rivets out through the front. I used a spring loaded center punch. One snap per rivet and they popped out cleanly.
5. Close the rivet holes in the rim with a dab of your preferred sealant. I used masking tape on the outside to keep the sealant from dripping through the front.

6. Reassemble the rim/bulb assembly. Maintaining bulb alignment in the rim is made easier by aligning the bulb with the screw hole in the bottom, then stretching a piece of masking tape across the face to hold it in position while the retaining springs are installed.
7. Reinstall the rim/bulb assembly onto the lamp housing.
8. Carefully locate and align the emblem on top of the fog lamp, and fix it in position with masking tape. Triple check everything, then mark, drill and attach the new emblem.
On my lamps the screws did not want to pull the emblem down tight enough to prevent movement, so I backed the screw out most of its length and placed a large speed nut inside on the screw. This speed nut provided plenty of grip to tighten the emblems snugly in position. The end result is a much richer, more authentic, and vintage looking lamp: