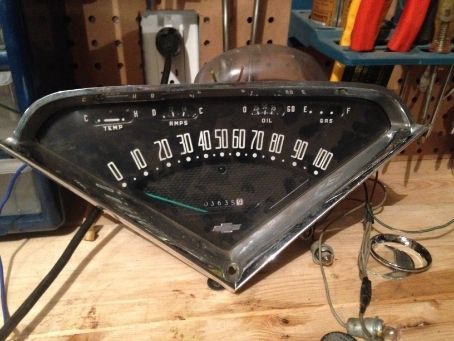
I've had a few guys now ask about how I did my gauges so I snapped a few more pics:
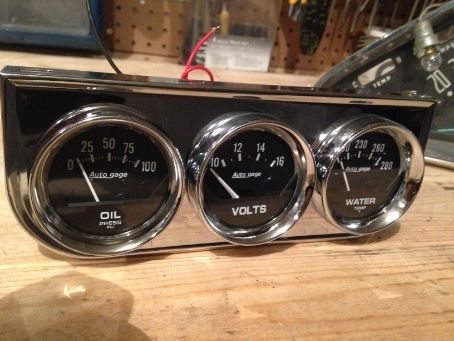
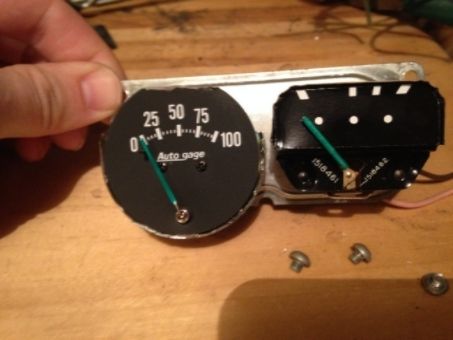
I started out by looking for a set of 2" gauges that had a complementary font and needle sweep to the stock gauges in the truck. I purchased an Autogauge by Autometer 3 gauge set. I ended up using the voltmeter and oil pressure gauge. I did not use the tempature gauge as it is a capillary tube style. I may add an electric temperature gauge in the future if I find one that matches.
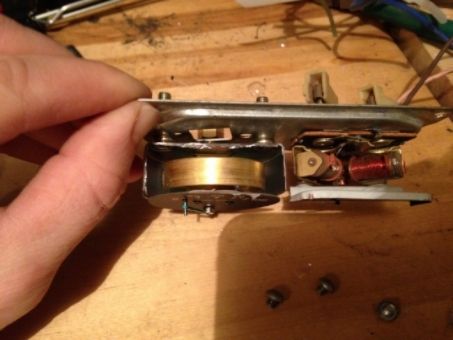
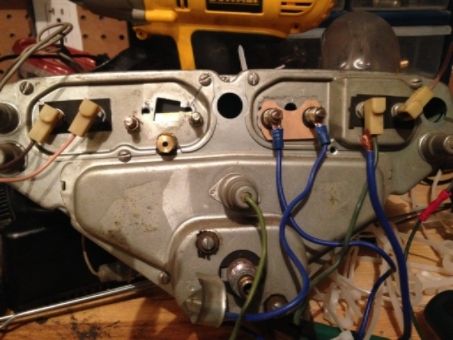
I carefully cut the Autometer gauges apart by cutting between the gauge face and the glass with a small cut-off wheel on a dremel. Then I drilled out the rivits that held the stock ammeter to the tin backing plate. This is the volt meter mounted beside the stock temp gauge. The Voltmeter uses the mounting studs as positive and negative so I used the plastic insulators from the gauge to keep the studs from touching the stock tin mounting plate.
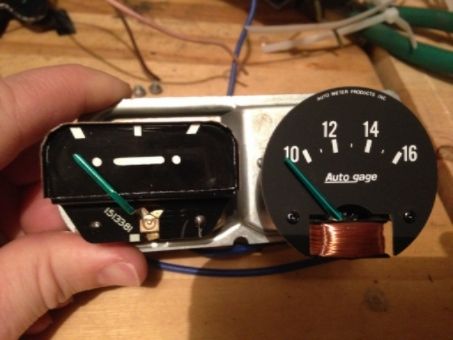
The text on the Autometer oil pressure gauge was lower on the gauge face than the voltmeter so I had to trim a bit off the top to make it fit and have the pressure increments centered in the cluster.
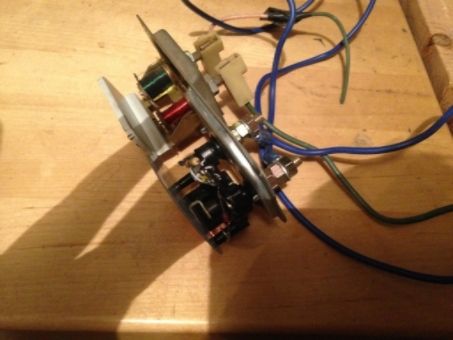
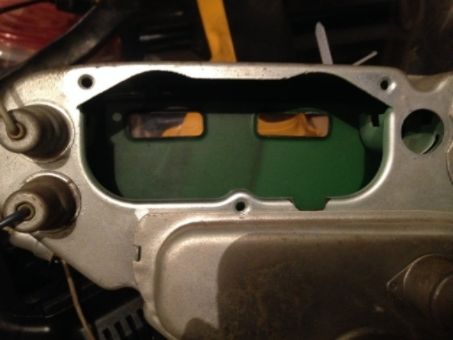
I also had to clearance the stock cluster just a touch for the oil line fitting to fit ( just to the right of the lower mounting hole )
Here's what it looks like from the back:
And the finished product. I painted the pointers metallic green years ago with Testors model paint because they where so sun beached, so I painted the new gauge needles to match. All you have to do is slide a piece of paper between the needle and the gauge face and carefully paint them with a small brush.