
 |
Register or Log In To remove these advertisements. |
|
|
|
|||||||
 |
|
|
Thread Tools | Display Modes |
|
|
|
|
#1 |
|
Registered User
Join Date: Dec 2012
Location: Rochester, KENT
Posts: 10,498
|
Re: GRIZZ’s ‘79 - 2WD BLAZER Challenge over in London, England. “~It’s not a Project
After last weekend and the spring replacement, Mate Martin sent this pic today.
Made me smile, because a certain @PaulY has seen this go wrong before. 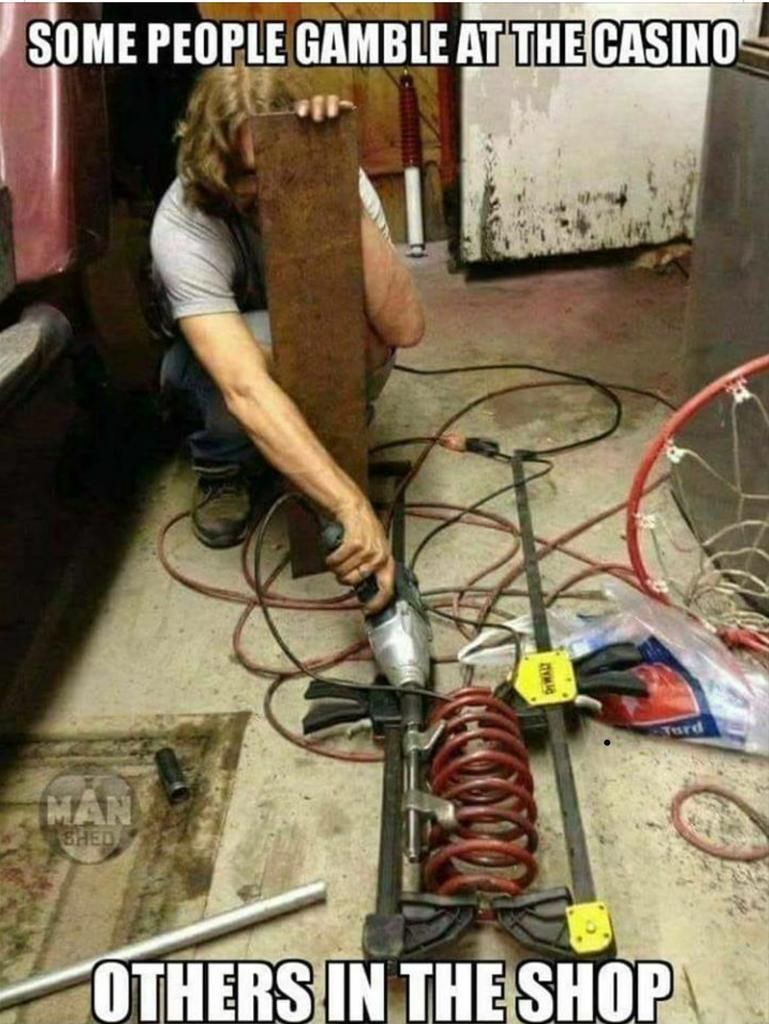 After last weekends 10 hr session at 5’C in the cutting wind and out on the driveway, we shut shop and I had a hectic week, which meant I never cleaned up, or cleaned the tools that were all covered in 40 year old black grease, as well as all the debris from the days work. So this morning after going to the Post office at 07.45 and then to Aldi for food as I planned on cooking dinner over at Joys place tonight (she has been ill 10days now, and I refused to go there and get infected) I proceeded to,spend two hours cleaning up. The brake shoes that came out of the truck were at various levels of wear or destruction. 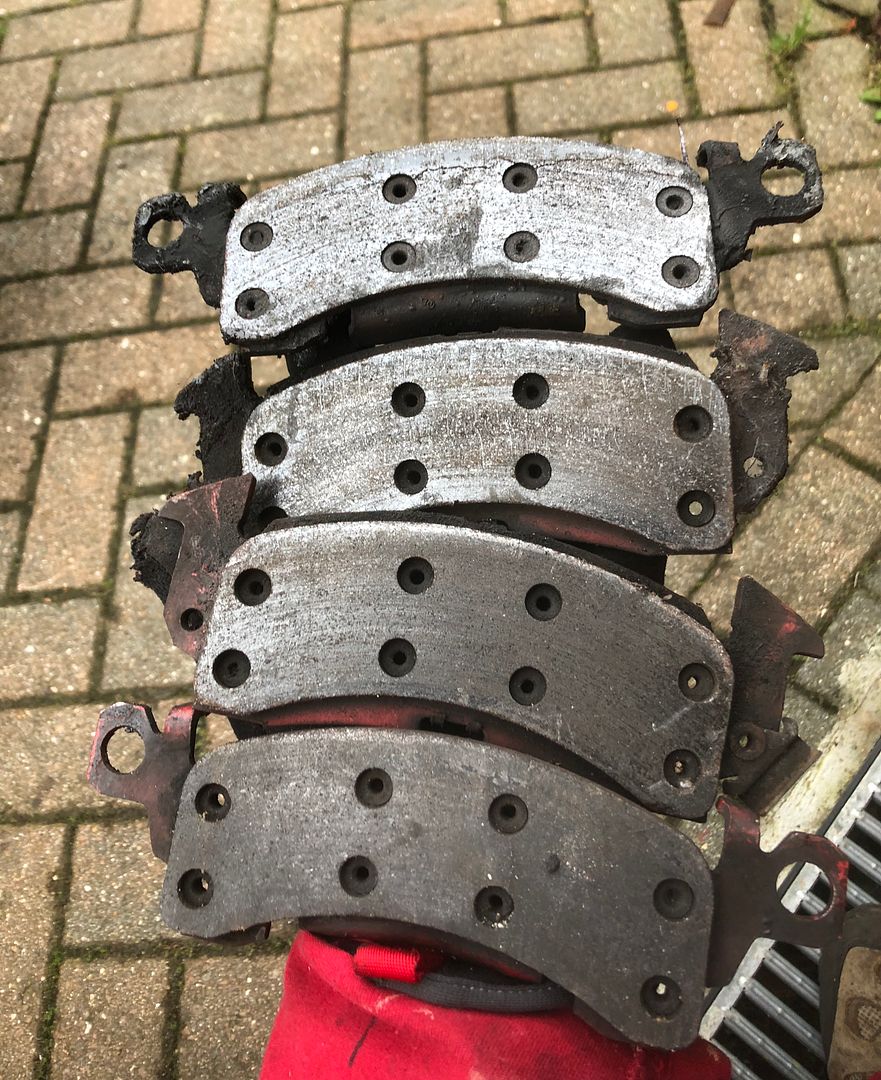 The top, cracked one had also worn quite thin. 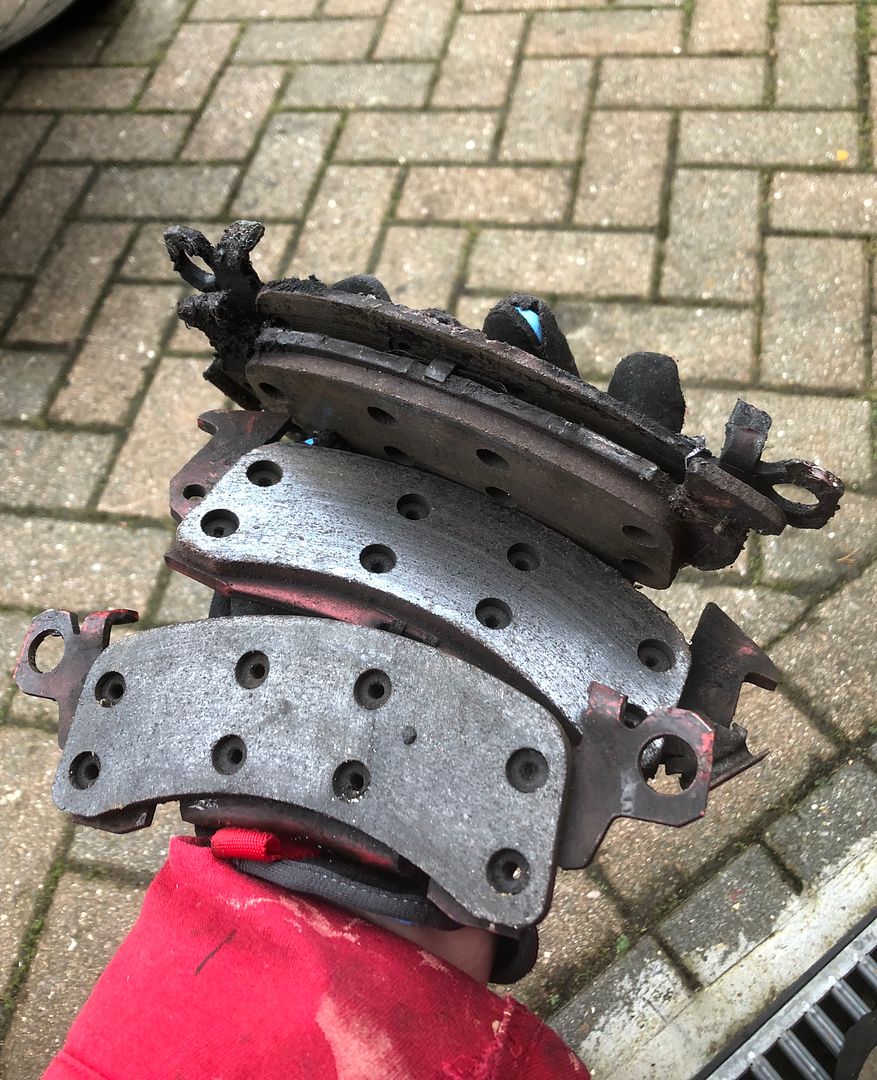 Really pleased and thankful that all these “little jobs” are getting done. Makes life a lot easier in the long run.
__________________
MY BUILD LINK: http://67-72chevytrucks.com/vboard/s...585901]Redneck Express - 1966 C10 Short Fleetside MY USA ROADTRIPS http://forum.retro-rides.org/thread/...2018-humdinger IF YOU CAN'T FIX IT WITH A HAMMER, YOU'VE GOT AN ELECTRICAL PROBLEM MATE. |
|
|

|
|
|
#2 |
|
Registered User
Join Date: Dec 2012
Location: Rochester, KENT
Posts: 10,498
|
Re: GRIZZ’s ‘79 - 2WD BLAZER Challenge over in London, England. “~It’s not a Project
So one of the jobs that we just had to walk away from last weekend after 10 hrs in the cold, was the passenger side lower control arm and its cross shaft, which has locating pins on the cross me,her.
These have to be seated, or else you cannot tighten the U-Bolts. In the dark at 7pm it was never going to happen. So today I had to fix it hat as a first priority. I certainly was not going to disassemble everything, so took a long look, and tried to see in there, but of course there is a lot that goes on there, and even the LED torch could not give me enough of an idea as to where the pins and holes were 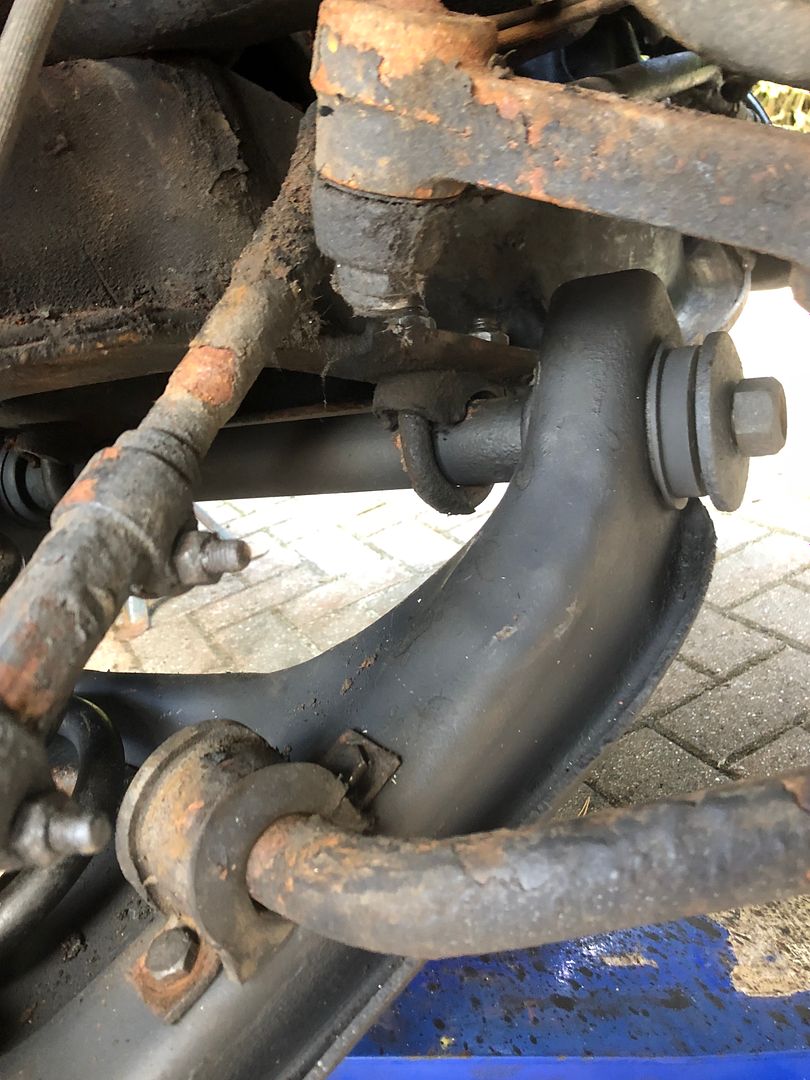 So I undid the U-Bolts a bit, lifting the whole assembly gently with the jack from under the spring cup. No matter what I tried I could not see what needed to be done, did it need to be twisted forward or backward and did I need to attack it with a rubber mallet from the rear or from the front. So I came up to the house for a coffee, and cookies...... thinking power food. And thought that the only way to figure out where everything was in relation to everything else, was to poke my finger in there, and then twist and hammer into various directions. But my thick fingers would not fit in the space I had available. So I used some wire, sharpened it, created a simple handle to give me leverage. This way I got to “feel and pick”the invisible space between cross shaft and mounting point and the locating pin and hole. 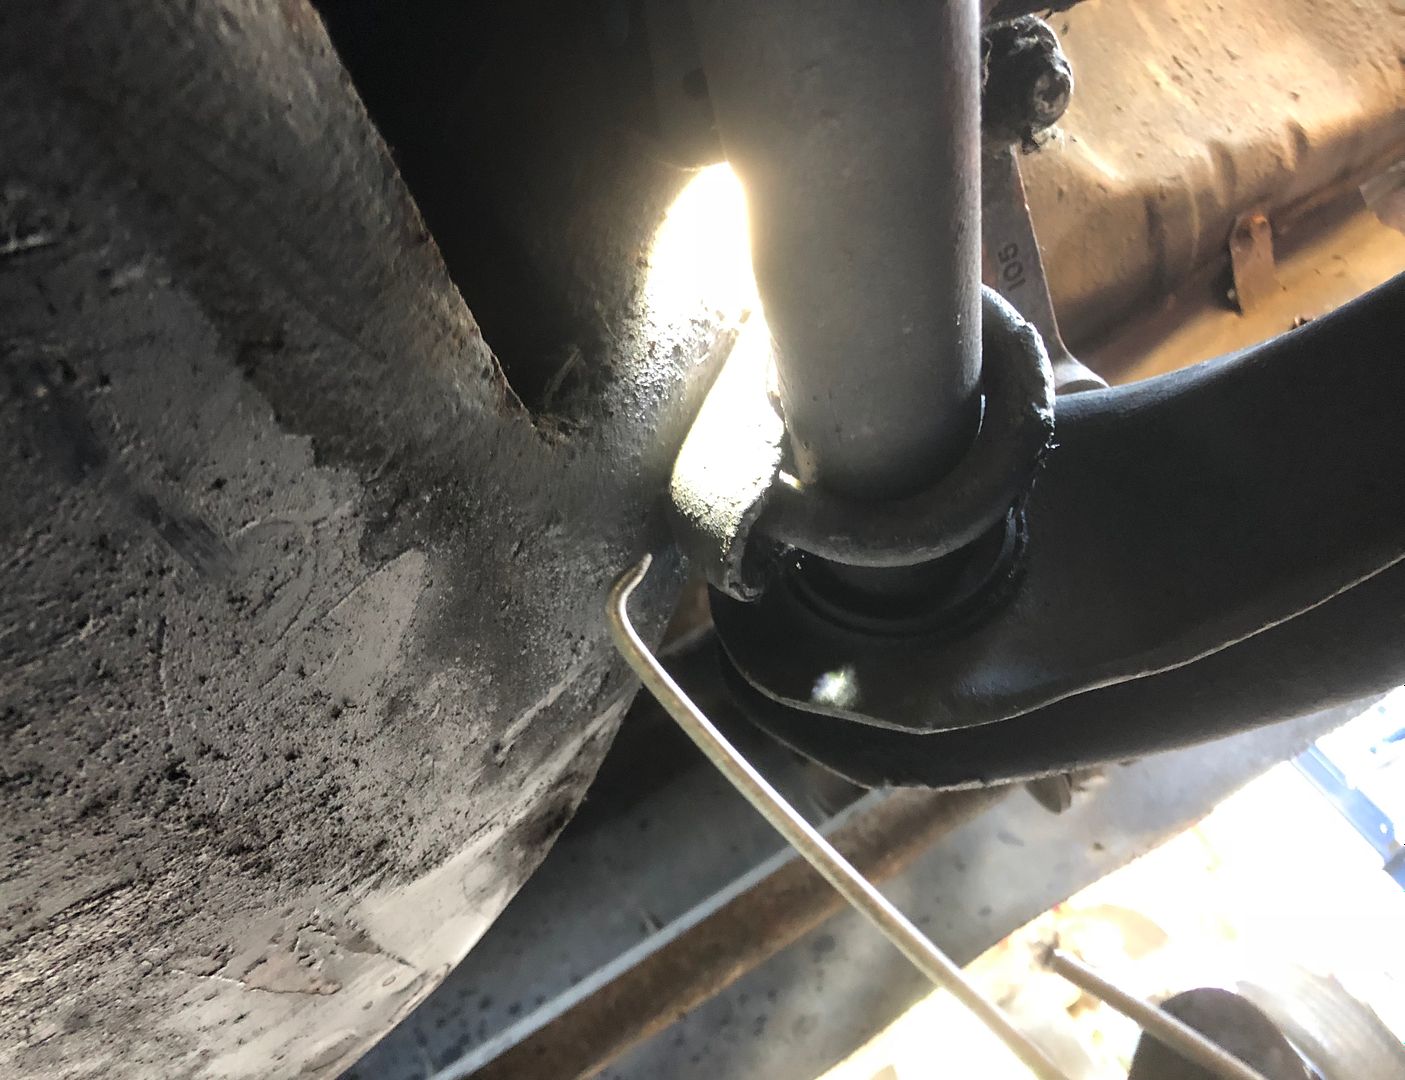 Trust me, this was a long job, simply because I am not naturally talented like some mechanics. My neck hurt, and I was hurting because despite,the,carpet on the floor, the cold does come up into my back. 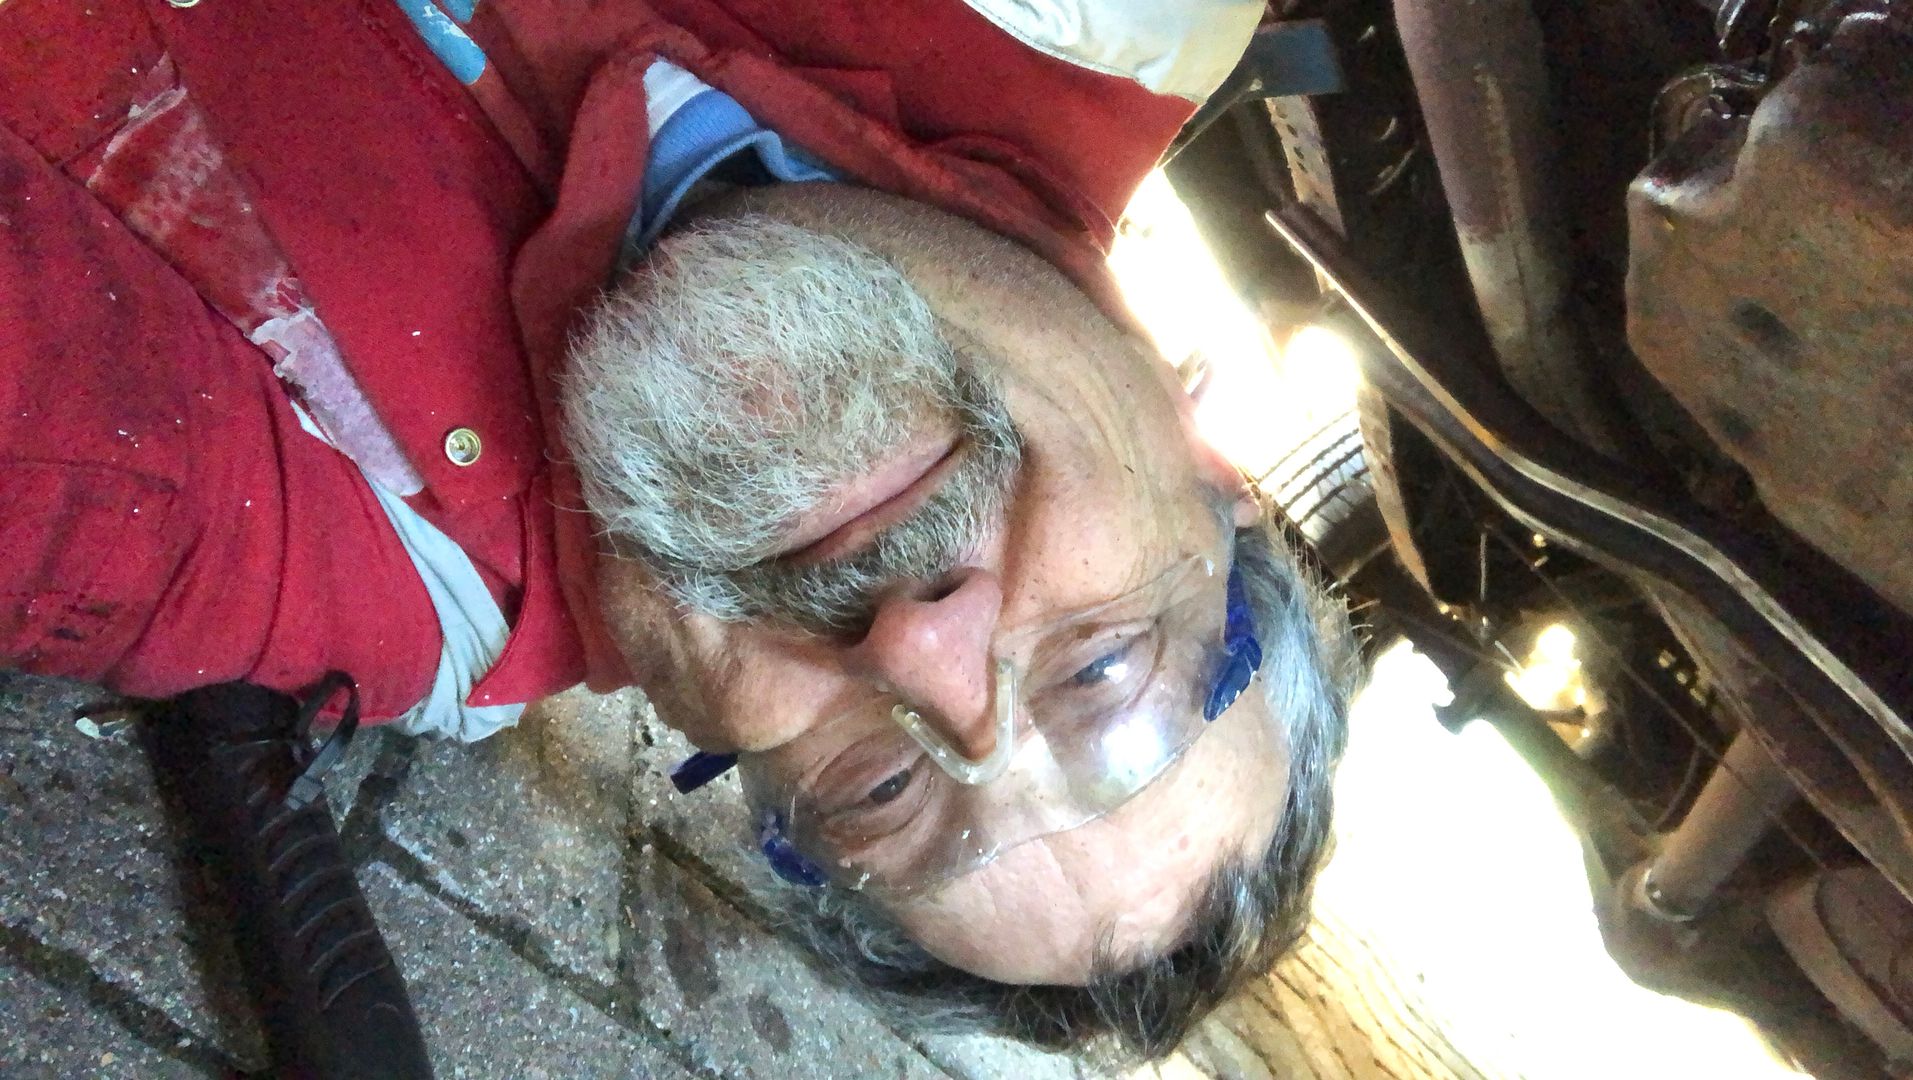 EVENTUALLY I GOT IT ALL SORTED AND BOLTED DOWN. 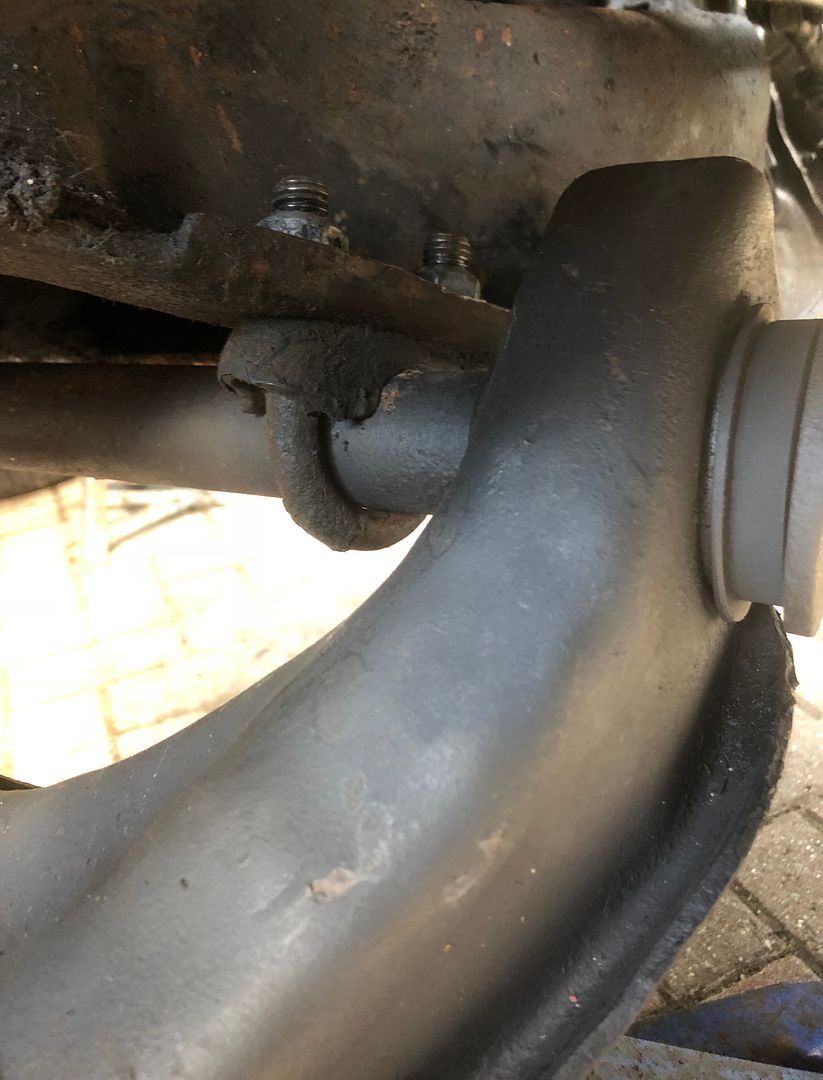 This job was followed by the steering tie rod ends. Theoretically a simple take it off and replace it job. Errrrmmm,mmmmm........? 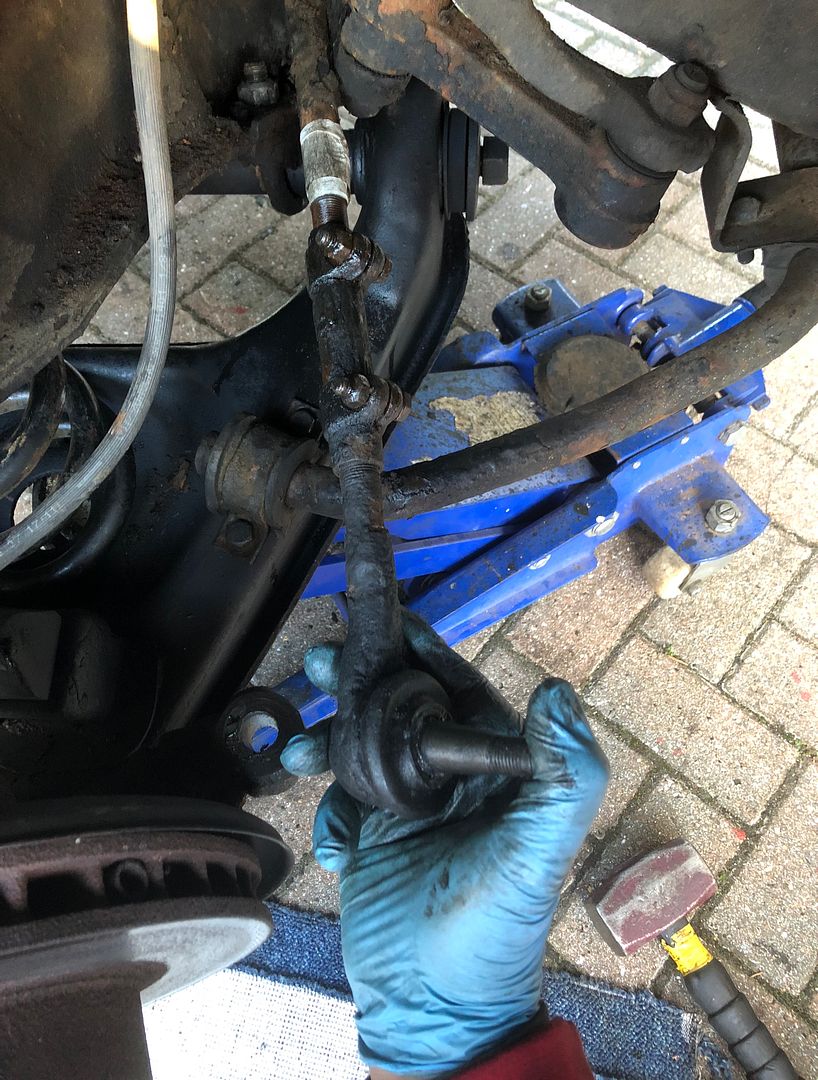 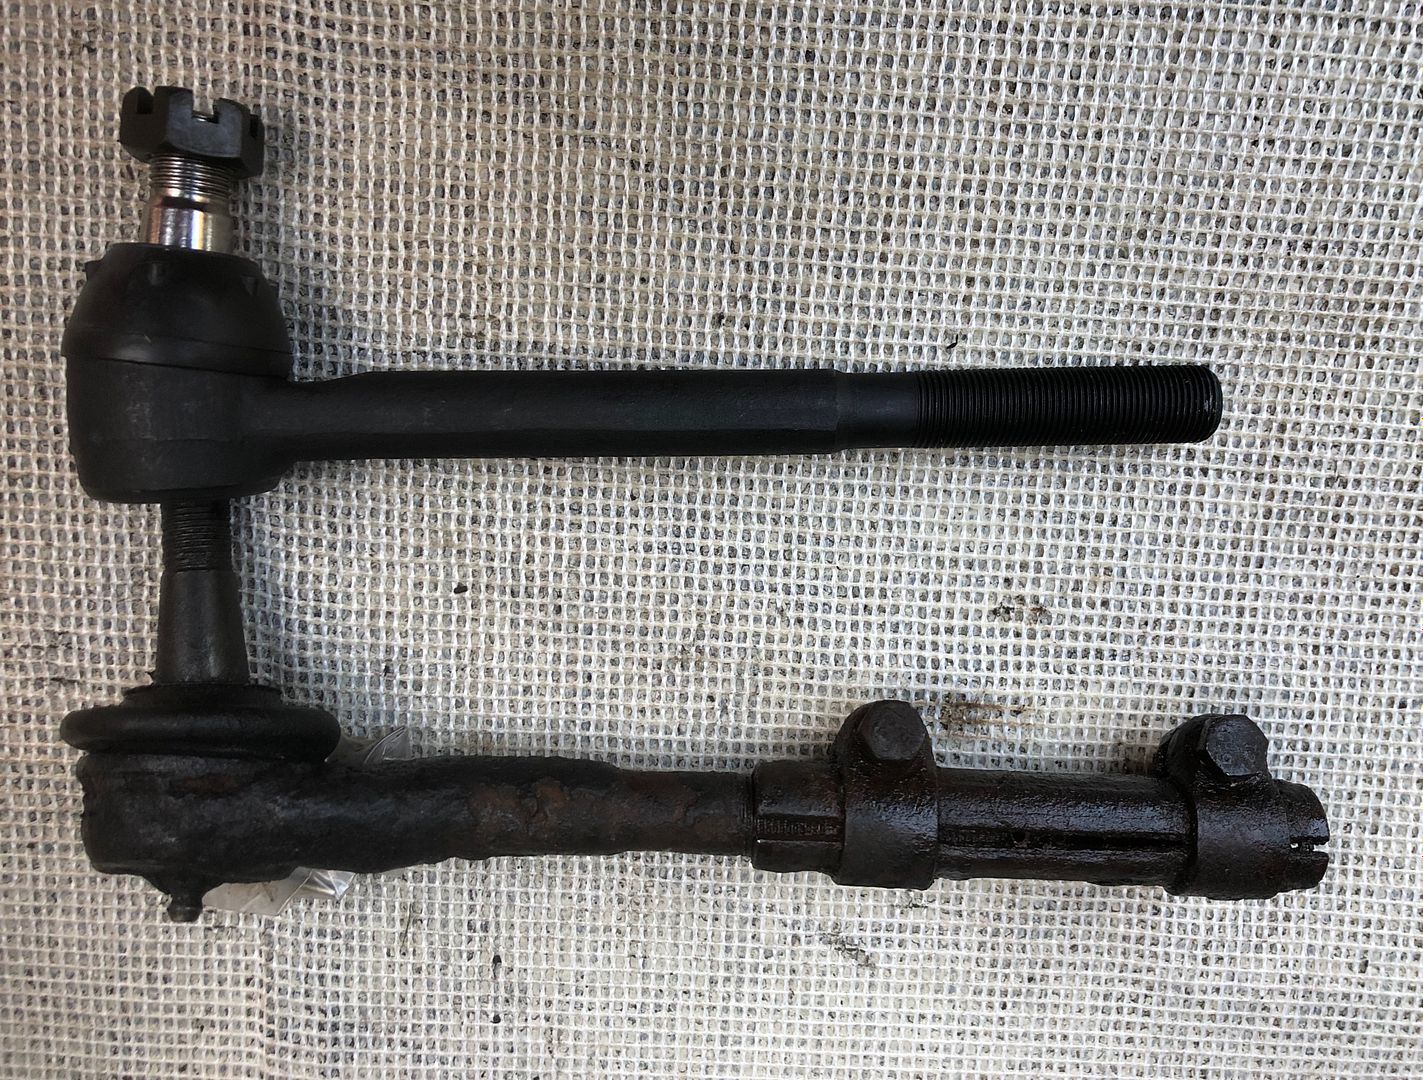 These old parts really are grubby, rusted and a pain. 34 turns to remove the old unit. 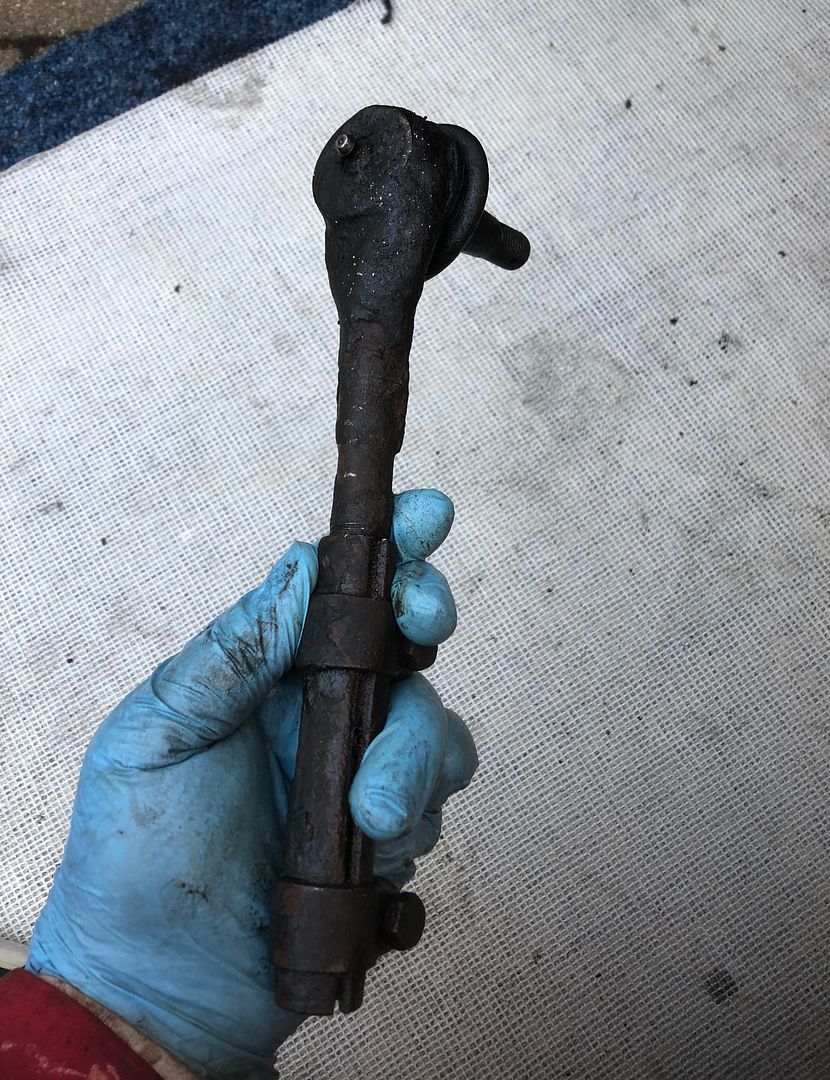 THEN THE FUN STARTED. I could not for the life of me, get the new part to screw into the jointing section, at least not the way it had come out. I think in the end I may even have cross threaded it too. Copper slip added, but all to no avail. 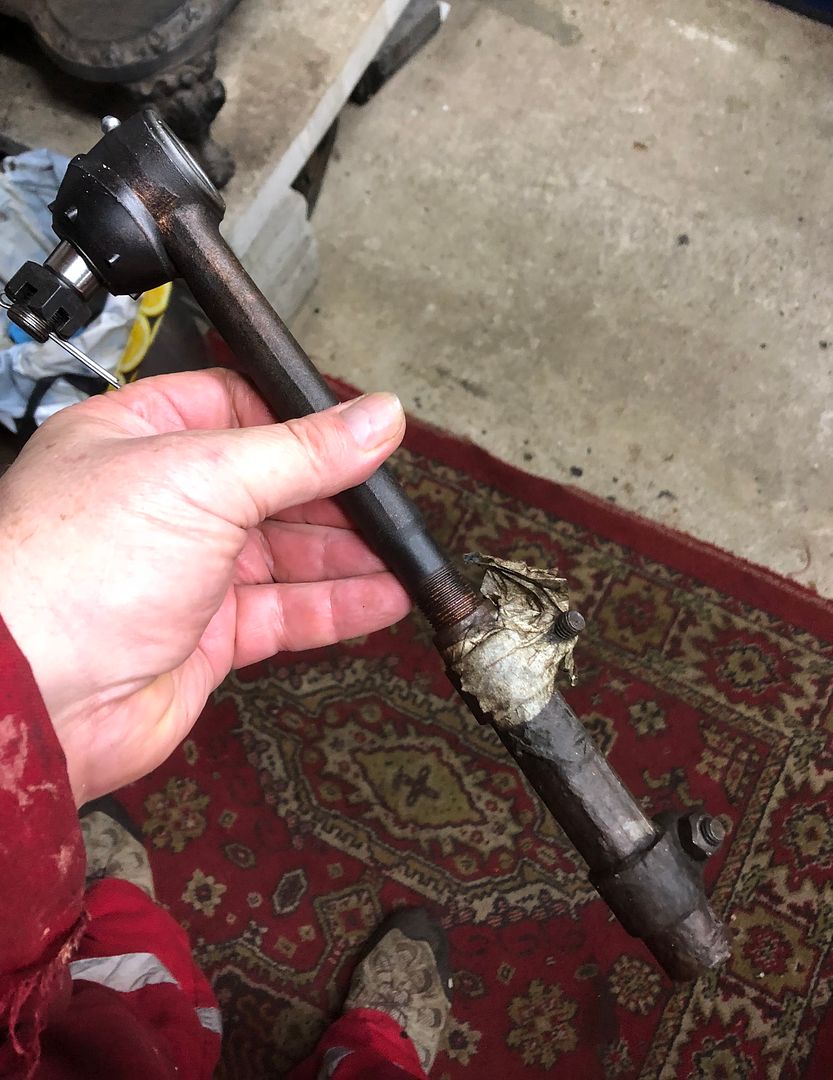 So the question is this: Do these units come in a left hand and a right hand flavour? The two that I got sent are exactly the same, and an hour later I still had no progress and shut shop as I had a dinner date after showering and feeding Harley. Packaging. 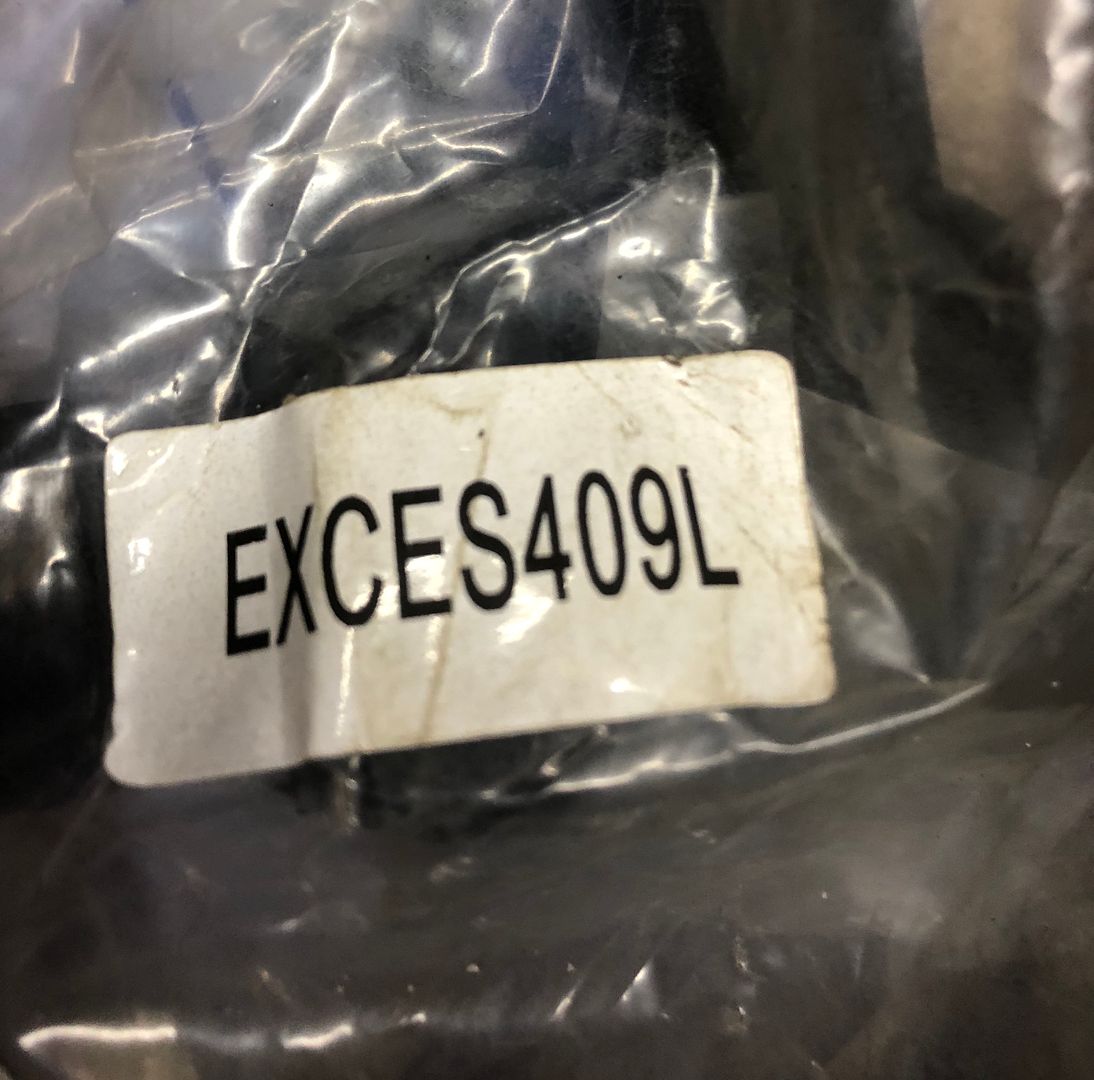 Both are exactly the same. 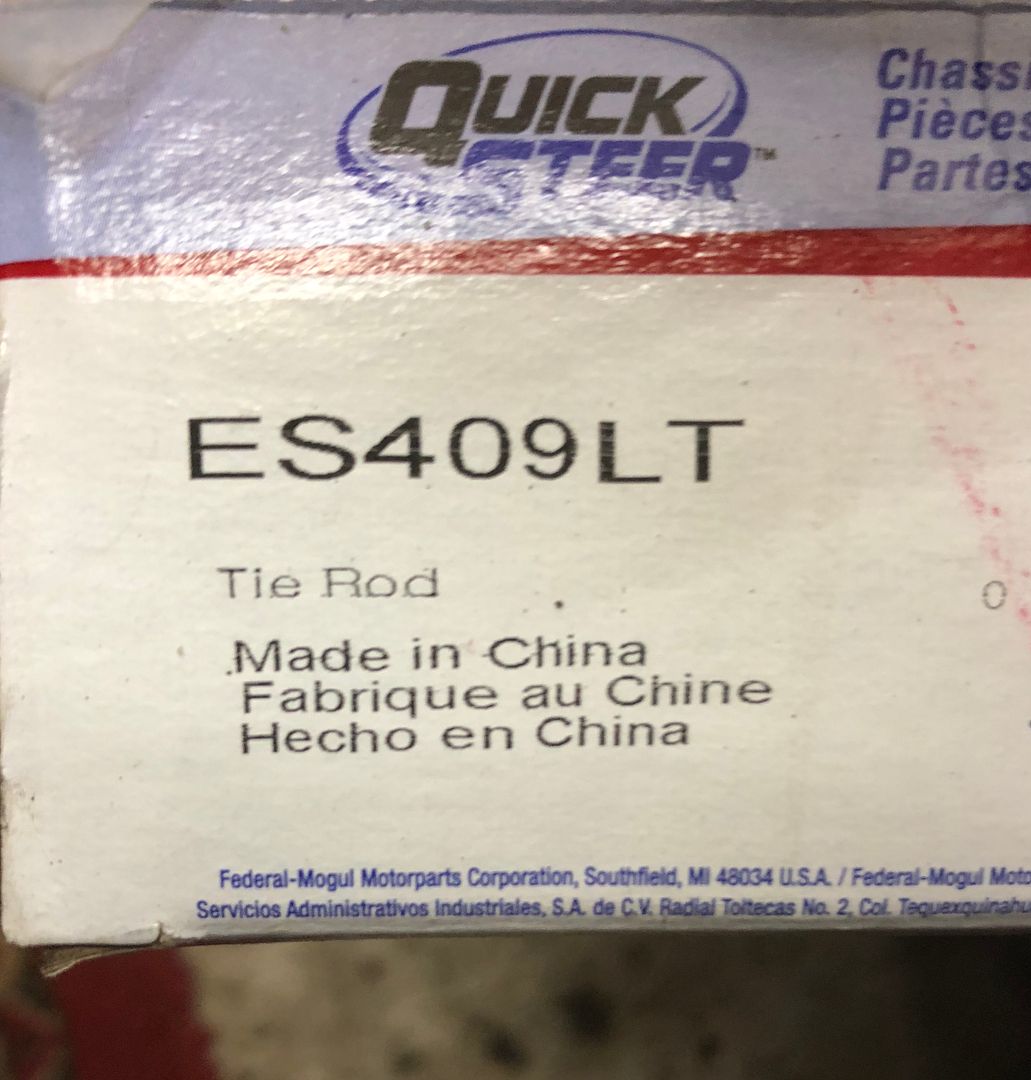 Tomorrow morning I will go try to do the drivers side and if it is a simple task, then who knows, it may be that there are Left and Right Toe Rods. Anyone know? Bedtime.
__________________
MY BUILD LINK: http://67-72chevytrucks.com/vboard/s...585901]Redneck Express - 1966 C10 Short Fleetside MY USA ROADTRIPS http://forum.retro-rides.org/thread/...2018-humdinger IF YOU CAN'T FIX IT WITH A HAMMER, YOU'VE GOT AN ELECTRICAL PROBLEM MATE. |
|
|

|
|
|
#3 | |
|
Registered User
Join Date: Dec 2012
Location: Rochester, KENT
Posts: 10,498
|
Re: GRIZZ’s ‘79 - 2WD BLAZER Challenge over in London, England. “~It’s not a Project
So Sunday morning I approached it all again.
Based on various comments on the forums I looked closer at what I had. 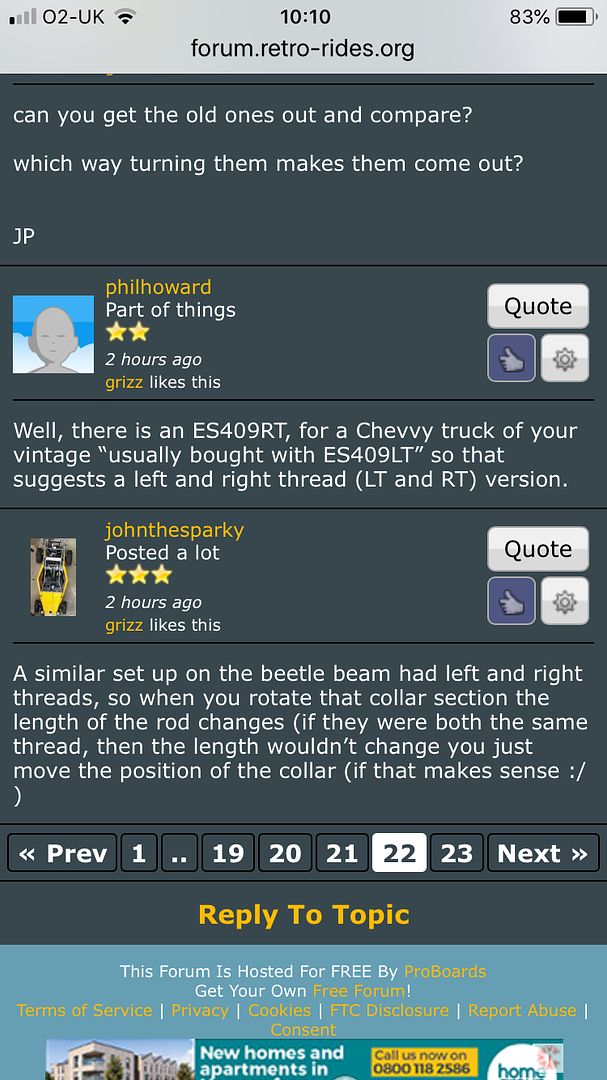 Karl “Aggie” from Longview, Texas also commented and added further advice. Making sense to the ownership of a 40 year old truck. Quote:
New parts should only improve things further. And looking at the receipt and numbers from my order it seems the order was correct but wrong items picked and shipped. 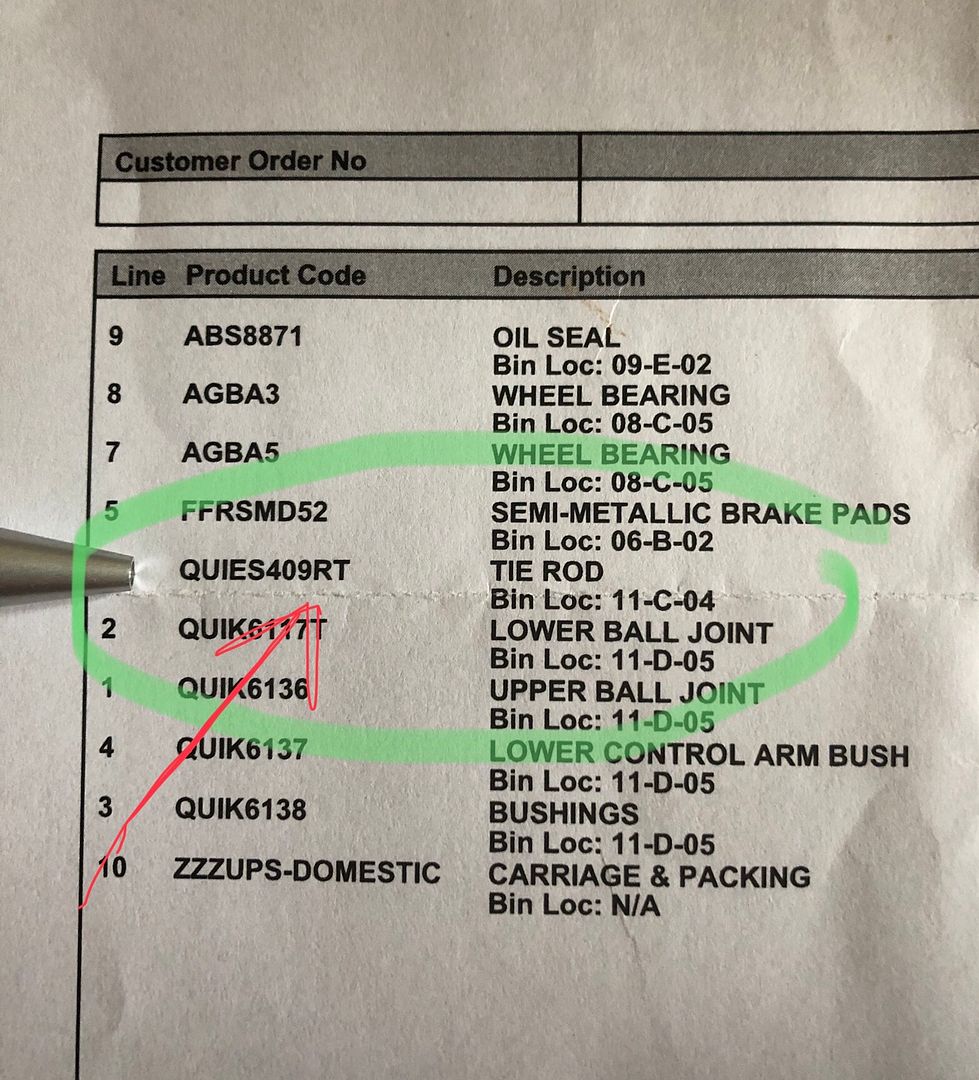 So these are the inner tie rod ends. Based on the LT code. 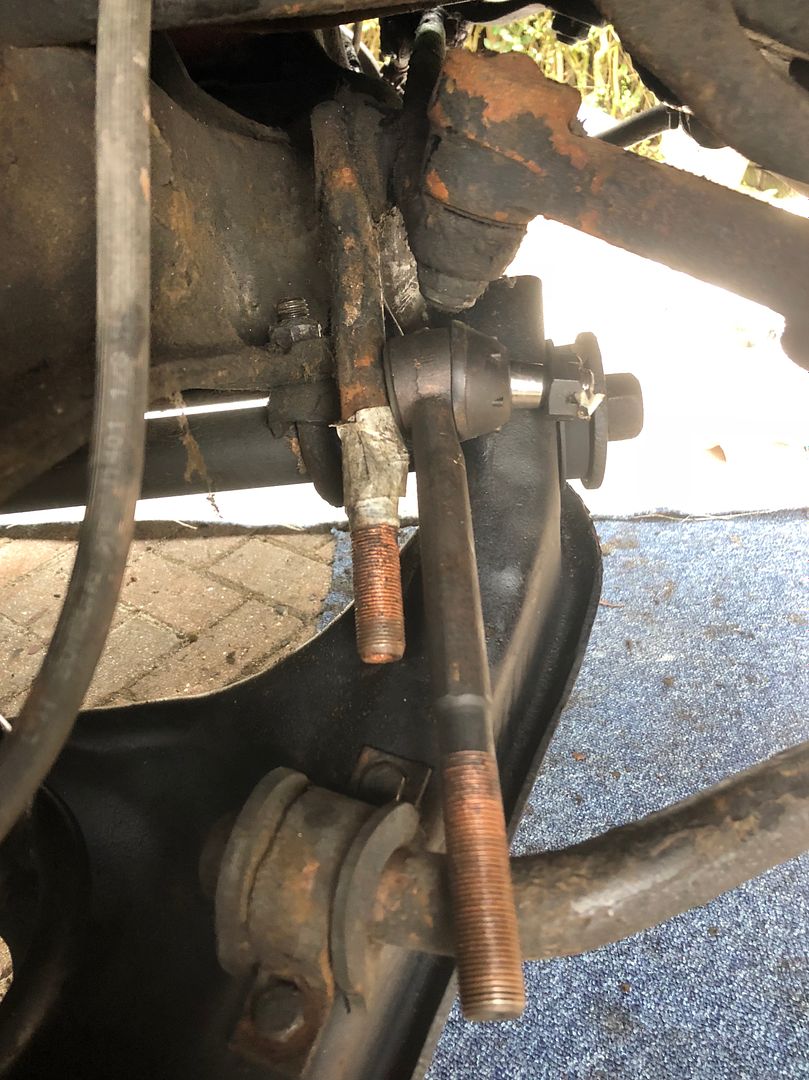 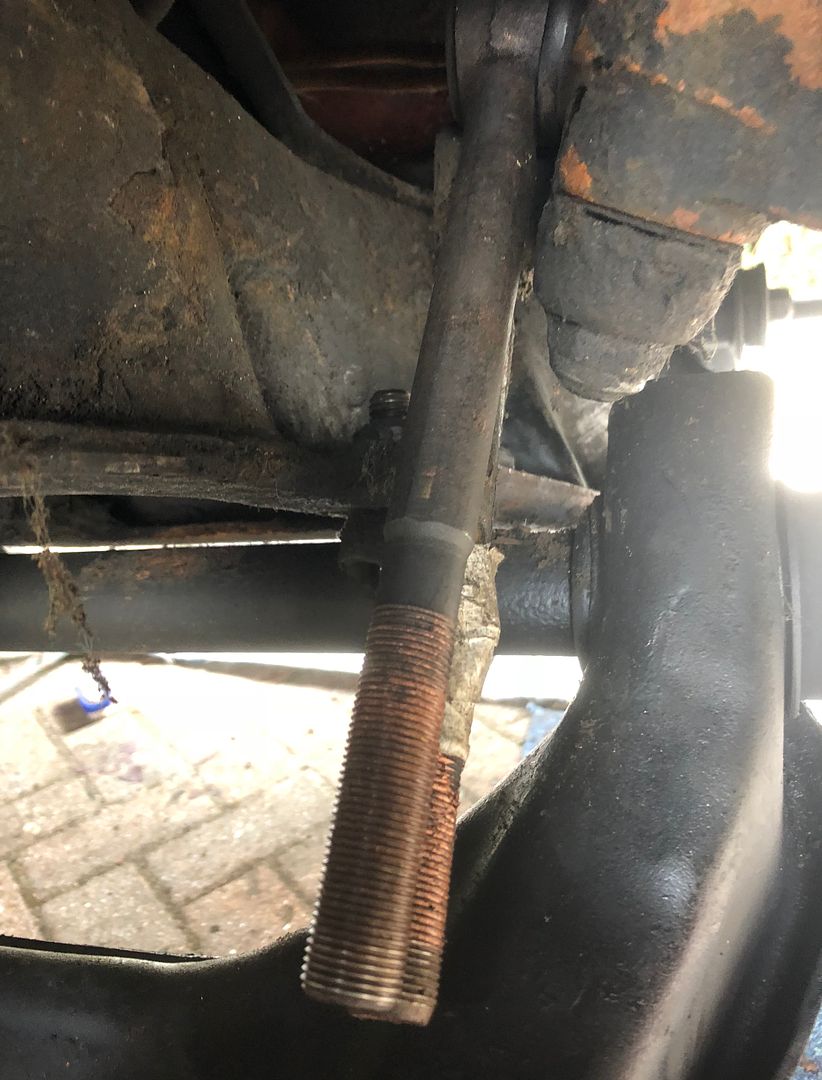 So once I realised I could not complete the job, I removed, cleaned and greased up the drivers side too and refitted both sides 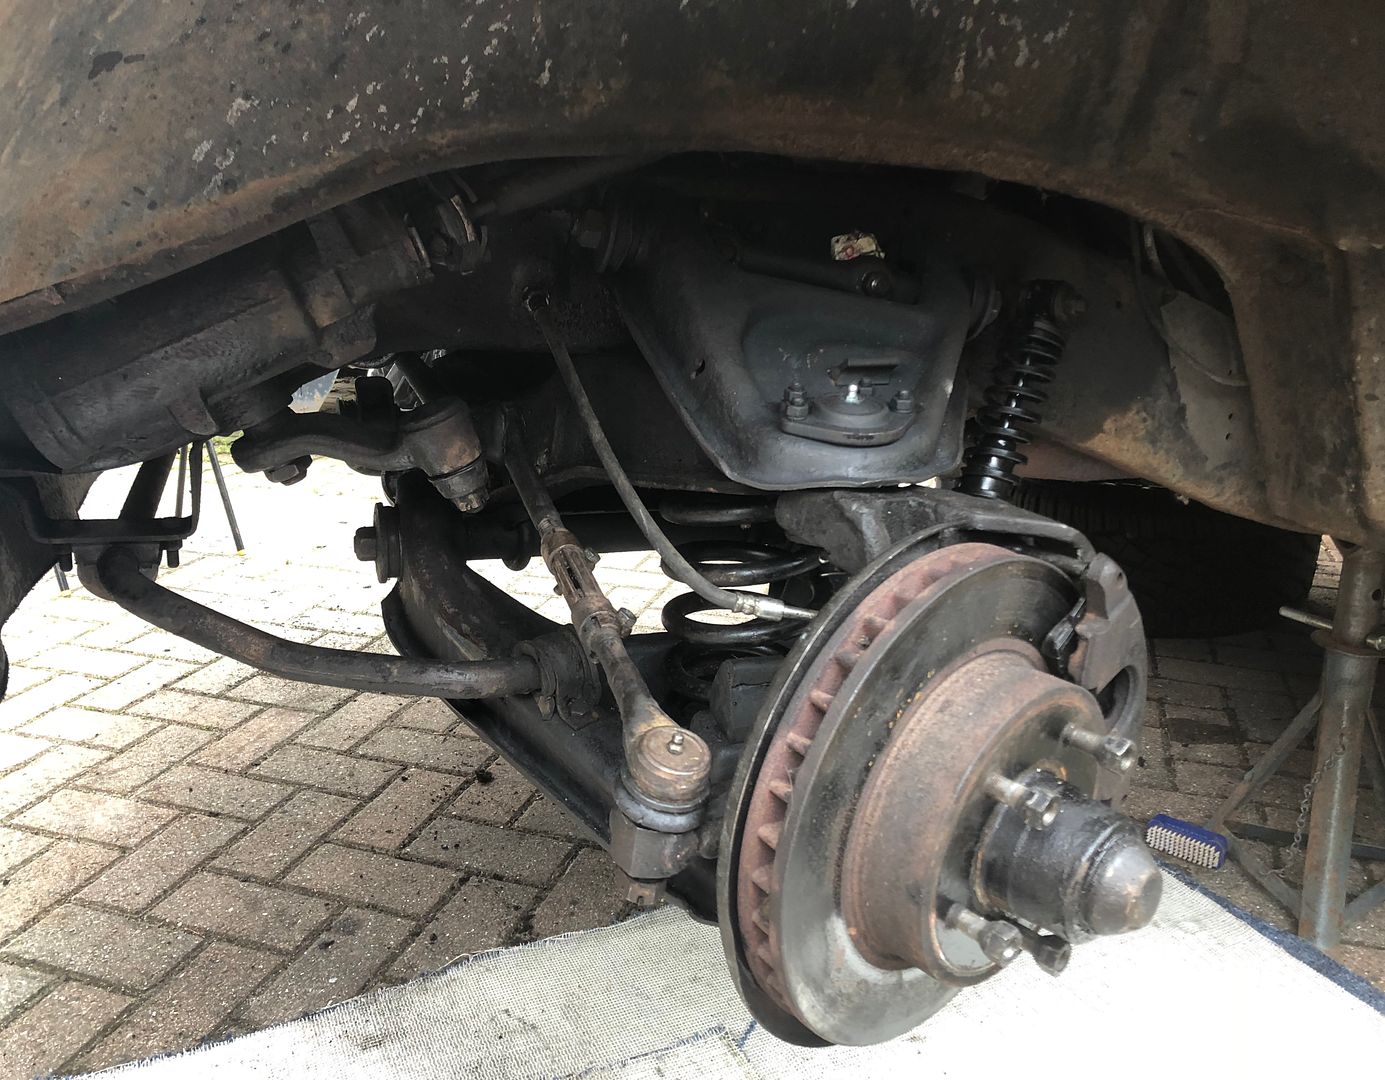 Next up was further cleaning up of all the underside parts, nuts and surfaces. Then greasing up all the grease points. 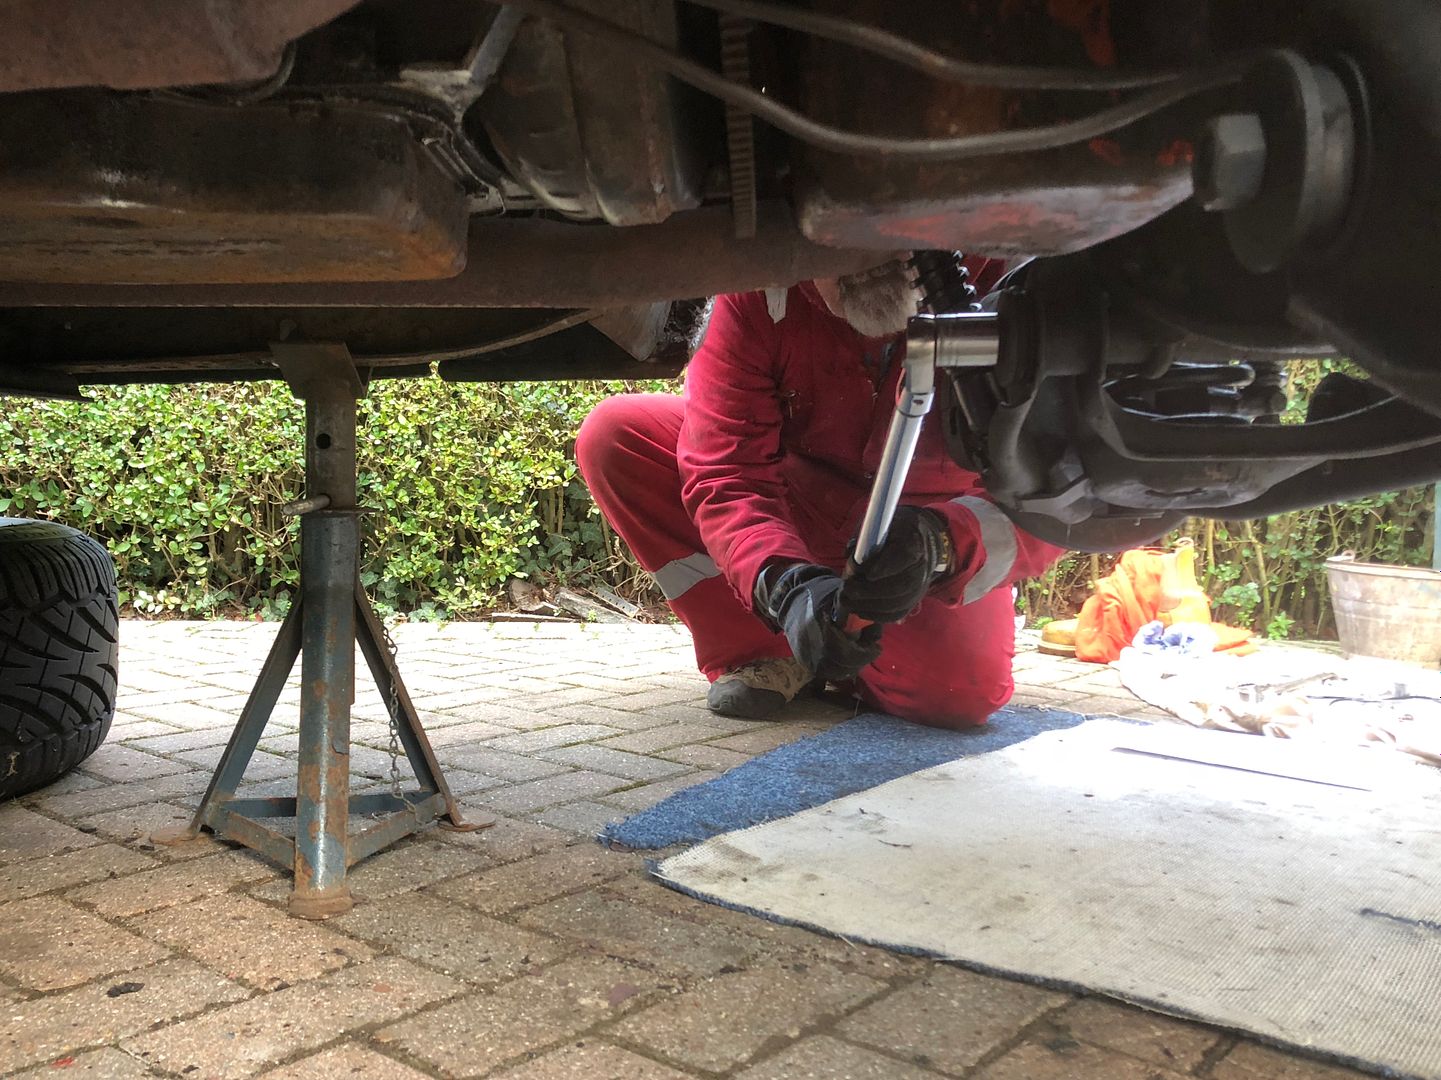 Once all was cleaned up, bolted down, I torqued down every nut, keeping in mind the control arms needed to be done under full load. This was done by making a small adapter for the jack to fit the lower ball joint grease nipple into and raising the front suspension till it lifted the truck, creating full load. I followed with a final coat of Würth underbody sealer. 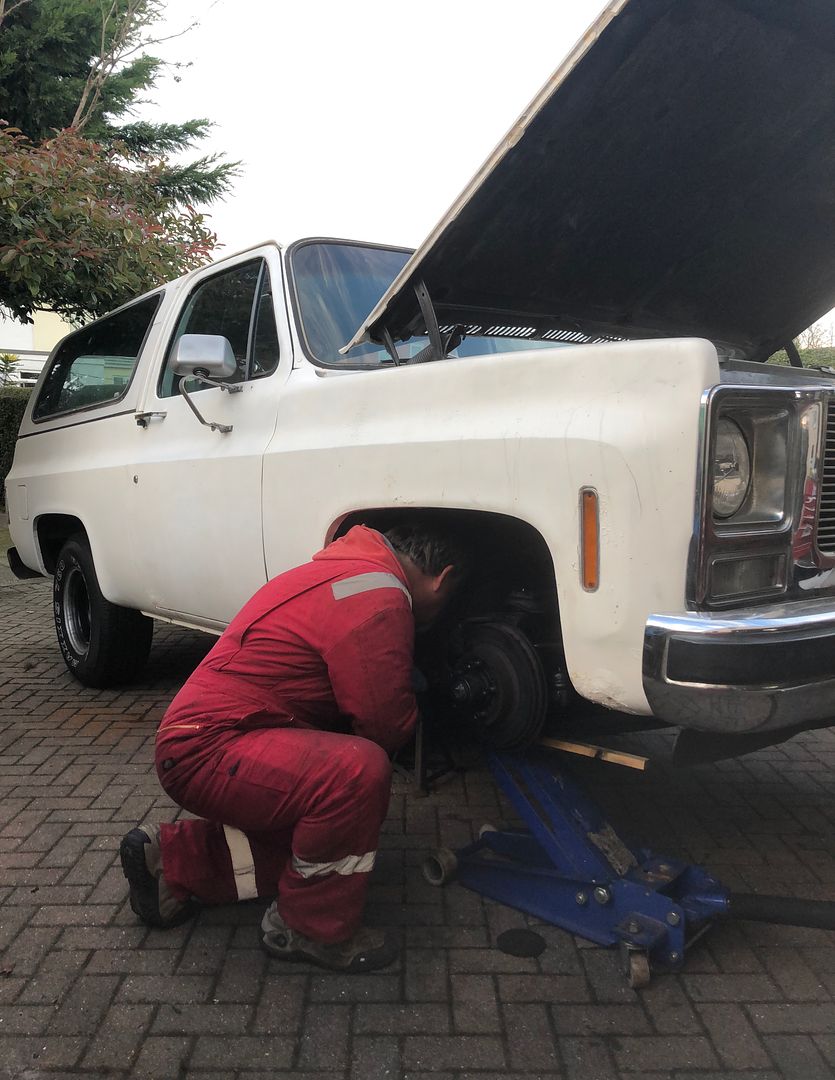 Happy with the outcome. Passenger side. 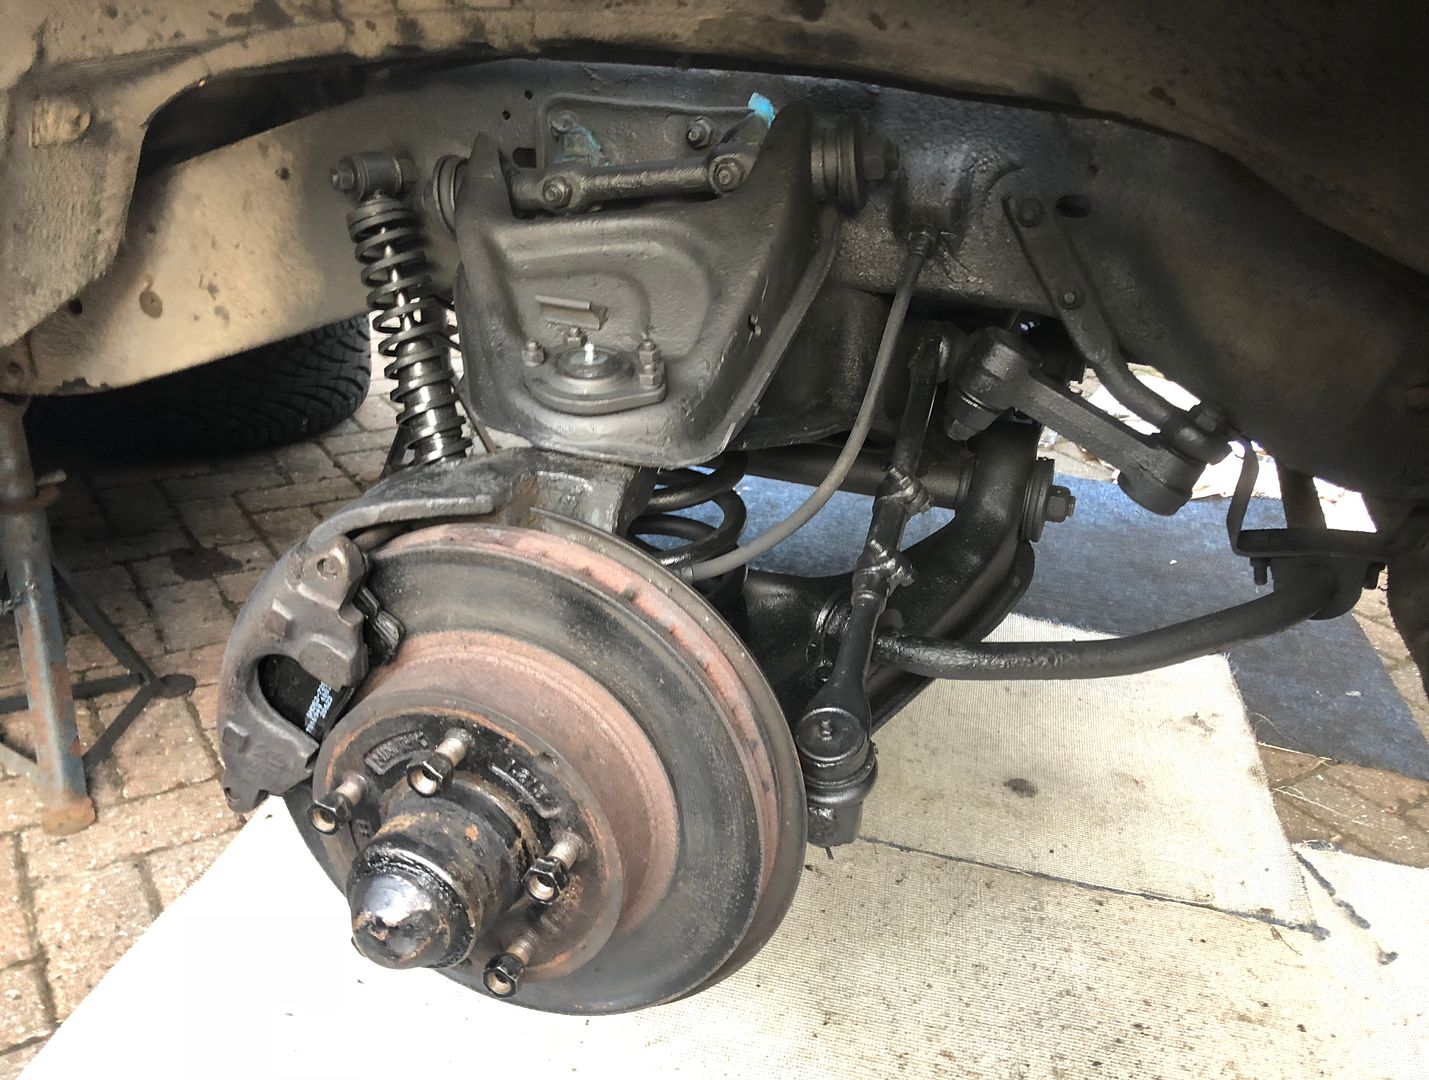 Drivers side. 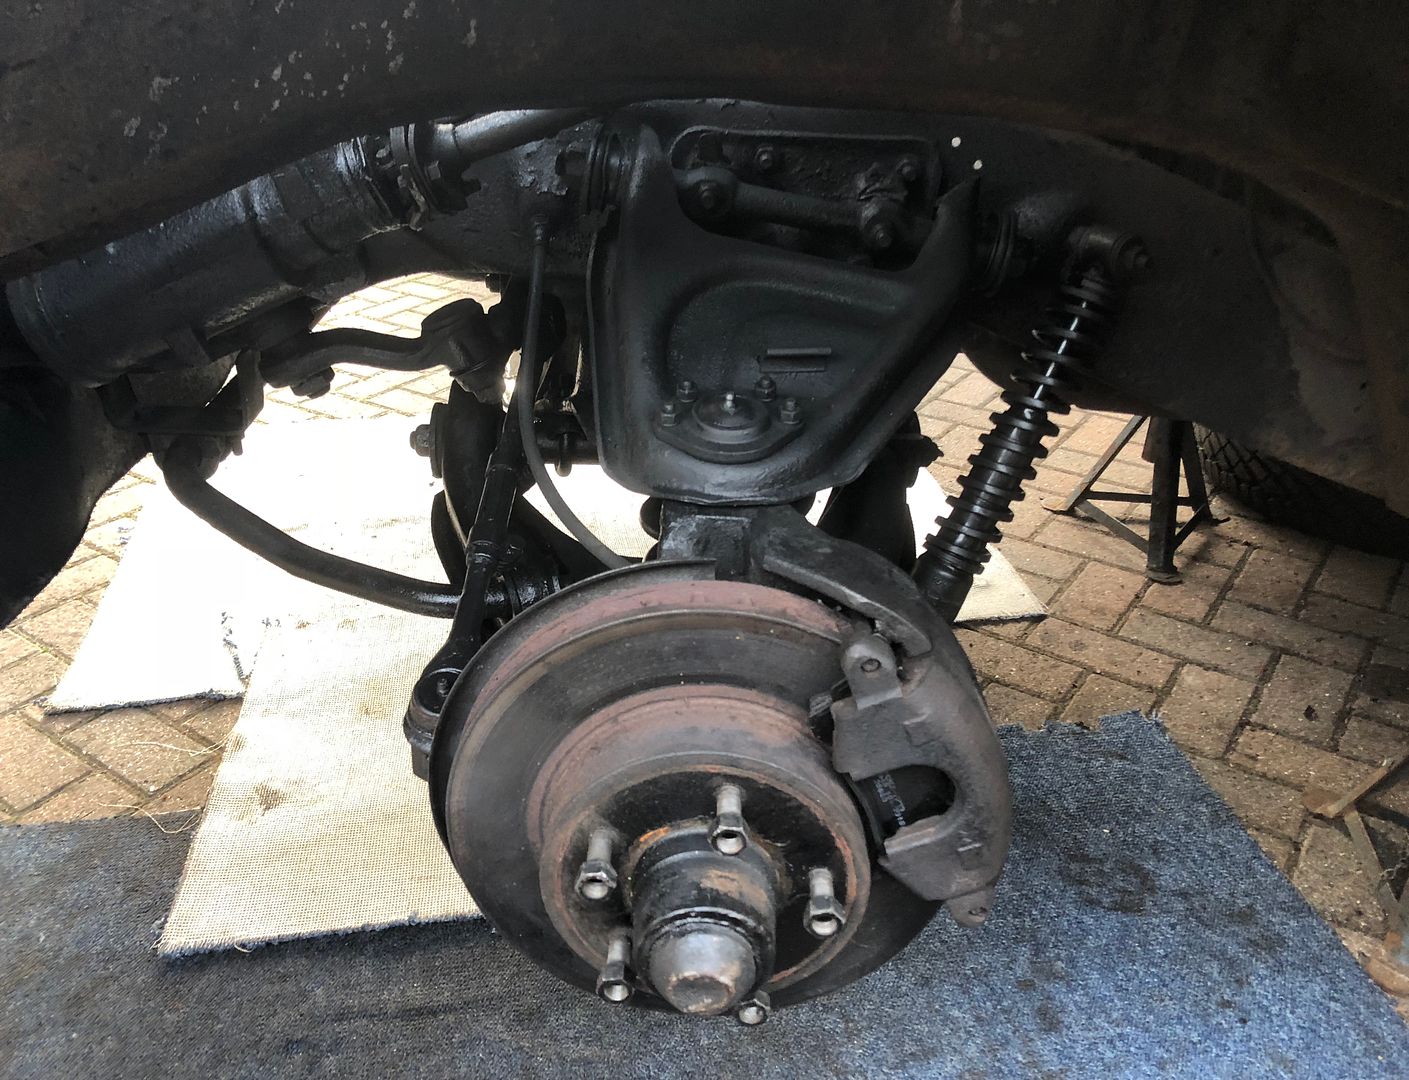 I then refitted the wheels and brought the truck down to the ground. Rocking it hard in all directions it was almost dark but I got one photo. Will do some in daylight after a drive. The final wheel arch height has gone from 680mm up to a much better looking 740mm So a ain of 60mm with thenew parts and springs. 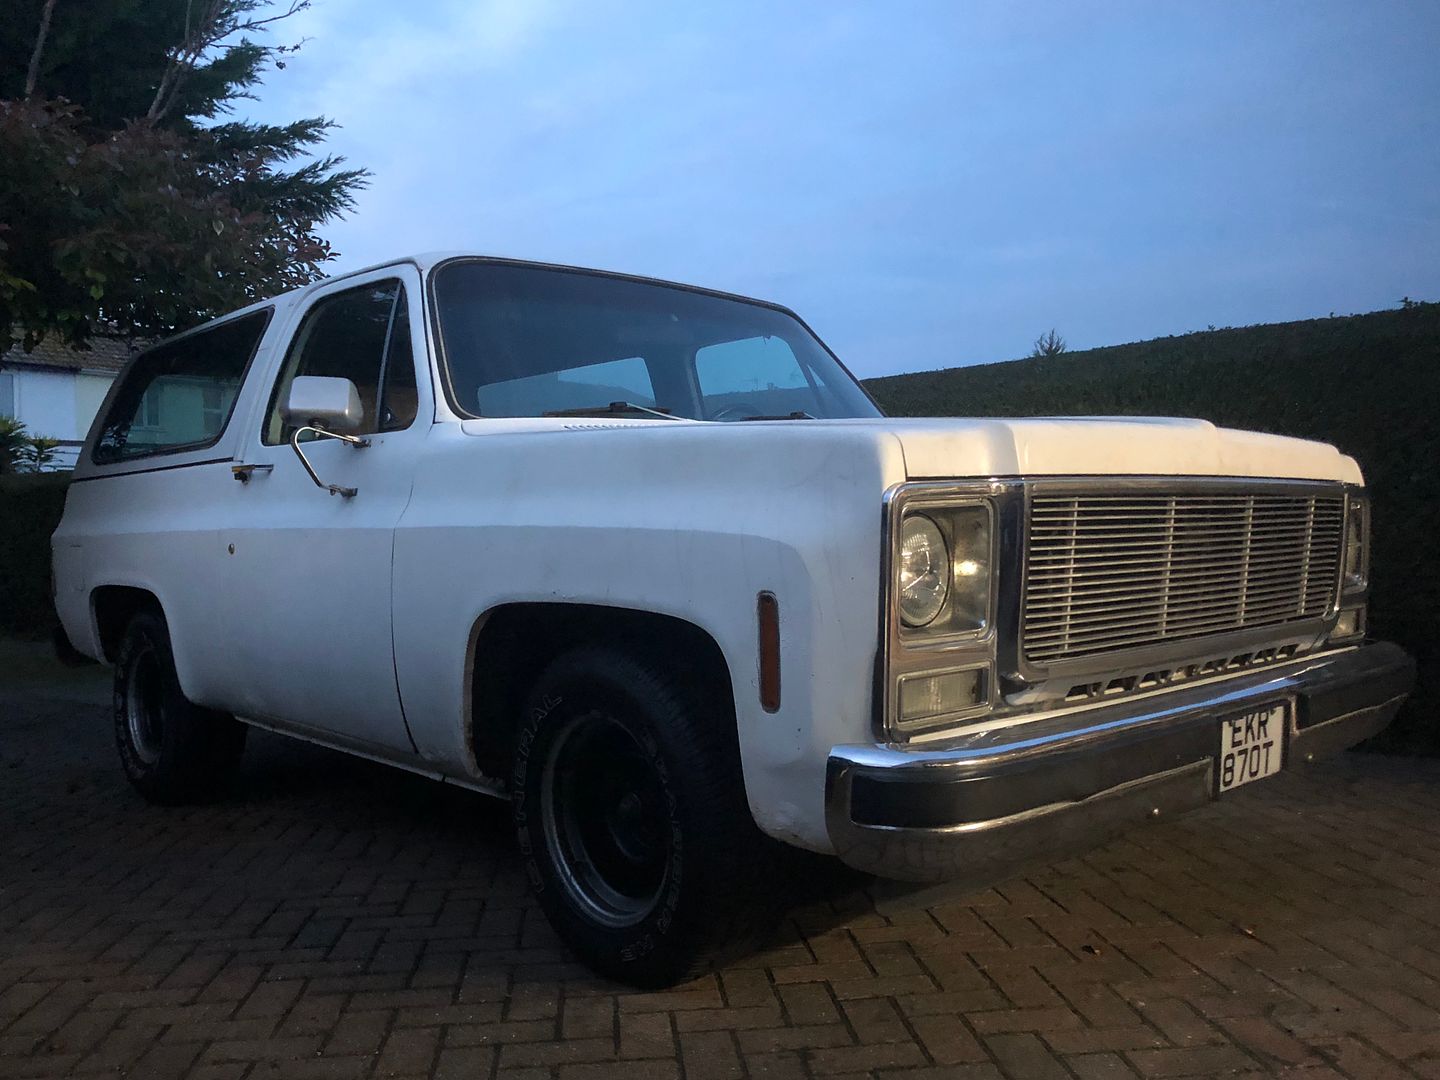 Final job to do will be to get sone DOT4 Brake Fluid to top up and bleed the brakes. Then it should be all go for MOT when I get a chance. Did I mention that this is “Not a Project” Later.
__________________
MY BUILD LINK: http://67-72chevytrucks.com/vboard/s...585901]Redneck Express - 1966 C10 Short Fleetside MY USA ROADTRIPS http://forum.retro-rides.org/thread/...2018-humdinger IF YOU CAN'T FIX IT WITH A HAMMER, YOU'VE GOT AN ELECTRICAL PROBLEM MATE. |
|
|
|

|
|
|
#4 |
|
Registered User
Join Date: Dec 2012
Location: Rochester, KENT
Posts: 10,498
|
Re: GRIZZ’s ‘79 - 2WD BLAZER Challenge over in London, England. “~It’s not a Project
Wheels.......
Last week a member on a FB forum directed me toward these Stainless trim rings. 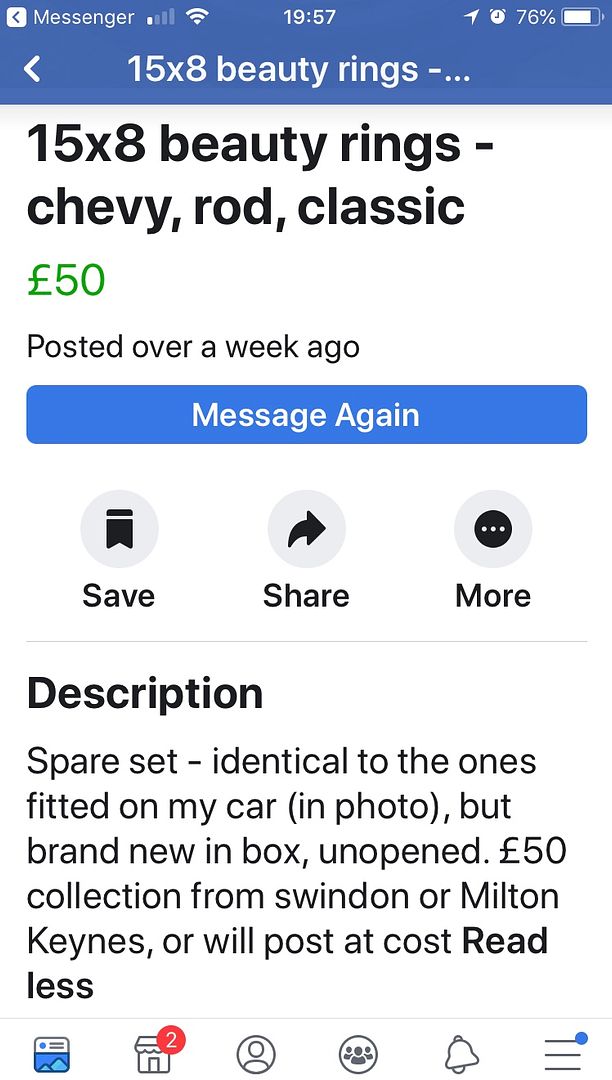 Advertised as this. So including courier cost DPD who certainly will not get my business again for taking 4days to do an overnight Ł10.00 delivery, it was Ł60.00 for the trim rings. So I agreed to buy them. 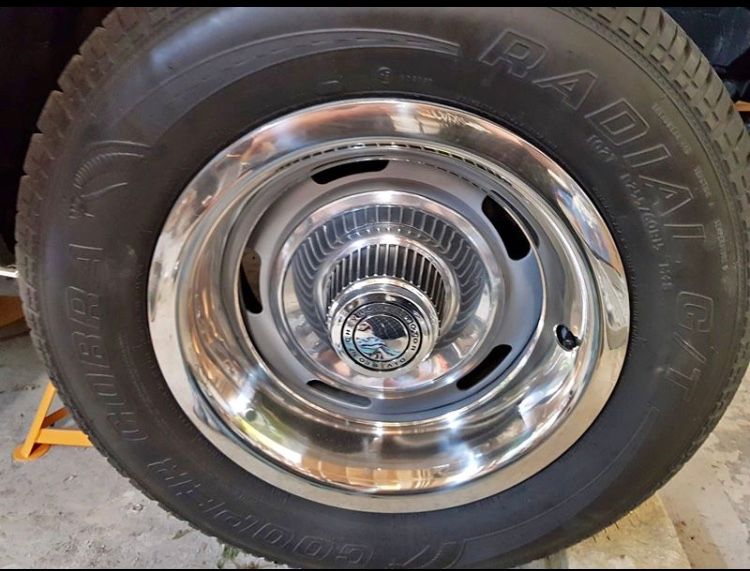 Similar to the trim rings I have ready for the C10 along with the Rallye wheels I bought a few years ago. I did try them on the Blazer rims, but no fit. 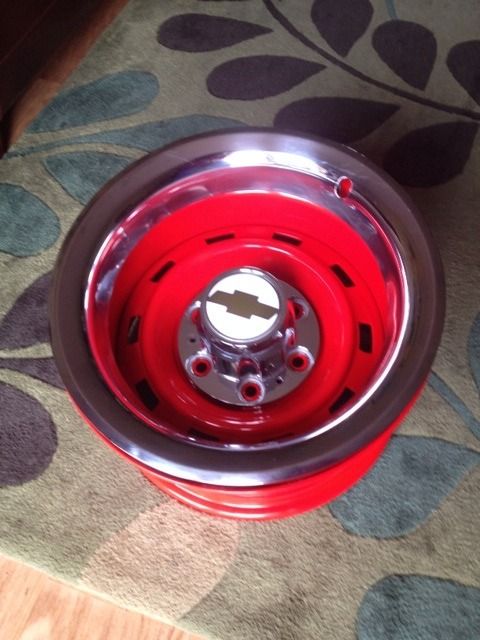 Plan is to go satin black Centre and Chrome/Stainless trims. 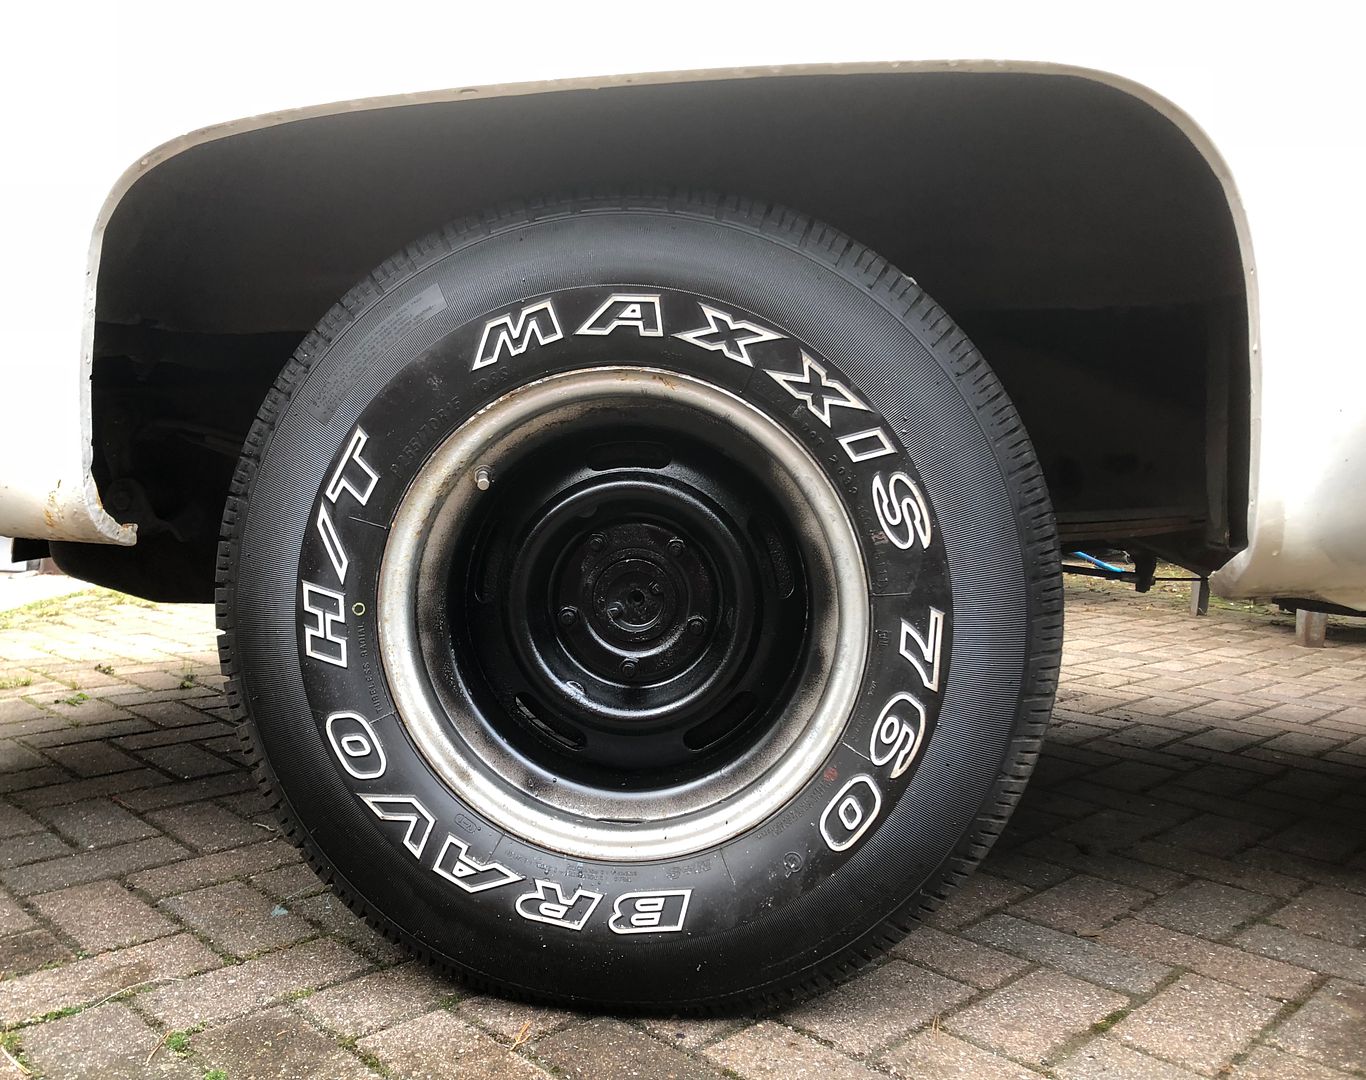 So tonight after work I got home to these. 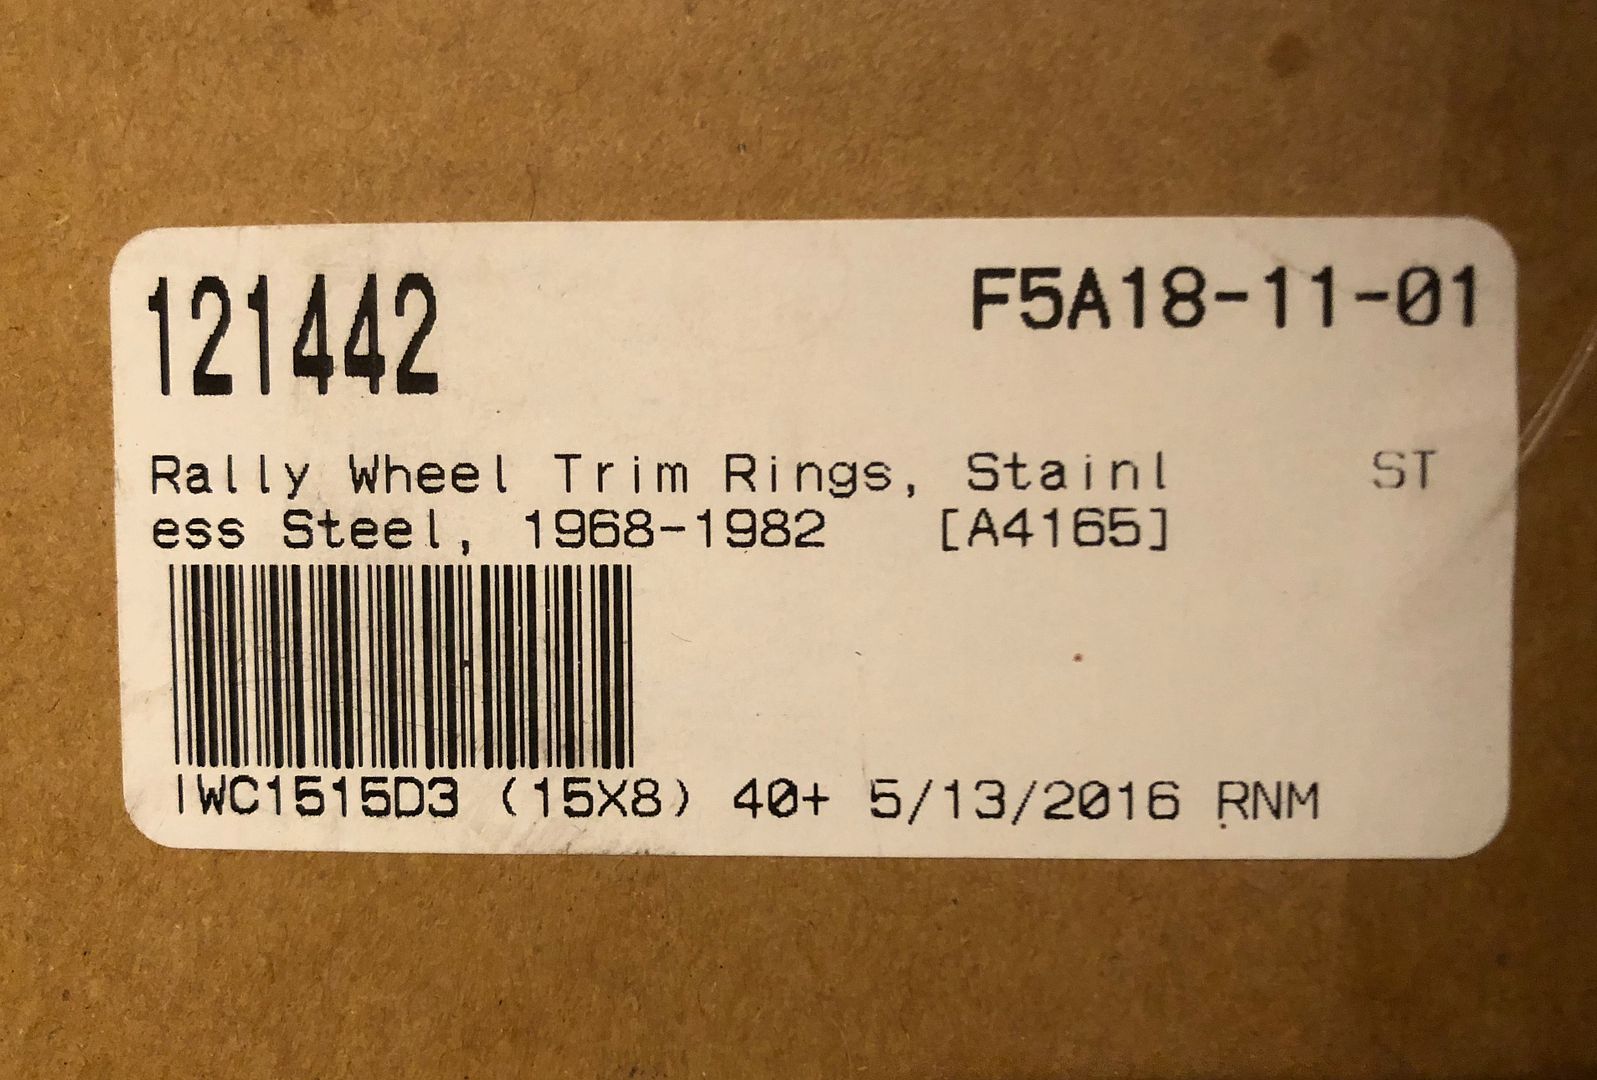 New, in the box, actually nor even opened since they were shipped. Quick Catscan from Security cat. 68mm deep trims, should look good. 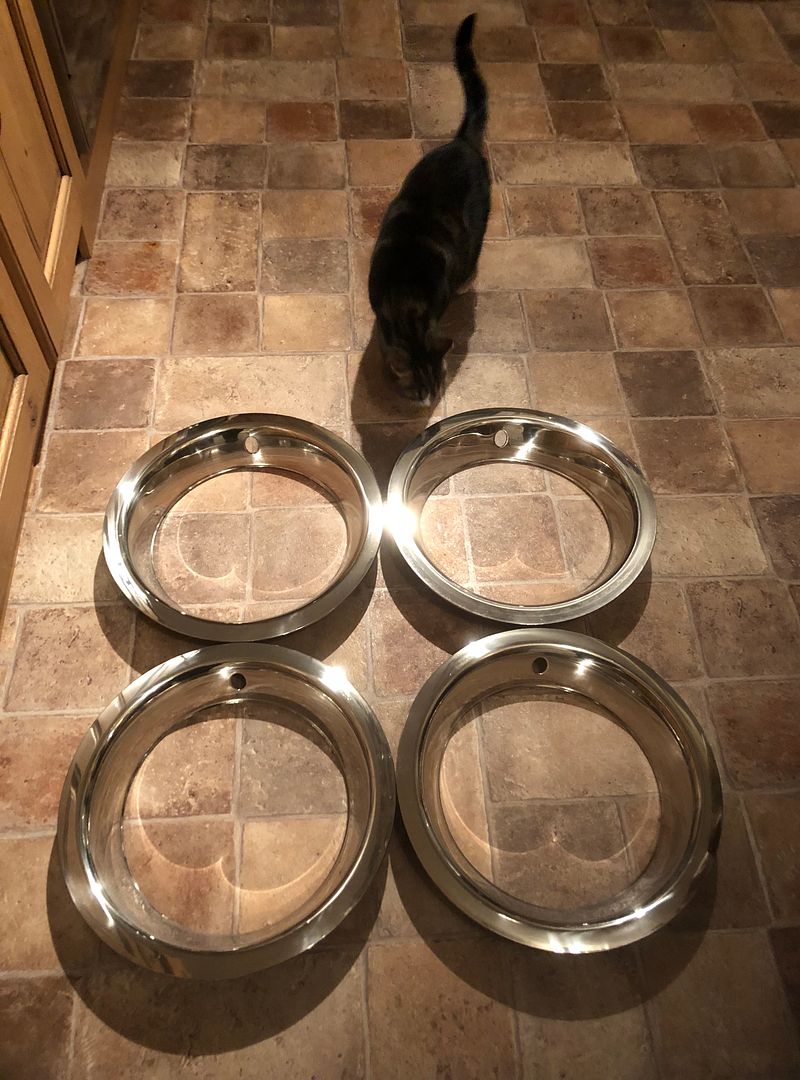 I never went down to see if they fitted, as it was cold and damp and dark. On the way to Physio I stopped in at my favourite spares store and got som brake fluid to top up and bleed the brakes. 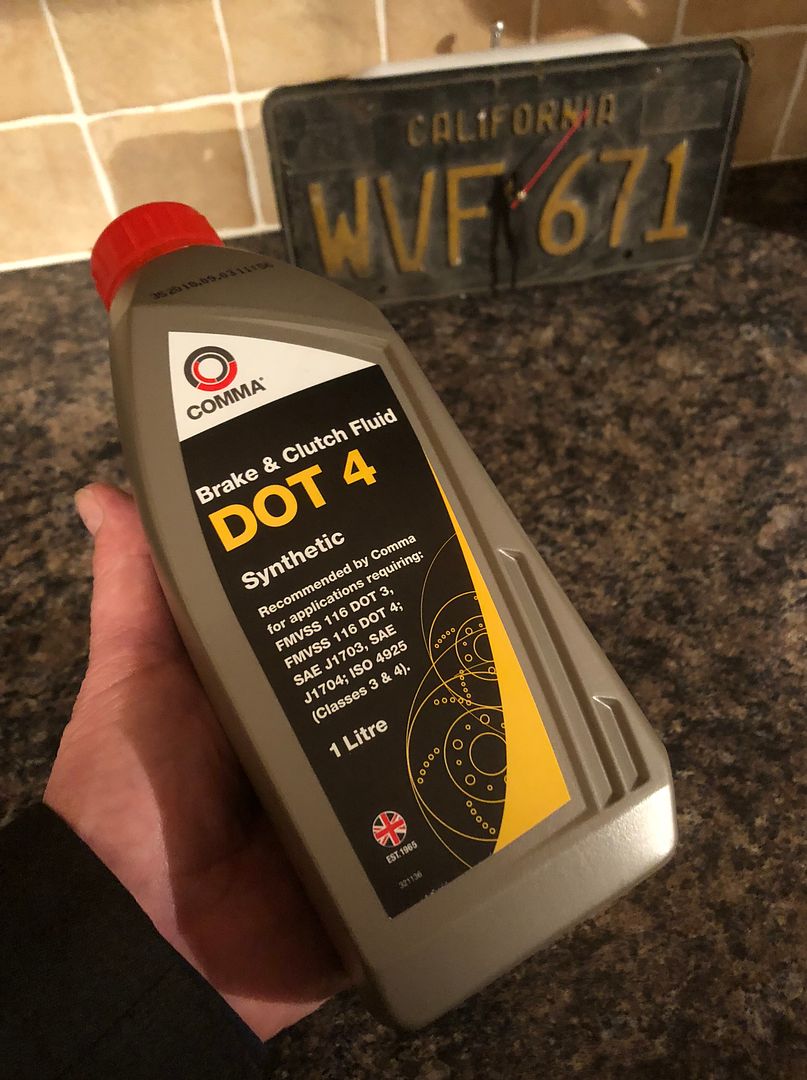 Hope to get the brakes done by Sunday. Thanks for checking in.
__________________
MY BUILD LINK: http://67-72chevytrucks.com/vboard/s...585901]Redneck Express - 1966 C10 Short Fleetside MY USA ROADTRIPS http://forum.retro-rides.org/thread/...2018-humdinger IF YOU CAN'T FIX IT WITH A HAMMER, YOU'VE GOT AN ELECTRICAL PROBLEM MATE. |
|
|

|
 |
| Bookmarks |
|
|