
|
Register or Log In To remove these advertisements. |
|
|
|
|||||||
 |
|
|
Thread Tools | Display Modes |
 10-02-2017, 02:54 AM
|
#126 |
|
Registered User
Join Date: Nov 2014
Location: Oakland, CA
Posts: 114
|
Re: Kell's Two Cents - 1946 build
So what else I've been up to...
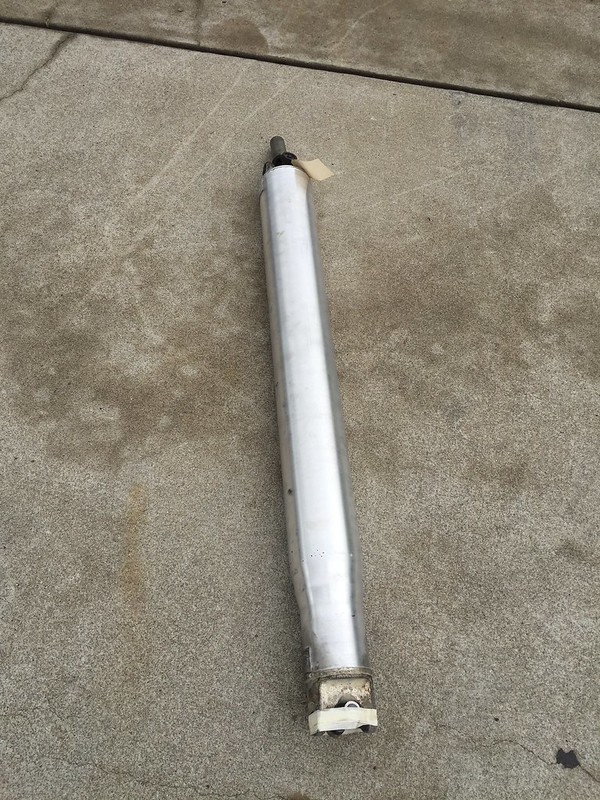
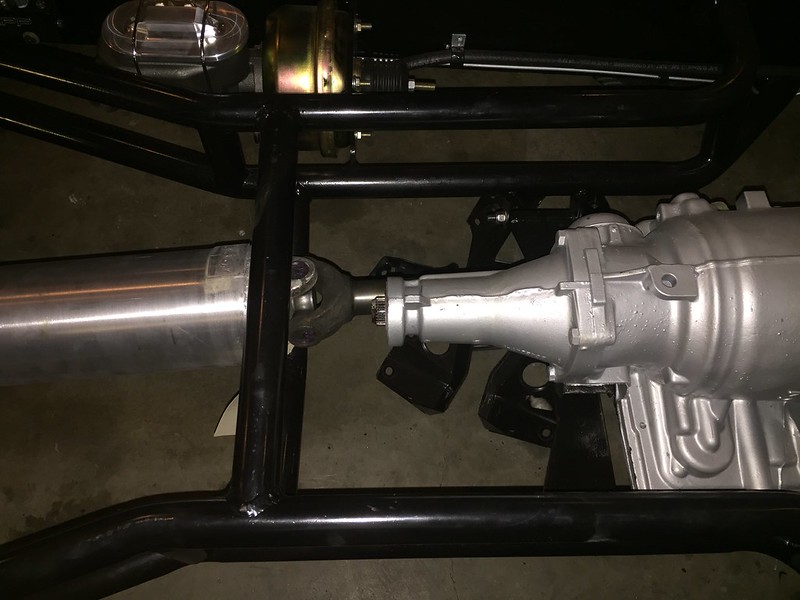
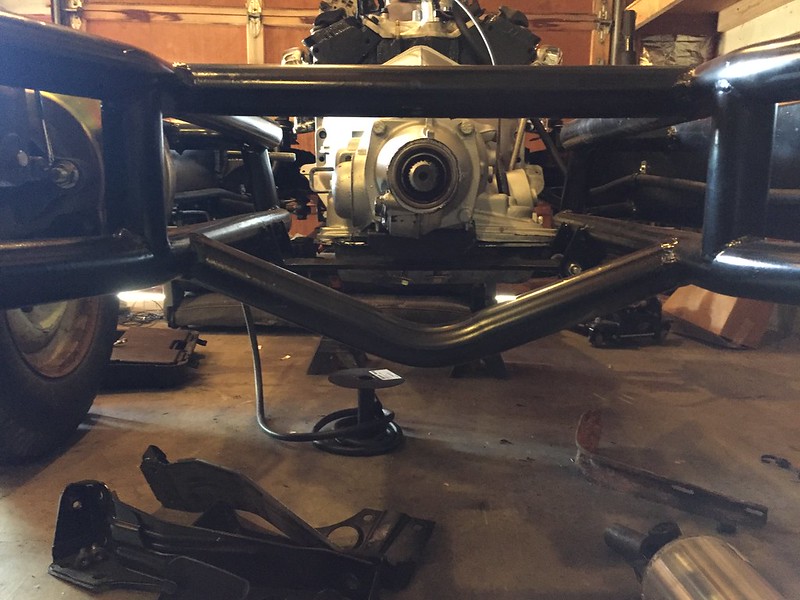
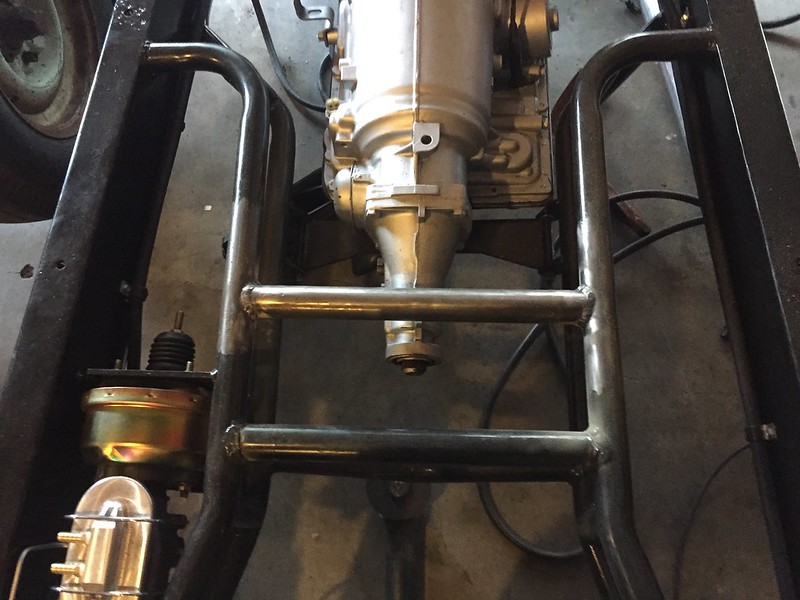
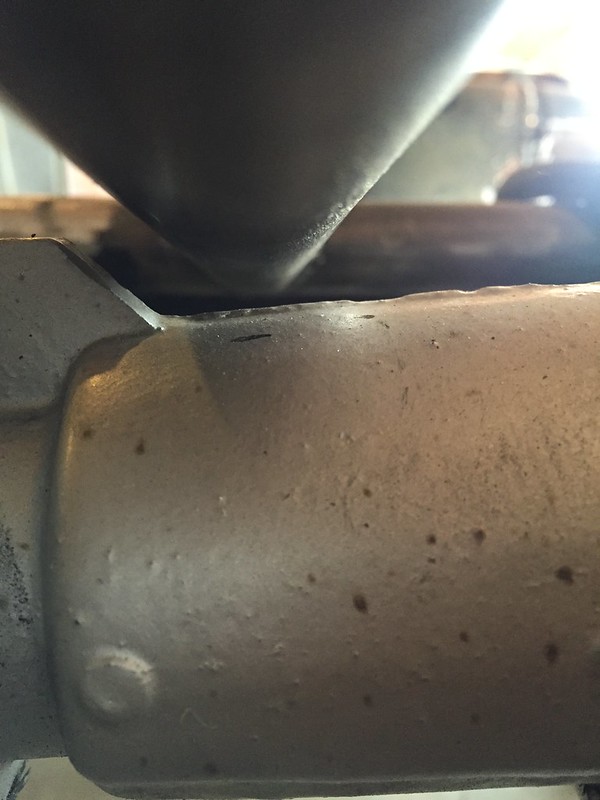
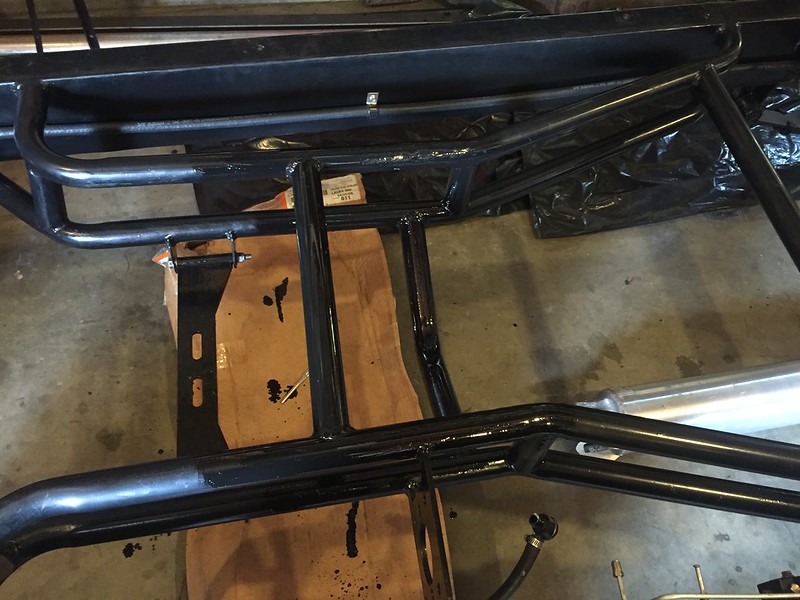
I had a real scare starting up the truck one day and had a gnarly metal on metal clank. I tried it again and it started right up. The very next day pulled it out the garage and had that crazy sounding clank again... and then again... My online research had me ready for anything from a bent rod, to hydrolock, to loose flex plate bolts, loose torque converter bolts, bad starter,etc, etc... So the next day I started a troubleshooting sequence and sure enough the first thing I found was that one of the bolts had come loose on the starter somehow, and when trying to engage would make all kinds of raucous. Tightened it up but I'll be keeping an eye on it, I'm just glad it wasn't something worse Speaking of keeping an eye, I knew I had a bit of a clearance issue with one of my crossmember and had been debating whether to actually fix it or to run a pretty heavy bump stop. I decided I was gonna go ahead and fix it... This is on the cross member that goes across where the front spring perches are for the rear leaf springs. I put it up as far as it would go while staying under the bed. I figured I might as well over do it because as of now I have next to no money into my rear suspension setup, aside from 4" blocks. As the truck gets up and going here I am open to considering some options for a more permanent setup, so we'll see Beyond this crossmember, a less dire yet similar situation is apparent in the crossmember right below the rear of the cab. I checked it out and looks like if I move it forward a couple inches there is area under the cab that I can kick the tubing up and gain probably 3 inches of clearance which should be plenty enough for now. I've yet to do it as it seems like a PITA working under the cab like that right now, but I'll for sure be getting to it As I was finalizing my running boards I had this crazy gap along the bottom of the cab and running board. I measured my rear body mount and it was almost 2 inches in height. This seemed too big but since I had purchased the whole cab mounting block kit together I never paid it much mind. I put a call in to Chev's of the 40's and the guy found the dimensions that he had on file coming in more like 1 1/16". I went ahead and pulled the bushings and cut them down to size and now my body line is looking right about where it should be  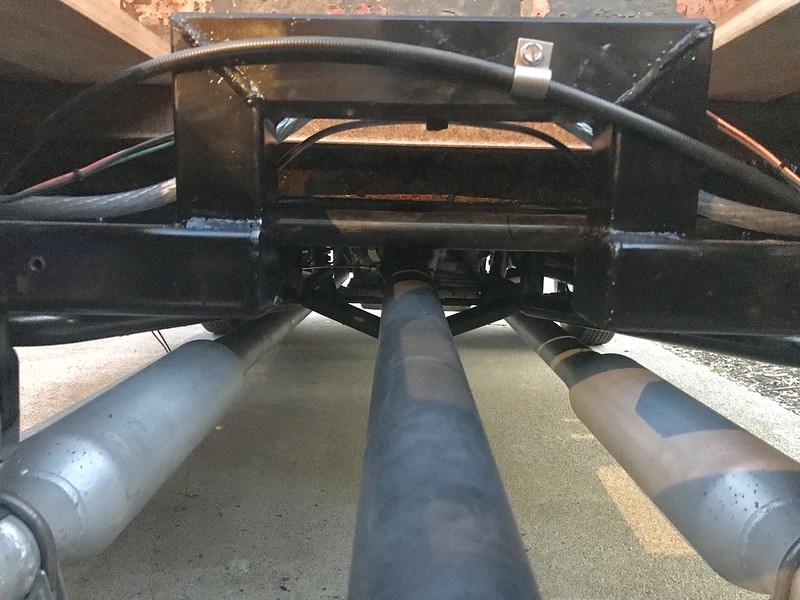 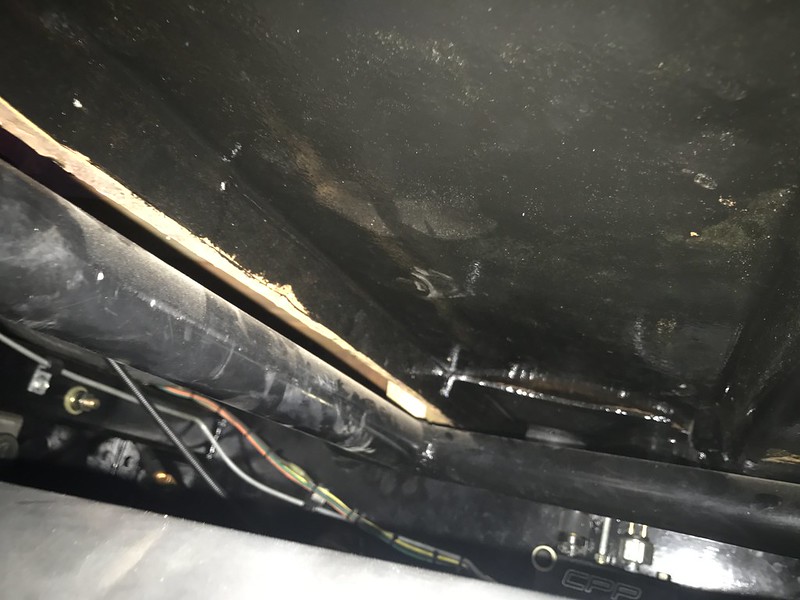 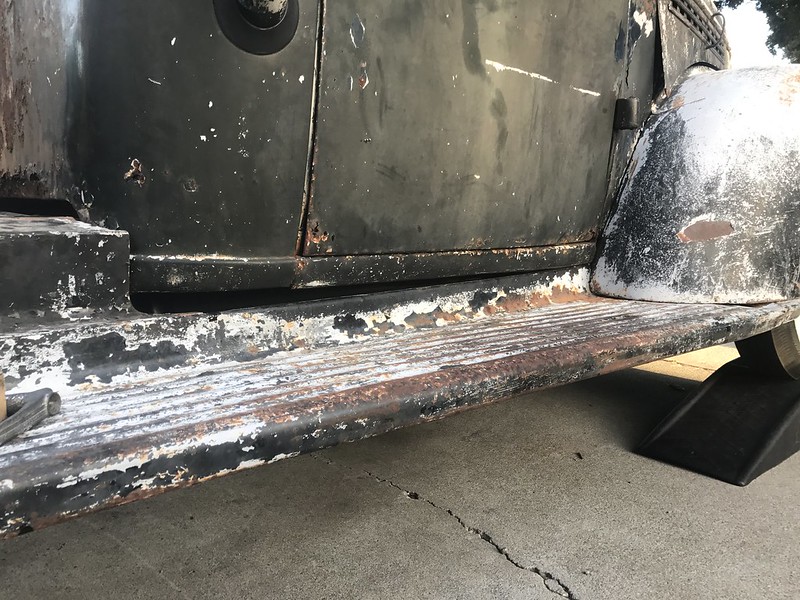 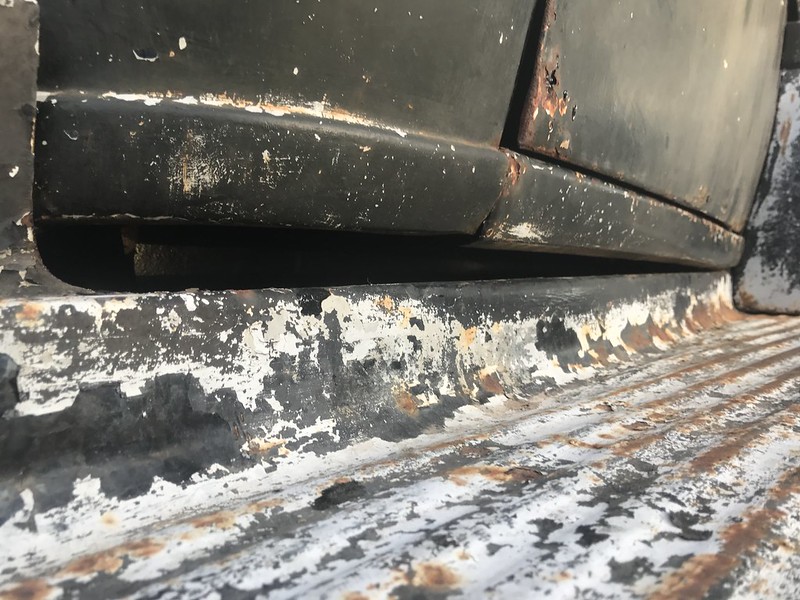  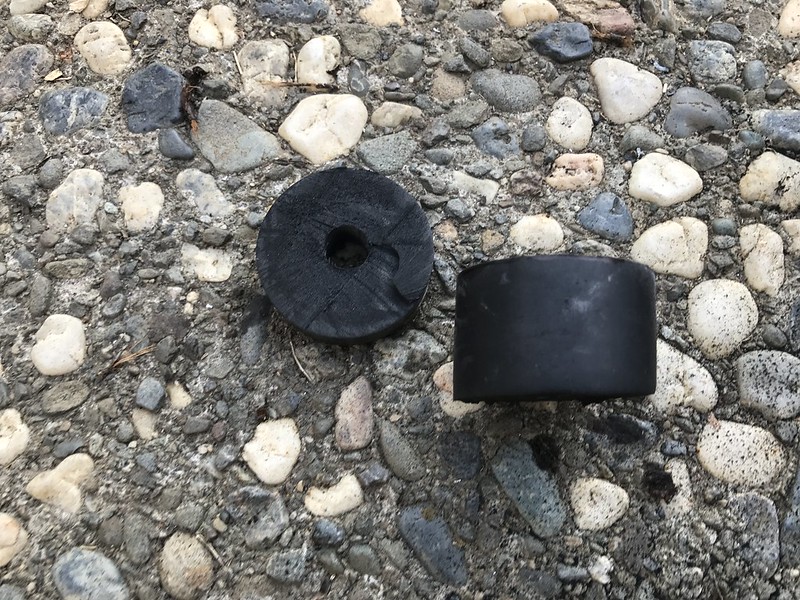 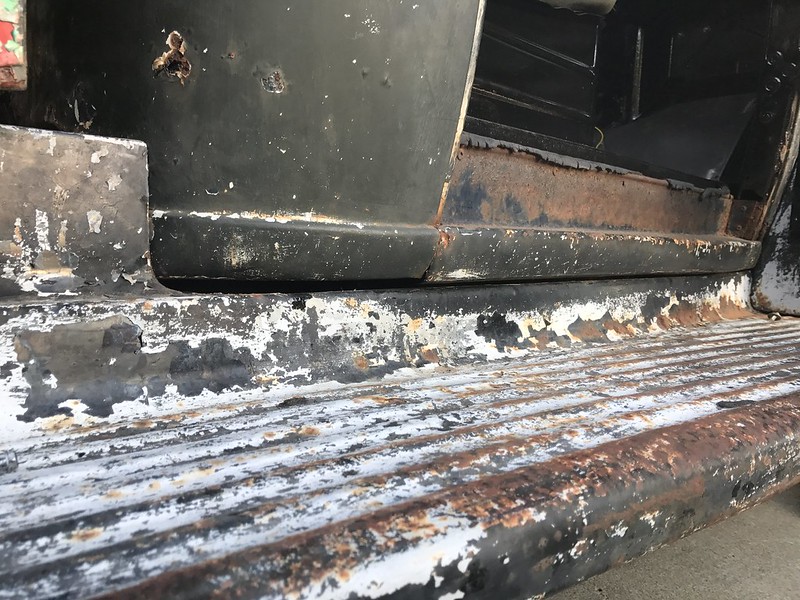
|

|

|
|
10-02-2017, 03:36 AM
|
#127 |
|
Registered User
Join Date: Nov 2014
Location: Oakland, CA
Posts: 114
|
Re: Kell's Two Cents - 1946 build
I've got about 50 miles on the truck by now, just around town and though my paperwork and insurance is legit, and even though the breeze feels damn good cruising around with no windshield, I gotta try to focus on what's going to get it road worthy
I took it down to the parts store last week to have my alternator checked out as it was simply the one that came with the engine, if I needed a new one I'd just pick one up. There was an electrical clip on the side of it but I just figured it was for the computer and I ignored it. Obviously I didn't realize how alternators actually gauged charge or what a voltage regulator did, but I do now. After some research I found all the 2 wire alternator to CS alternator conversion info and found this nice connector made by AC delco. I cut the extra plug off then the red wire goes to the positive battery (I used the post on the alternator) and the yellow wire, with resistor included, goes to ignition power. Now my alternator tests good! It's taken me about 2.5 years to figure out/decide how I was going to run my taillights. I even ordered the original reproduction brackets, but decided I wasn't crazy about them. I had these little brackets that I turned sideways and somewhat got the taillights to mount on them and I think I'm gonna keep em For the windshield frame I followed the Trucks! fauxtina how to and used 220 to cut through the heavy paint I had applied, then switched to 320 as I was getting close and putting in the final work. I tried to keep in mind the pattern of the paint that remained on the body around the windshield and sanded accordingly. Not mind-blowing or anything but I think it does it's job rather well. I got the rubber on, the brackets on, and now have a functioning windshield! I had initially painted the inside of the window frame black but in the end decided to sand it all off and clear coat the bare metal instead. I had done the same thing on my firewall and I think I would incorporate more bare metal into the truck if I had the chance to do it all over again, I really like the look. I pulled my side windows and sealed them with urethane sealant as well, as previously I had installed them with setting tape all the way around. At this same time I sanded the front valance that I had picked up a while ago. I was thinking that the red was just a top layer, and it proved to be the case. I think I could add some white on it to make it really blend in but really my goal was just to get the red off to make it more subtle. My front needs a little bit of work to get it all coming together right but I think this will do I swear I was getting all glares + stares when I first began this build, but now when people drive by I get all kinds of thumbs ups and waves. I wish I could be tucked away in a shop somewhere building this thing, but no, everybody gets to see the progress. I had one of the neighbors I had never met before stop by with his 51 Ford today though. Seems you end up meeting a bunch of good guys owning a truck like this 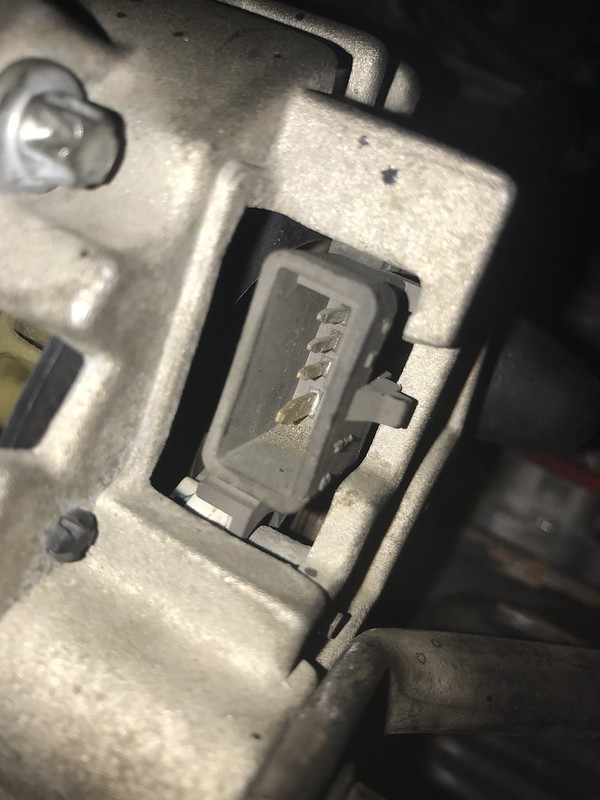 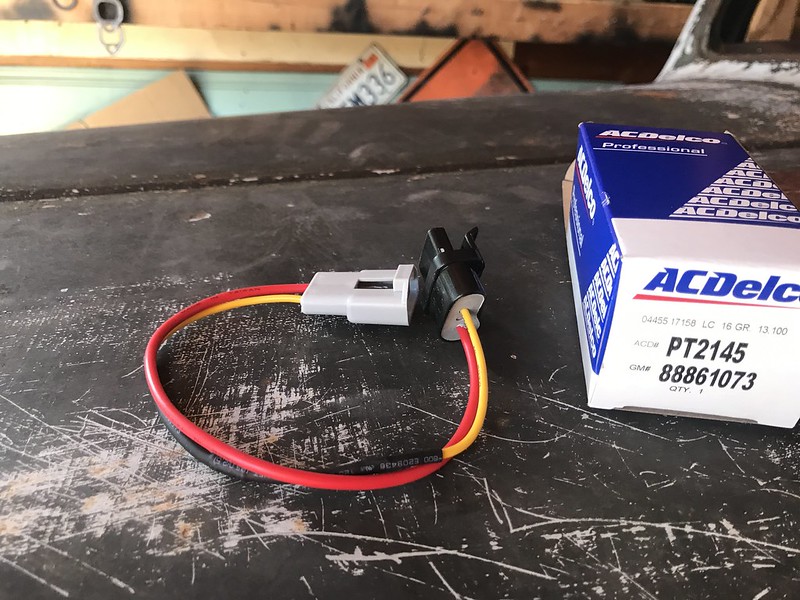 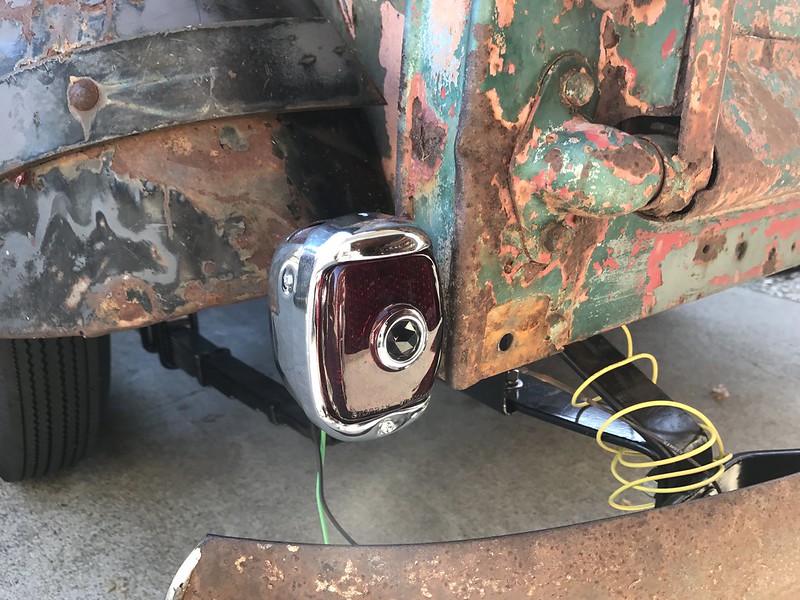 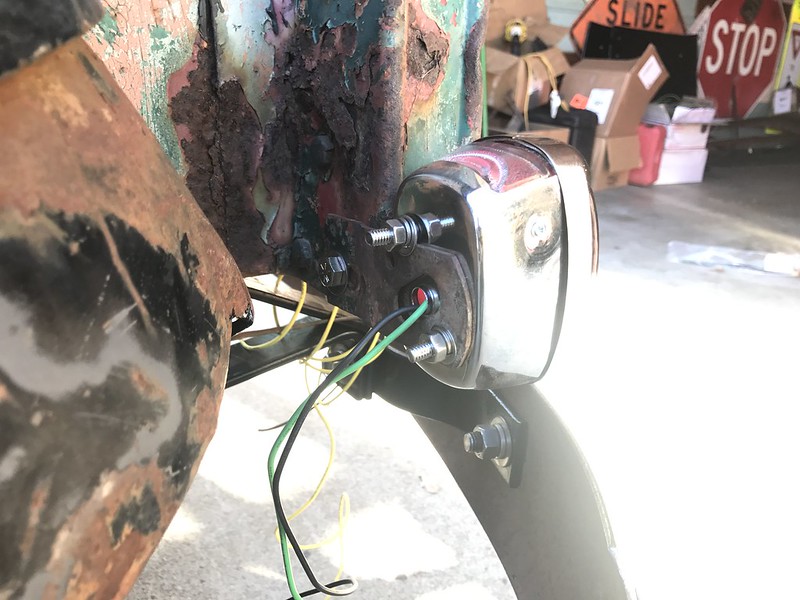   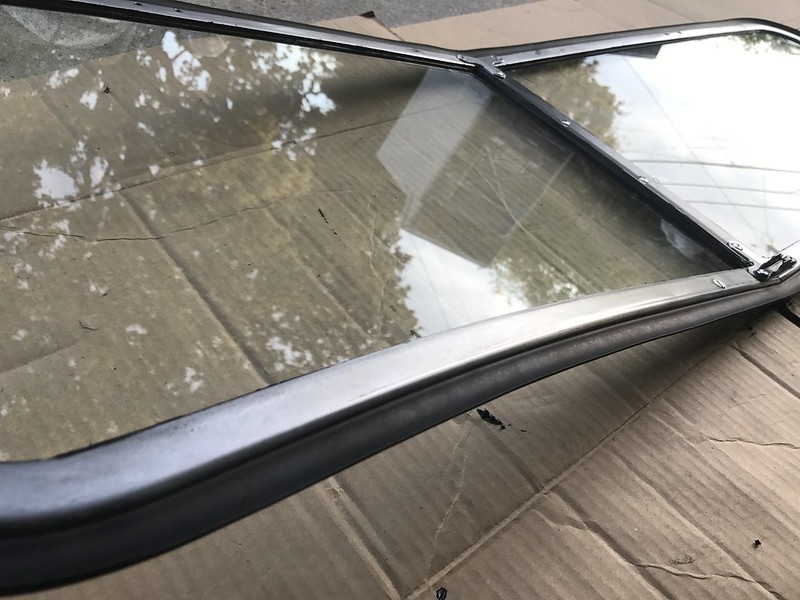 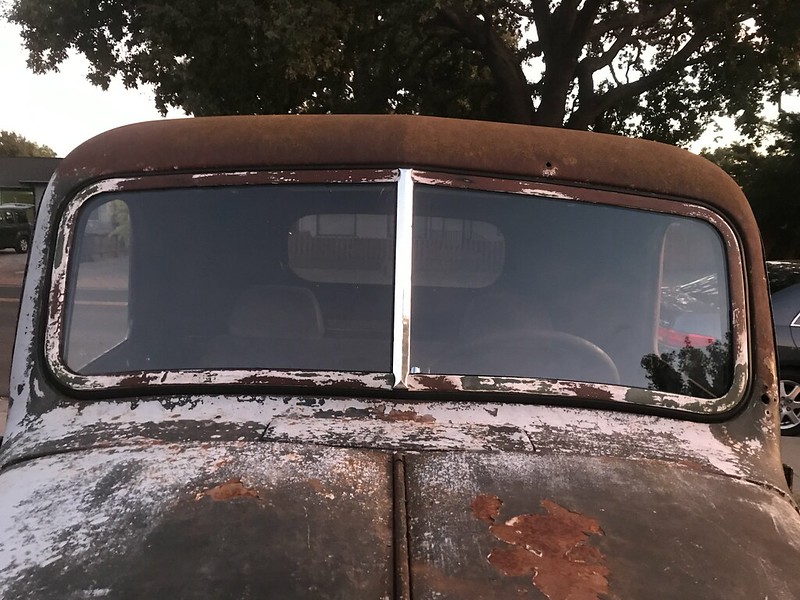 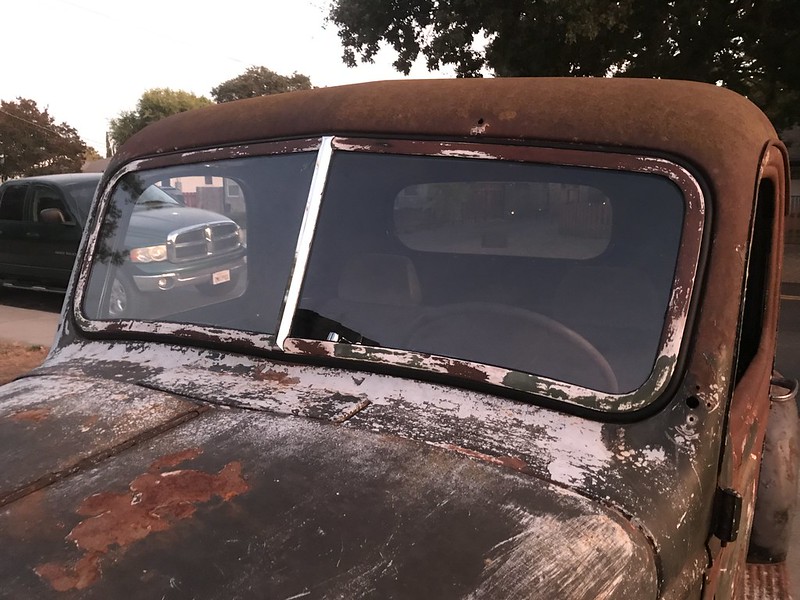 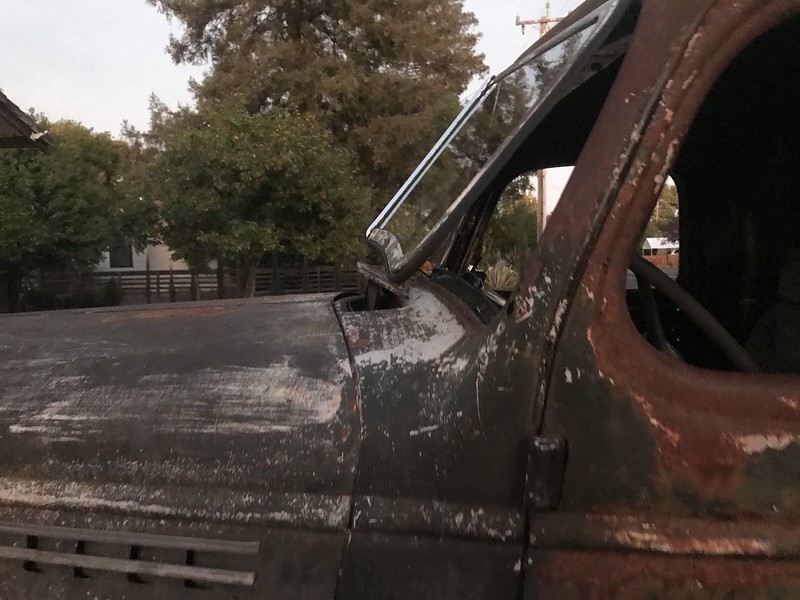 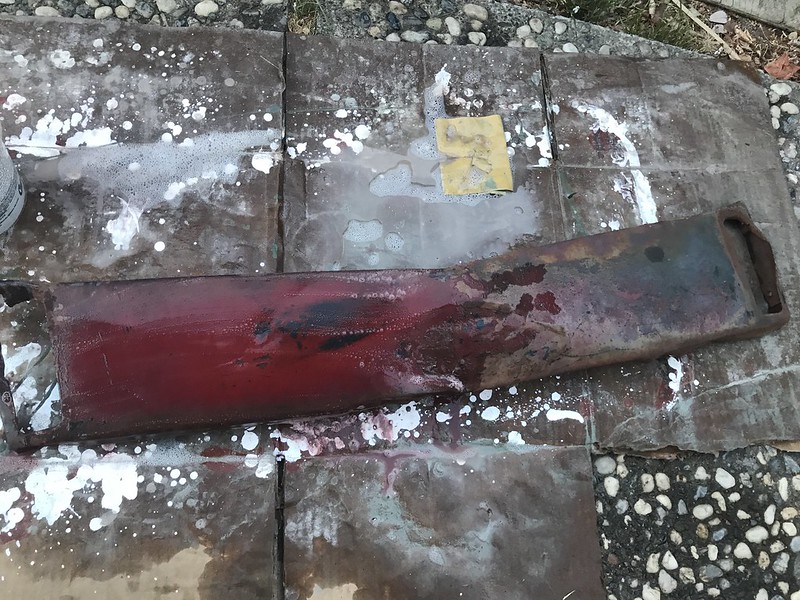  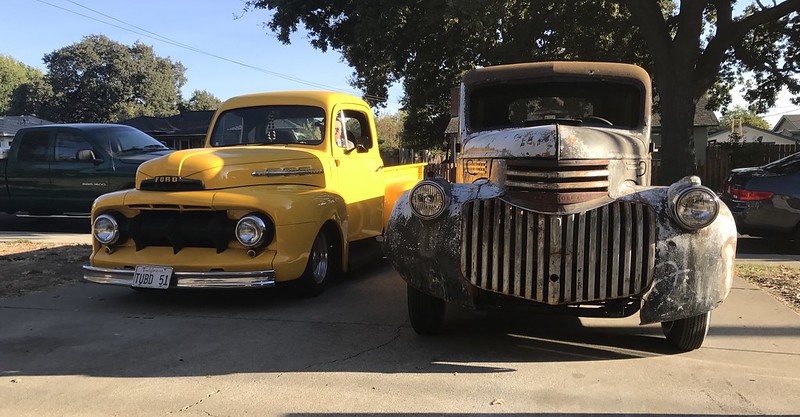
Last edited by gokellurself; 10-03-2017 at 01:19 AM. |
|
|
|
|
10-21-2017, 11:15 AM
|
#128 | |
|
Registered User
Join Date: Feb 2012
Location: sacramento,ca
Posts: 80
|
Re: Kell's Two Cents - 1946 build
Quote:
if you dont mind me asking where did you get the brake booster and the extended reservoir tank thing for it. also what radiator did you use!?? thank you |
|
|
|
|
|
10-21-2017, 01:35 PM
|
#129 |
|
Senior Member
 Join Date: May 2007
Location: Doodah Kansas
Posts: 7,747
|
Re: Kell's Two Cents - 1946 build
looks so good! I missed your last update somehow, great job on matching the paint!
__________________
the mass of men live lives of quiet desperation if there is a problem, I can have it. new project WAYNE http://67-72chevytrucks.com/vboard/s...d.php?t=844393 |
|
|
|
|
01-20-2020, 07:02 PM
|
#130 |
|
Registered User
Join Date: Jun 2010
Location: Encinitas, CA
Posts: 507
|
Re: Kell's Two Cents - 1946 build
Just went through your build pic and discussion. Great project! Thanks for all the great pics. Good ideas
__________________
1954 GMC on 93 Silverado chassis http://67-72chevytrucks.com/vboard/s...d.php?t=408344 1942 Chevy 1/2 ton Pickup http://67-72chevytrucks.com/vboard/s...d.php?t=429494 R.I.P. TOM SEFFRON 68 FOUR DOOR http://67-72chevytrucks.com/vboard/s...d.php?t=495438 1942 Chevy that ate my brain 70 Chassis https://67-72chevytrucks.com/vboard/...d.php?t=835250 |
|
|
|
|
| Bookmarks |
|
|


 Linear Mode

