
|
 08-16-2012, 09:47 PM
|
#101 |
|
Just here to tinker
 Join Date: Jun 2008
Location: Holland, MI
Posts: 3,672
|
Re: Mike's 60 Suburban build
man that thing is looking sick Mike! Well done.
__________________
78 C10 SWB Diesel #1 (wrecked)http://67-72chevytrucks.com/vboard/s...1978+silverado 78 C10 SWB Diesel #2 (sold)http://67-72chevytrucks.com/vboard/s...d.php?t=650751 60 GMC Suburban (sold)http://67-72chevytrucks.com/vboard/s...d.php?t=445526 60 GMC 1000 (sold)http://67-72chevytrucks.com/vboard/s...d.php?t=298235 67 GMC 1500 (sold) http://67-72chevytrucks.com/vboard/s...d.php?t=803695 86 Suburban(summer unit) http://67-72chevytrucks.com/vboard/s...d.php?t=810697 88 Suburban 4x4(winter unit)https://67-72chevytrucks.com/vboard/...25#post8900725 |

|

|
|
08-17-2012, 07:53 AM
|
#102 | |
|
Registered User
Join Date: Oct 2010
Location: Hallsville, MO
Posts: 271
|
Re: Mike's 60 Suburban build
Quote:
Hooked up the tach wiring last night and adjusted it. Drove it today and it works great. Some of the next things on my list are rear bumper, tow bar, change ring and pinion, replace leaking master cylinder, and electric trailer brake. |
|
|
|
|
|
08-18-2012, 08:18 PM
|
#103 | |
|
Registered User
Join Date: Feb 2008
Location: Sidney,b.c.
Posts: 4,425
|
Re: Mike's 60 Suburban build
Quote:
 By rondavid at 2012-08-18 ron |
|
|
|
|
|
08-19-2012, 10:21 AM
|
#104 | |
|
Registered User
Join Date: Oct 2010
Location: Hallsville, MO
Posts: 271
|
Re: Mike's 60 Suburban build
Quote:
Posted via Mobile Device |
|
|
|
|
|
08-19-2012, 03:15 PM
|
#105 | |
|
Registered User
Join Date: Feb 2008
Location: Sidney,b.c.
Posts: 4,425
|
Re: Mike's 60 Suburban build
Quote:
think that I might just c/l the rolling frame for a few days and if that don't work, just cut it up and keep the axles and such ron |
|
|
|
|
|
08-19-2012, 07:40 PM
|
#106 |
|
Registered User
Join Date: Dec 2006
Location: SLC, UT
Posts: 706
|
Re: Mike's 60 Suburban build
Great build.
|
|
|
|
|
08-27-2012, 08:33 AM
|
#107 |
|
Registered User
Join Date: Oct 2010
Location: Hallsville, MO
Posts: 271
|
Re: Mike's 60 Suburban build
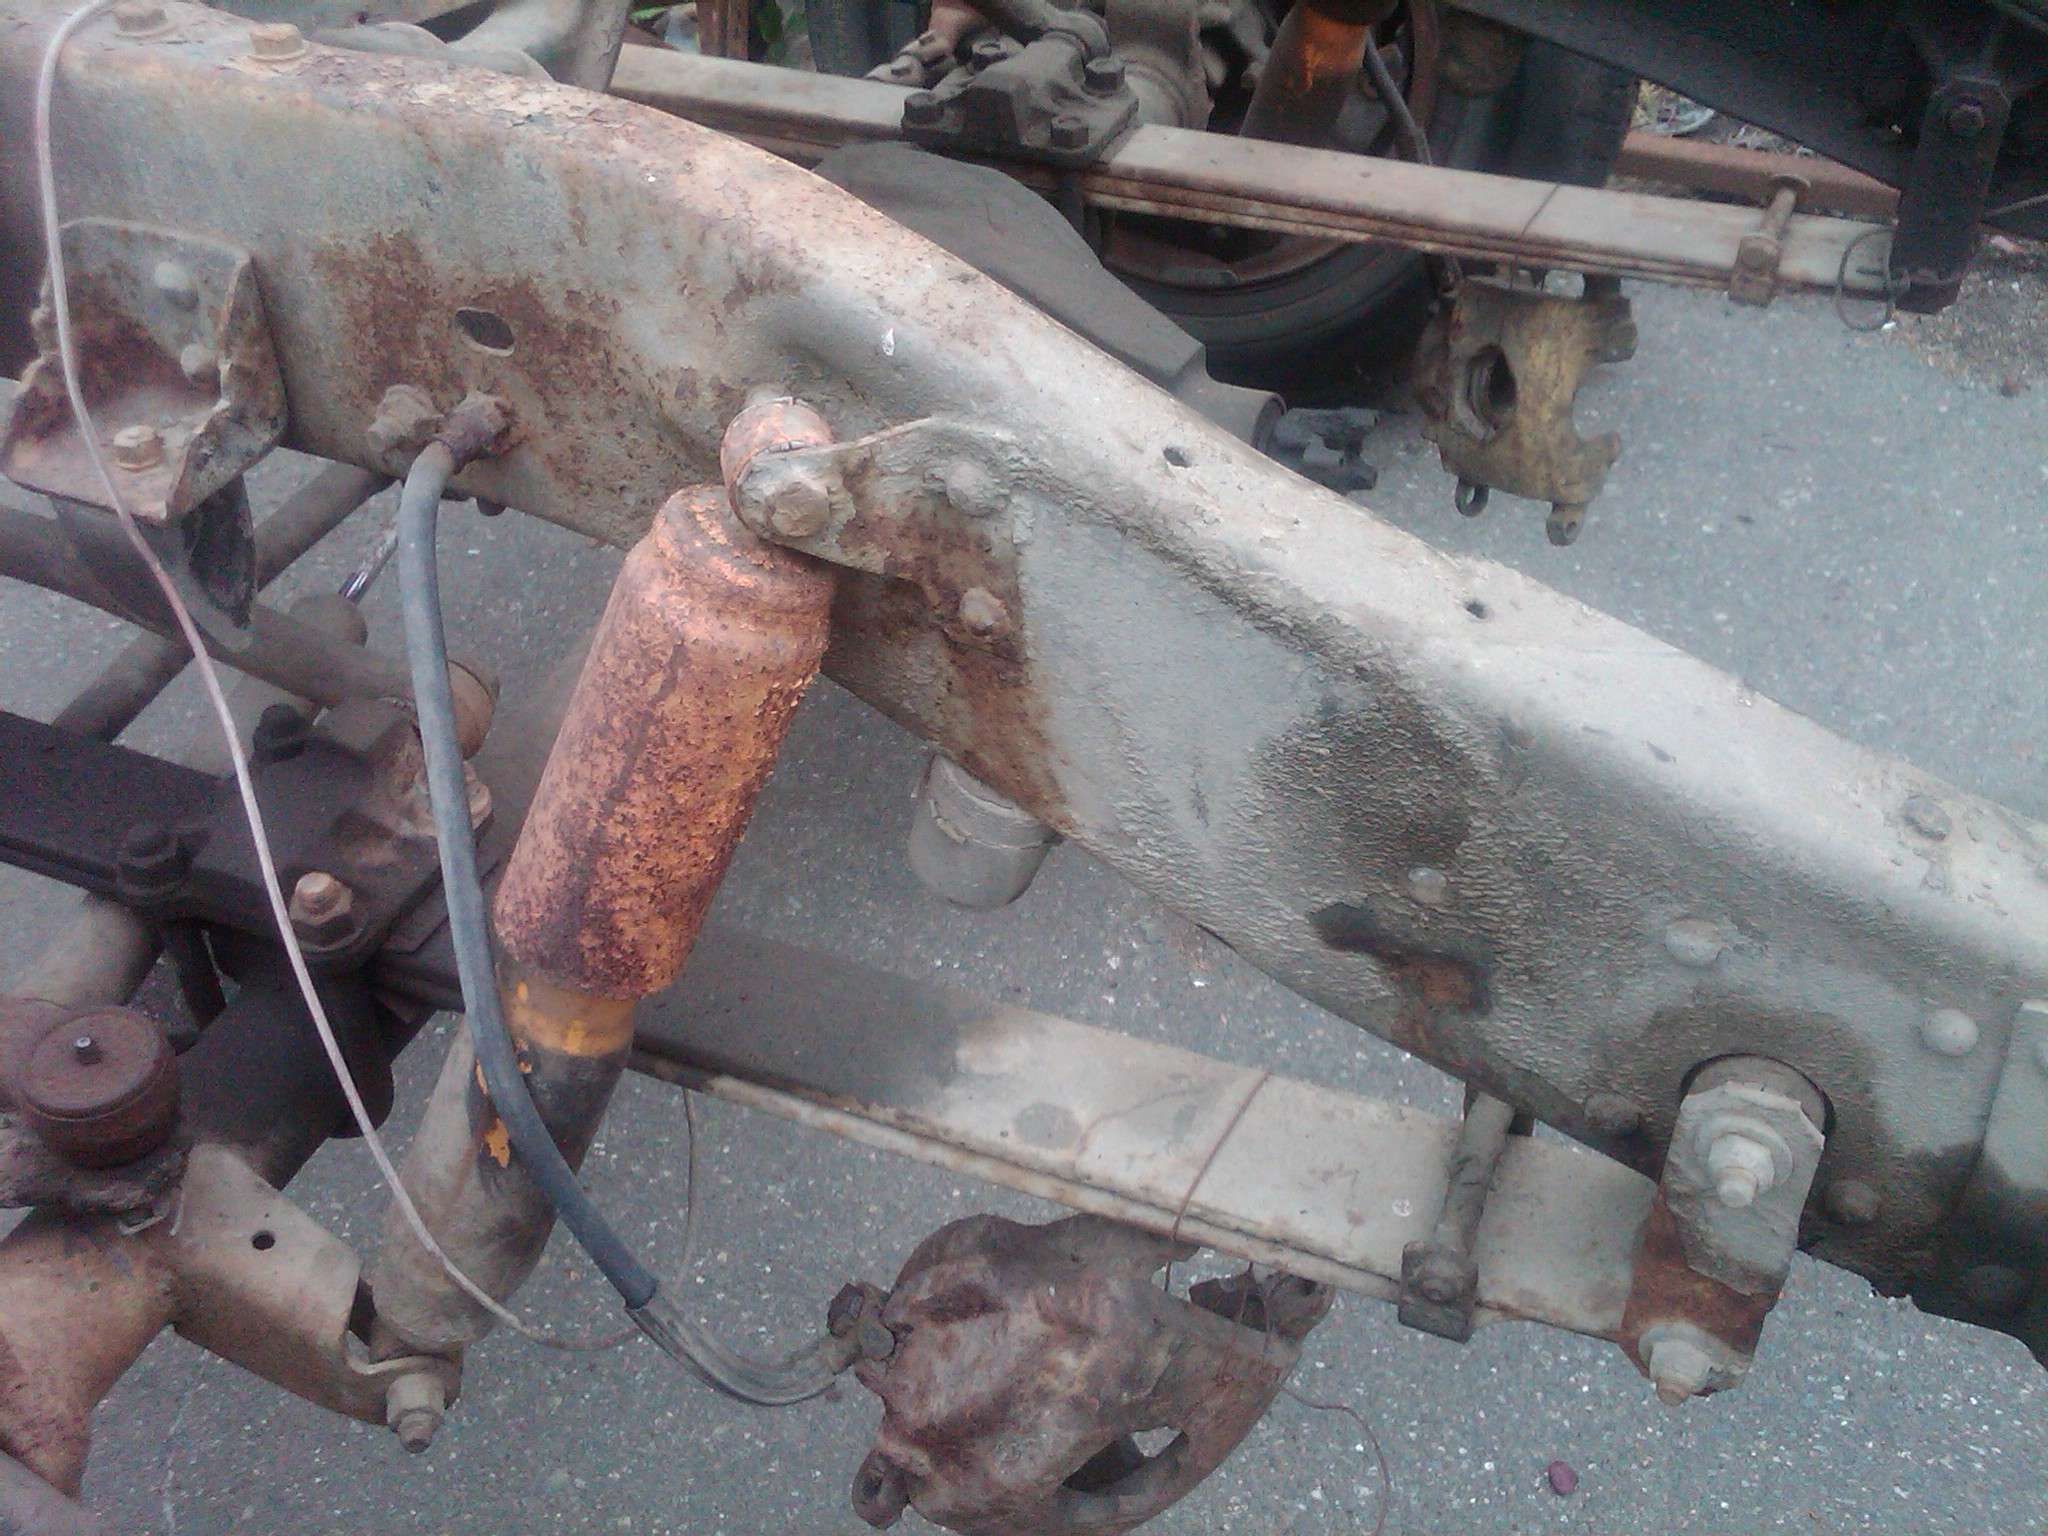
Spent Saturday working on the rear end. Changed the ring and pinion from 4.10 to 3.73. This put the diesel RPMs where they should be. It took about 6 hours of work and this was my first one. It is a 14 bolt 10.5" full floating axle. I replaced the open carrier with a Eaton posi unit. Drove it for 170 miles so far without any noise or problems. The backlash ended up being .007 after about 4 times changing the pinion shims and the pinion preload is at 35 inch pounds. I've heard that the 14 bolt is one of the easiest to set up.
My front is a Dana 44 8.5" with 4wd hubs, brakes, and axle u-joints to deal with that I didn't on the rear. I think that will be a two day job. I'll tackle that job in a month or so, before 4x4 season. |
|
|
|
|
09-02-2012, 09:24 PM
|
#108 |
|
Registered User
Join Date: Oct 2010
Location: Hallsville, MO
Posts: 271
|
Re: Mike's 60 Suburban build
Been doing some driving and mileage calculations. These are all based on about one tank of fuel each and the engine and rear end are not broke in yet.
16 mpg when the rear end was 4.10 with mixed driving 18 mpg mixed driving with the new 3.73 rear end 19 mpg at 70 to 75 mph interstate 20 mpg at 60 mph highway They should get slightly better as the parts break in and I keep fixing things. Overall I'm happy with the milage. Posted via Mobile Device Posted via Mobile Device |
|
|
|
|
12-13-2012, 09:07 AM
|
#109 |
|
Registered User
Join Date: Oct 2010
Location: Hallsville, MO
Posts: 271
|
Re: Mike's 60 Suburban build
Finally picked up an original bumper for the suburban. The one it came with looked awful. Spent about 2 hours on the press trying to get some of the dents and bends out of it. Built a trailer hitch that fit between the frame rails.
|
|
|
|
|
12-14-2012, 03:01 AM
|
#110 |
|
Registered User
Join Date: Nov 2012
Location: Sandy, Oregon
Posts: 86
|
Re: Mike's 60 Suburban build
Nice and clean, looks Great!
__________________
Joe. 1961 K14 Suburban 4x4 My suburban build thread. http://67-72chevytrucks.com/vboard/s...d.php?t=555159 CList stuff. http://67-72chevytrucks.com/vboard/s...=428759&page=7 |
|
|
|
|
12-14-2012, 10:31 AM
|
#111 |
|
Registered User
Join Date: Jun 2012
Location: Selkirk Ontario Canada
Posts: 1,141
|
Re: Mike's 60 Suburban build
nice work getting the dents out
__________________
My 63 GMC Panel Slow Build http://67-72chevytrucks.com/vboard/s...=1#post5457281 63 
|
|
|
|
|
12-18-2012, 09:17 AM
|
#112 |
|
Registered User
Join Date: Oct 2010
Location: Hallsville, MO
Posts: 271
|
Re: Mike's 60 Suburban build
Removed the seats and economy heater box. Painted the floor and firewall with POR-15 and then installed the Fat Mat. I have jute padding and a new firewall pad next. After that I install the new A/C evaporator and heater under the dash. The new floor mat will be last.
|
|
|
|
|
12-19-2012, 10:53 AM
|
#113 |
|
Registered User
Join Date: Jun 2012
Location: Selkirk Ontario Canada
Posts: 1,141
|
Re: Mike's 60 Suburban build
the por-15 easy to work with ..brushed or spray
__________________
My 63 GMC Panel Slow Build http://67-72chevytrucks.com/vboard/s...=1#post5457281 63
|
|
|
|
|
12-20-2012, 01:02 PM
|
#114 |
|
Registered User
Join Date: Nov 2012
Location: Sandy, Oregon
Posts: 86
|
Re: Mike's 60 Suburban build
That looks like nice floor cover, what did you put down and where did you get it?
__________________
Joe. 1961 K14 Suburban 4x4 My suburban build thread. http://67-72chevytrucks.com/vboard/s...d.php?t=555159 CList stuff. http://67-72chevytrucks.com/vboard/s...=428759&page=7 |
|
|
|
|
12-26-2012, 09:59 AM
|
#115 | |
|
Registered User
Join Date: Oct 2010
Location: Hallsville, MO
Posts: 271
|
Re: Mike's 60 Suburban build
Quote:
From www.stockinteriors.com It didn't lay as well at the upper hump as the guys in the thread have. I'm hoping that it will lay better when summer rolls around. You can also see the new vents for the A/C unit in the photos. |
|
|
|
|
|
10-01-2013, 01:54 PM
|
#116 |
|
Registered User
Join Date: Oct 2012
Location: Midland NC
Posts: 118
|
Re: Mike's 60 Suburban build
This is a great build. Where is the rest of it?
Any update on how the 6.2 is holding up? Fuel mileage reports?
__________________
1961 C60 Viking 8' Dump 261 SM420 2-Speed Rear 1966 C10 Fleetside 350 W/ Saginaw 4 speed 1985 K10 Chevy 6.2 diesel 700r4 longbed 2001 Dodge 3500 Dually 24v NV5600 4x4 USMC Reserves Jason |
|
|
|
|
10-01-2013, 02:04 PM
|
#117 |
|
Registered User
Join Date: Oct 2010
Location: Hallsville, MO
Posts: 271
|
Re: Mike's 60 Suburban build
Well, life has just been moving fast lately. I do intend to start working more on the burb. I have been driving it alot and I love it! I did replace the front end with an Aulburn and 3:73 gears to match the back. It was a Dana 44. I must say the after doing the Dana 44, the 14 bolt GM rear end was childs play!
I just swappwd out the quald headlights for 9007 style bulbs and plan do do the upgraded relay type harness soon. |
|
|
|
|
10-15-2013, 02:23 PM
|
#118 |
|
Registered User
Join Date: Oct 2010
Location: Hallsville, MO
Posts: 271
|
Re: Mike's 60 Suburban build
I just installed a new set of headlights with the 9007 bases. These are the ones LMC sells along with a relay harness. I ended up doing a lot of modification with the harness to make it work. It is installed backwards with the wiring routing through the passengers side of the radiator support. I did this to keep the power leads as short as possible. They are connected directly to the alternator. The light output is extremely better than stock. I still need to work on the aiming. I followed some instruction to adjust both high and low pattern about 3" lower at 25'. I did this for both high and low, as the instructions said. But, when I try them on the road both patters are about in the same place. Which I guess they should be since that is how I aimed them! I moved the high beam lights up some and that helps, but I still feel like I'm missing good instructions for quad headlights.
|
|
|
|
|
10-15-2013, 06:10 PM
|
#119 |
|
Registered User
Join Date: Oct 2010
Location: Hallsville, MO
Posts: 271
|
Re: Mike's 60 Suburban build
Another pic.
|
|
|
|
|
10-15-2013, 09:02 PM
|
#120 |
|
Registered User
Join Date: Sep 2011
Location: Tacoma, WA
Posts: 2,425
|
Re: Mike's 60 Suburban build
Did you ever get your rubber floor mat to relax?
I know Markb has one like that, and I think he provided some tips and tricks for getting his to conform and lay right....
__________________
Michael McMurphy My 66 Stepside My 64 Tow Truck My 66 Tempest Table Of Contents Added to Page1 |
|
|
|
|
10-16-2013, 08:24 AM
|
#121 |
|
Registered User
Join Date: Oct 2010
Location: Hallsville, MO
Posts: 271
|
Re: Mike's 60 Suburban build
The floor mat still looks nearly like it did when I installed it. I did try a heat gun and that would allow it to be worked nearly flat, but it would still regain its memory after some time.
|
|
|
|
|
10-16-2013, 11:31 AM
|
#122 |
|
Registered User
Join Date: Apr 2013
Location: San Jose,CA
Posts: 62
|
Re: Mike's 60 Suburban build
nice work, thanks for sharing.
does the floor mat fit the passenger side of the floor well? I noticed how the sub floor is slightly different than the trucks. if you got any pics of the back and passenger side that would be nice to see.
__________________
1963 Chevrolet Suburban |
|
|
|
|
10-16-2013, 03:31 PM
|
#123 | |
|
Registered User
Join Date: Oct 2010
Location: Hallsville, MO
Posts: 271
|
Re: Mike's 60 Suburban build
Quote:
|
|
|
|
|
|
10-17-2013, 04:22 AM
|
#124 |
|
Registered User
Join Date: Sep 2011
Location: Tacoma, WA
Posts: 2,425
|
Re: Mike's 60 Suburban build
I cannot help but wonder if heating it with the gun, then rapidly cooling it with rags soaked in ice water would not reprogram the material memory.
I guess if I were in your situation, that is what I would try next.
__________________
Michael McMurphy My 66 Stepside My 64 Tow Truck My 66 Tempest Table Of Contents Added to Page1 |
|
|
|
|
11-03-2013, 08:42 PM
|
#125 |
|
Registered User
Join Date: Oct 2010
Location: Hallsville, MO
Posts: 271
|
Re: Mike's 60 Suburban build
I installed some gas struts for my rear hatch. I thought this would be a quick and easy job, but like most things it took me 5 times longer than I thought. I planned to drill the rivets out of the original supports and bolt a ball stud in their place. I soon found out that there is not enough room to fit the ball and strut between the hatch and the body. Thus I extended the strut to fit forward of the hatch. It took several attempt to make brackets that worked well. I ended up using 14 gauge stainless and struts that are 10.5" closed and 18" open with 48 pound force.
|
|
|
|
 |
| Bookmarks |
|
|


 Linear Mode

