
|
 03-11-2016, 12:21 AM
|
#2926 |
|
Registered User
Join Date: Jan 2016
Location: Ontario
Posts: 123
|
Re: Restoring Rusty
The primitive tool for the valve springs.. Holy. Ive been graced with having a pneumatic valve spring compressor, and thought the hand powered lever action ones were primitive haha good work man. Cant wait to hear it running again
|

|

|
|
03-11-2016, 01:10 AM
|
#2927 | |
|
Post Whore
 Join Date: Aug 2014
Location: Sacramento, CA
Posts: 10,803
|
Re: Restoring Rusty
Quote:
|
|
|
|
|
|
03-11-2016, 01:21 AM
|
#2928 |
|
Registered User
Join Date: Sep 2015
Location: Sioux Falls, South Dakota
Posts: 702
|
Re: Restoring Rusty
The umbrela seal is like this
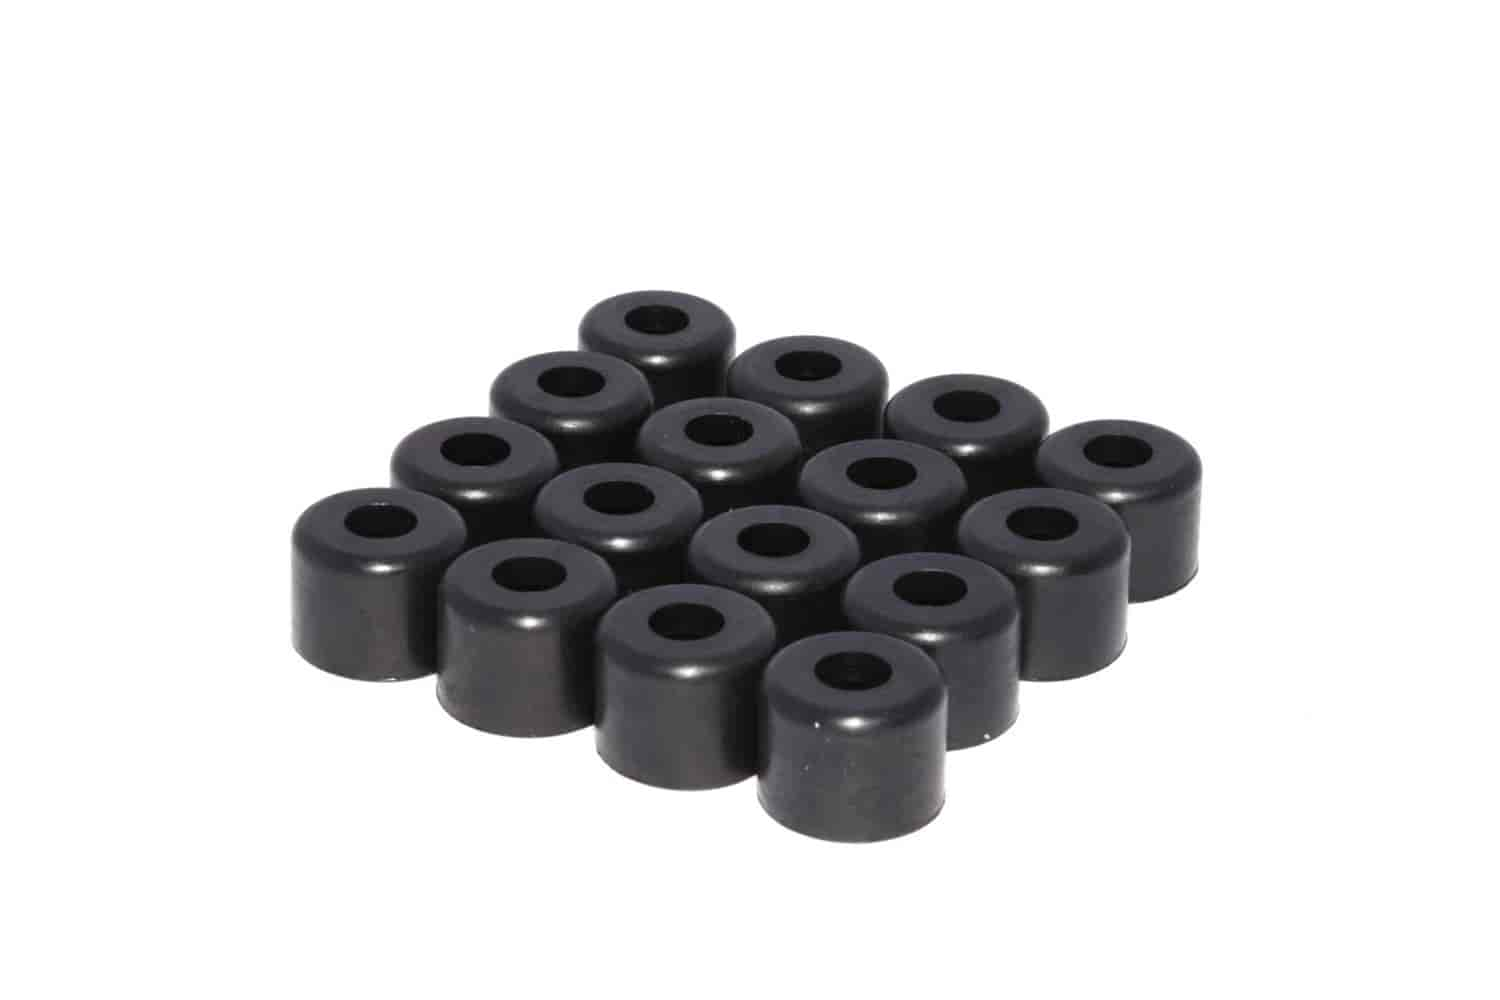 The others are viton seals and look like this  Watch where you place the longer arm on the tool it should be on the lower coil side of the spring that will give you the most "compression" of the spring also a magnet helps get the locks out if they are caked in there from years of abuse
__________________
"Orange Crush" Last edited by Valarius_Starchaser; 03-11-2016 at 01:28 AM. |
|
|
|
|
03-11-2016, 01:27 AM
|
#2929 | |
|
Post Whore
Join Date: Aug 2014
Location: Sacramento, CA
Posts: 10,803
|
Re: Restoring Rusty
Quote:
DIY Head Porting Small Block Chevy Vortec 062 Part 1 of 3 |
|
|
|
|
|
03-11-2016, 01:42 AM
|
#2930 | |
|
Post Whore
Join Date: Aug 2014
Location: Sacramento, CA
Posts: 10,803
|
Re: Restoring Rusty
Quote:
|
|
|
|
|
|
03-11-2016, 11:02 AM
|
#2931 | |
|
Registered User
Join Date: Jan 2009
Location: Calgary, AB
Posts: 1,181
|
Re: Restoring Rusty
Quote:
When you put your gasket onto your heads and or intake manifold you will see just how bad the castings and how much material can be removed. |
|
|
|
|
|
03-11-2016, 02:03 PM
|
#2932 |
|
Registered User
Join Date: Oct 2008
Location: Livermore ca
Posts: 699
|
Re: Restoring Rusty
The L 5 3 on the back of the block and also similar on the heads is the casting date. The 010 is the casting number for the block. The numbers on the head surface pad is what makes it specific for your truck. The left number should match your vin. The number on the right is prefix code that tells where and when it was assembled and what exactly it was power wise.
Word of caution on those heads, the vortec heads are known for cracking. It would be a good idea that you have the heads magnafluxed for cracks. The surface on them also is very crude. You really need a very true and flat surface. I would highly suggest a visit to your local machine shop. Having things done now is a lot cheaper then being bent over the fender doing it a second time. This is not my shade tree opinion then is my machinest opinion. I have seen more then my fair share of them. You have a great build thread going on just read thru it, keep it up love a budget build. Great save on an old truck. |
|
|
|
|
03-11-2016, 02:13 PM
|
#2933 | |
|
Registered User
Join Date: Oct 2008
Location: Livermore ca
Posts: 699
|
Re: Restoring Rusty
Quote:
|
|
|
|
|
|
03-11-2016, 02:23 PM
|
#2934 | |
|
Registered User
Join Date: Jan 2009
Location: Calgary, AB
Posts: 1,181
|
Re: Restoring Rusty
Quote:
|
|
|
|
|
|
03-11-2016, 04:12 PM
|
#2935 | |
|
Post Whore
Join Date: Aug 2014
Location: Sacramento, CA
Posts: 10,803
|
Re: Restoring Rusty
Quote:
|
|
|
|
|
|
03-11-2016, 05:08 PM
|
#2936 |
|
Registered User
Join Date: Nov 2013
Location: Antioch, Ca.
Posts: 442
|
Re: Restoring Rusty
Just ready your whole thread fun read. Make sure to replace those steel freeze plugs with brass while the engine is out!!! Subscribed
__________________
Take Care Troy |
|
|
|
|
03-11-2016, 07:16 PM
|
#2937 | |
|
Post Whore
Join Date: Aug 2014
Location: Sacramento, CA
Posts: 10,803
|
Re: Restoring Rusty
Quote:
Today I went in to a different AutoZone on my way home from work, and they too only had one brass freeze plug, so I bought it. It's not easy! lol Last edited by Gregski; 03-11-2016 at 09:19 PM. |
|
|
|
|
|
03-11-2016, 09:17 PM
|
#2938 | |
|
Post Whore
Join Date: Aug 2014
Location: Sacramento, CA
Posts: 10,803
|
Re: Restoring Rusty
Quote:
On a serious note, the main reason why I don't intend to port these Vortec heads is that everyone claims they are possibly the best GM cast iron heads, well so lets compare apples to apples. My non ported non polished 882s to these non ported non polished 062s. See how I did that? See how I just got myself out of doing more work, ha ha |
|
|
|
|
|
03-11-2016, 09:37 PM
|
#2939 | |
|
Post Whore
Join Date: Aug 2014
Location: Sacramento, CA
Posts: 10,803
|
Re: Restoring Rusty
Quote:
Basically the holes of the Vortec head and the holes in the Mr. Gasket gasket do not match up, in other words they are not the same exact size. I wonder how much of that bottom 3/16ths of meat could you grind down before hitting a water jacket, or is there even a water passage below the exhaust port, honestly I don't know, and I'm too skierd to find out, ha ha Last edited by Gregski; 03-11-2016 at 09:51 PM. |
|
|
|
|
|
03-11-2016, 09:48 PM
|
#2940 |
|
Post Whore
Join Date: Aug 2014
Location: Sacramento, CA
Posts: 10,803
|
Re: Restoring Rusty
and here is how the Mr. Gasket gasket holes match up with the HOOKER 2452 Competition header holes. Pretty good, but maybe they could use a little grindage also, but its risky, as you could cut through the weld and there are thinner walled pipes behind there.
|
|
|
|
|
03-11-2016, 10:05 PM
|
#2941 |
|
Post Whore
Join Date: Aug 2014
Location: Sacramento, CA
Posts: 10,803
|
Re: Restoring Rusty
Gentlemen riddle me this:
What are these two small threaded holes for in the back of the engine block one behind each cylinder head? |
|
|
|
|
03-11-2016, 10:34 PM
|
#2942 |
|
Registered User
Join Date: Jan 2009
Location: Calgary, AB
Posts: 1,181
|
Re: Restoring Rusty
Silly Greg I wasn't talking about that side lol. I was talking about intake manifold sides.
|
|
|
|
|
03-12-2016, 03:15 AM
|
#2943 | |
|
Registered User
Join Date: Oct 2008
Location: Livermore ca
Posts: 699
|
Re: Restoring Rusty
Quote:
|
|
|
|
|
|
03-12-2016, 08:19 AM
|
#2944 |
|
Registered User
Join Date: Aug 2005
Location: Louisiana
Posts: 711
|
Re: Restoring Rusty
Greg, do not remove any material from the bottom/floor of the exhaust port. Doing so will actually hurt flow.
Felpro 1444 fits the stock Vortec exhaust ports well. |
|
|
|
|
03-12-2016, 11:43 AM
|
#2945 | |
|
Post Whore
Join Date: Aug 2014
Location: Sacramento, CA
Posts: 10,803
|
Re: Restoring Rusty
Quote:
|
|
|
|
|
|
03-12-2016, 11:43 AM
|
#2946 | |
|
Post Whore
Join Date: Aug 2014
Location: Sacramento, CA
Posts: 10,803
|
Re: Restoring Rusty
Quote:
|
|
|
|
|
|
03-12-2016, 11:45 AM
|
#2947 | |
|
Post Whore
Join Date: Aug 2014
Location: Sacramento, CA
Posts: 10,803
|
Re: Restoring Rusty
Quote:
|
|
|
|
|
|
03-12-2016, 03:11 PM
|
#2948 |
|
Post Whore
Join Date: Aug 2014
Location: Sacramento, CA
Posts: 10,803
|
Re: Restoring Rusty
got the driver side cylinder head all cleaned up just need to disassemble it next to clean the valves, I think it cleaned up pretty good, the black spotting you see that's just black paint from when it was factory painted and not grease
|
|
|
|
|
03-12-2016, 03:13 PM
|
#2949 |
|
Post Whore
Join Date: Aug 2014
Location: Sacramento, CA
Posts: 10,803
|
Re: Restoring Rusty
just a little stare and compare at the way she looked when I got her and now after a short wire brush session
I should show a similar comparison of me before (clean) and after (dirty) after I transffered all the grease and grime from this head and on to myself |
|
|
|
|
03-12-2016, 03:17 PM
|
#2950 |
|
Post Whore
Join Date: Aug 2014
Location: Sacramento, CA
Posts: 10,803
|
Re: Restoring Rusty
got the crank pulley cleaned
|
|
|
|
 |
| Bookmarks |
|
|


 Linear Mode

