
|
 07-17-2009, 09:37 PM
|
#26 |
|
Registered User
 Join Date: Mar 2007
Location: Denver, CO
Posts: 247
|
Re: Check it out
When you smoothed the firewall how did you deal with the horizontal seam that runs through it? I want my firewall to look just like yours. I'm pulling my engine tomorrow to start smoothing and start my Porterbuilt C4 dropmember install.
__________________
Ryan 84  SWB, C4 IFS Crossmember, C4 IRS, RE7 bags, WCC 3pc 22"s SWB, C4 IFS Crossmember, C4 IRS, RE7 bags, WCC 3pc 22"sMy reBuild: http://67-72chevytrucks.com/vboard/s...d.php?t=346328 |

|

|
|
07-19-2009, 05:30 PM
|
#27 | |
|
Registered User
Join Date: Mar 2007
Location: PHOENIX, ARIZONA
Posts: 123
|
Re: Check it out
Quote:
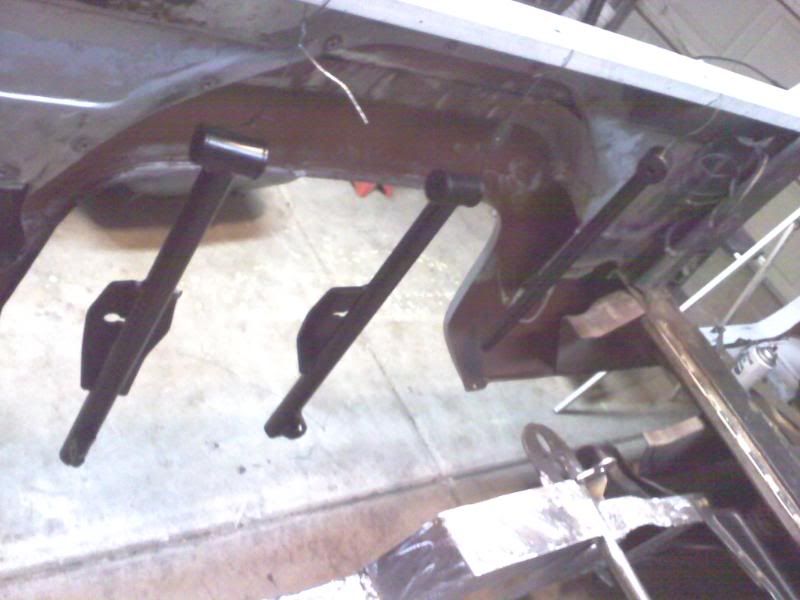
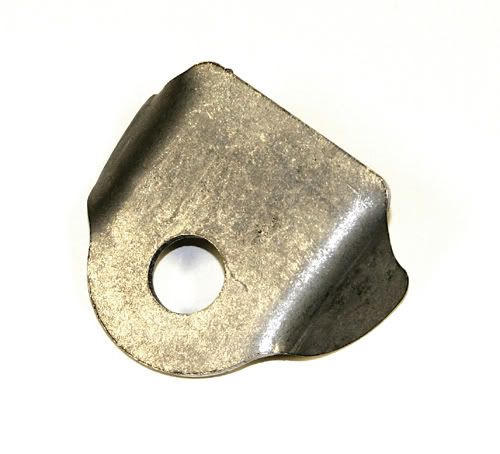 (these tabs will go on the bridge bar with shock bolts like the ones in the bottom picture) 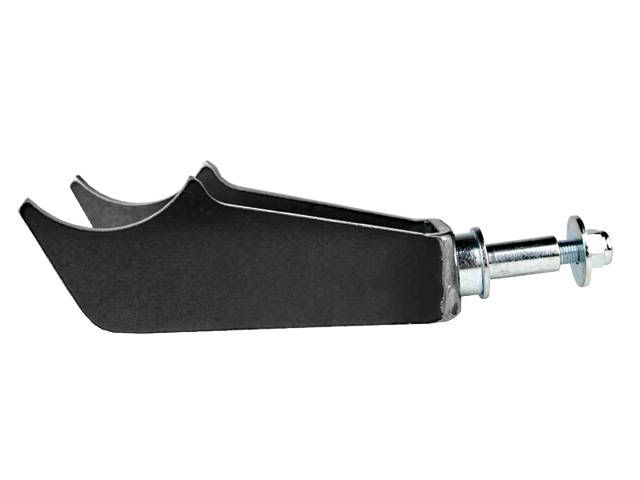 (these are from *****************) ... but first I need to install the panhard bar. The whole pinion angle thing. I'll post some pictures of it as soon as I get that done 
__________________
MY DAD HAD A SAYING " DO IT RIGHT OR GET THE F**K OUTA HERE!" http://s657.photobucket.com/albums/u...view=slideshow Last edited by MI2CHEVYS; 07-08-2010 at 01:30 AM. Reason: updated pictures |
|
|
|
|
|
07-19-2009, 05:48 PM
|
#28 | |
|
Registered User
Join Date: Mar 2007
Location: PHOENIX, ARIZONA
Posts: 123
|
Re: Check it out
Quote:
Well first I used a wire wheel to remove all the factory seam sealer (black sh*t), then I found some rust so I had to cut that out and patch in some pieces and grind the welds down. I also had to use a hammer and dolly to get the seam flat in some areas and tacked it down with a few welds and grind some more. Then fill the seam with all-metal body filler and sand smooth. Good Luck its a pain in the ass, but its worth it in the end. (  that sounds funny) that sounds funny)
__________________
MY DAD HAD A SAYING " DO IT RIGHT OR GET THE F**K OUTA HERE!" http://s657.photobucket.com/albums/u...view=slideshow |
|
|
|
|
|
07-20-2009, 03:46 PM
|
#29 | |
|
its just $$$$$
Join Date: Jul 2003
Location: OK
Posts: 2,078
|
Re: Check it out
Quote:
|
|
|
|
|
|
07-25-2009, 01:45 AM
|
#30 | |
|
Registered User
Join Date: Mar 2007
Location: PHOENIX, ARIZONA
Posts: 123
|
Re: Check it out
Quote:
__________________
MY DAD HAD A SAYING " DO IT RIGHT OR GET THE F**K OUTA HERE!" http://s657.photobucket.com/albums/u...view=slideshow |
|
|
|
|
|
04-14-2010, 12:18 AM
|
#31 |
|
Registered User
Join Date: Mar 2007
Location: PHOENIX, ARIZONA
Posts: 123
|
Re: Check it out
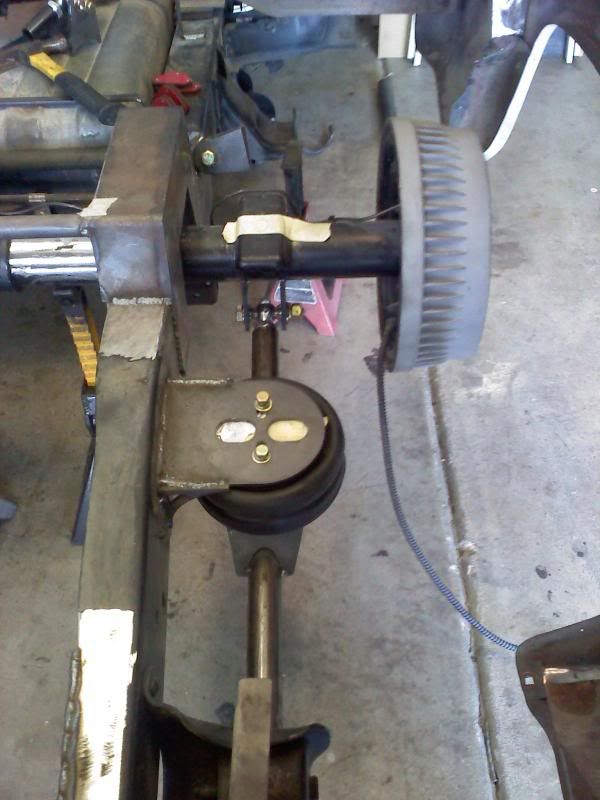
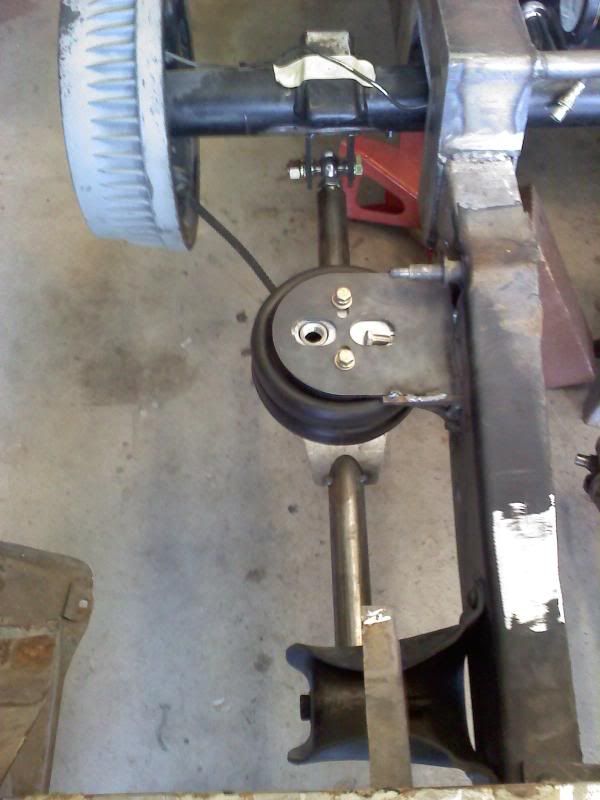
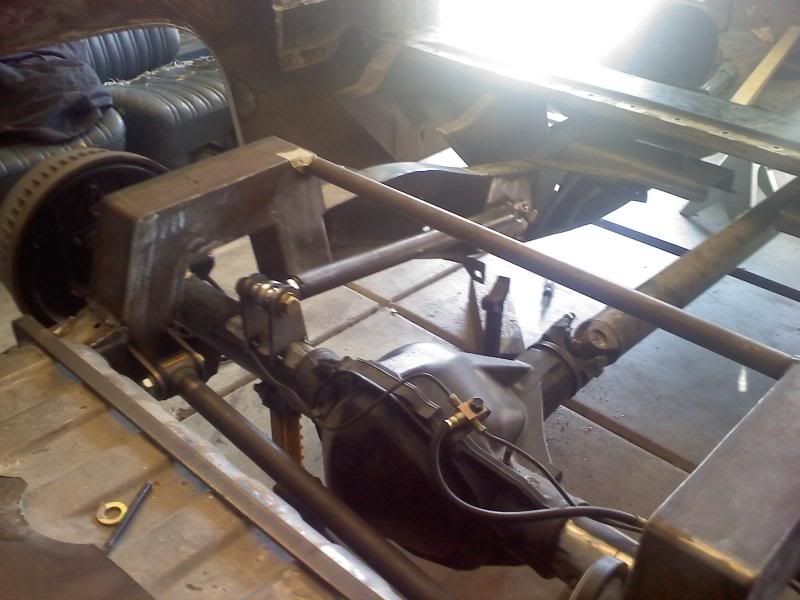
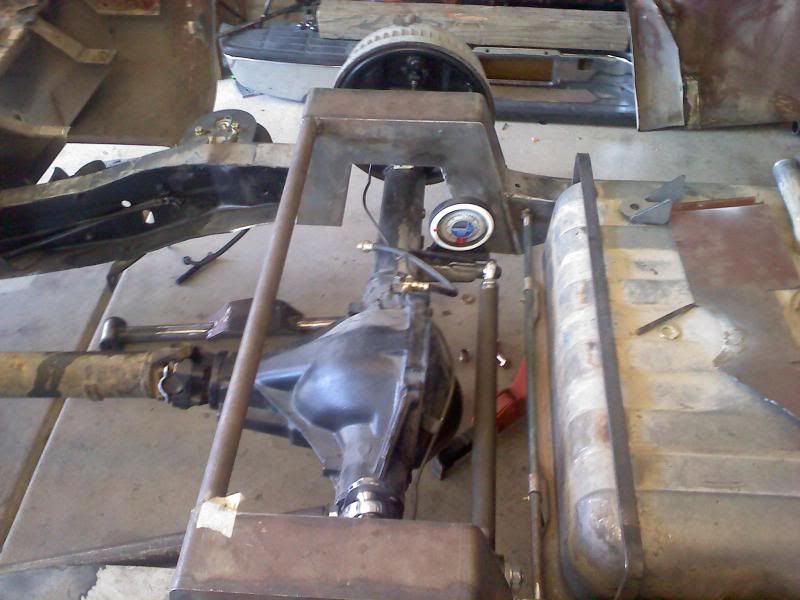
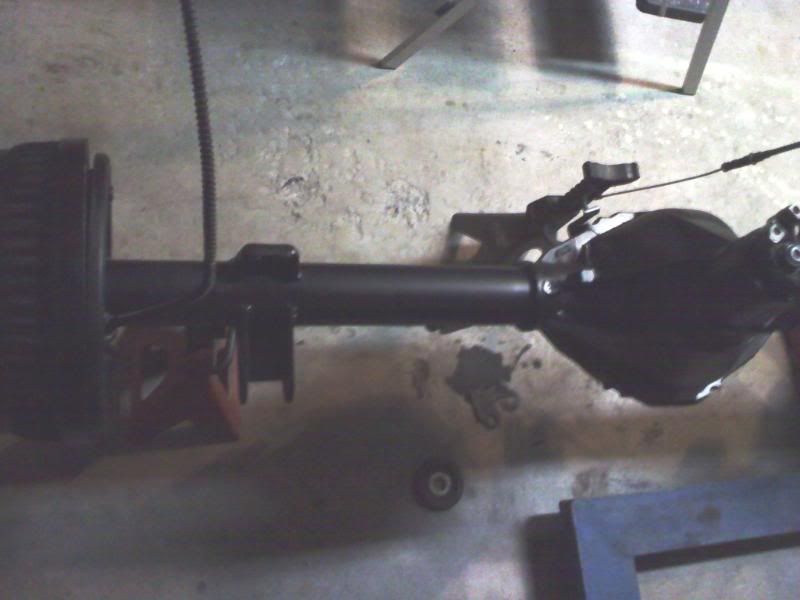
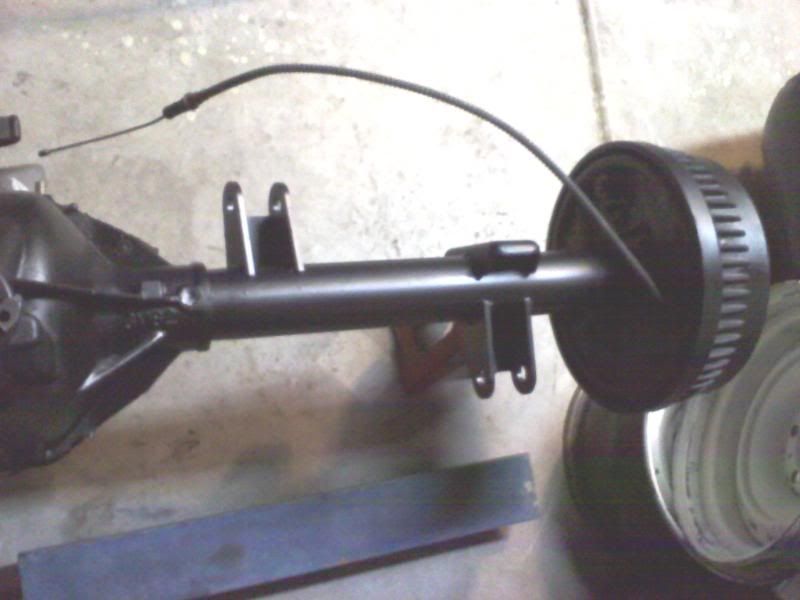
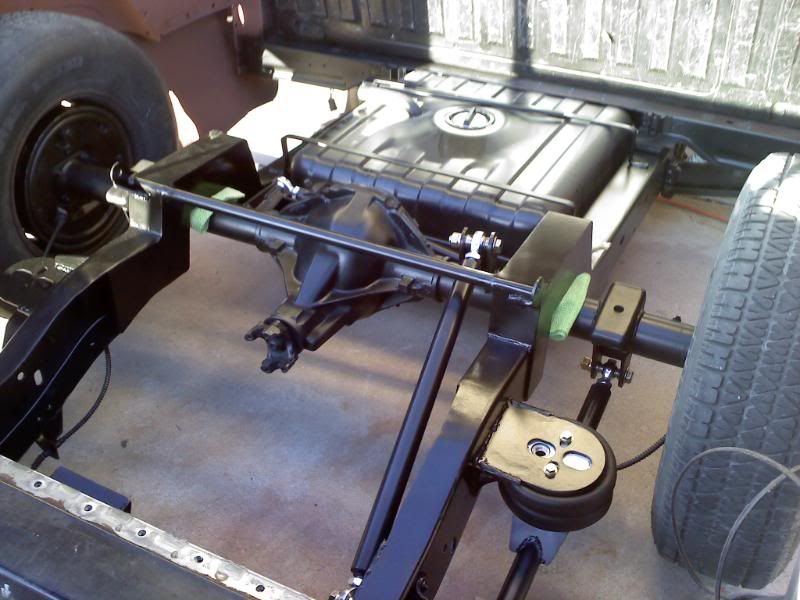
I've been busy redoing the rear supension and this is what i came up with. It travels fine without any bineding and the pinion angle doesn't change a bit.
__________________
MY DAD HAD A SAYING " DO IT RIGHT OR GET THE F**K OUTA HERE!" http://s657.photobucket.com/albums/u...view=slideshow |
|
|
|
|
04-14-2010, 08:18 AM
|
#32 |
|
Low & Fast!
Join Date: Jan 2007
Location: Knoxville, TN
Posts: 3,110
|
Re: Check it out
Man I like that, I want to use my stock hanger like that too. How long is that outer link to the hanger?
__________________
|
|
|
|
|
04-15-2010, 03:39 AM
|
#33 | |
|
Registered User
Join Date: Mar 2007
Location: PHOENIX, ARIZONA
Posts: 123
|
Re: Check it out
Quote:
__________________
MY DAD HAD A SAYING " DO IT RIGHT OR GET THE F**K OUTA HERE!" http://s657.photobucket.com/albums/u...view=slideshow |
|
|
|
|
|
04-15-2010, 05:51 PM
|
#34 |
|
Registered User
Join Date: Mar 2007
Location: PHOENIX, ARIZONA
Posts: 123
|
Re: Check it out
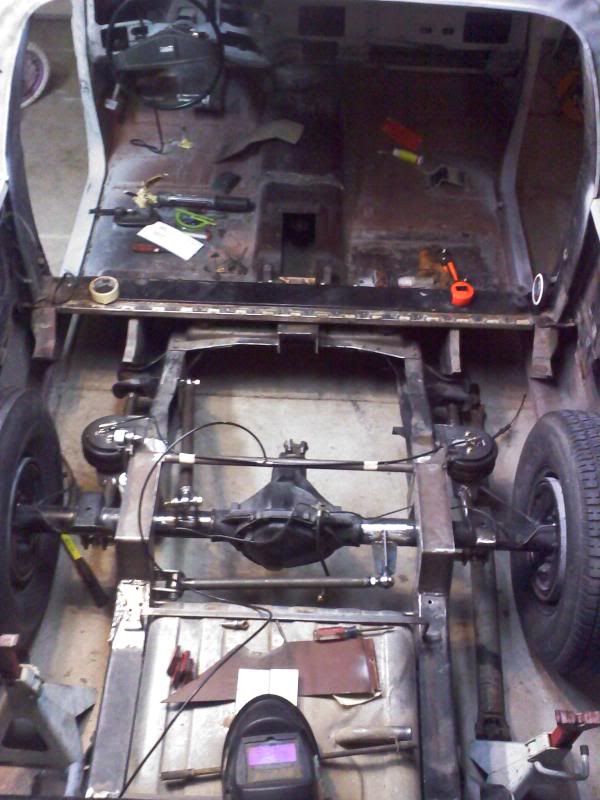
here is a cool pic...
__________________
MY DAD HAD A SAYING " DO IT RIGHT OR GET THE F**K OUTA HERE!" http://s657.photobucket.com/albums/u...view=slideshow |
|
|
|
|
04-16-2010, 12:37 PM
|
#35 |
|
Low & Fast!
Join Date: Jan 2007
Location: Knoxville, TN
Posts: 3,110
|
Re: Check it out
I just saved that pic! And nice work!

__________________
|
|
|
|
|
04-17-2010, 12:37 PM
|
#36 |
|
Registered User
Join Date: Mar 2007
Location: PHOENIX, ARIZONA
Posts: 123
|
Re: Check it out
Thanks again I appreciate it.
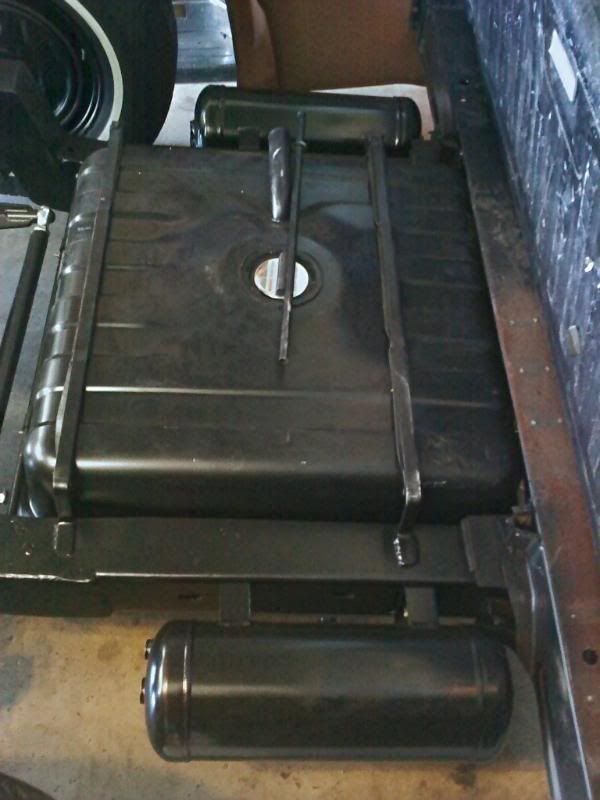
Here is an update on the shocks. Now its time to take it all apart to weld it up permanent and paint it all (the frame and suspension). 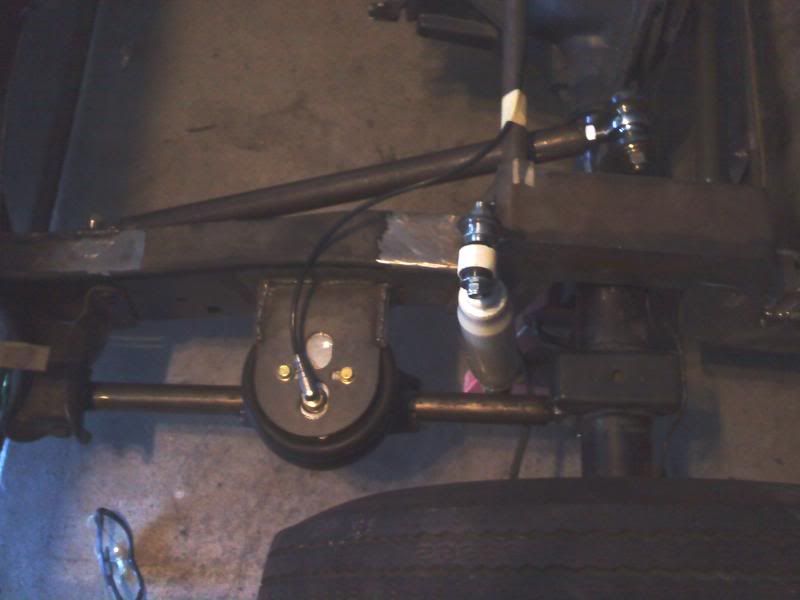 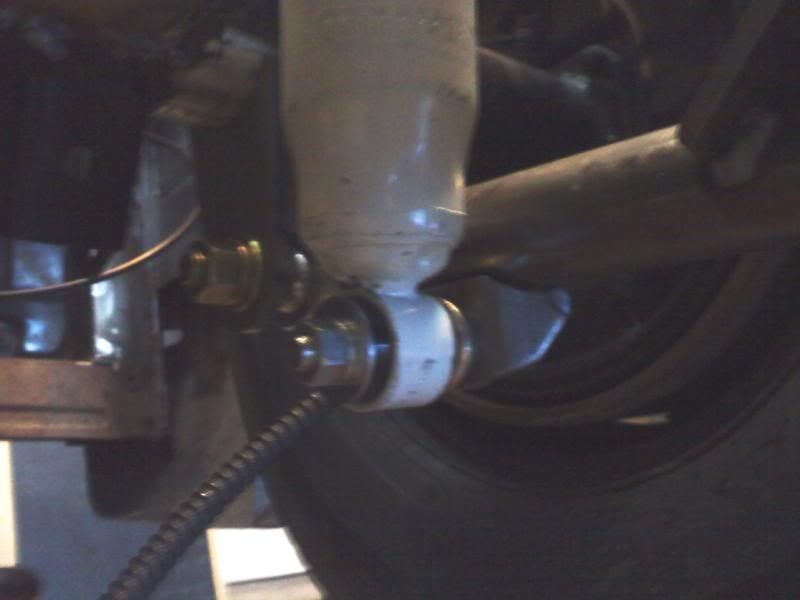 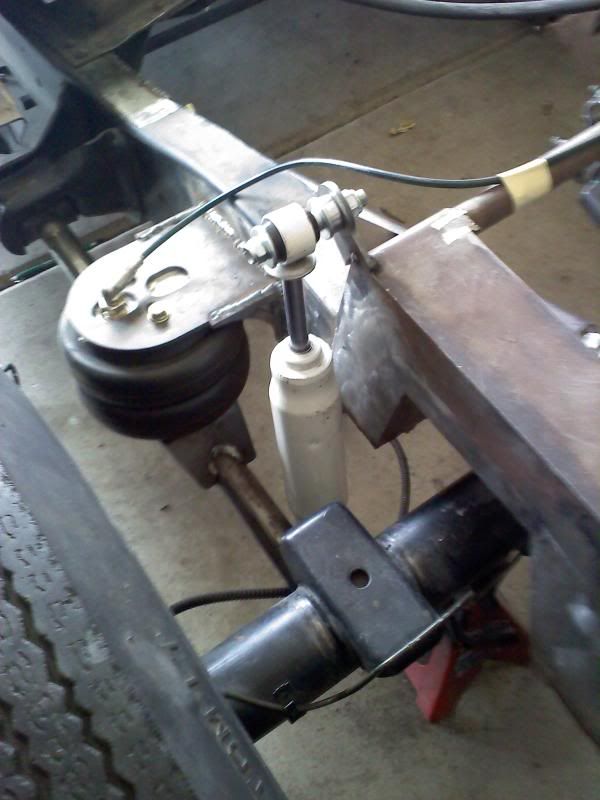 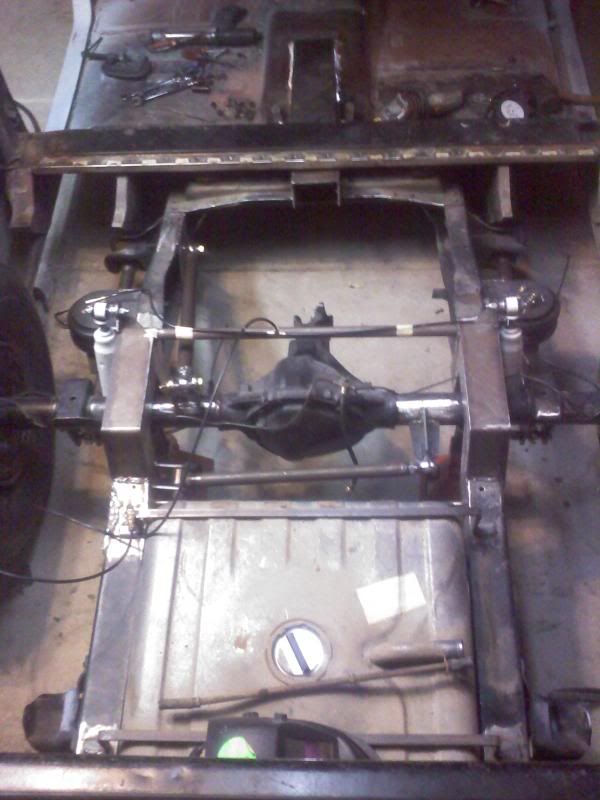
__________________
MY DAD HAD A SAYING " DO IT RIGHT OR GET THE F**K OUTA HERE!" http://s657.photobucket.com/albums/u...view=slideshow |
|
|
|
|
04-30-2010, 01:33 AM
|
#37 |
|
Registered User
Join Date: Mar 2007
Location: PHOENIX, ARIZONA
Posts: 123
|
Re: Check it out
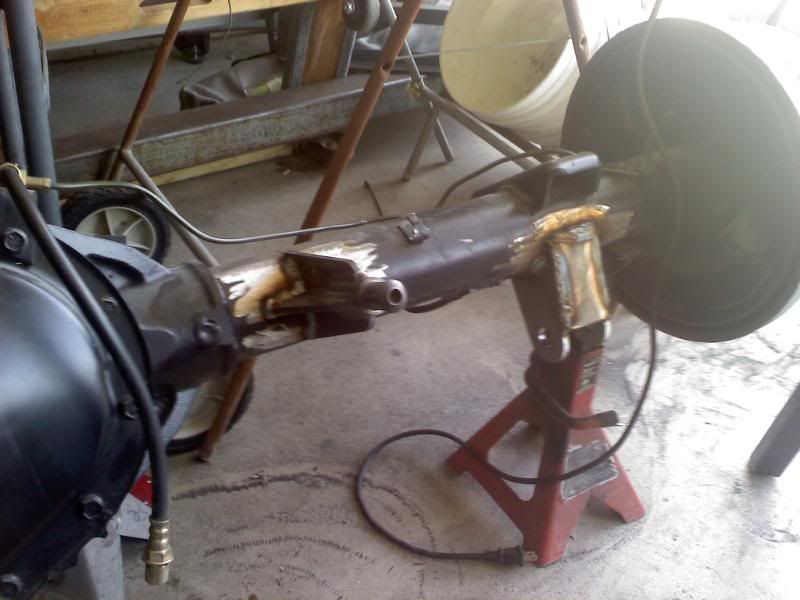
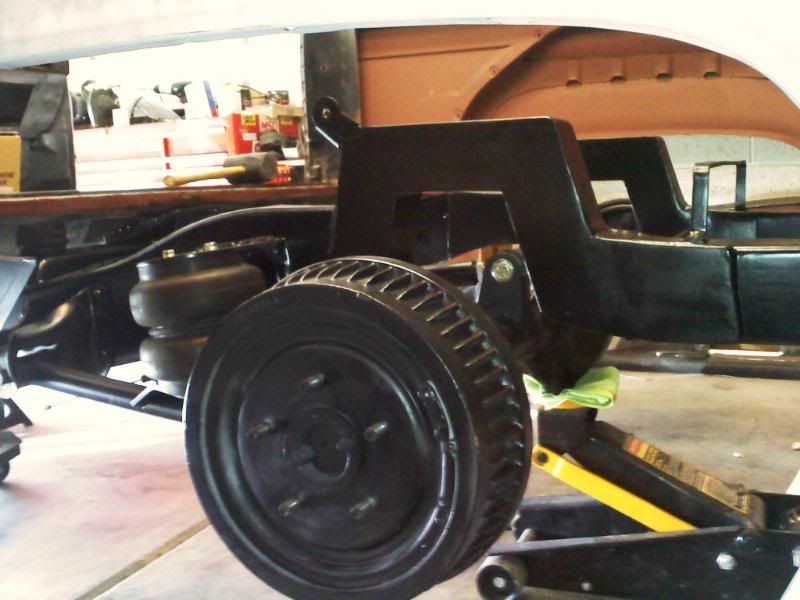
Well I finally welded up all the tabs on the axle tubes and made some braces for the rear of them to strengthen them. I even got to paint some parts.
__________________
MY DAD HAD A SAYING " DO IT RIGHT OR GET THE F**K OUTA HERE!" http://s657.photobucket.com/albums/u...view=slideshow |
|
|
|
|
06-22-2010, 02:30 AM
|
#38 |
|
Registered User
Join Date: Mar 2007
Location: PHOENIX, ARIZONA
Posts: 123
|
Re: Check it out
Well guys I was able to get some more things painted and put together.
   I even got the motor in to mock up my headers. They fit very well. I just need to do something about the air cleaner. 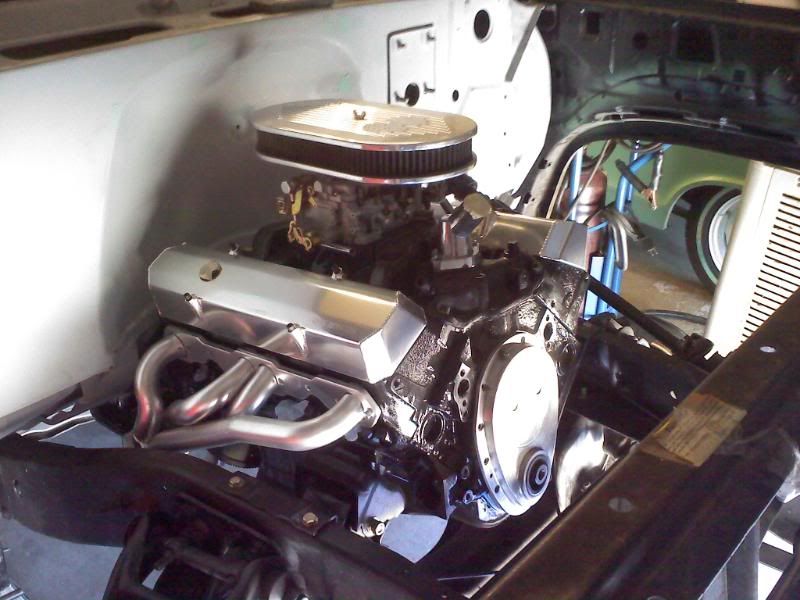
__________________
MY DAD HAD A SAYING " DO IT RIGHT OR GET THE F**K OUTA HERE!" http://s657.photobucket.com/albums/u...view=slideshow |
|
|
|
|
06-22-2010, 01:39 PM
|
#39 |
|
Registered User
Join Date: Dec 2008
Location: Silverhill, Al
Posts: 2,026
|
Re: Check it out
rear set up looks great, nice work!
__________________
Fuzzy Dice Club Member 87 Crew SWB Build for the crew http://67-72chevytrucks.com/vboard/s...d.php?t=430082 http://www.cardomain.com/ride/3232925 90 burb 2wd Build Thread For The Burb! http://67-72chevytrucks.com/vboard/s...d.php?t=383055 |
|
|
|
|
06-23-2010, 10:51 AM
|
#40 |
|
Registered User
Join Date: Mar 2007
Location: Denver, CO
Posts: 247
|
Re: Check it out
Nice progress!
__________________
Ryan 84 SWB, C4 IFS Crossmember, C4 IRS, RE7 bags, WCC 3pc 22"sMy reBuild: http://67-72chevytrucks.com/vboard/s...d.php?t=346328 |
|
|
|
|
07-04-2010, 08:57 AM
|
#41 |
|
Low & Fast!
Join Date: Jan 2007
Location: Knoxville, TN
Posts: 3,110
|
Re: Check it out
Looks very good!
__________________
|
|
|
|
|
07-04-2010, 08:59 AM
|
#42 |
|
Account Suspended
Join Date: Jun 2009
Location: kansas city Ks
Posts: 1,970
|
Re: Check it out
Looks good! What headers did you use?
|
|
|
|
|
07-05-2010, 06:40 PM
|
#43 | |
|
Low & Fast!
Join Date: Jan 2007
Location: Knoxville, TN
Posts: 3,110
|
Re: Check it out
Quote:
Thank you sir.. Trav
__________________
|
|
|
|
|
|
07-07-2010, 03:30 AM
|
#44 |
|
Registered User
Join Date: Mar 2007
Location: PHOENIX, ARIZONA
Posts: 123
|
Re: Check it out
Let me go and measure for you... Yes 2.5". I used the leafspring for refrence. I bought all my steel at the local steel yard. The only things I got from them (S D) were the mounts for the bags and the panhard bar. I made all the other parts from scratch.
Your are welcome and Thank you, it means a lot to me that like my work.
__________________
MY DAD HAD A SAYING " DO IT RIGHT OR GET THE F**K OUTA HERE!" http://s657.photobucket.com/albums/u...view=slideshow |
|
|
|
|
07-07-2010, 08:28 PM
|
#45 | |
|
Low & Fast!
Join Date: Jan 2007
Location: Knoxville, TN
Posts: 3,110
|
Re: Check it out
Quote:
__________________
|
|
|
|
|
|
07-07-2010, 09:40 PM
|
#46 |
|
Low & Fast!
Join Date: Jan 2007
Location: Knoxville, TN
Posts: 3,110
|
Re: Check it out
Can you add some of the pics back to this thread, I would like to move this to the build part of the forums so more people can see it.
Thanks, Trav
__________________
|
|
|
|
|
07-08-2010, 01:35 AM
|
#47 | |
|
Registered User
Join Date: Mar 2007
Location: PHOENIX, ARIZONA
Posts: 123
|
Re: Check it out
Quote:
__________________
MY DAD HAD A SAYING " DO IT RIGHT OR GET THE F**K OUTA HERE!" http://s657.photobucket.com/albums/u...view=slideshow |
|
|
|
|
 |
| Bookmarks |
|
|


 Linear Mode

