
|
 09-20-2018, 04:49 PM
|
#1 |
|
Registered User
Join Date: Jan 2017
Location: Panama City, FL
Posts: 120
|
Project Gumby Phase 1
Bought my first K5 on Valentines Day this year. Here's the its introduction thread http://67-72chevytrucks.com/vboard/s...d.php?t=757258. Details: 72 K5 350/350, 4x4, P/S, white top, heavy duty radiator, posi, base model i believe. Pretty much original from what I can tell, everything there but the back seat and well half the top. Drove it up on the trailer despite a seriously rusted out gas tank.
This will document my "Phase 1" build. First step is a new 87-91 K5 gas tank so i can drive it more than 15 yards without worries of it dying. Plans are to get it road worthy and reliable enough for me to enjoy it around the house and occasionally drive it to work. Body bushings while the tanks out, install 00-06 seats front and rear, remove the homemade half top, install a soft top, maybe attempt some rust repair. We shall see... When I bought her 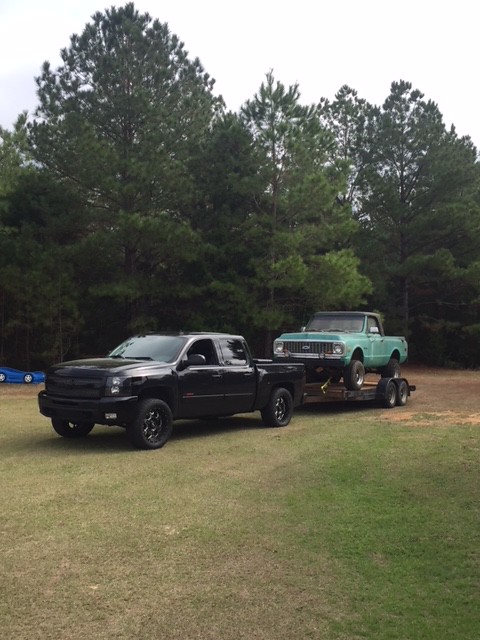 IMG_0795 IMG_0795
__________________
1972 K5 Blazer 350/350/PS/PB From GA but live in Panama City, FL Last edited by K5 MAX; 09-21-2018 at 12:16 AM. |

|

|
|
09-20-2018, 07:49 PM
|
#2 |
|
Registered User
 Join Date: Aug 2010
Location: Mooresville, NC
Posts: 2,675
|
Re: Project Gumby Phase 1
along for the ride!
__________________
Jeff 1972 Blazer CST 2wd- My son Sam's Project "S" Project "S" 1970 Suburban - SOLD "One Bad Burb" Photobucket Album 1986 C30 Crewcab - 63K original miles, original paint Members I have met: mikey531, gcburdic, bashed, burbman69, TonyPieras, Blazester, GCncsuHD, custombuilt67-72, tsnow678, highrpm, PanelDeland, tanman722001, 47thriftmaster, babyblueoval, 68stepbed, JesseWebb, Andy4639, xs-style, TobyArnot, BigOrange, frednoah, brn_agn, k5hart, Graham57a, bhelton, AJohn6, SilverC10, 69CST, '71 Flame, RaceAGMC, Liz, Josh, MattPSU, 68corvair, Chevy350V8, mdeal, ccrorymc, mrhurt73, dmxxpert, Custom68, 84GMC, BionicABs1, BigBlockBurris, Ebfabman, ATP... |
|
|
|
|
09-20-2018, 11:03 PM
|
#3 |
|
Registered User
Join Date: Jan 2017
Location: Panama City, FL
Posts: 120
|
Re: Project Gumby Phase 1
Front 01 suburban seats to go in, they've been seriously cleaned now
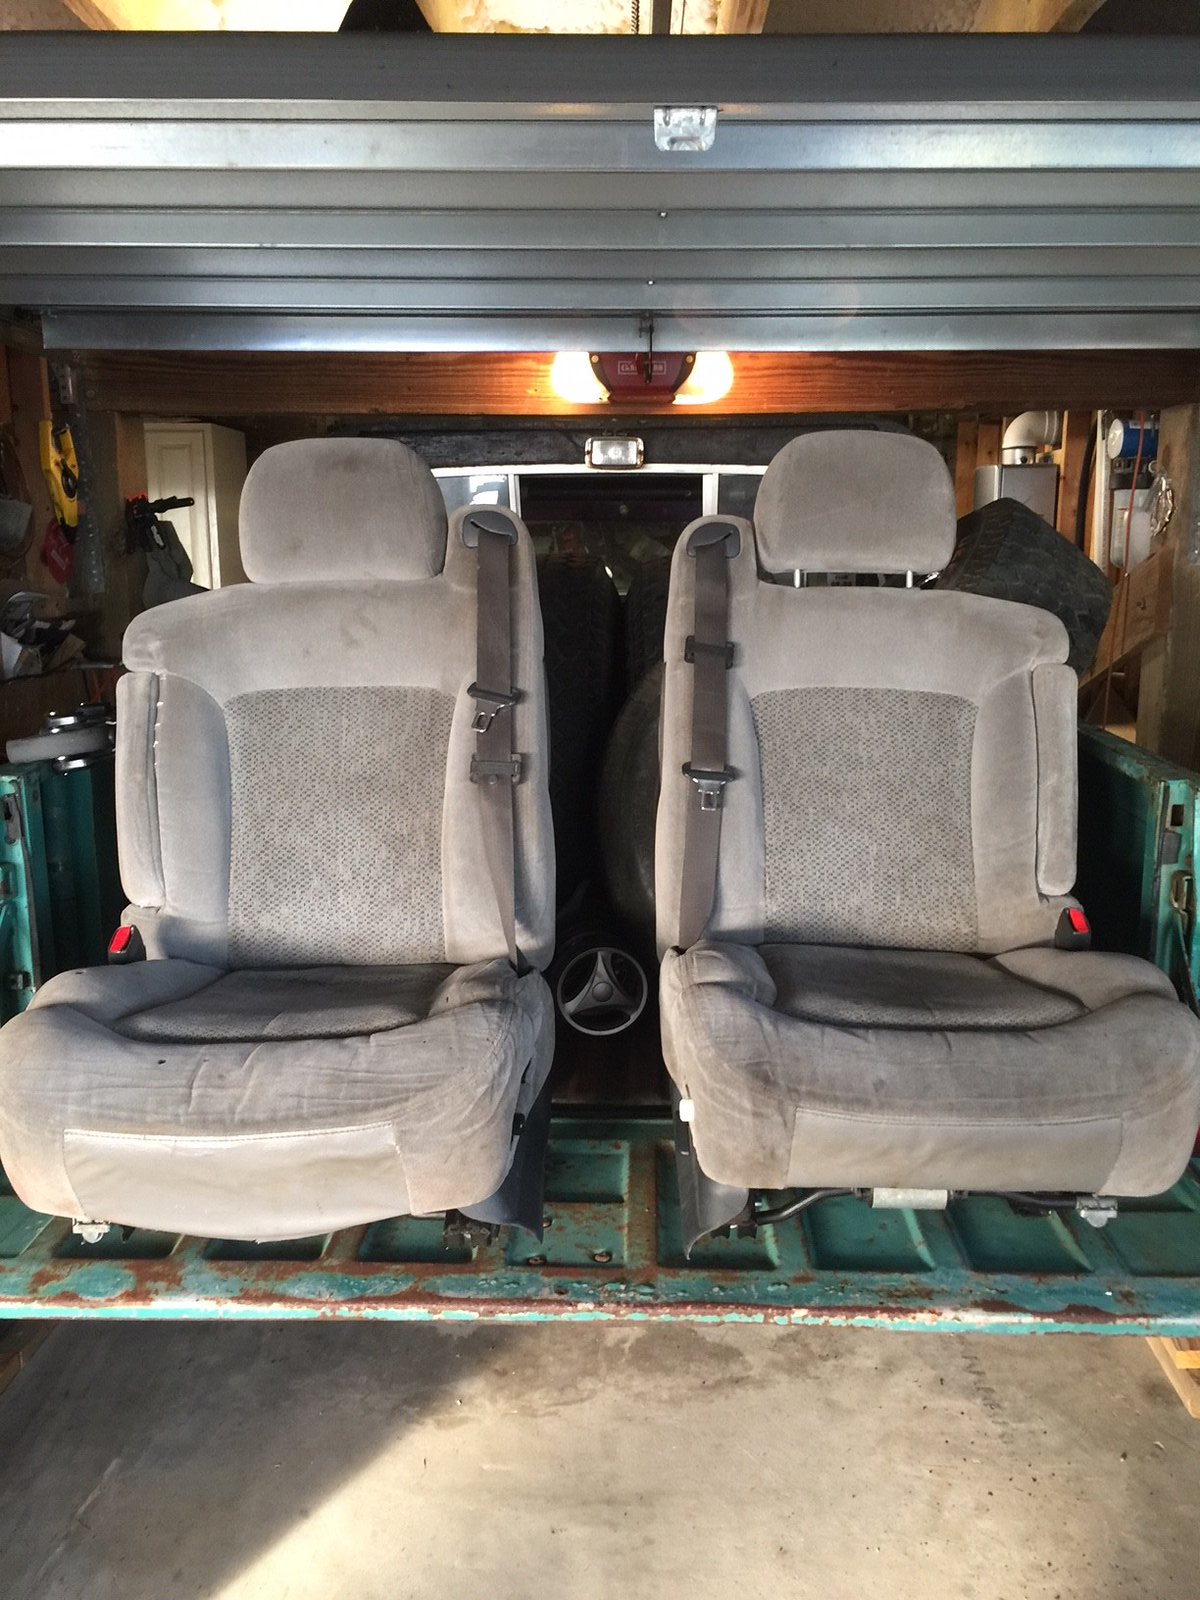 44 44Back seats to go in, got the factory hold down attachments out of the same vehicle 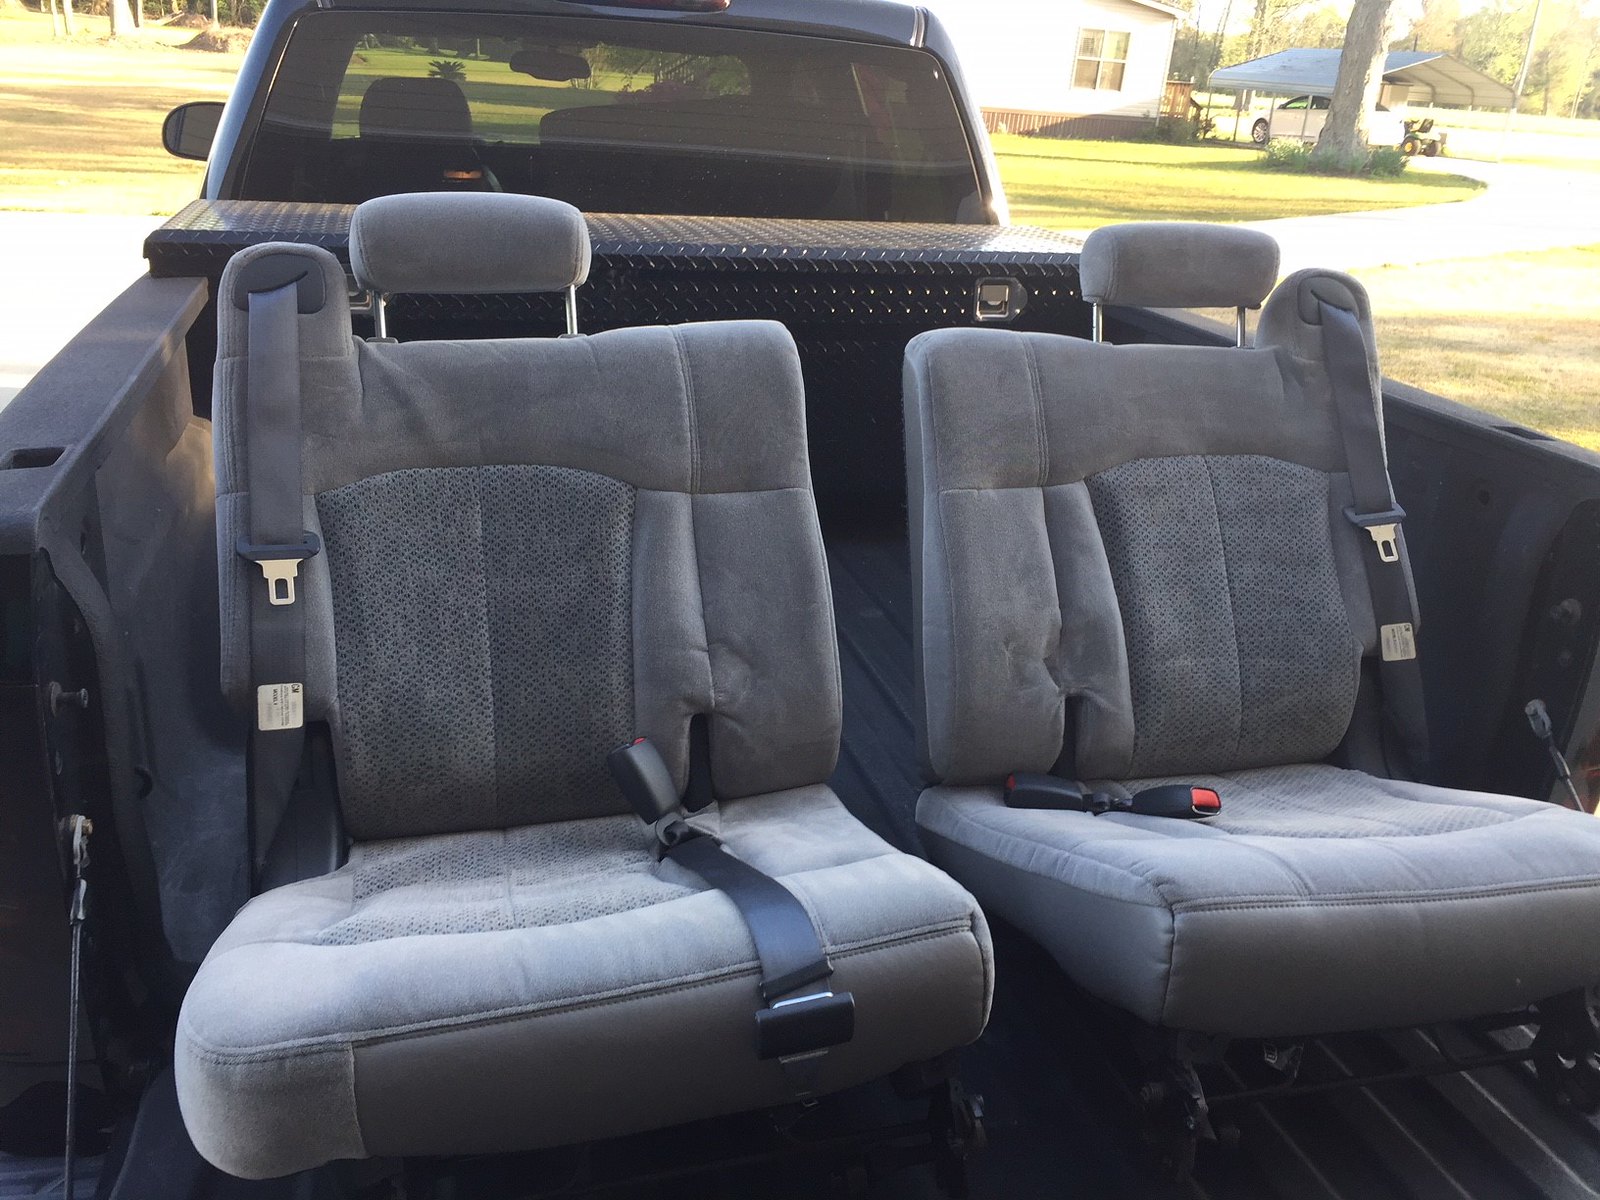 42 42Used Softopper off CL 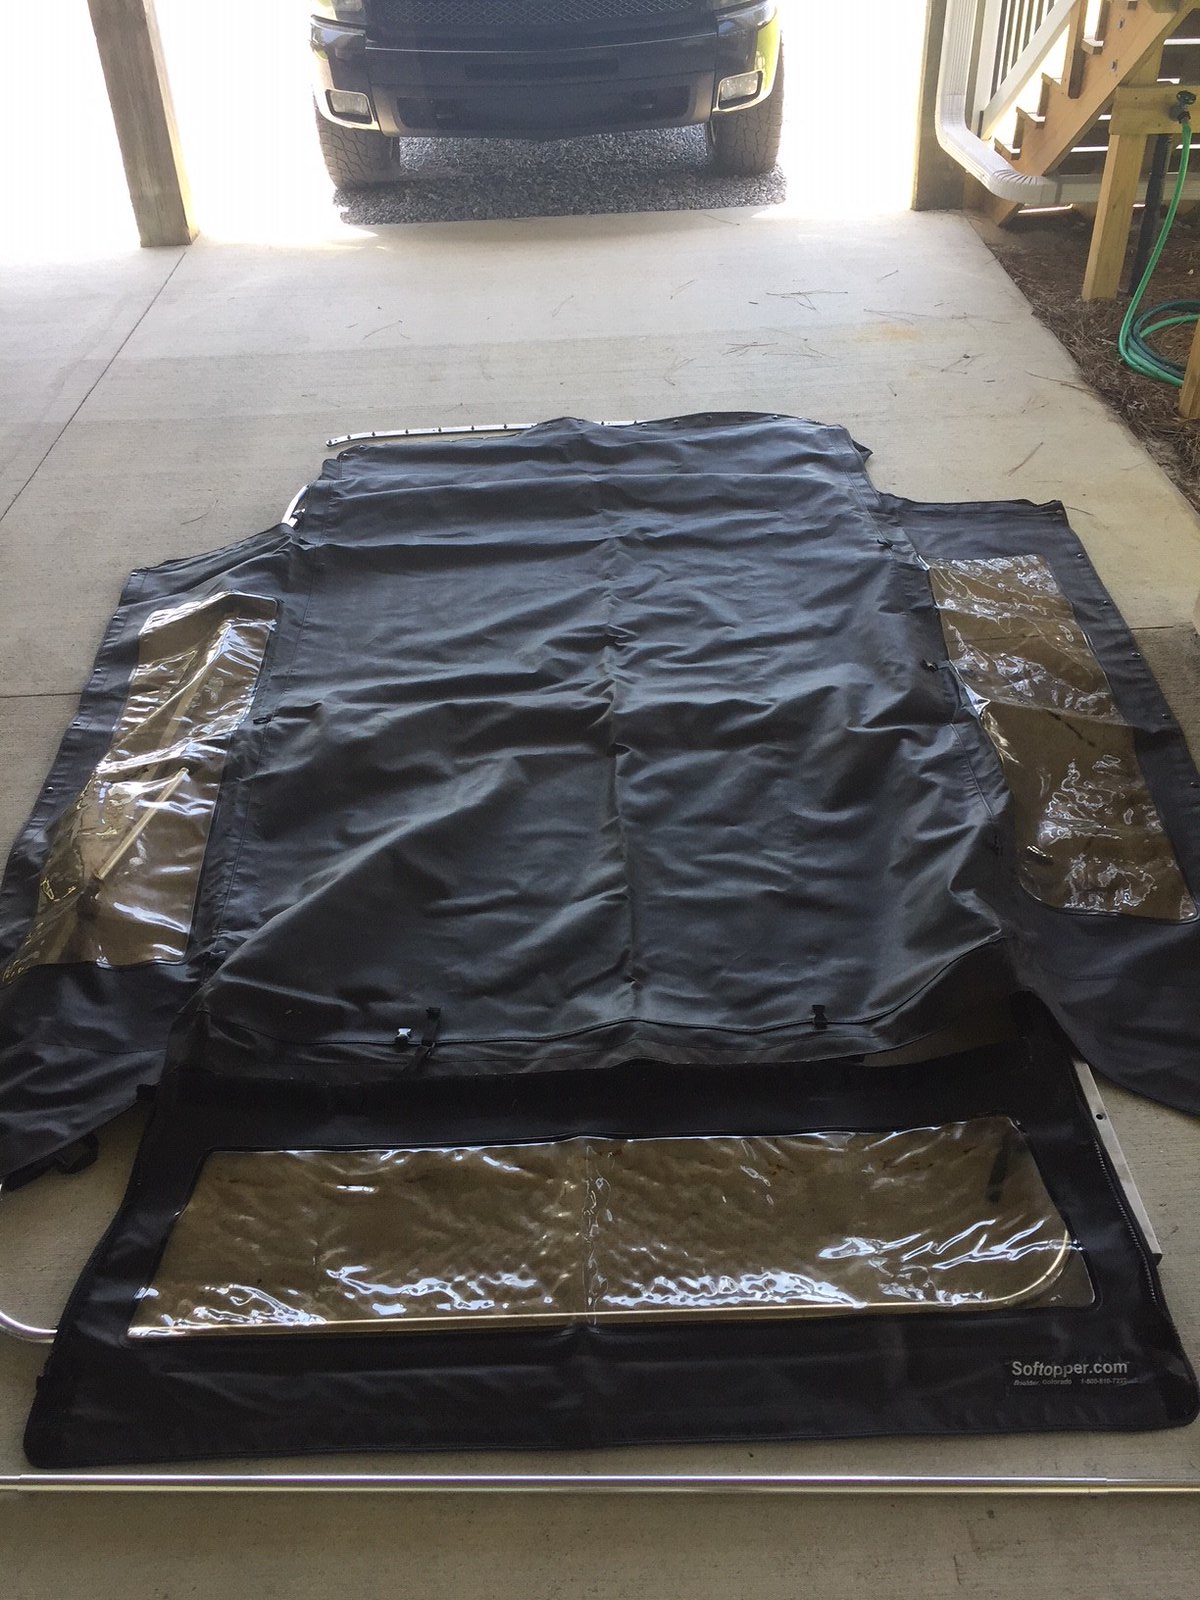 46 46 45 45 Time to remove the homemade half top, apparently somewhere along the way the top was damaged by a tree so they cut it down and made a half top, had a pickup slider back window in the back wall 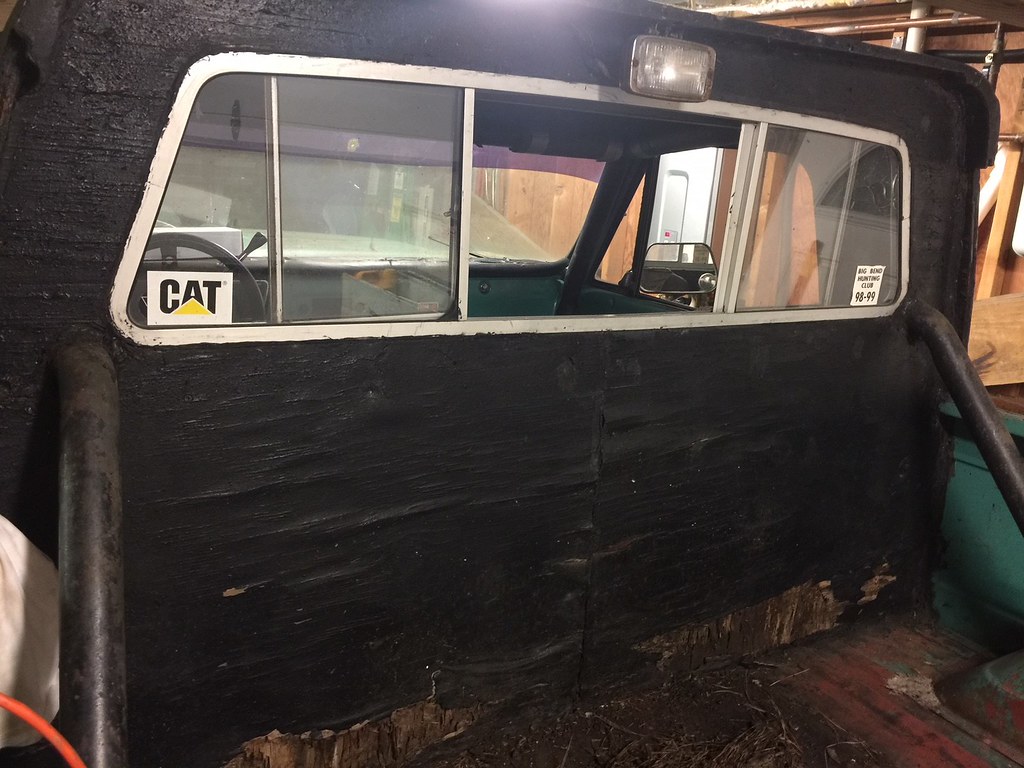 32 32 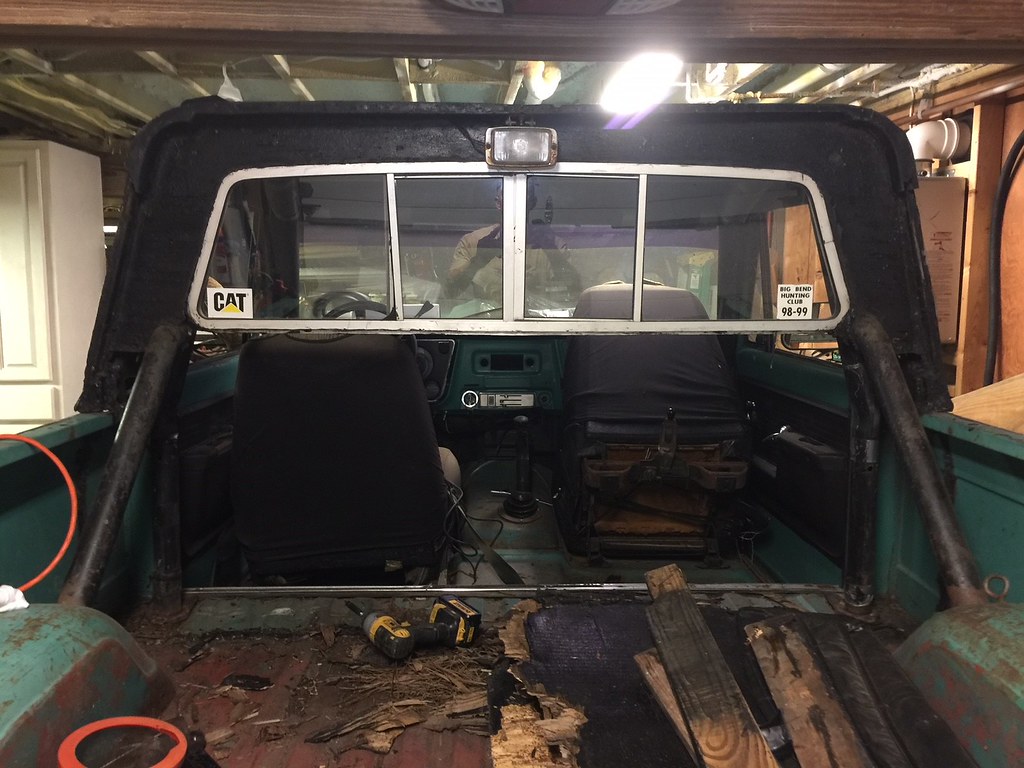 33 33 34 34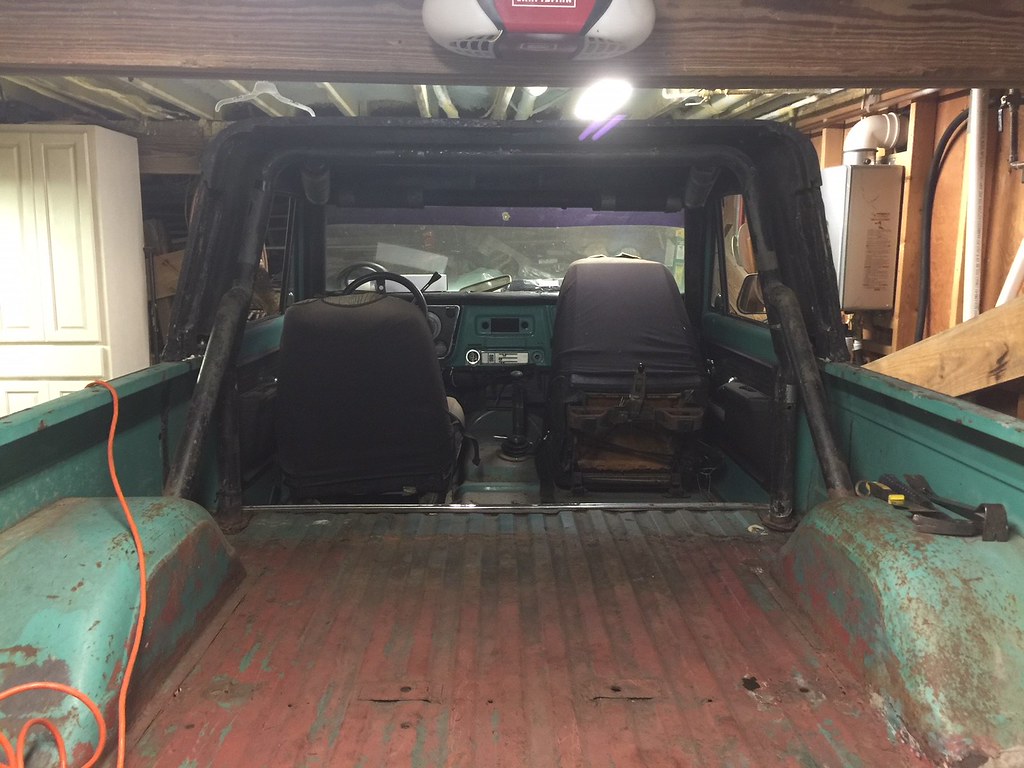 35 35 Tops off!! Set up for pressure washing the under carriage, so nasty under there 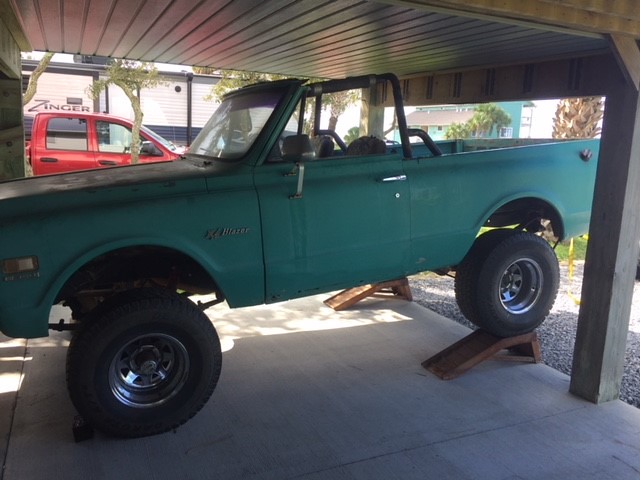 51 51 My son / helper-Maddux, 1 yr old 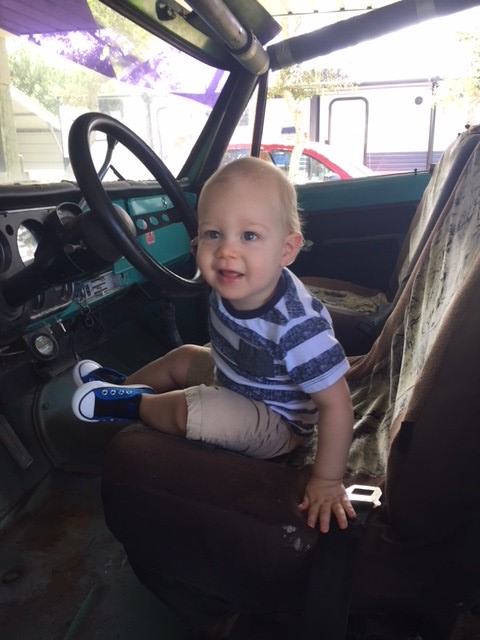 53 53
__________________
1972 K5 Blazer 350/350/PS/PB From GA but live in Panama City, FL Last edited by K5 MAX; 09-20-2018 at 11:26 PM. |
|
|
|
|
09-20-2018, 11:33 PM
|
#4 |
|
Registered User
Join Date: Jan 2017
Location: Panama City, FL
Posts: 120
|
Re: Project Gumby Phase 1
Gas tank out, before pressure washing though
 47 47 Mostly surface rust 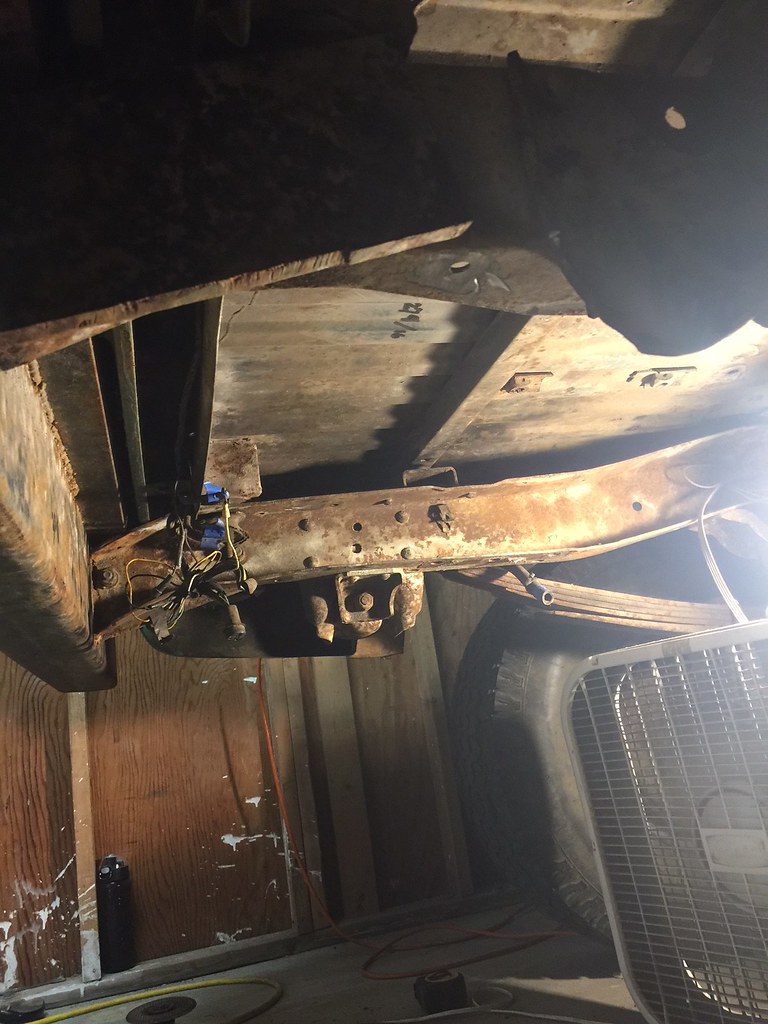 11 11 Old tank, cut the filler neck off because I wasn't sure how the 87-91 was gonna work. Didn't end up using it though. Was able to make the 87-91 work without modifying or reusing the old filler 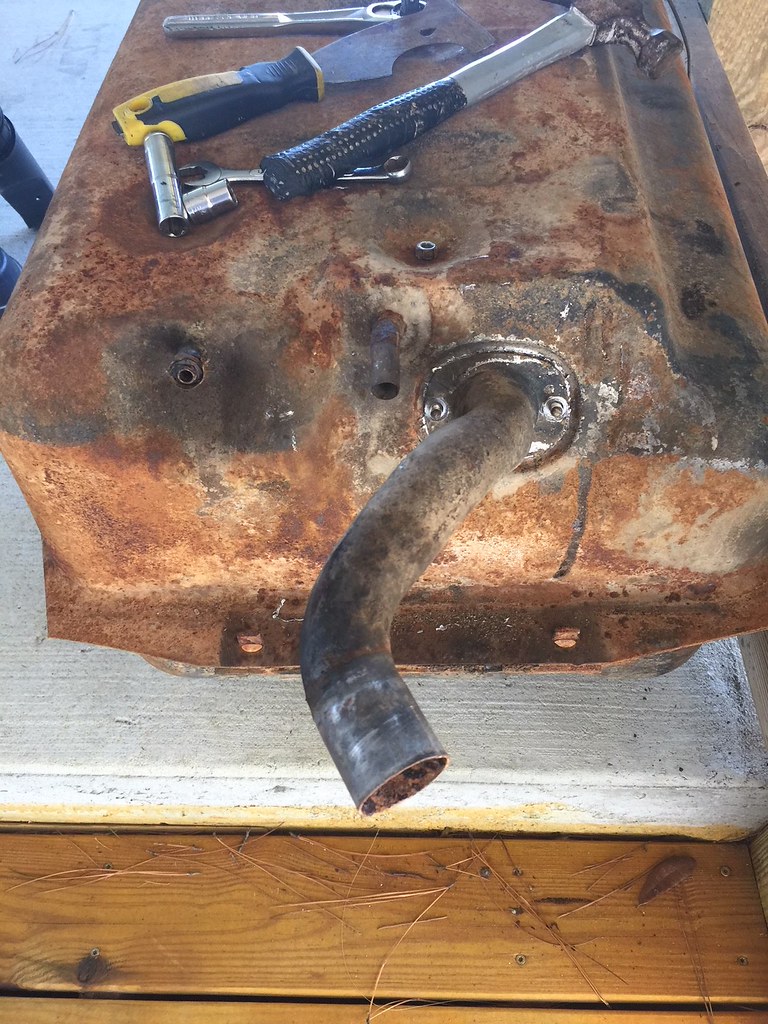 12 12Rear frame horns have been cut off for the homemade bumper that's on it. Oh well I actually don't mind the look of the bumper they built 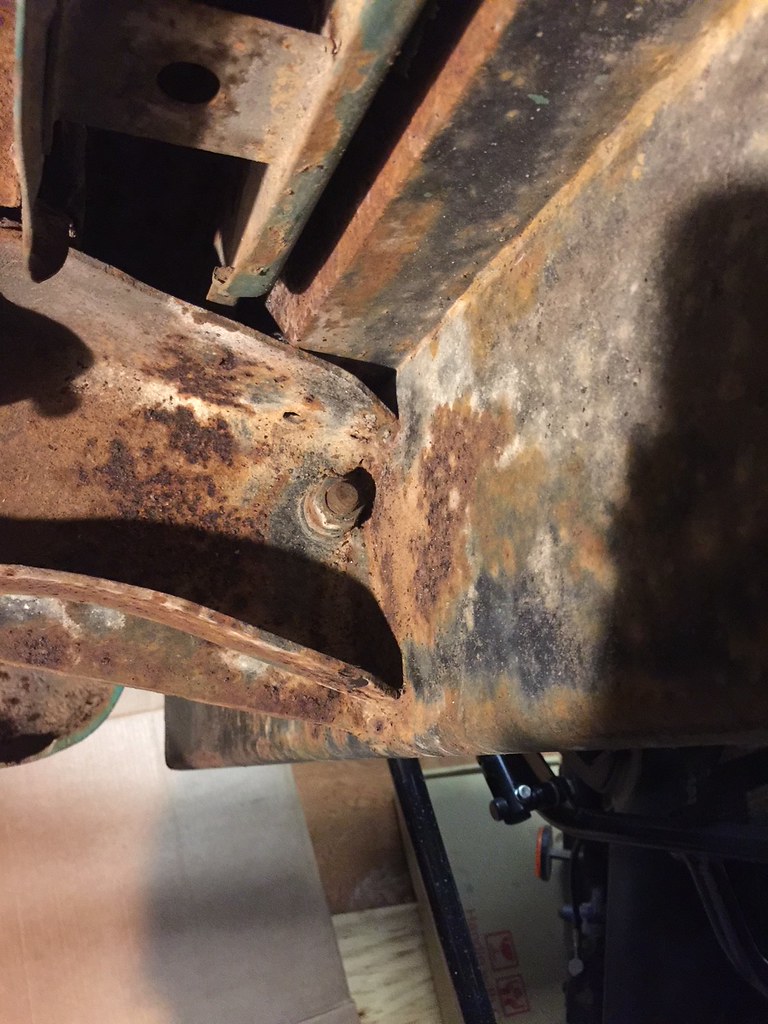 14 14
__________________
1972 K5 Blazer 350/350/PS/PB From GA but live in Panama City, FL Last edited by K5 MAX; 09-21-2018 at 12:07 AM. |
|
|
|
|
09-20-2018, 11:43 PM
|
#5 |
|
Registered User
Join Date: Jan 2017
Location: Panama City, FL
Posts: 120
|
Re: Project Gumby Phase 1
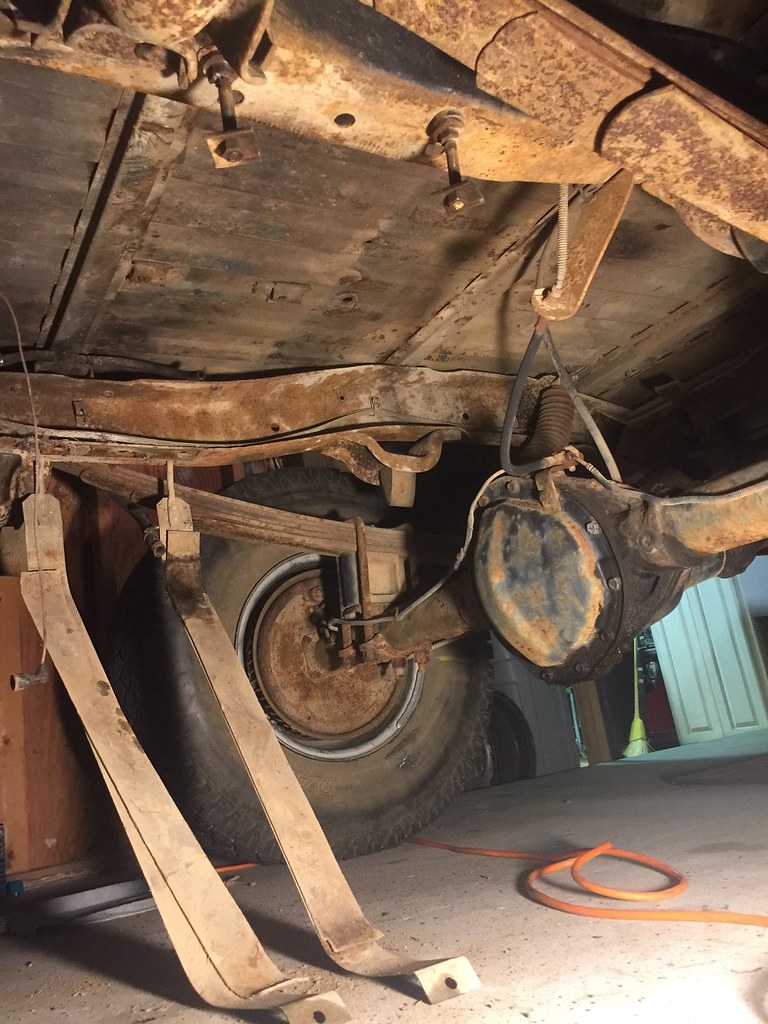
Removed the 4 rear body bolts and bushings (#2-#5) on both sides (loosened #1 under the floor boards) so I could clean the frame and body mount locations to prep for POR15 before the new body mounts and tank goes in. Gonna try to do the frame paint in sections because I don't plan to pull the body off until the full restoration happens down the road. Blocked the body so I could get to everything
My method to get the body up to block it 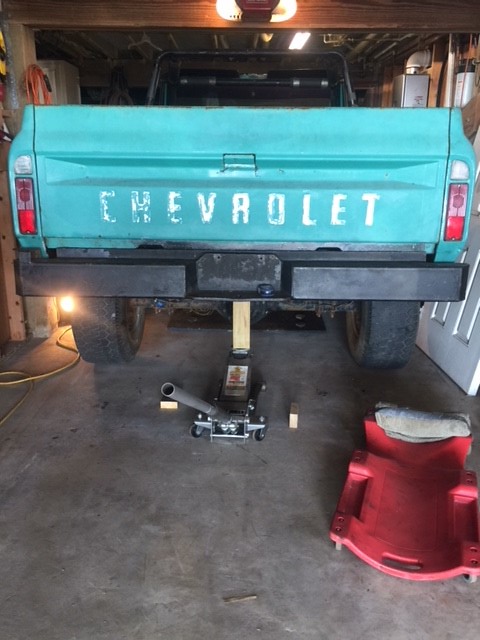 75 75 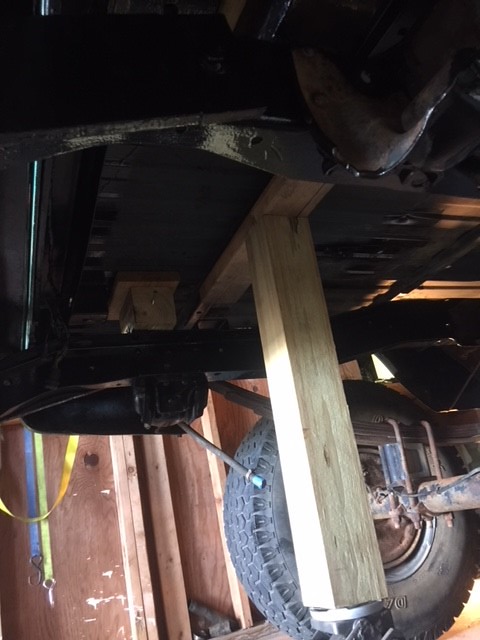 76 76 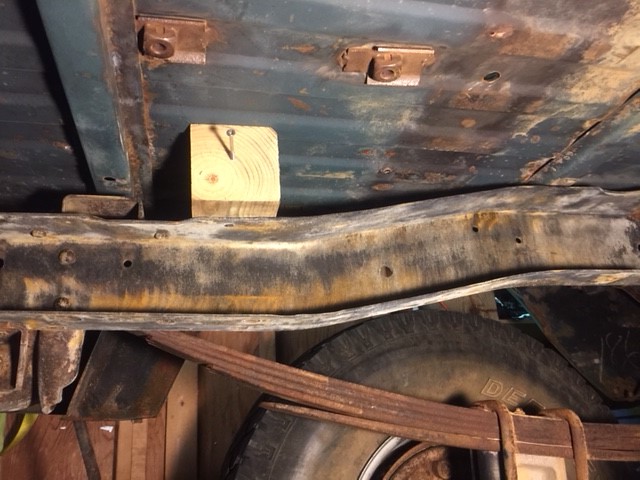 61 61 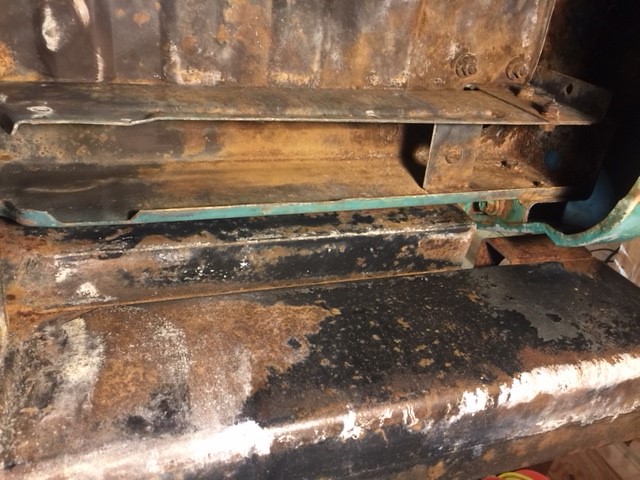 62 62 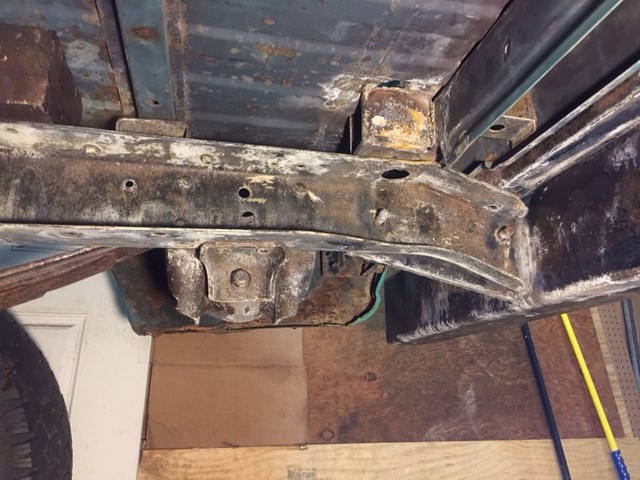 63 63 Had to remove the bracket (at the frame) that held the rear flexible brake line to the top of the axle, it was in the way of the new 31 gallon tank 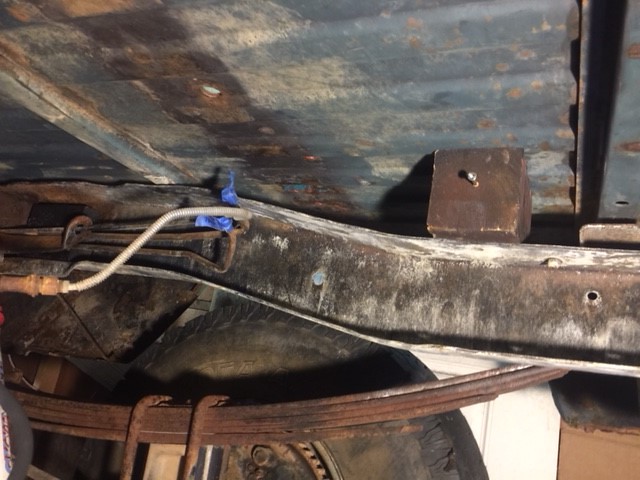 64 64
__________________
1972 K5 Blazer 350/350/PS/PB From GA but live in Panama City, FL Last edited by K5 MAX; 09-26-2018 at 11:46 AM. |
|
|
|
|
09-20-2018, 11:55 PM
|
#6 |
|
Registered User
Join Date: Jan 2017
Location: Panama City, FL
Posts: 120
|
Re: Project Gumby Phase 1
Wire wheeled everything clean that I was gonna paint, cracks in the passenger far rear body mount box, will be welded up the best I can (still learning) obviously the holes in the bed floor will need addressing but that can wait
 55 55Cracked on the other side too, on the bottom 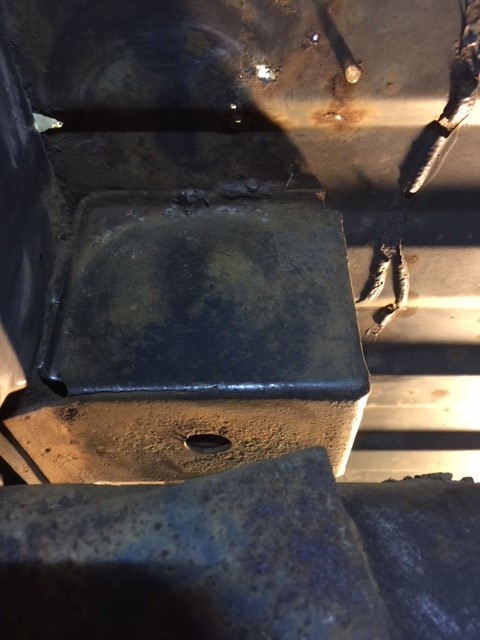 56 56 Bought all three steps from POR15; their degreaser, metal prep and satin black. Got the rear frame coated (bottom, inside the frame and top) from the axel back basically. I'll do the outside later with the wheels off. Hit some rusty spots on the underside of the body, bumper and in the rear channel under the bed to try to stop it from getting worse 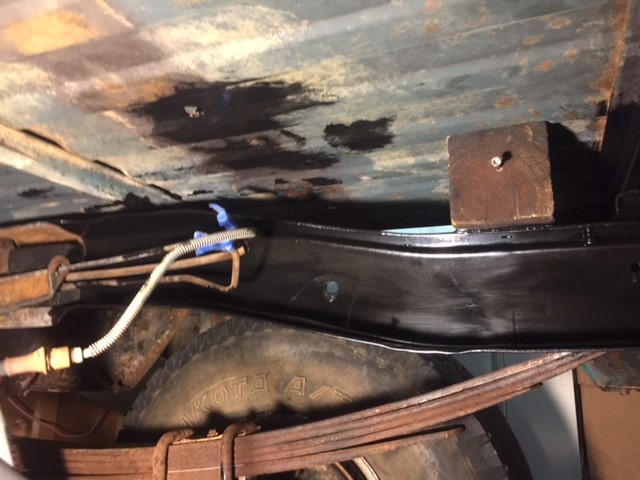 72 72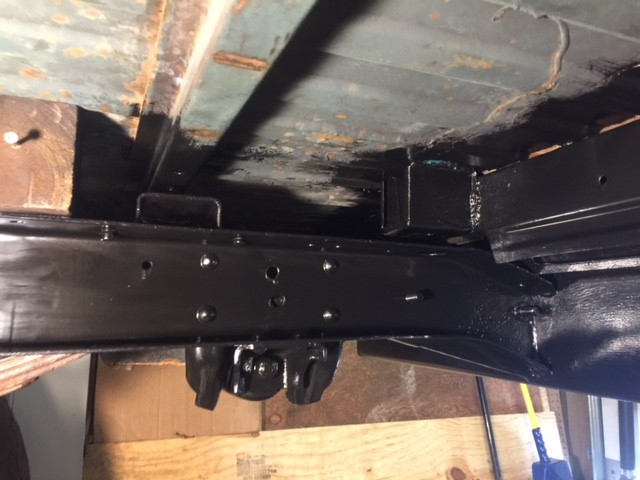 73 73 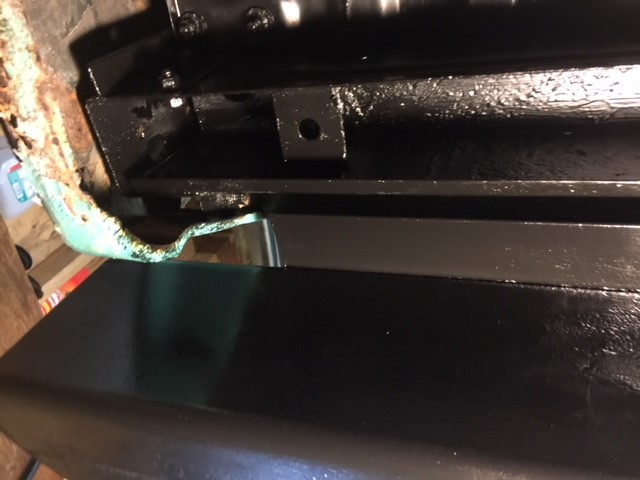 70 70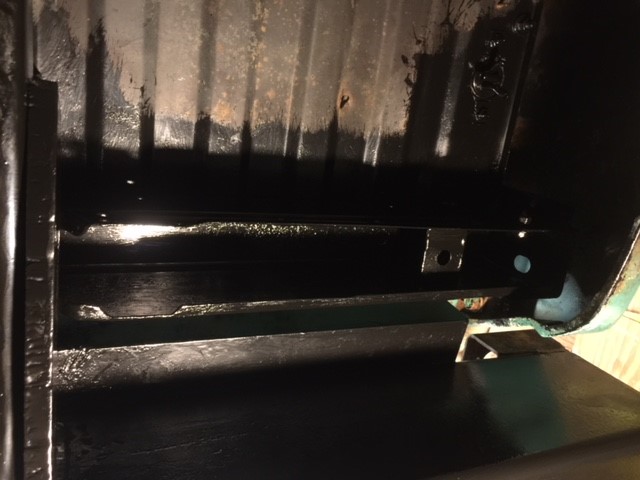 69 69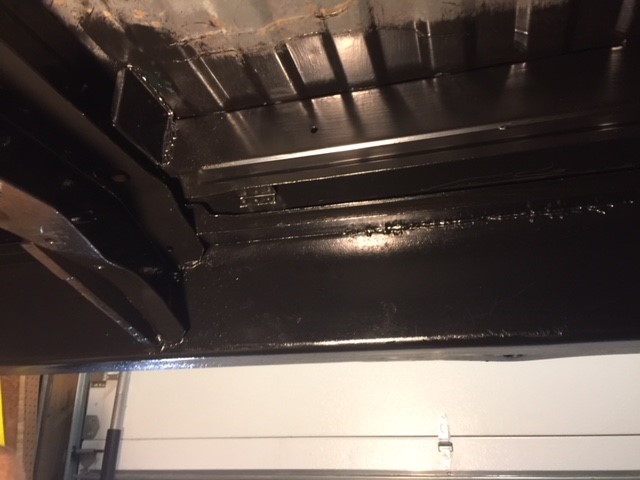 68 68 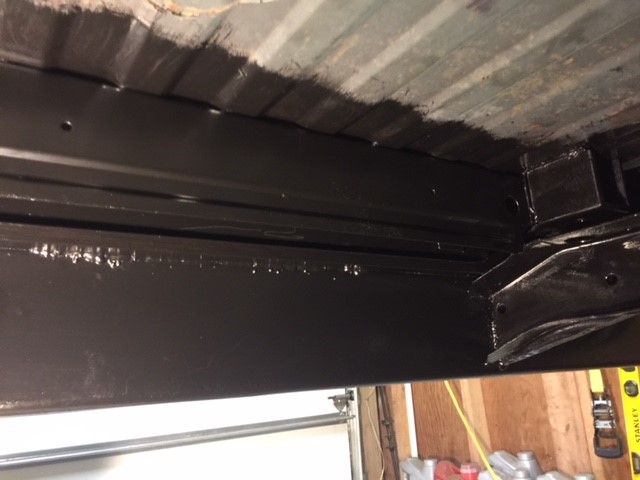 67 67 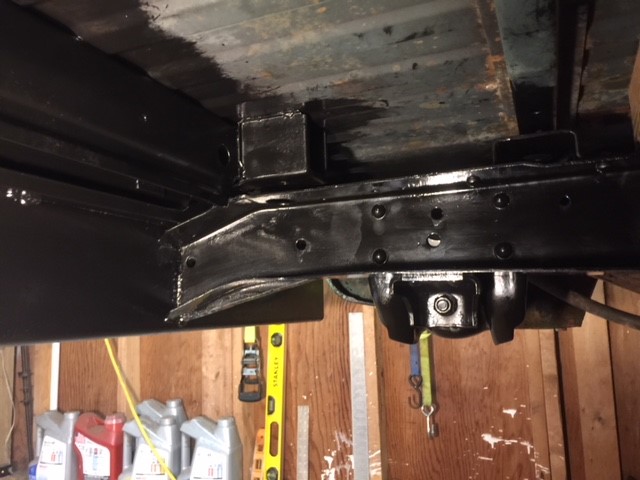 65 65 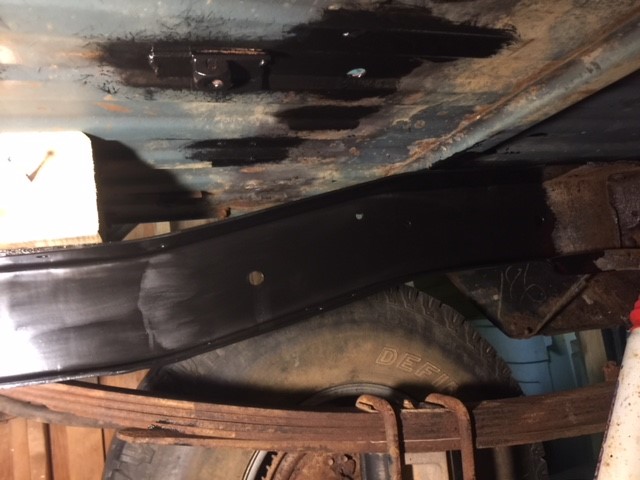 66 66Cleaned up the rear tail light wiring harness of some hacker wiring and re-taped it before going back in 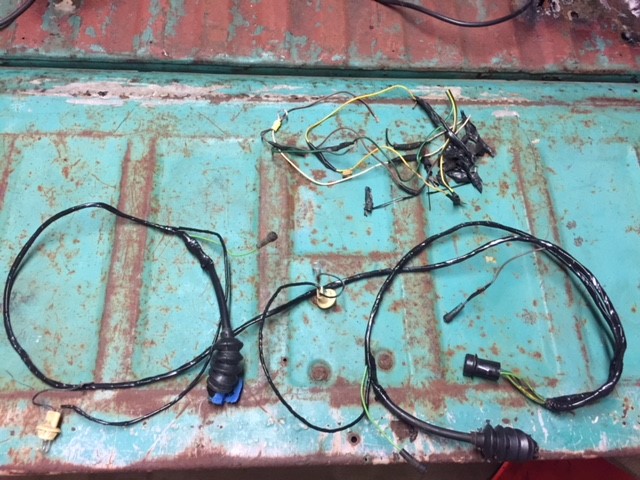 74 74 87-91 gas tank is fully mocked up, gonna write up a separate thread to make it easier for others to find later. I put the link here as well. I searched and searched an had a hard time finding a complete detailed write up. Found some good info on some of your build threads, just took a lot of time. I'll put the tank in for the final time tomorrow and hopefully get her cranked this weekend! Excited to drive her more than 15 yards and to cruise with the top off. We'll see what demons rear their heads during the drive. Pretty sure the brakes will need some work. Thanks for looking!
__________________
1972 K5 Blazer 350/350/PS/PB From GA but live in Panama City, FL Last edited by K5 MAX; 09-26-2018 at 11:47 AM. |
|
|
|
|
09-21-2018, 12:26 AM
|
#7 |
|
Senior Member
Join Date: May 2011
Location: Greencastle PA
Posts: 6,693
|
Re: Project Gumby Phase 1
I have the rear frame horn pieces to fix what you are missing. If interested pm me your email or cell number and I can send you some pictures.
|
|
|
|
|
09-26-2018, 11:40 AM
|
#8 |
|
Registered User
Join Date: Jan 2017
Location: Panama City, FL
Posts: 120
|
Re: Project Gumby Phase 1
Finished #1-#5 body bolts and bushings, #1 was a booger to get out without cutting the floor too bad because its down in that depression. Went with the LMC rubber kit, because i needed bolts also. When the body comes off later during another phase of the build i'll prob go poly for the mounts at that time
 83 83 Cleaned up and painted the mounts, factory shims while #1 bushings were out 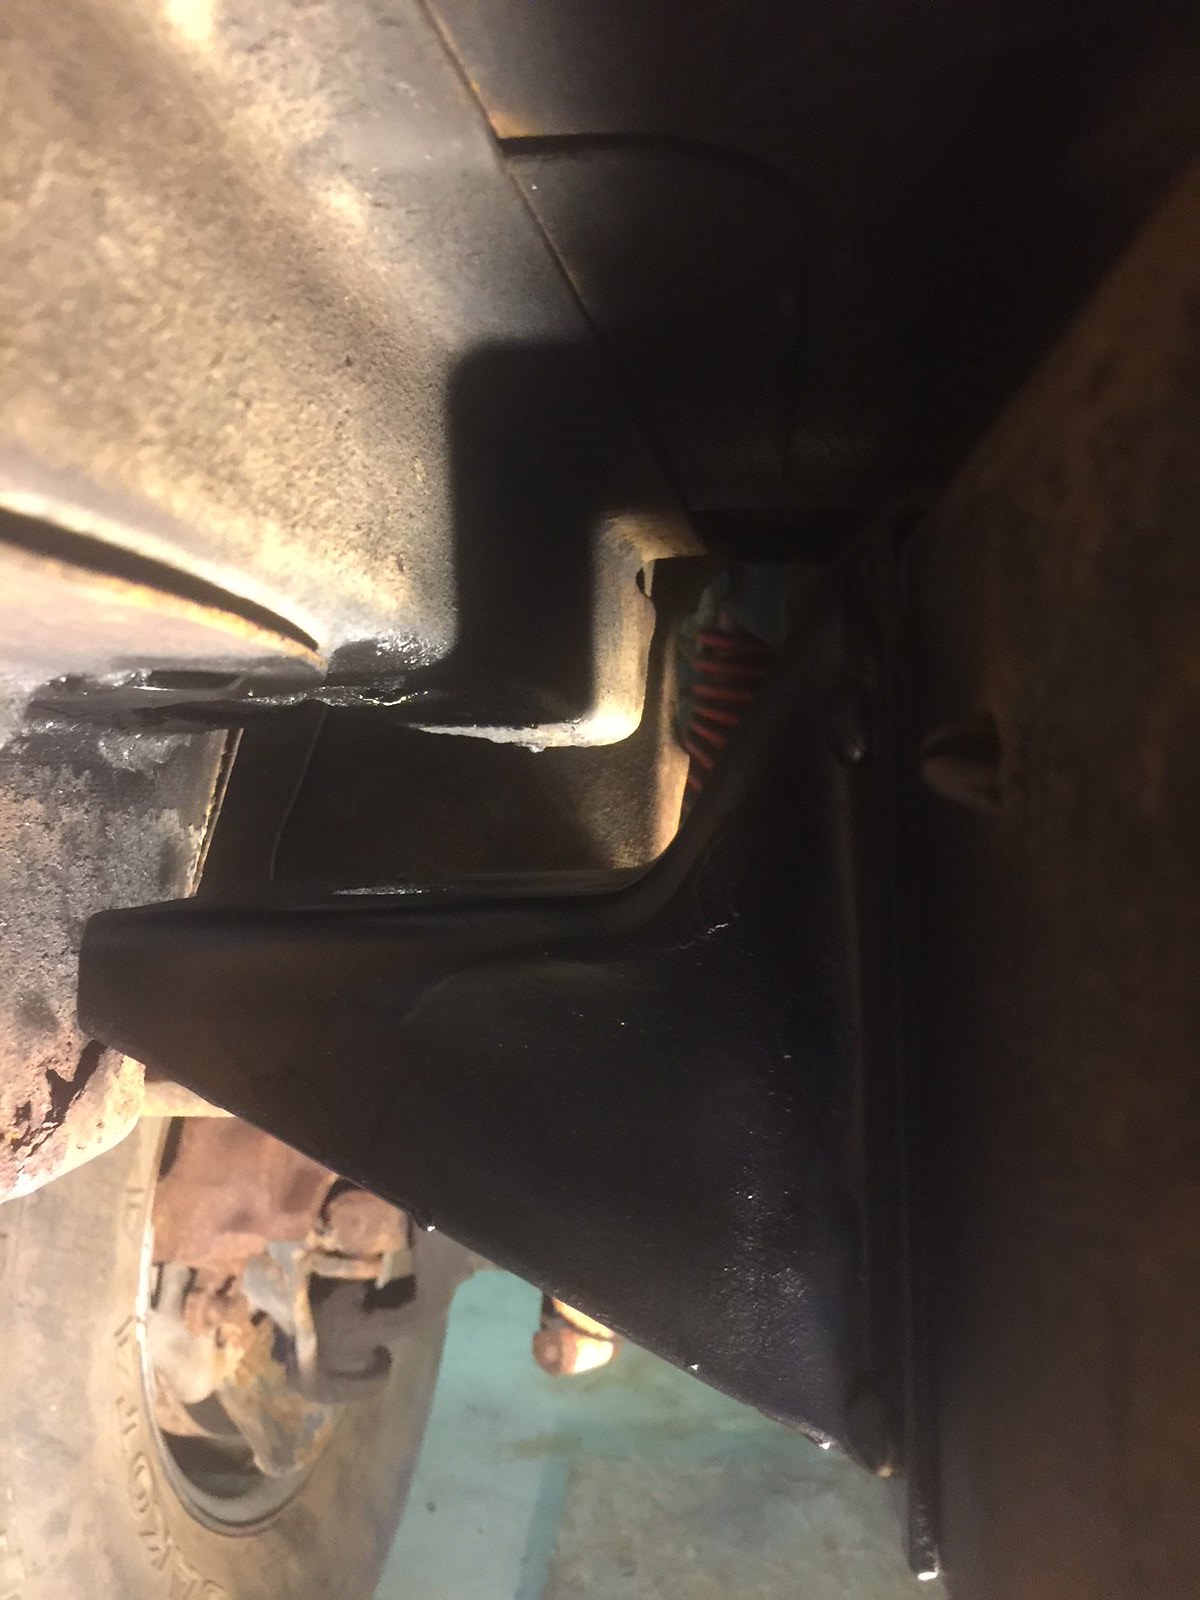 84 84 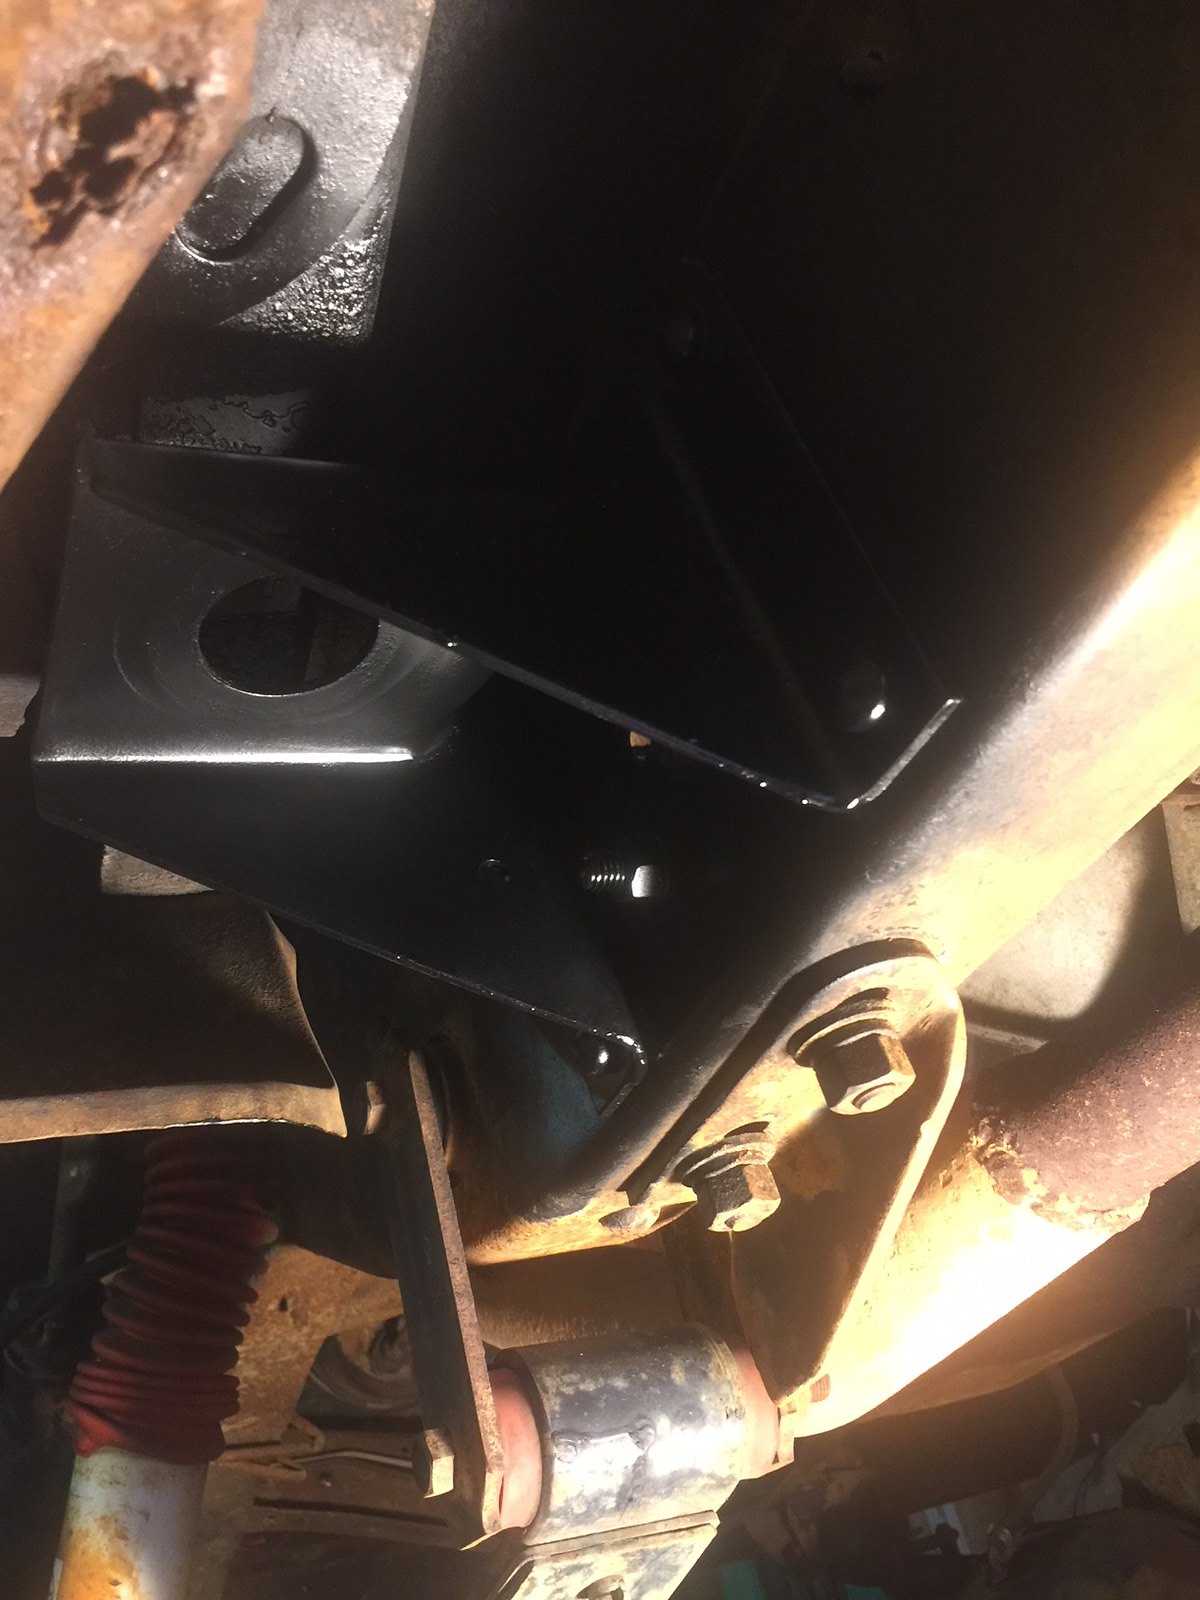 85 85 Mine had 2 factory shims per side in the #1 location  86 86 Painted the body bushings, seemed to be bare metal to me, trying to prevent future rust 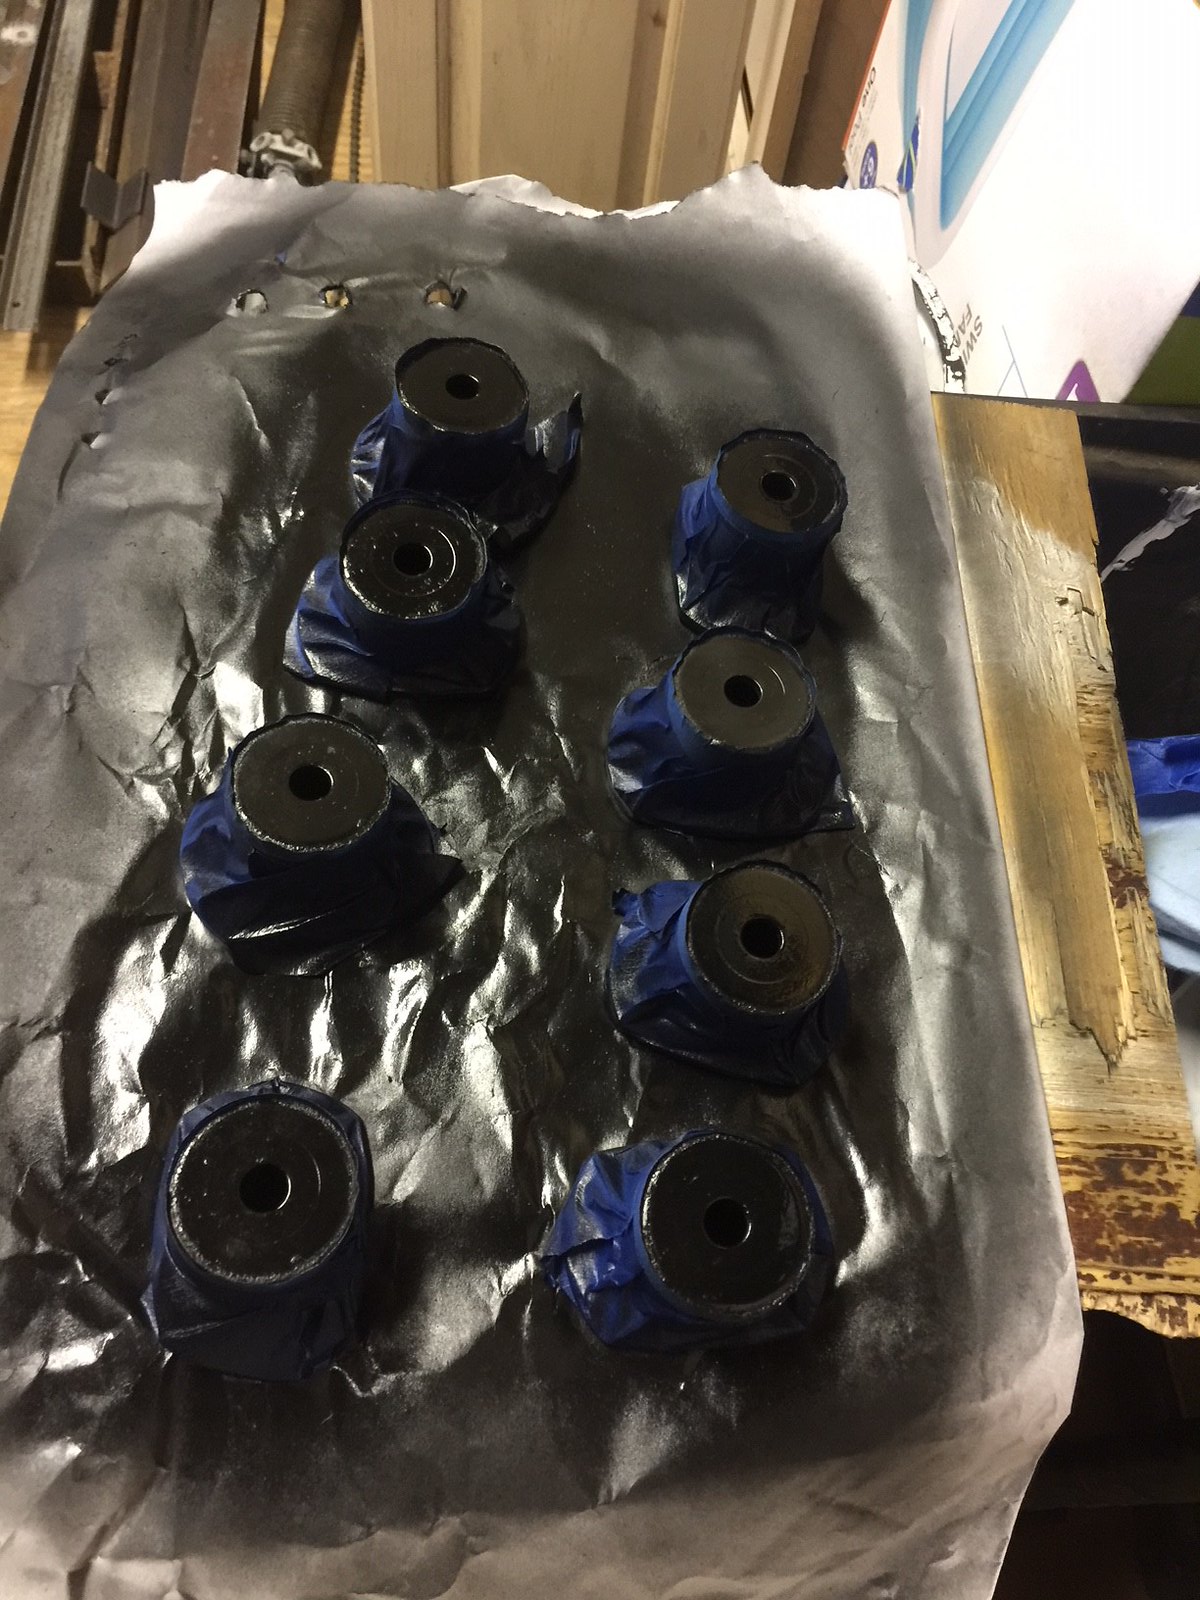 82 82 Had to weld a large washer onto the #5 body bolts because one side was roached out in the body bolt hole area  79 79 Did notice that the #4 top body bushing didn't sit down into the hole once tight, almost like the round spacer they provided with the kit to keep all the rubber from compressing too much was too long. Anyone else had this problem? 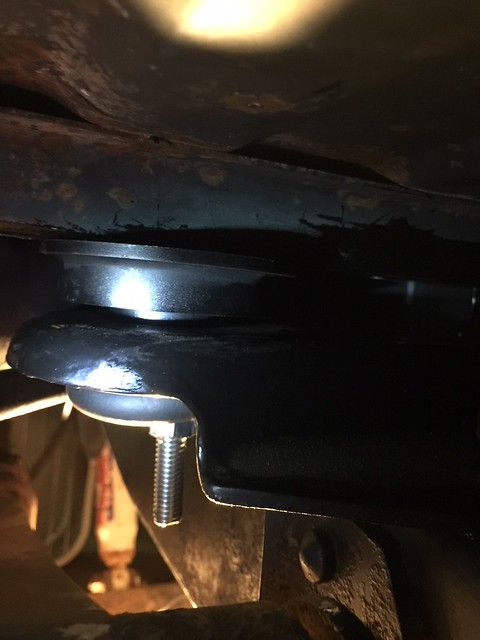 115 115
__________________
1972 K5 Blazer 350/350/PS/PB From GA but live in Panama City, FL |
|
|
|
|
09-26-2018, 04:28 PM
|
#9 |
|
Registered User
Join Date: Jan 2017
Location: Panama City, FL
Posts: 120
|
Re: Project Gumby Phase 1
separate thread on the 87-91 gas tank install
http://67-72chevytrucks.com/vboard/s...d.php?t=772117
__________________
1972 K5 Blazer 350/350/PS/PB From GA but live in Panama City, FL |
|
|
|
|
09-27-2018, 09:40 AM
|
#10 |
|
Registered User
Join Date: Jan 2017
Location: Panama City, FL
Posts: 120
|
Re: Project Gumby Phase 1
After driving her a little a few issues have arose..leaky master cylinder out of the lid
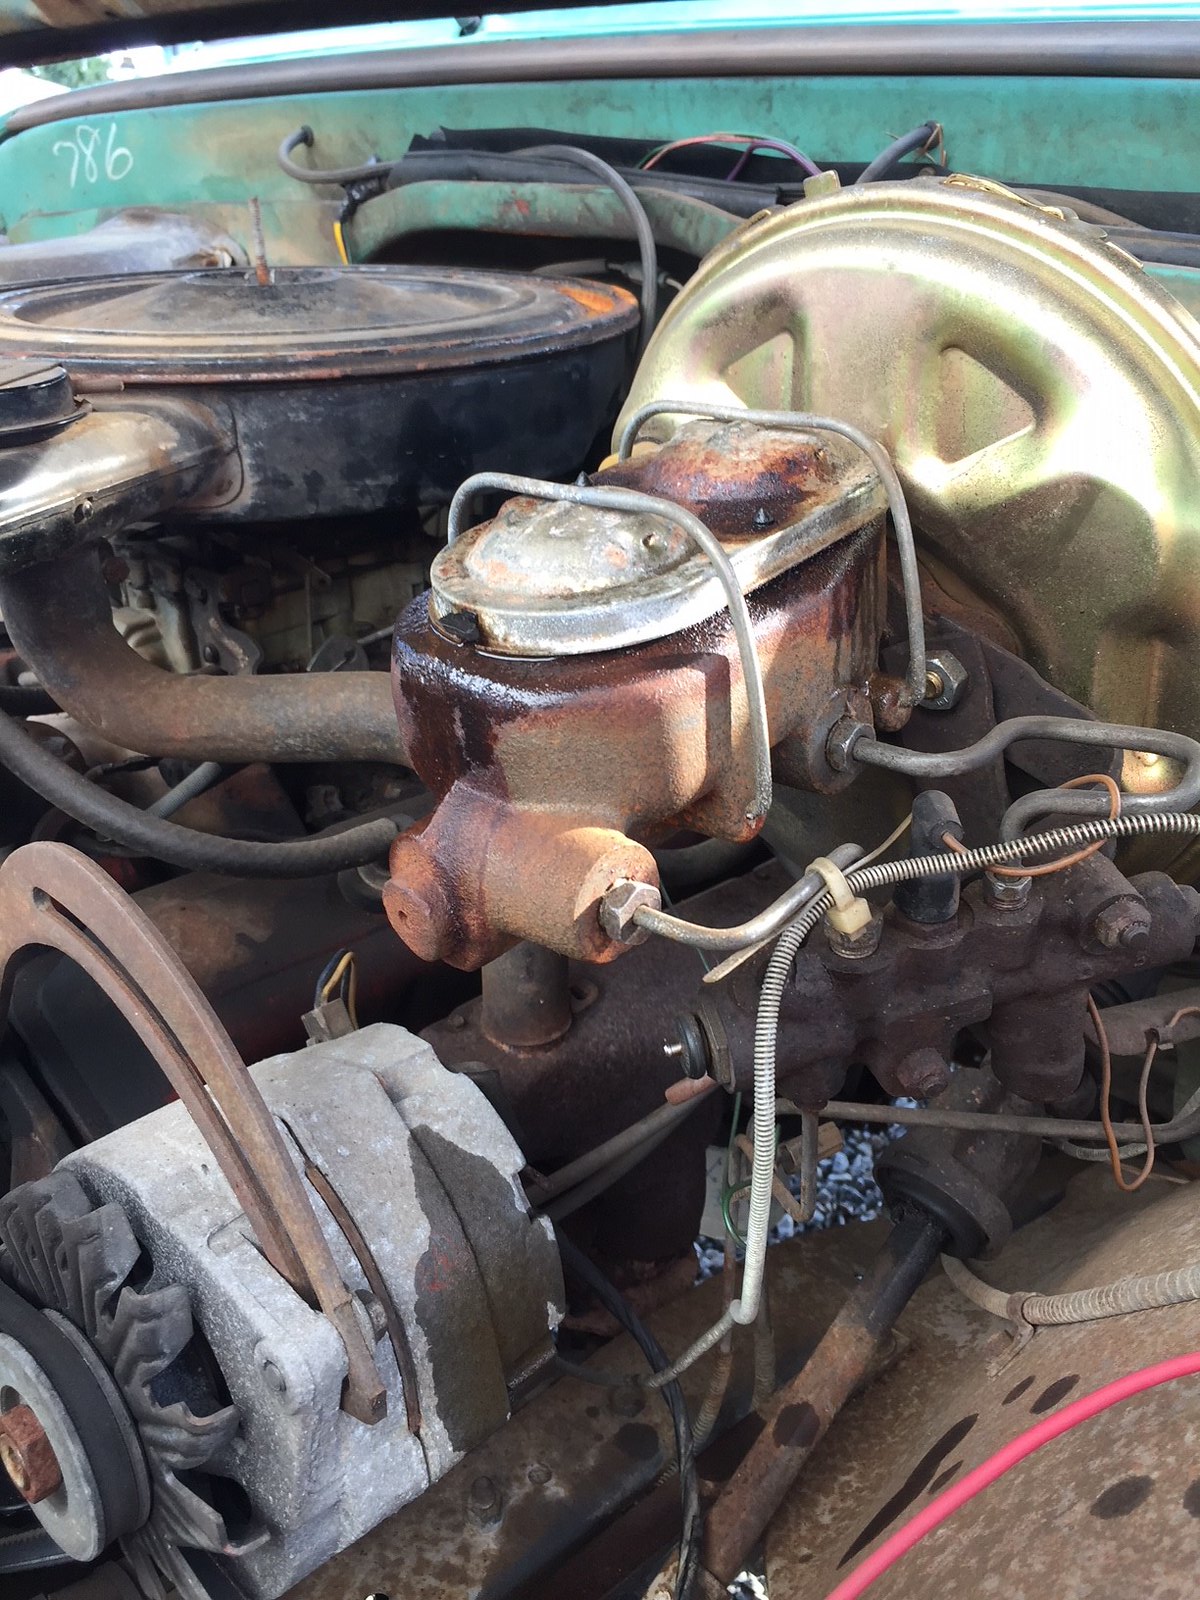 And leaking out the radiator drain plug, gasket is dry rotted 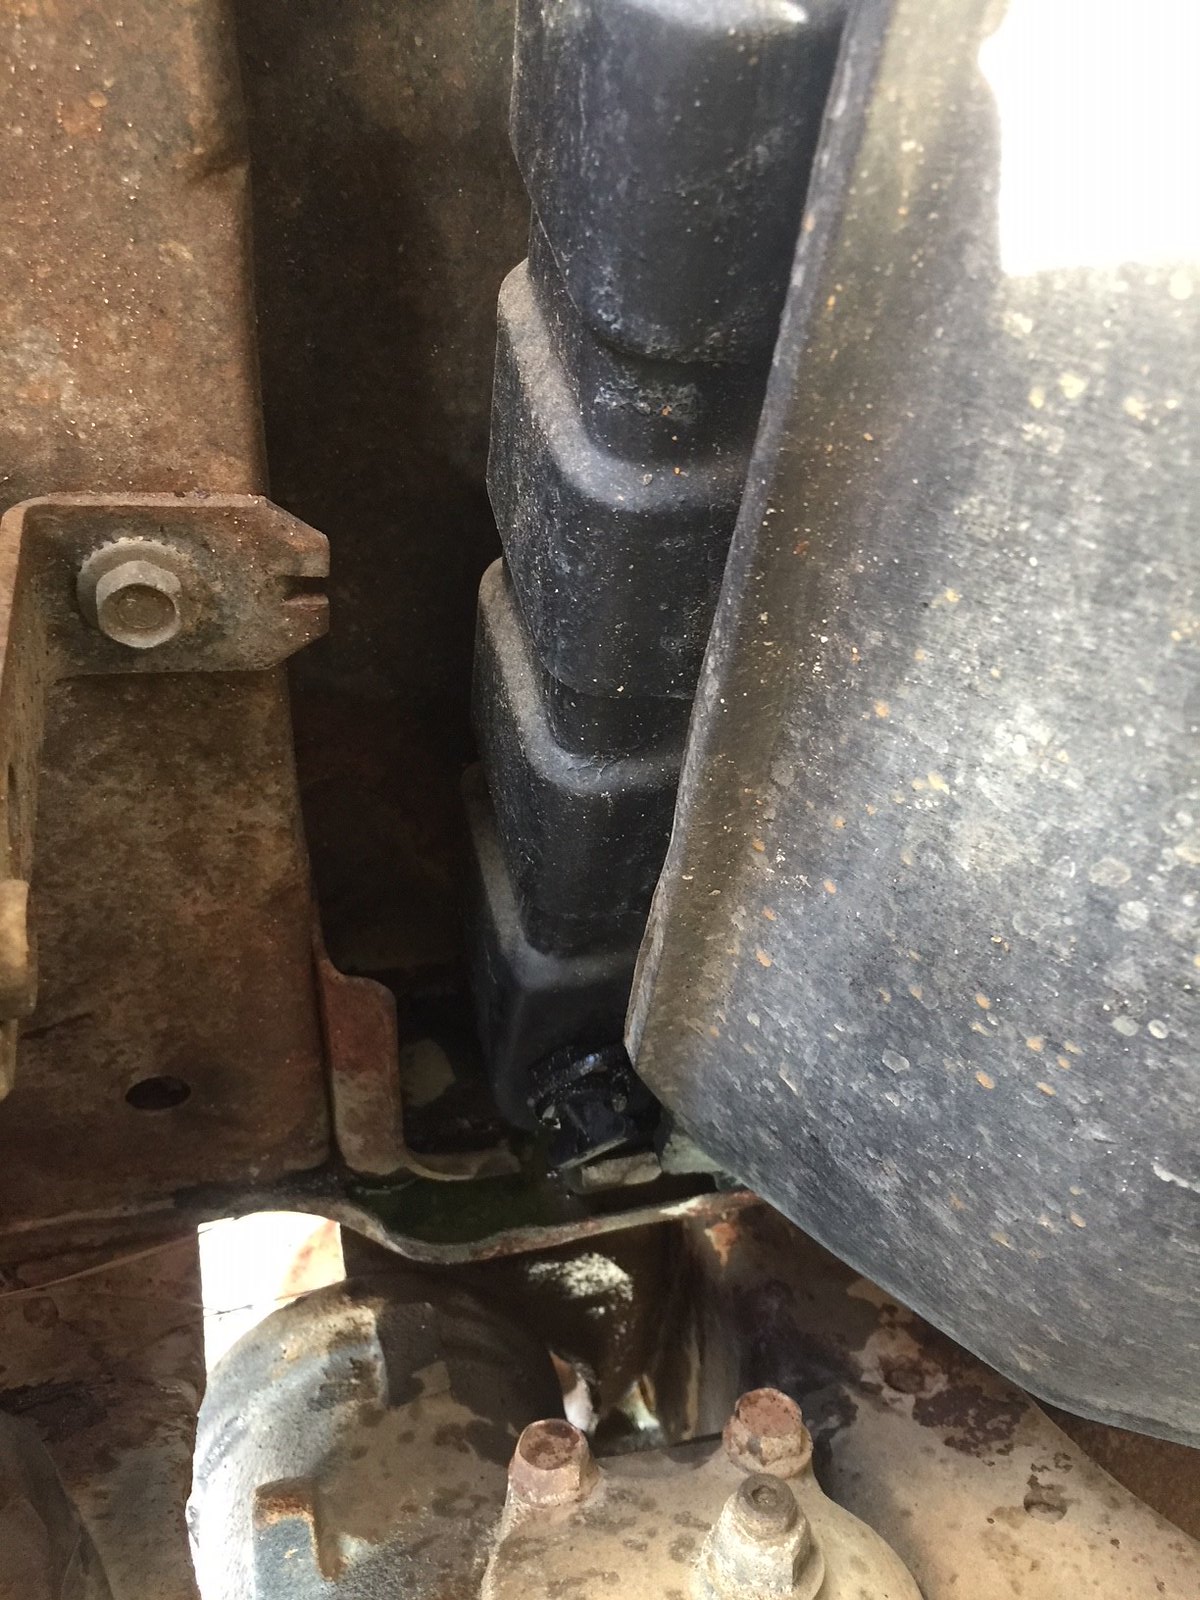 Few more vehicle pics Drivers kick panel rust, the front roll cage is welded directly to it, no plate or support underneath. I'll be taking the roll bar and front cage out soon 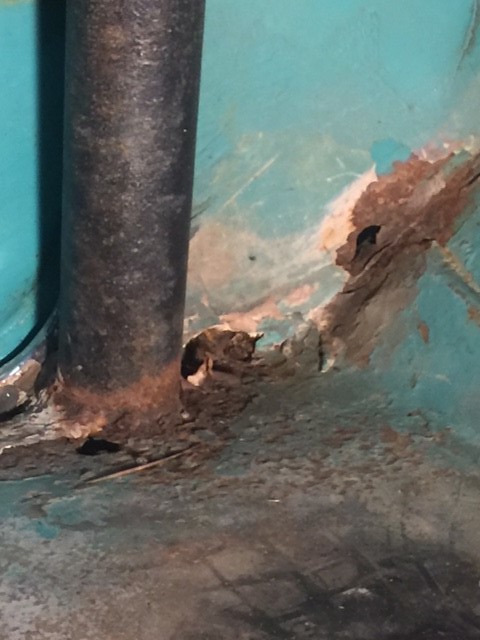 Roached out at the top of the passenger bedside, looking for a patch for this. Its weird the rust is worse on the passenger side vs the drivers. maybe the way it was sitting somewhere during its life. like one side got more weather or never was able to dry out from the sun or something  Passenger side windshield frame rust...... 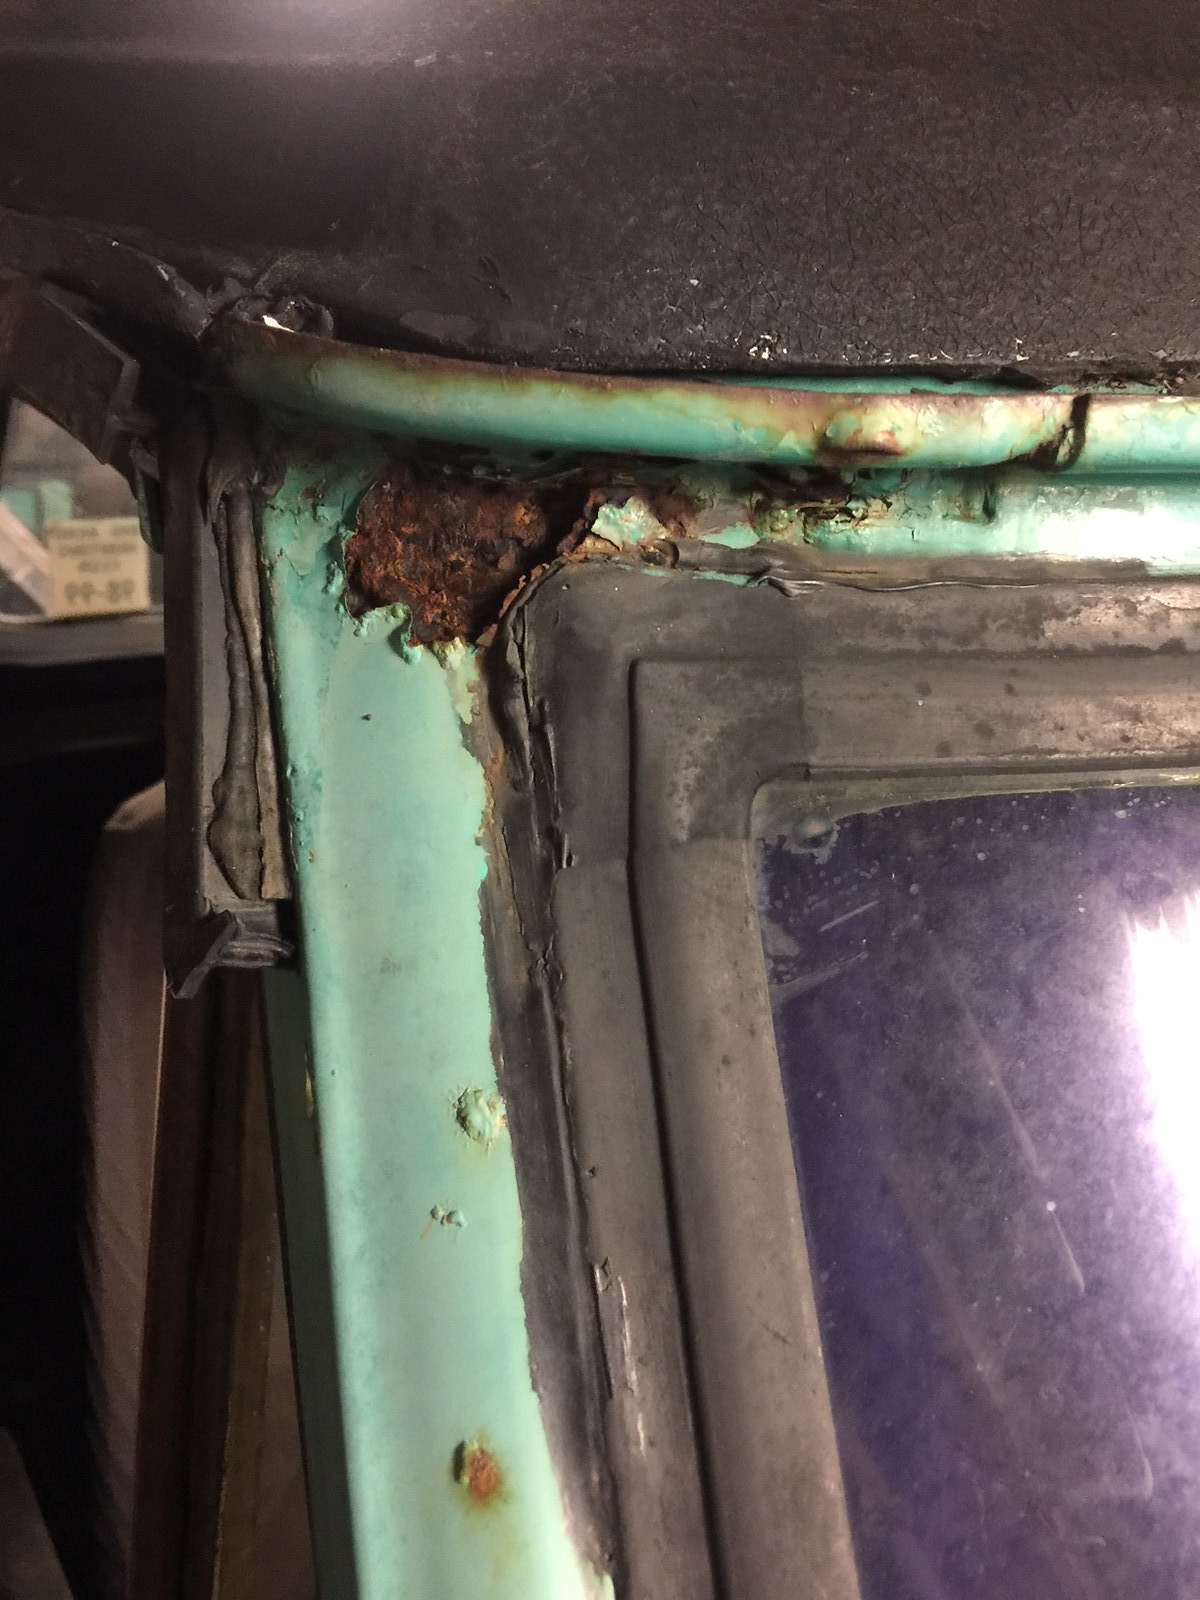
__________________
1972 K5 Blazer 350/350/PS/PB From GA but live in Panama City, FL |
|
|
|
|
10-04-2018, 03:55 PM
|
#11 |
|
Registered User
Join Date: Jan 2017
Location: Panama City, FL
Posts: 120
|
Re: Project Gumby Phase 1
Almost done with the 01 Suburban power front seats install, few pics
Cut the front mounts off the seat tracks  Marked and drilled a 1.5" x 1/2" "C" channel for the factory bolt hole locations 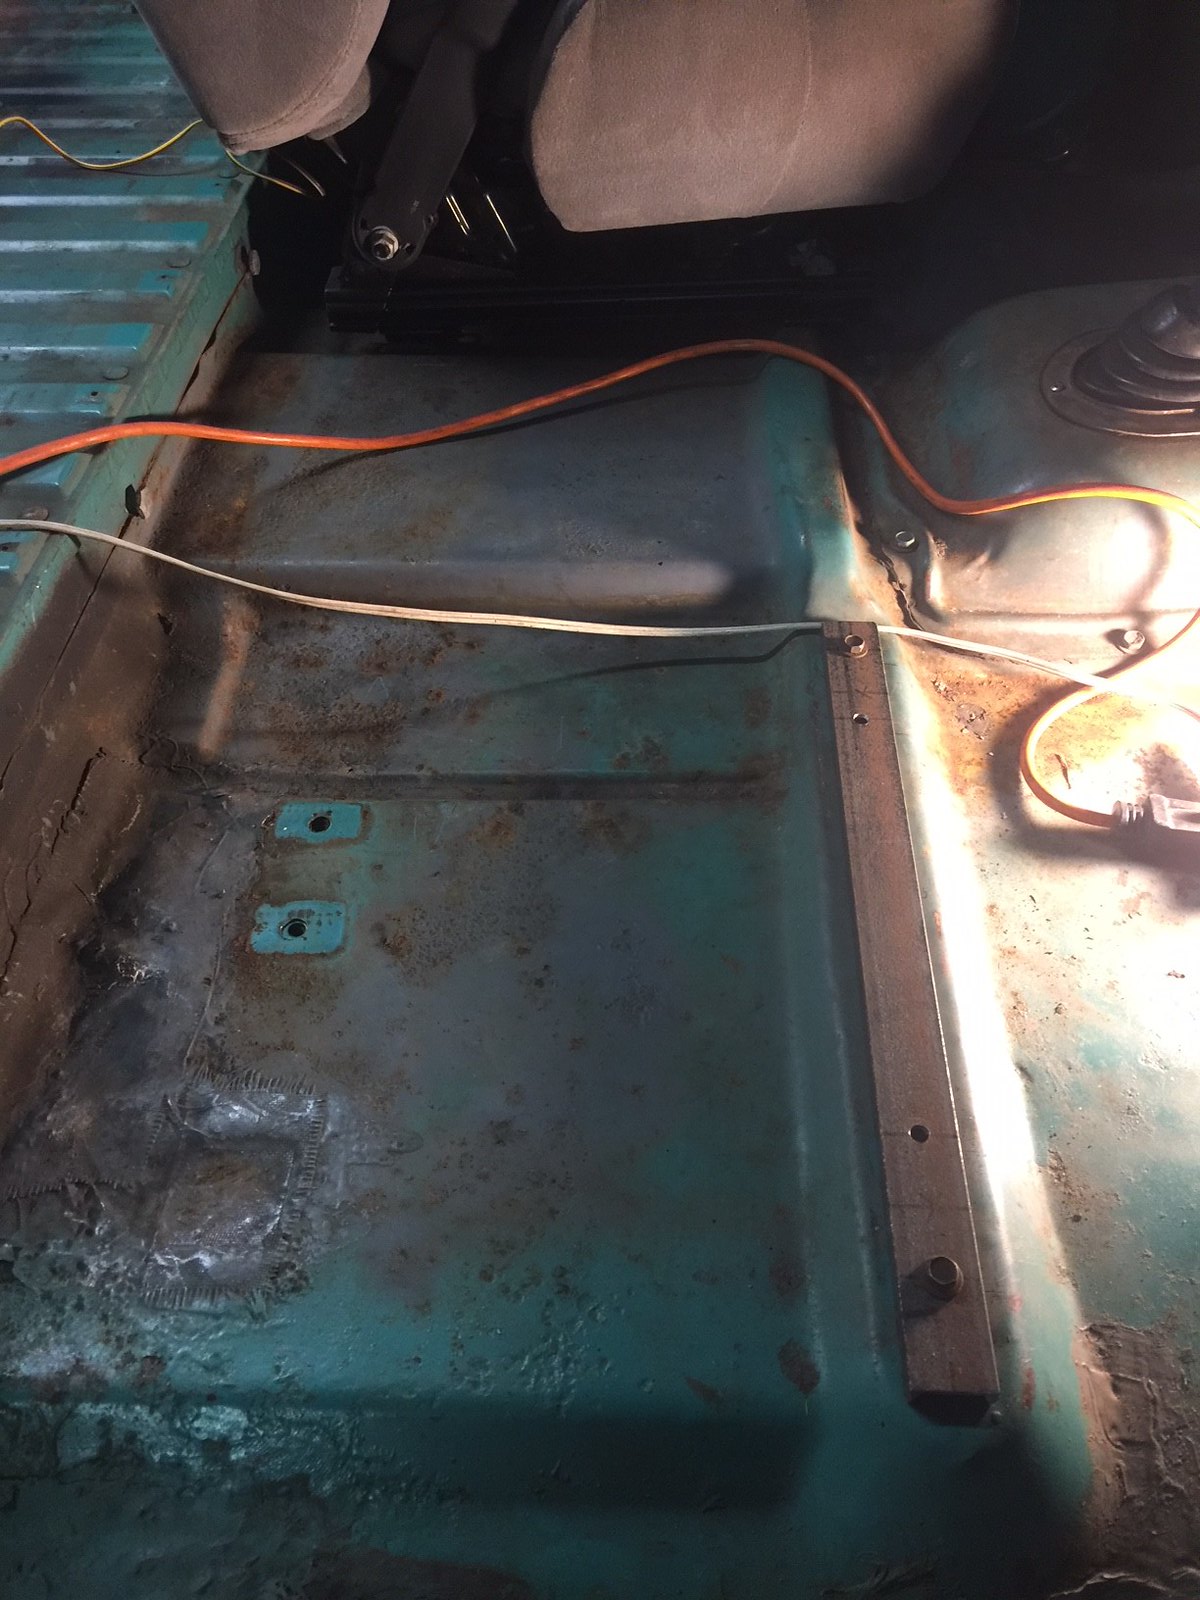 Set seat in place, marked then welded the tracks to the "C" channel, did have to clearance the tracks slightly to clear the welds 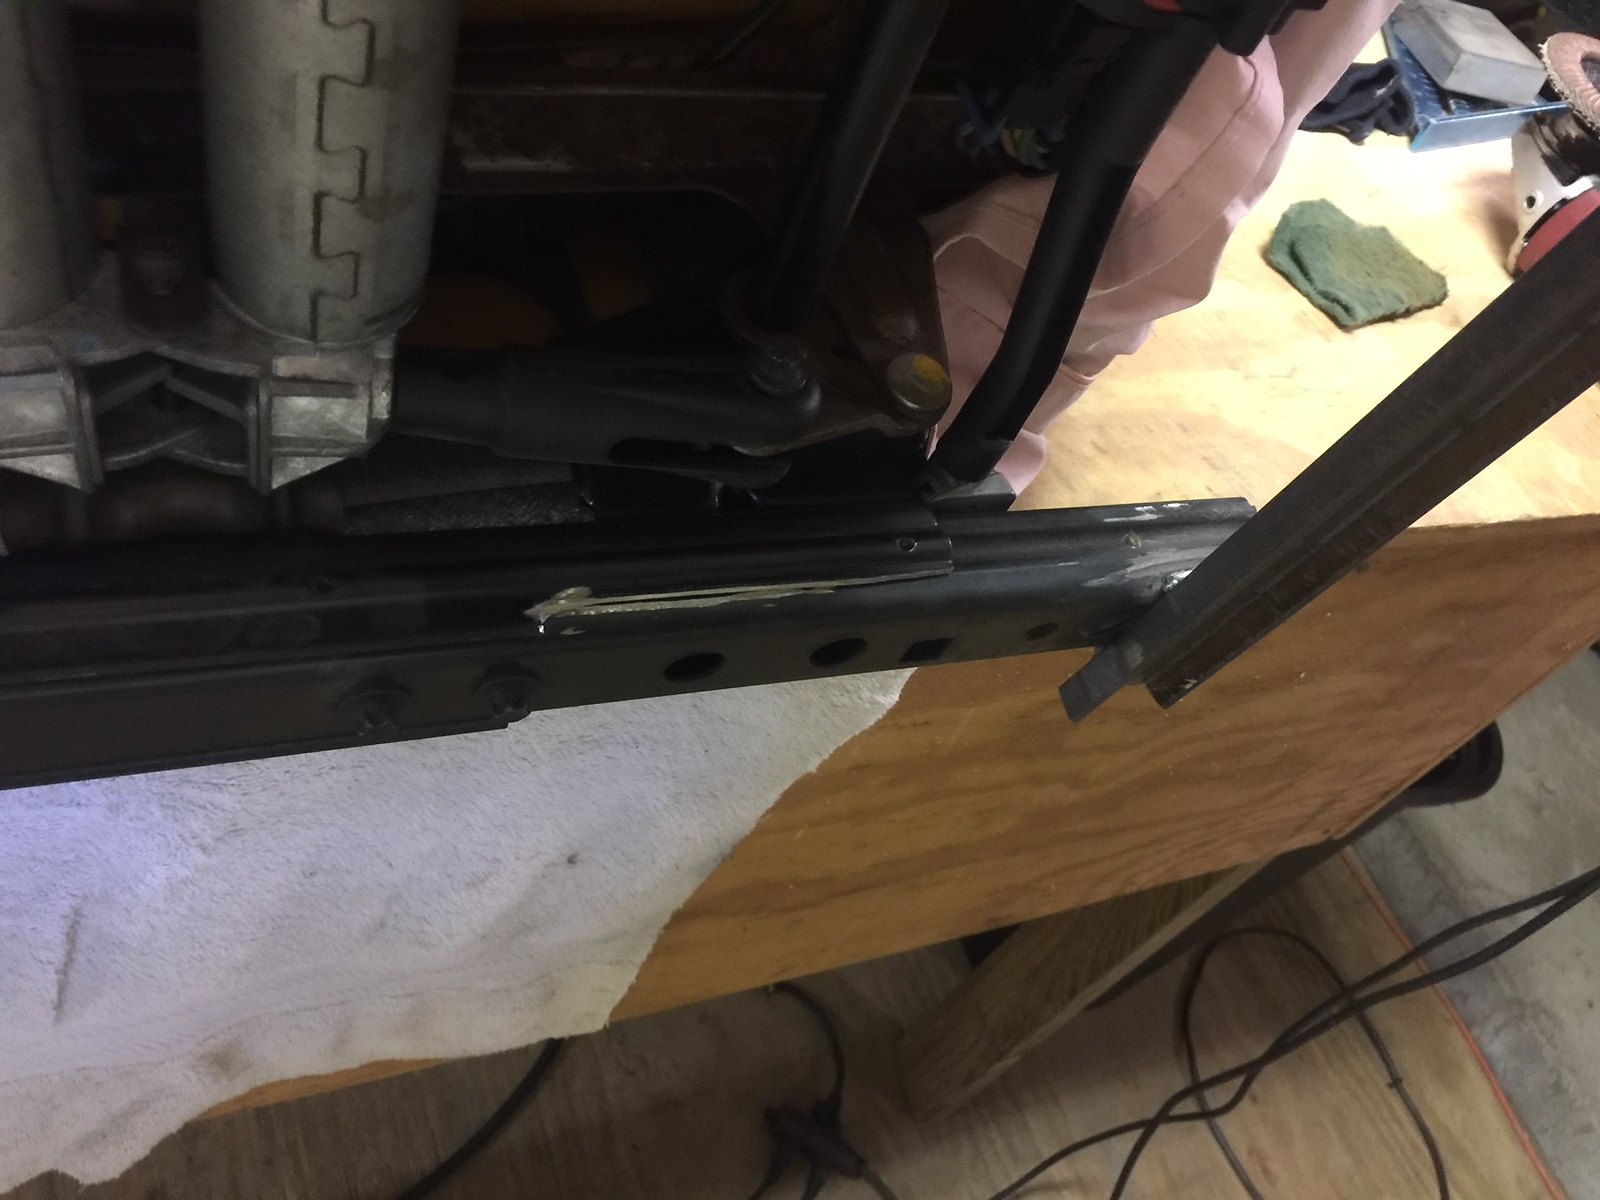 Idea of how they will look, front cage and roll bar are coming out, they prevent the seat from reclining like I want. Plans for a full cage later that will work better for my set up 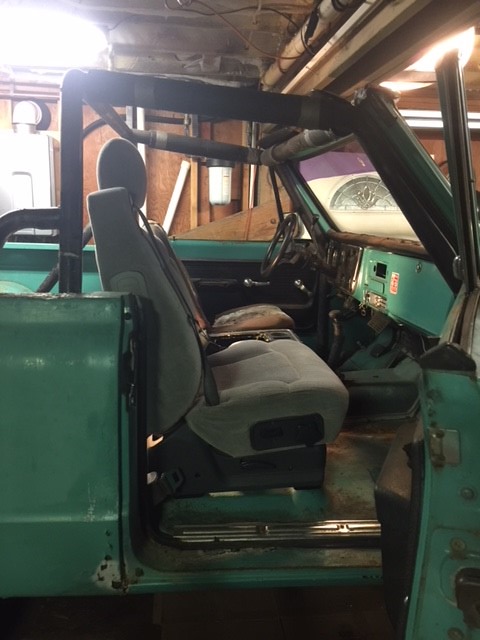
__________________
1972 K5 Blazer 350/350/PS/PB From GA but live in Panama City, FL |
|
|
|
|
10-08-2018, 06:35 PM
|
#12 |
|
Registered User
Join Date: Aug 2013
Location: Prosser, WA
Posts: 99
|
Re: Project Gumby Phase 1
looks like some fiberglass on the floor there too by the seats
__________________
1972 K5 |
|
|
|
|
10-09-2018, 02:12 PM
|
#13 |
|
Registered User
Join Date: Jan 2017
Location: Panama City, FL
Posts: 120
|
Re: Project Gumby Phase 1
Yeah the POx2 did patch jobs everywhere there was rust before the guy I bought it from bought it....
__________________
1972 K5 Blazer 350/350/PS/PB From GA but live in Panama City, FL |
|
|
|
|
10-13-2018, 10:31 AM
|
#14 |
|
Senior Member
Join Date: Jun 2002
Location: Murray, Kentucky
Posts: 3,357
|
Re: Project Gumby Phase 1
I hope you came through the hurricane okay. I'm going to go with 503 on the jimmy I'm letting gather dust... If you still have the old tank would you like to sell the filler neck off of it? Let me know.
Rg
__________________
Roger '68 Short step - https://67-72chevytrucks.com/vboard/...d.php?t=849675 '69 ('70?) 2wd Blazer '70 GMC Jimmy 2wd |
|
|
|
|
10-19-2018, 11:28 PM
|
#15 | |
|
Registered User
Join Date: Jan 2017
Location: Panama City, FL
Posts: 120
|
Re: Project Gumby Phase 1
Quote:
__________________
1972 K5 Blazer 350/350/PS/PB From GA but live in Panama City, FL |
|
|
|
|
|
10-24-2018, 12:03 PM
|
#16 |
|
Senior Member
Join Date: Jun 2002
Location: Murray, Kentucky
Posts: 3,357
|
Re: Project Gumby Phase 1
Sounds pretty bad to me. I sent a pm with my email. I know you are probably busy so no big rush.
Rg
__________________
Roger '68 Short step - https://67-72chevytrucks.com/vboard/...d.php?t=849675 '69 ('70?) 2wd Blazer '70 GMC Jimmy 2wd |
|
|
|
 |
| Bookmarks |
| Thread Tools | |
| Display Modes | |
|
|


 Linear Mode

