
|
Register or Log In To remove these advertisements. |
|
|
|
|||||||
 |
|
|
Thread Tools | Display Modes |
 12-31-2012, 05:58 PM
|
#51 |
|
Registered User
Join Date: Jan 2010
Location: Regina, SK
Posts: 804
|
Re: 65 lower control arm u bolt BROKE!!!
Man I just called Napa for the PN 6504065 and a couple Dorman shops for the PN13503 kit, both said they don't have any and that they've been discontinued. Crazy eh. Maybe its a Canadian thing??
|

|

|
|
12-31-2012, 06:33 PM
|
#52 |
|
Registered User
Join Date: Apr 2004
Location: arkieland
Posts: 1,070
|
Re: 65 lower control arm u bolt BROKE!!!
They are drying up, my parts WH only has 4 left. Try Rockauto.
|
|
|
|
|
12-31-2012, 06:41 PM
|
#53 |
|
Registered User
Join Date: Jan 2010
Location: Regina, SK
Posts: 804
|
Re: 65 lower control arm u bolt BROKE!!!
I just bought some through Summit, but it looks like they come from the manufacturer, so I won't be surprised if its cancelled.
|
|
|
|
|
12-31-2012, 11:09 PM
|
#54 |
|
Registered User
Join Date: Aug 2012
Location: Fort Campbell, KY
Posts: 494
|
Re: 65 lower control arm u bolt BROKE!!!
Thats crazy, Im going to sock up knowing this. Ill get a few sets and stash them away for future projects.
So, I couldnt edit my original post, so heres where im at now. This is before I dropped the lower control arm. Man I wish I would have pressure washed everything before I started, would have made working on it so much nicer! 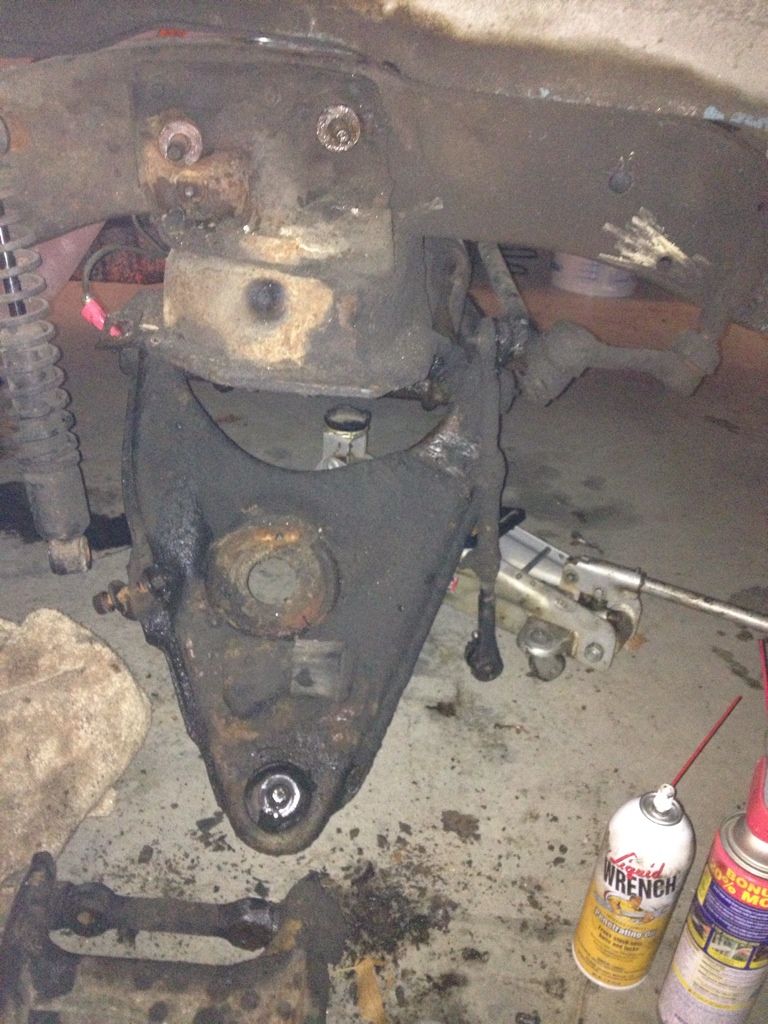 Using an impact I was able to easily take out the new bushings. With the new cross shaft and bushings centered and threaded evenly finger tight, I could start with the impact. Make sure to put grease in the bushing threads before tightening to ensure lubrication throughout.  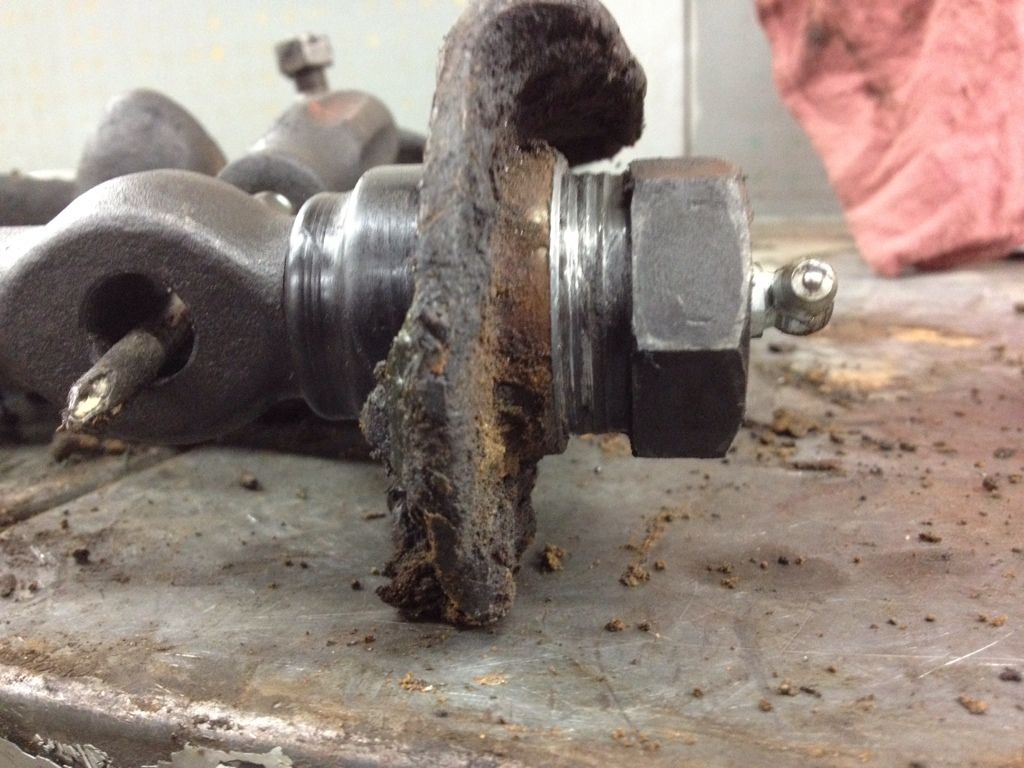 I hit each end with the impact a little at a time until fully seated. I was able to barely move the cross shaft by hand. Still not sure how much play there should be. 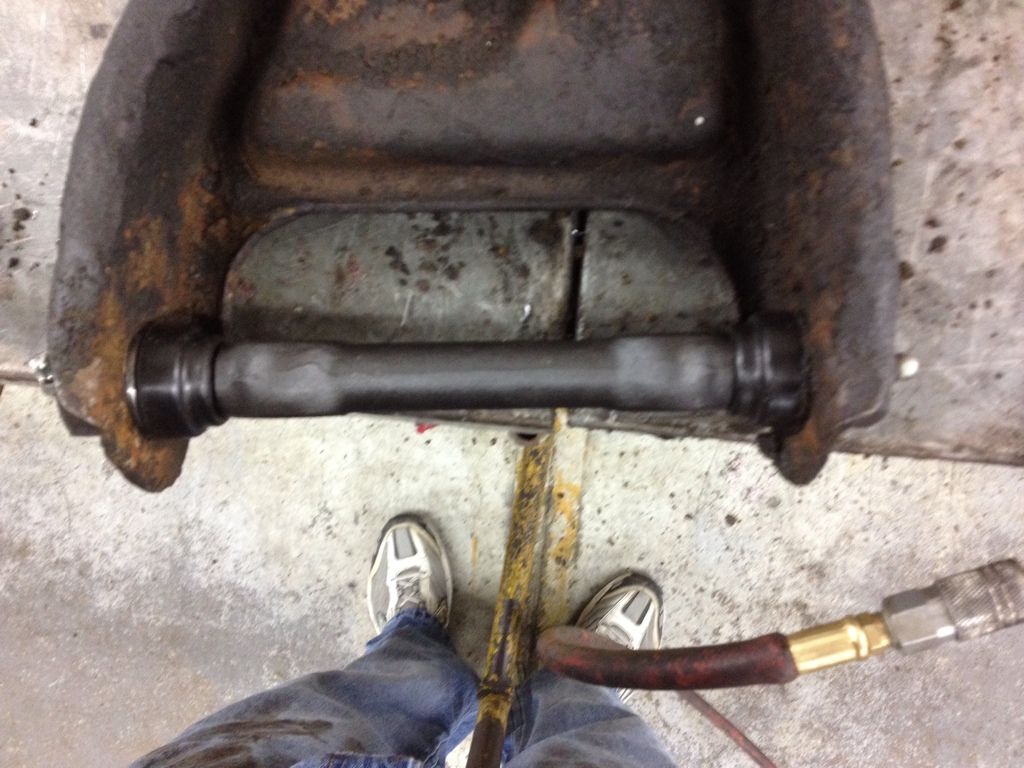 Now on the the lowers... I was once again able to easily remove the original bushings with an impact. 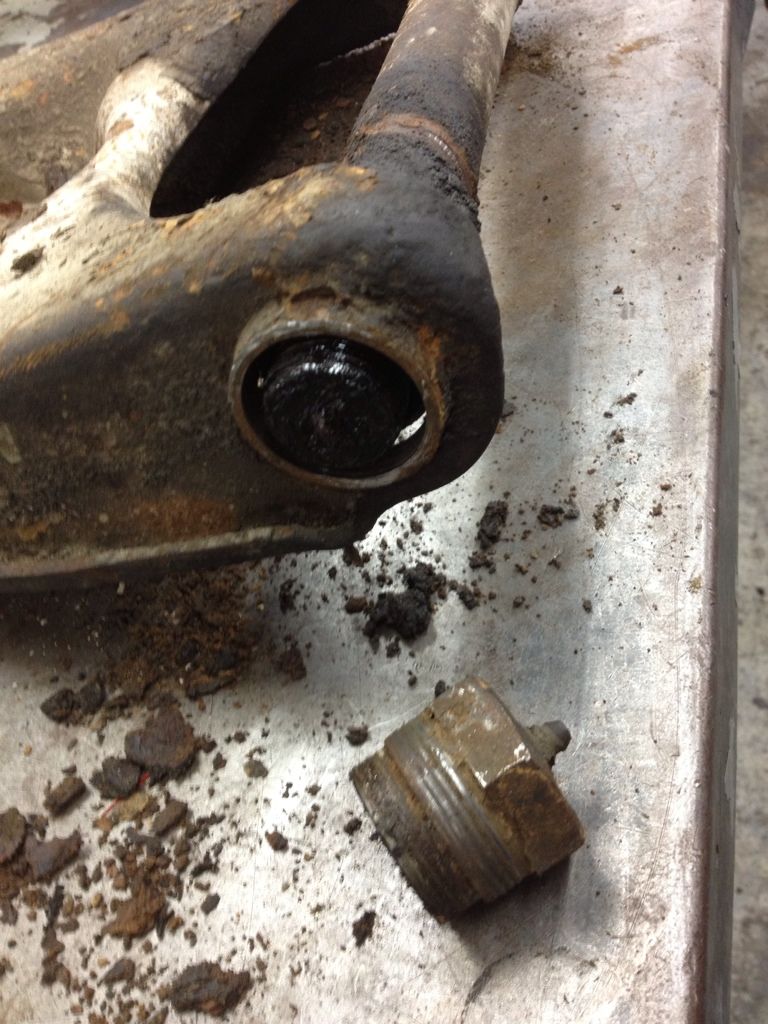 With the new lower cross shafts in place (making sure the divet is forward, will explain later), I made sure the place grease in the bushings before threading them to ensure lubrication throughout. 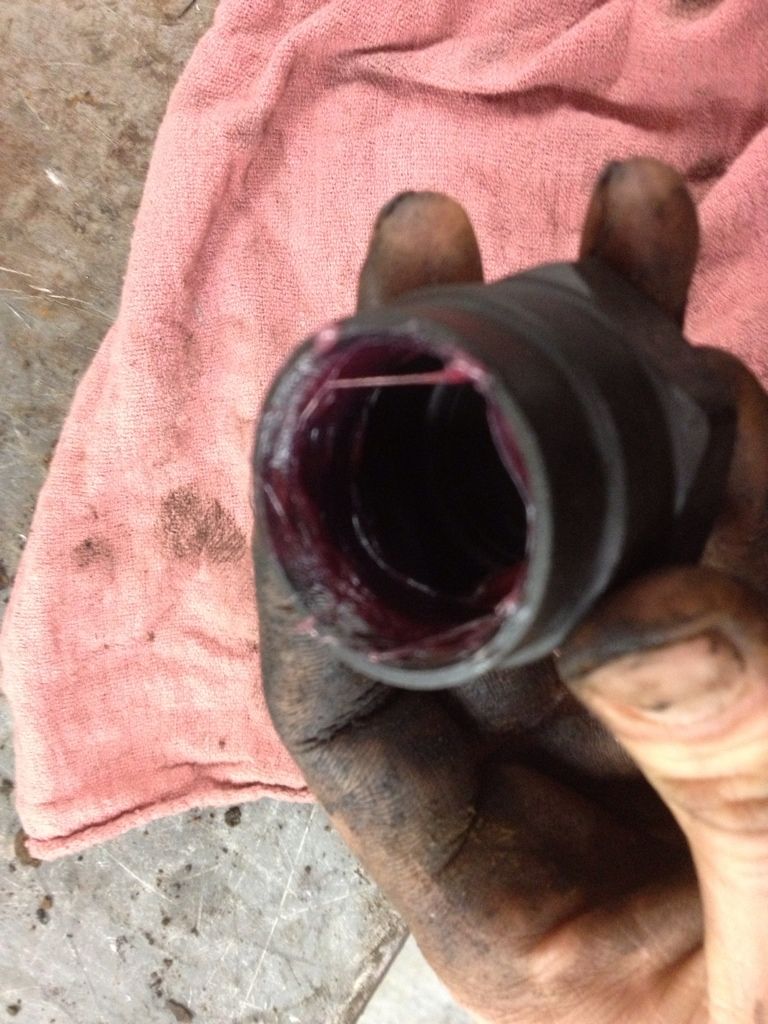 Bottom installed. This replacement control arm shaft kit had indentations on both sides as seen on the top of the cross shaft. On the lower control arm bracket theres a rivet on the front bracket that aligns with the indentation on the cross shaft to prevent rotation. If your replacement control arm shafts have only one indentation, ensure they are forward (away from the shock mount). This would be pretty frustrating to complete this and try to mount them only to find out you had them backwards! 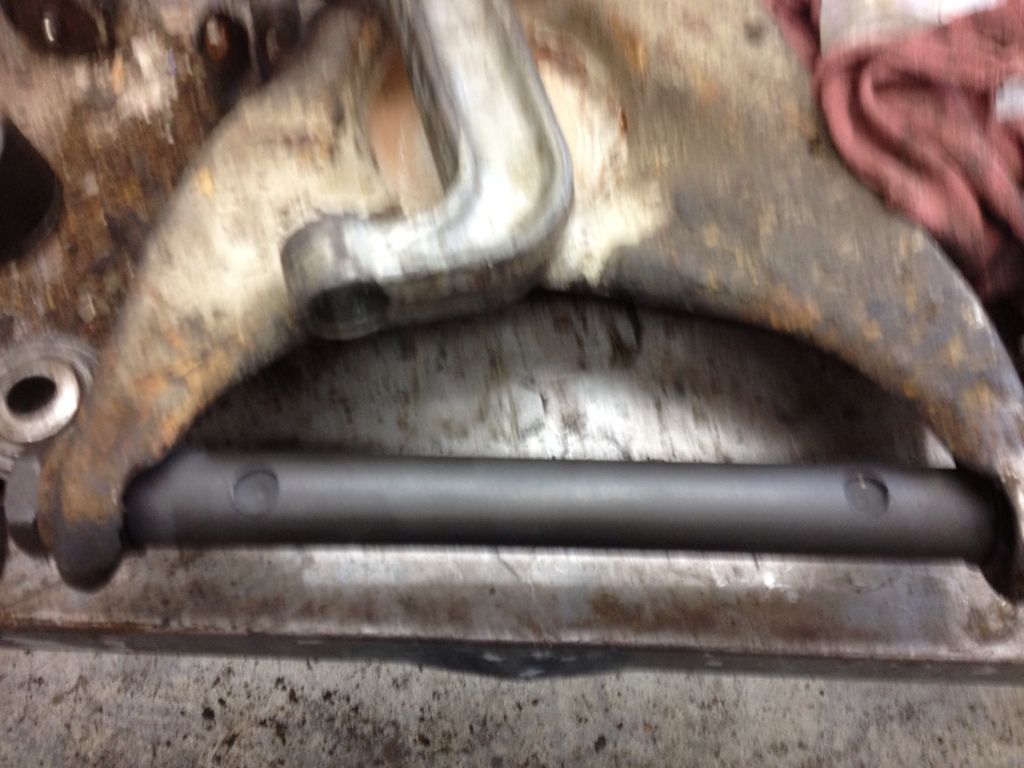 While I was at it I went ahead and did upper and lower ball joints, heres a bottom one, probably original, and the empty spot after being pressed out. Whatever you do, rent the tool or borrow it, made it pretty easy to remove and press them in. I couldnt imagine trying to do this with a BFH and a block of wood! Heres a bottom removed. 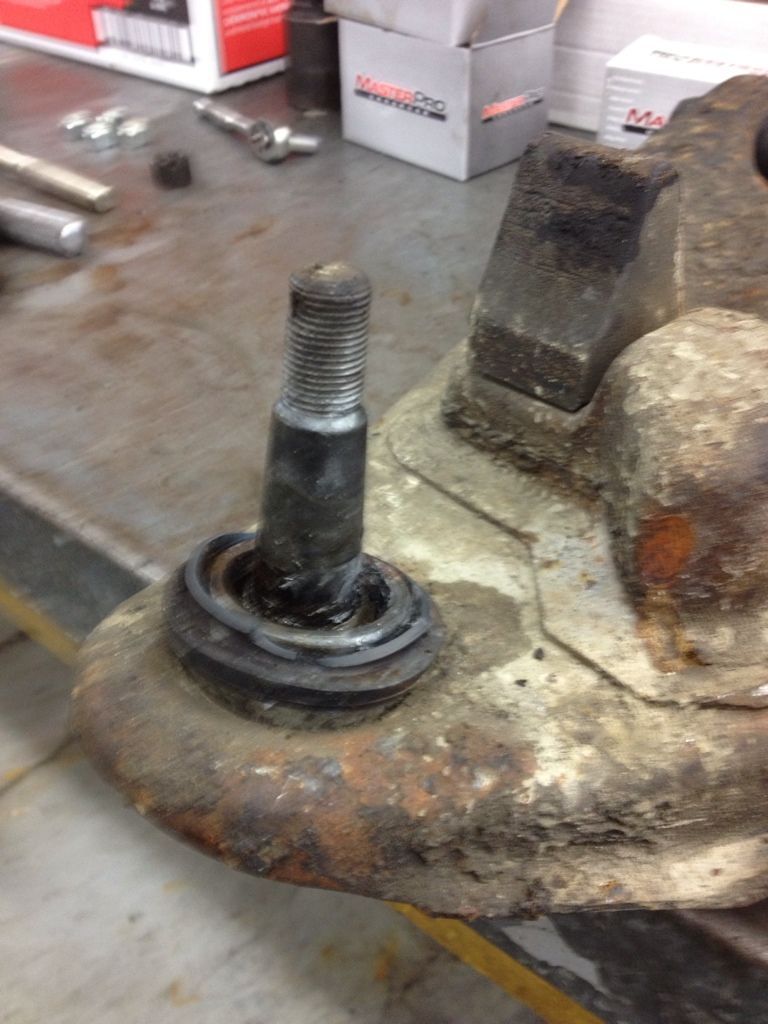 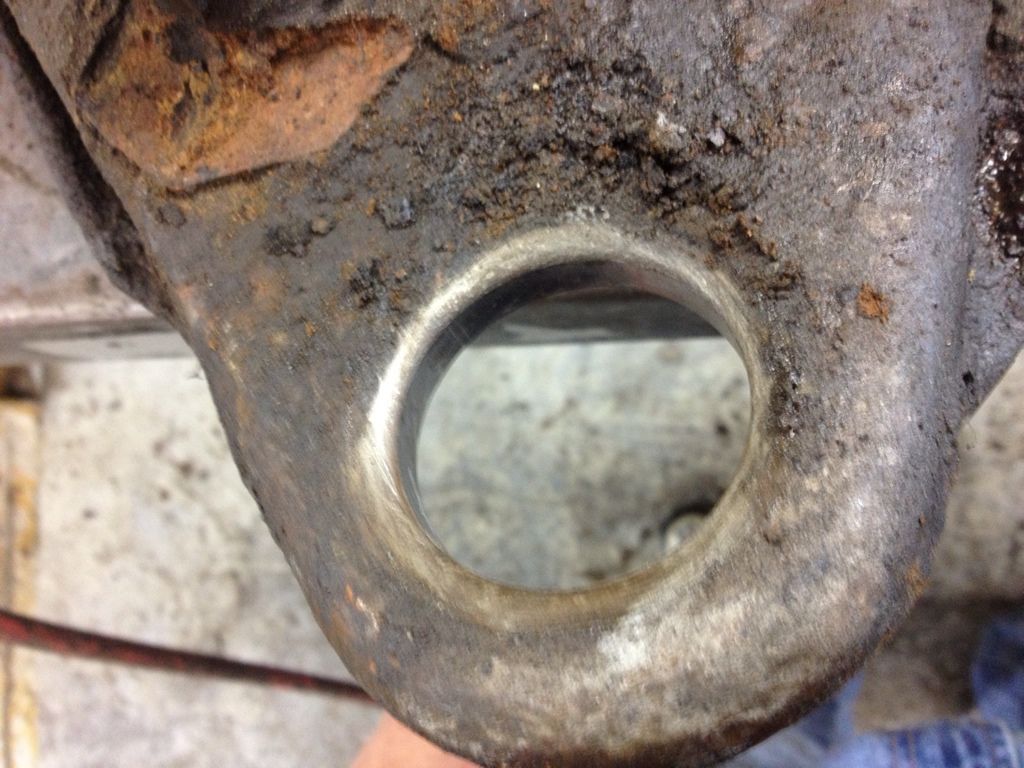 Bottoms had a little play, not bad, but replacing them anyway. 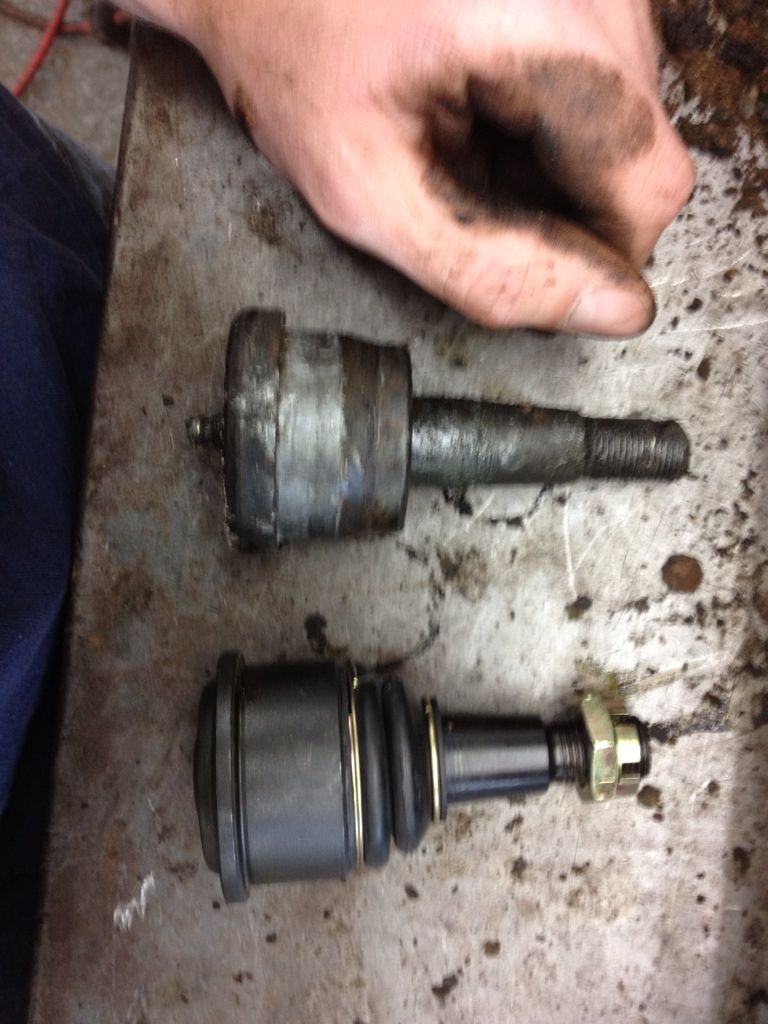 Once again, very thankful to have access to the right tools!  Pressed in and ready for grease. 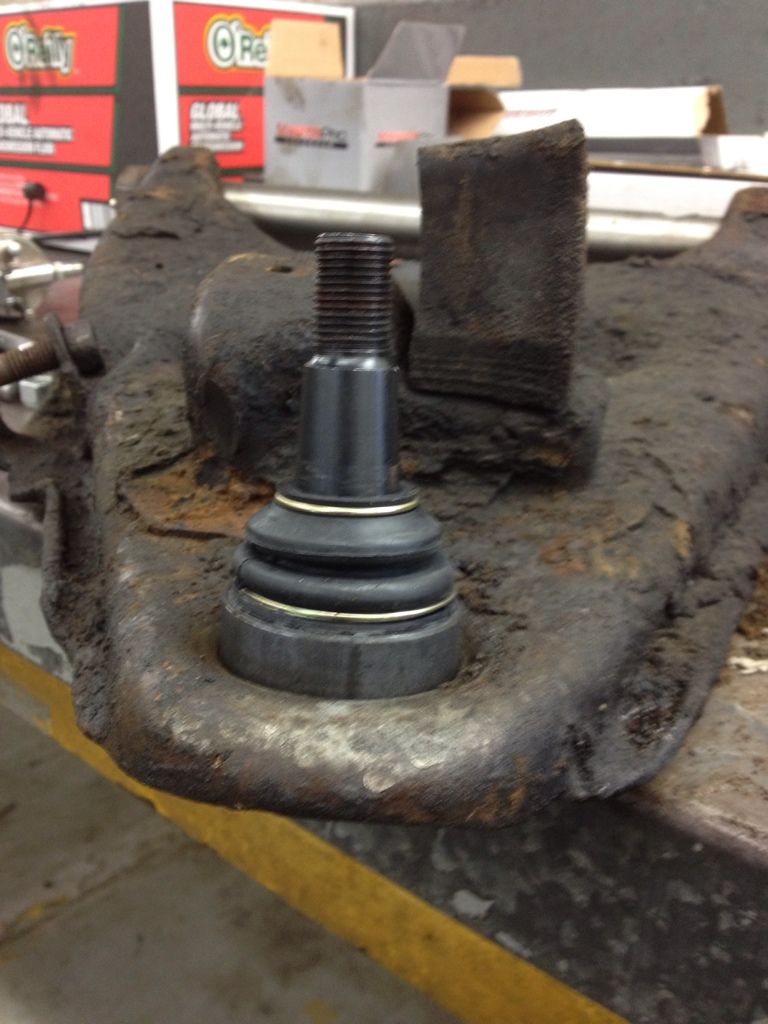 Now for the uppers. Original, so I cross cut the top of the rivets and pounded them out with an air hammer. 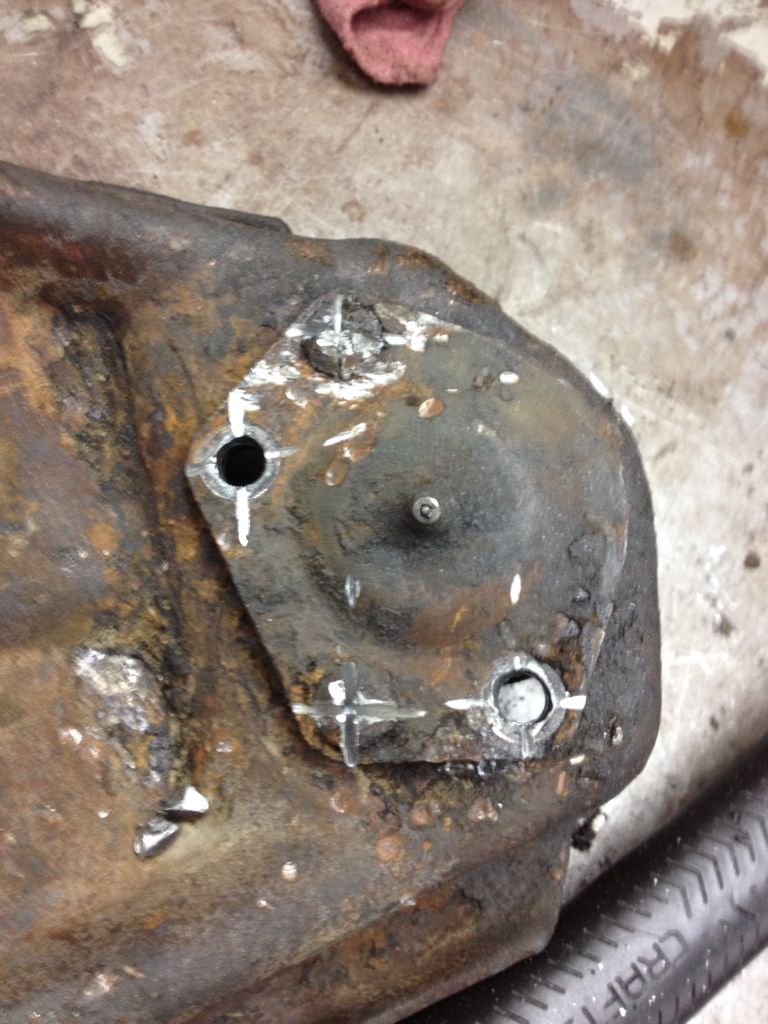 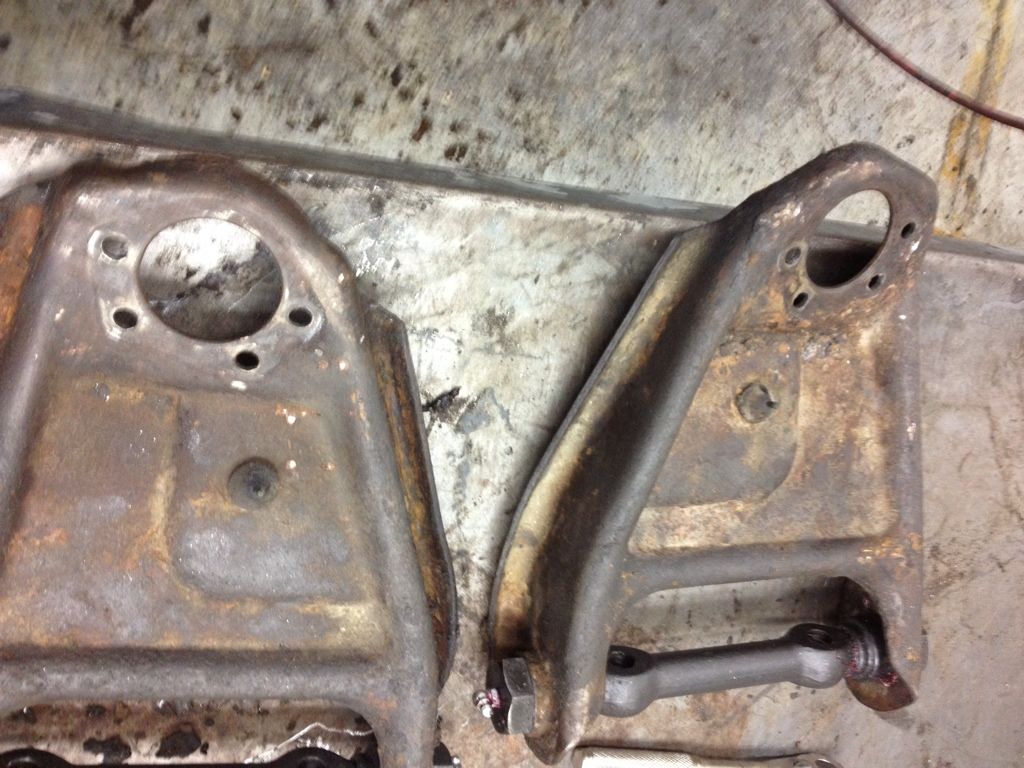 I bolted them in with the nuts on top, greased them, and that was it. Everything got topped off with grease before I loaded them up and took them home. 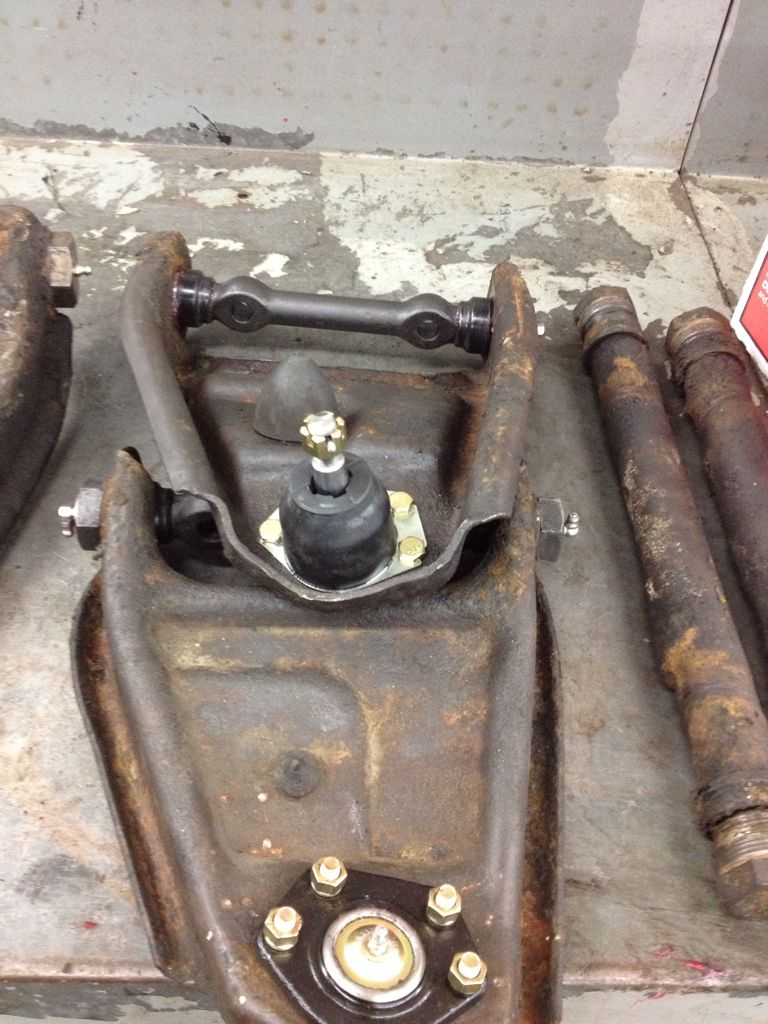 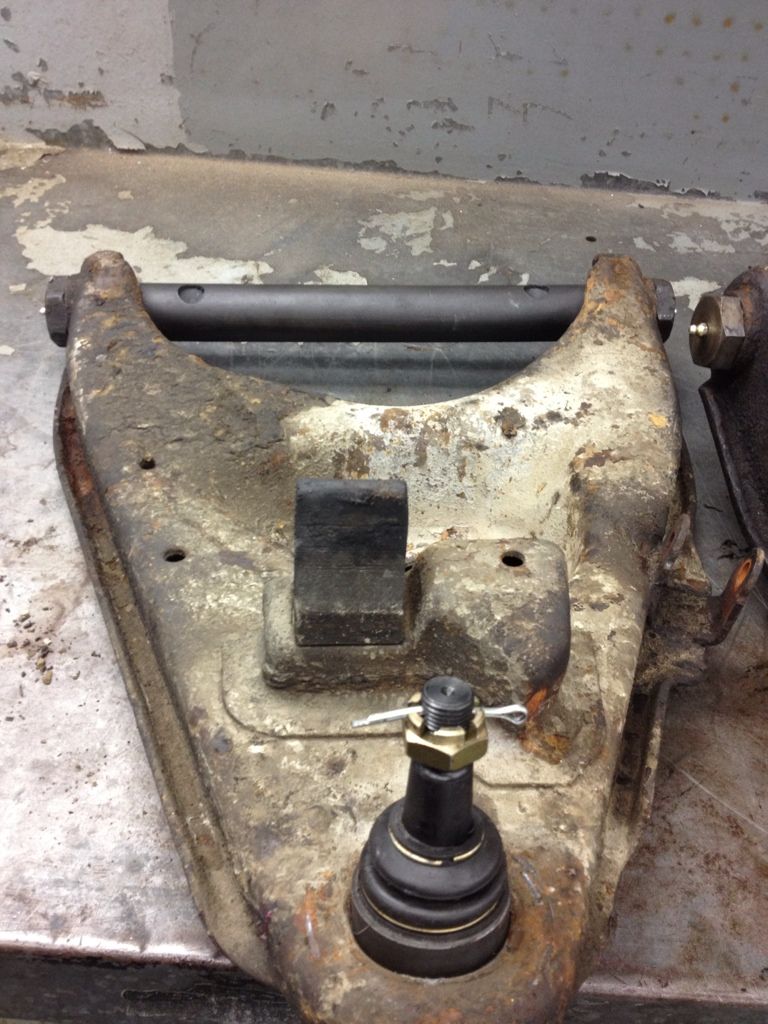 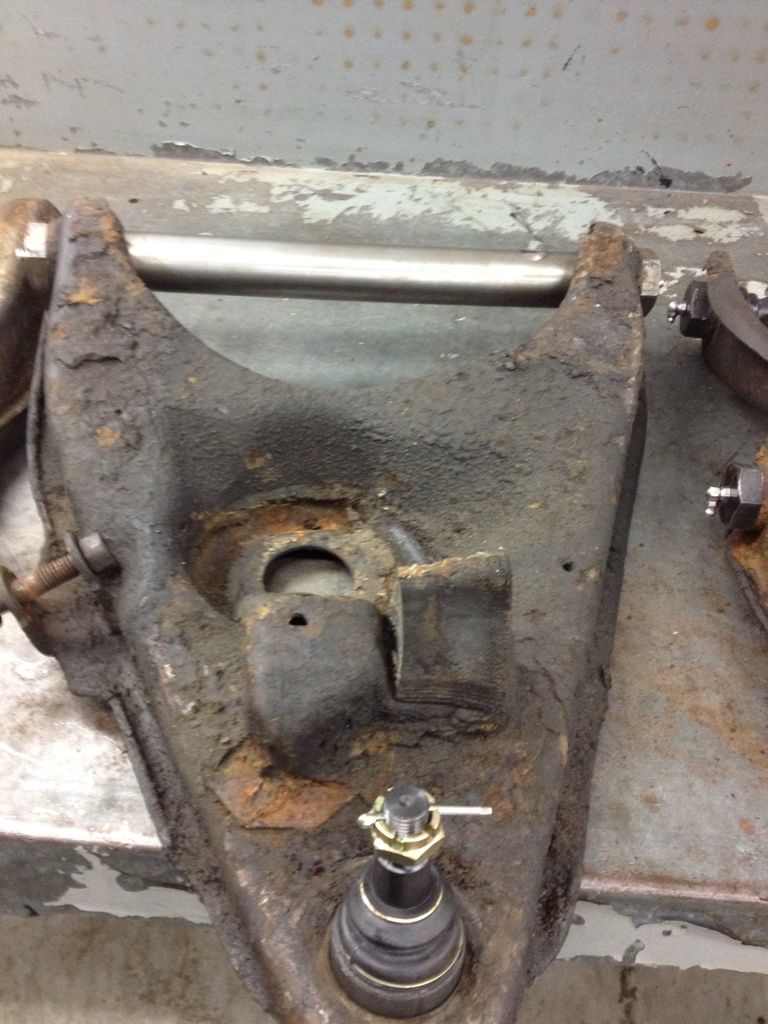 Now, all im waiting on is for these to come in to my local NAPA, and my front end will be almost like new.  I will post some pictures when its all together. Some things I would do over again if I could. Clean everything with a pressure washer BEFORE starting. I was getting grime on new new bushing threads while installing that I had to remove and wipe clean several times. Get all the right sized sockets together before starting. Wasted a lot of time hunting down the right sized tools. Inspect everything and know what your getting. Most of you probably noticed the two different lower control arm shafts. Same part number, one is made in Turkey, the other the U.S.A. I shouldnt have accepted them (I kicked back inner and outer tie rod ends because they were different) but I was in a time crunch because of work, and the parts were the same dimensionally except in two spots that had no effect on the function of the part. One bushing moves a little easier than the other, not sure if its because of the design or the way I installed. Im sure it will be fine. Order the parts you need in advance! Take note of what you will be replacing and order them a few days in advance. I would have had this together today if I had the U Bolts ordered. Once again ill post an update when together. I hope this helps someone, if anyone has any questions feel free to ask, and sorry for the slight highjack. I know it was a U bolt thread until I took it over, my bad! |
|
|
|
|
01-27-2013, 07:27 PM
|
#55 |
|
Registered User
Join Date: Aug 2012
Location: Fort Campbell, KY
Posts: 494
|
Re: 65 lower control arm u bolt BROKE!!!
Well over a month later and almost no progress. Working from 0400 to 2100 with only Sunday off leaves very little time for the truck. Today I was able to drill out some holes, but the new 9/16th U Bolts need to be bent in about 1/8th to fit. About 50 whacks with a BFH on concrete barely made a difference, so I have to take the U bolts on post to the auto craft shop whenever I can. Ill post pics when done for anyone interested.
|
|
|
|
|
01-27-2013, 10:04 PM
|
#56 | |
|
Registered User
Join Date: Oct 2008
Location: Los Angeles
Posts: 39
|
Re: 65 lower control arm u bolt BROKE!!!
Quote:
Posted via Mobile Device |
|
|
|
|
|
01-28-2013, 01:28 AM
|
#57 |
|
Scrapper 1
Join Date: Jan 2007
Location: Riverside Calif
Posts: 1,649
|
Re: 65 lower control arm u bolt BROKE!!!
just one thing you must have Zerk fittings if your ball joints don't have them throw them away
|
|
|
|
|
02-22-2013, 10:56 PM
|
#58 |
|
Registered User
Join Date: Aug 2012
Location: Fort Campbell, KY
Posts: 494
|
Re: 65 lower control arm u bolt BROKE!!!
So, I FINALLY had time to work on my truck, so here's some progress...
I had to drill each hole out a little larger, this was the hard part. My drill wasnt really up to the task but I made it work anyway, I cant recall the bit size needed at the moment, one too many beers I guess. Here's the U bolts side by side: 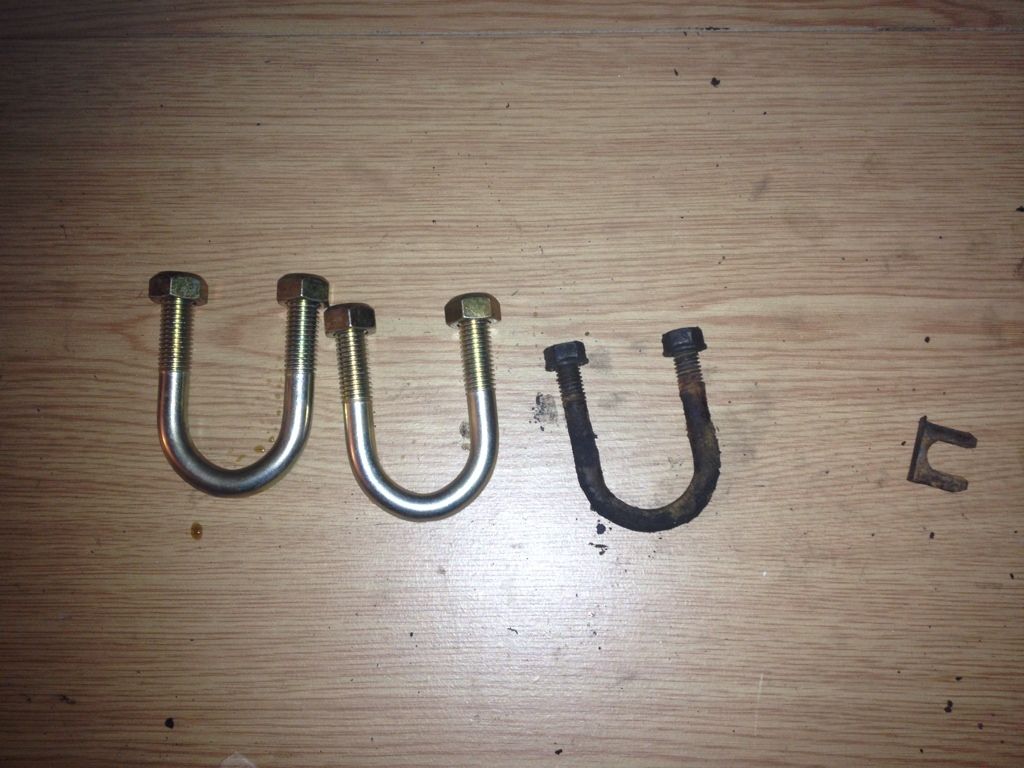 And here is one side installed: 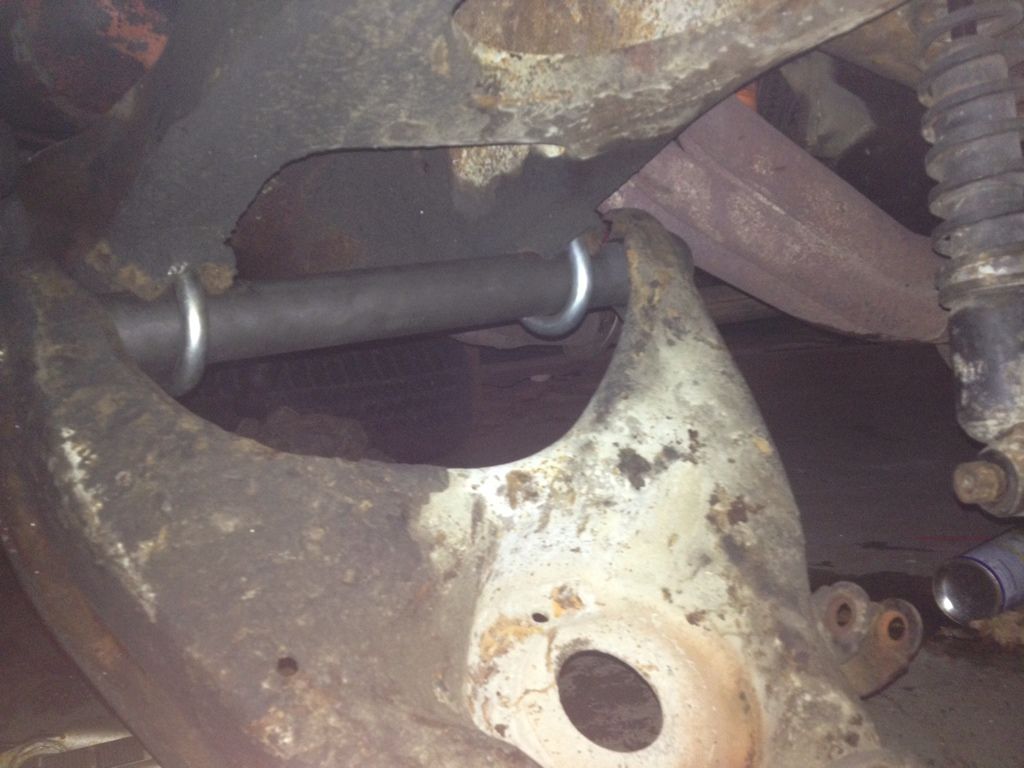 The nuts come very close to the crossmember, I recommend a deep well 7/8 socket, the inner one will have to be completed by an open end wrench, slugging along a quarter turn at a time. Im not confident I have them torqued completely yet, its pretty difficult to get a good angle to tighten them down. 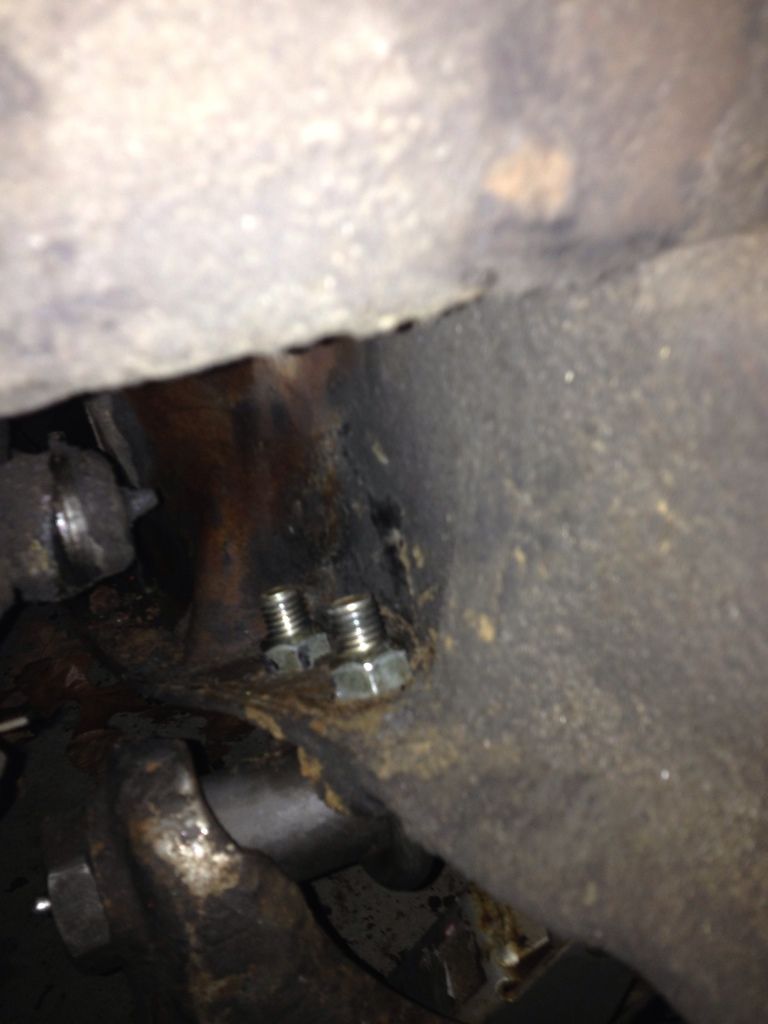 Upper and lower control arms are finally remounted! 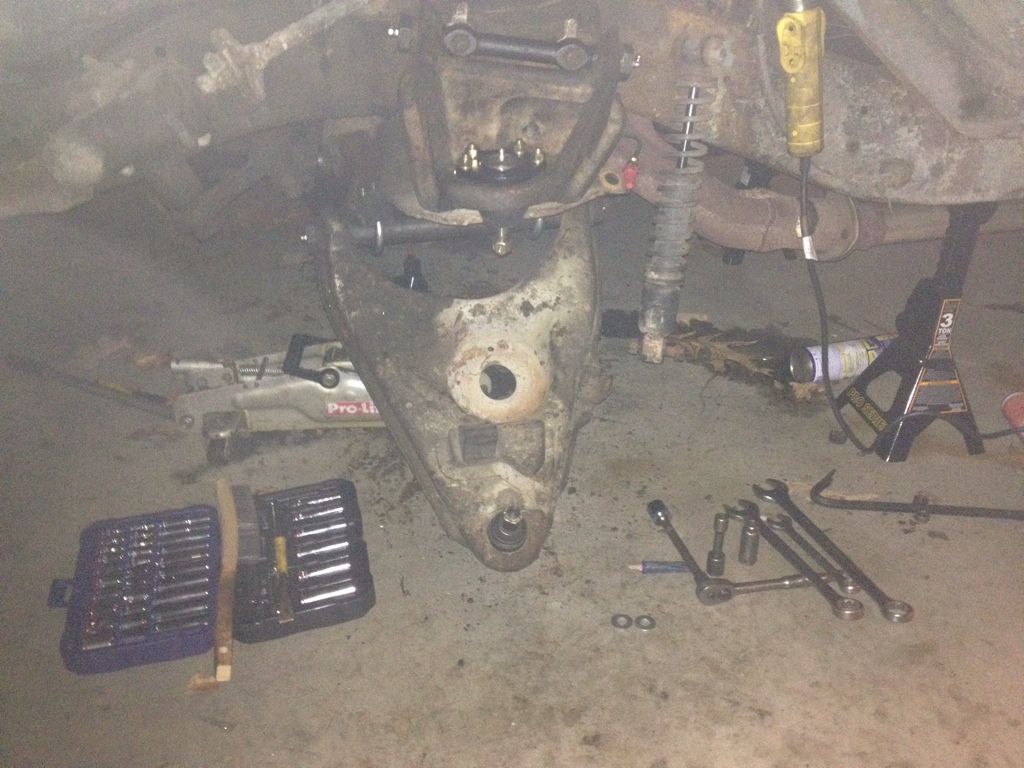 I managed to find some time tonight to cut a coil off each spring, and maybe in one or two weeks I will find time to put everything back together. Free time is not something I have at this time, so its definitely an exercise in patience! If I had to do this over again I would have pressure washed everything first, sourced all the tools I needed including a better drill, at least 5 amps, and probably bought Moog ball joints instead of the cheaper alternatives. Good luck to anyone doing this upgrade, |
|
|
|
|
02-25-2013, 08:30 PM
|
#59 |
|
Registered User
 Join Date: Apr 2011
Location: Ft. Worth, Tx
Posts: 536
|
Re: 65 lower control arm u bolt BROKE!!!
Sure am glad I happened across this thread. While I'm replacing everything else I might as well do that too especially since it could be a major safety concern. My local Napa has the bolts in stock too!
|
|
|
|
|
02-25-2013, 09:28 PM
|
#60 |
|
Registered User
Join Date: Aug 2012
Location: Fort Campbell, KY
Posts: 494
|
Re: 65 lower control arm u bolt BROKE!!!
All done! New bushings, ball joints, cut a coil from each spring, now time to tackle the rear!
|
|
|
|
|
10-22-2013, 01:21 PM
|
#61 |
|
Registered User
Join Date: Oct 2013
Location: marquette mi
Posts: 6
|
Re: 65 lower control arm u bolt BROKE!!!
A good set of lower control arm u bolts are the doorman part # 13503. They are 9/16 thread and are from the 73-95 models. They fit perfect in my 72'
|
|
|
|
|
10-22-2013, 01:22 PM
|
#62 |
|
Registered User
Join Date: Oct 2013
Location: marquette mi
Posts: 6
|
Re: 65 lower control arm u bolt BROKE!!!
That's dorman 13503 about $9 at auto value for a set
|
|
|
|
|
10-22-2013, 01:47 PM
|
#63 |
|
Account Suspended
Join Date: Oct 2012
Location: here
Posts: 2,408
|
Re: 65 lower control arm u bolt BROKE!!!
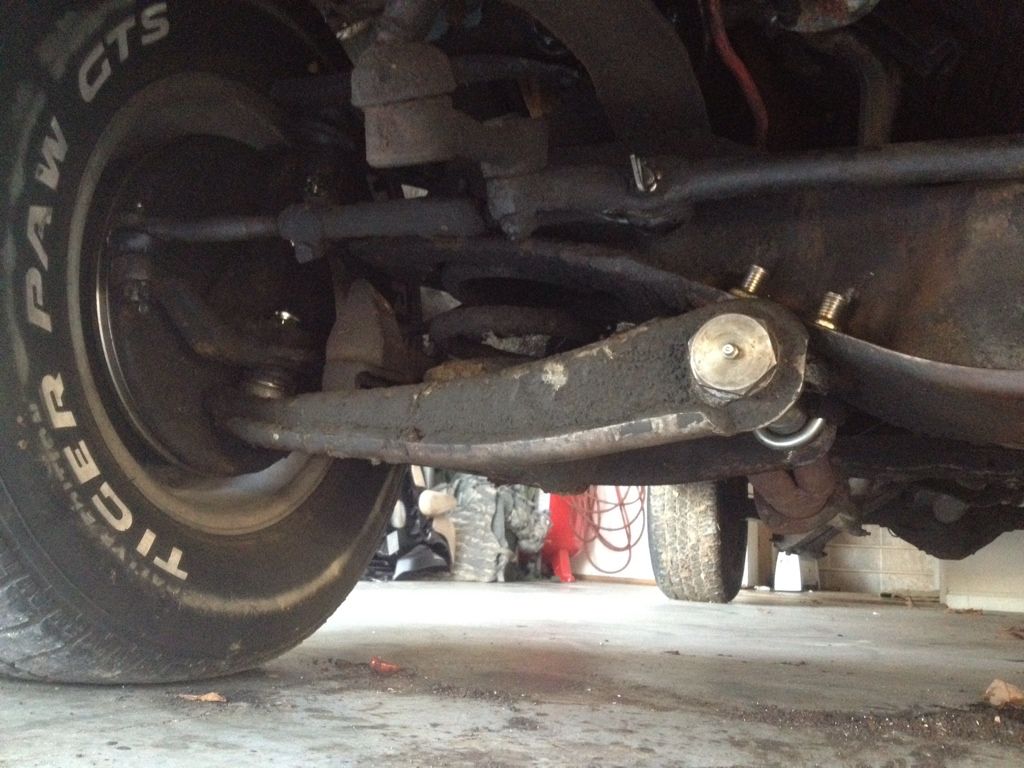
I've done this mod twice now...once with lmc bolts and tall nuts and once with dorman bolts and short nuts.
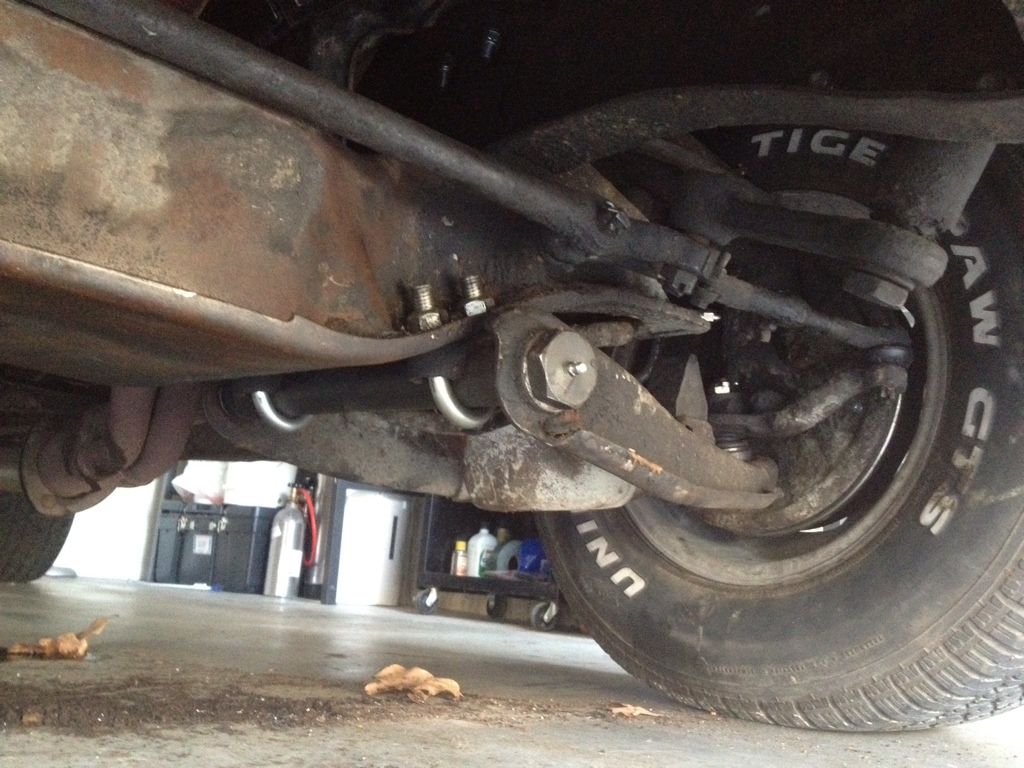
Her is the install on my 65 with the short nuts/dorman bolts. I managed to get everyting torqed to about 90 ft lbs but it takes a bit of dimpling of the crossmemeber as discussed in the attached thread. (It was easier to use a socket with the LMC bolts/tall nuts...but the Dorman bolts with short nuts are a bit better in the fit and finish department,,,,not to mention about 2/3s cheeper than the LMC parts) Overall, a great safety upgrade for these old trucks, I highly recommend it. Just watch out for them suspenison springs, ther're mean if ya let em get loose while yer under the control arm! http://67-72chevytrucks.com/vboard/s...d.php?t=599576 |
|
|
|
|
| Bookmarks |
|
|


 Linear Mode

