It's been a long time but not forgotten. Having 2 other vehicles really takes its toll on time and the budget but I have been busy with this.
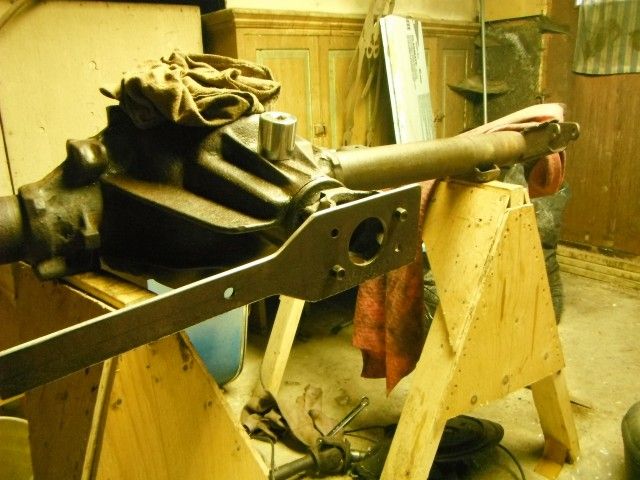
Before taking the diff apart I decided to measure the backlash just out of curiousity. I've never done this measurement before and I did it a few times just to get the hang of it, each time I got 11 thousands for the backlash. I don't have the specs handy but I'm thinking that is too sloppy.

Next step was to remove the pinion yoke but after fumbling with over sized wrenches and pipe wrenches and pry bars I made this tool out of scrap. I have holes to fit the 10 bolt yoke and later on the 14 bolt. I loosened the pinion nut with an impact but left it in place. I marked the end caps for the carrier and removed them. The carrier didnt come out as I figured it wouldn't. I wiggled the yoke with my handy tool and the whole carrier plopped out right thru my fingers before I was ready and before I could get a picture. Luckily I had rags on the floor to catch it so be carefull if you are attemting this. Having someone help you wiggle the yoke as you hang on the carrier could save a toe.
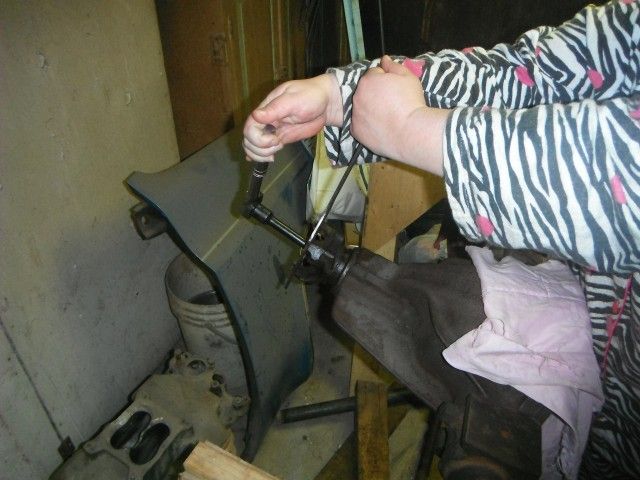
Now that the pinion yoke has done it's job, the wife in her pj's easily removed it. Luckily the yoke just slipped off, no tugging or pounding required.
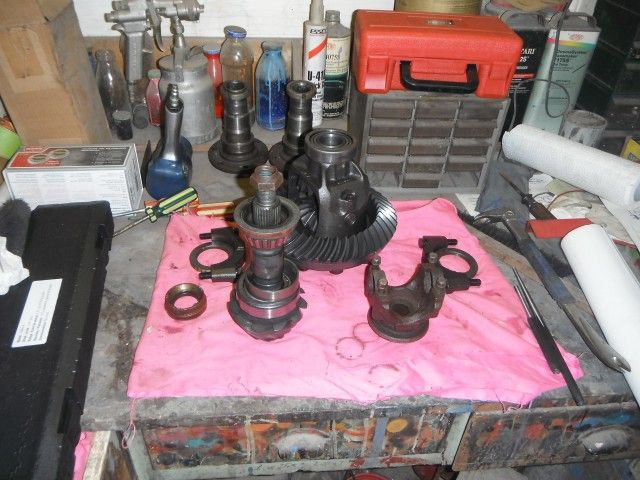
I layed out all the parts being careful not to mix up the caps, (even thou they are marked) and the shims.
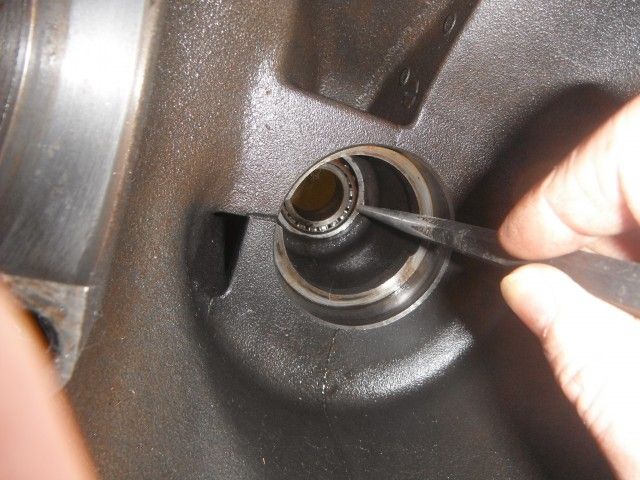
I used a small punch to knock out the races still in place. Here is the rear pinion bearing race on it's way out.
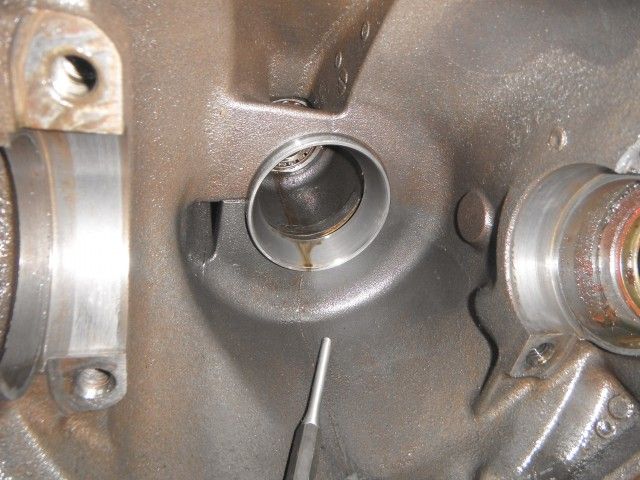
From the inside, I knocked out the front race, the bearing is still in place sitting behind the pinion seal. There are cutouts on each side of the race that made this very easy.
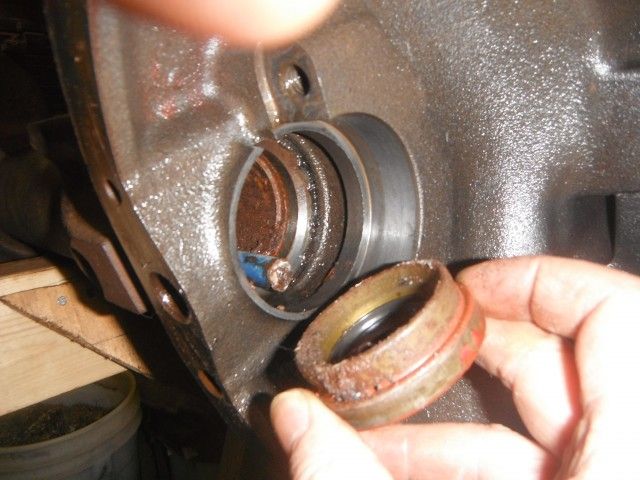
I didn't have to put much energy into the pinion seal as the front bearing pushed it out on its way out.
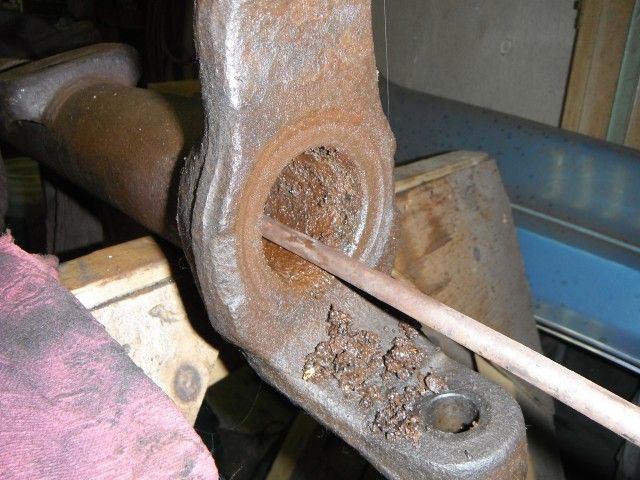
Now to the inner seals. A short bar easily knocked out the right side, I used a long piece of alumium rod to knock out the left side. It was very clear the tubes had a lot of mud and rust in them.
I soaked the tubes with WD-40 and pushed rags thru them but it wasn't working too well so I found an old wire brush meant for a drill and clamped it onto a rod, just a few passes and it was clogged.
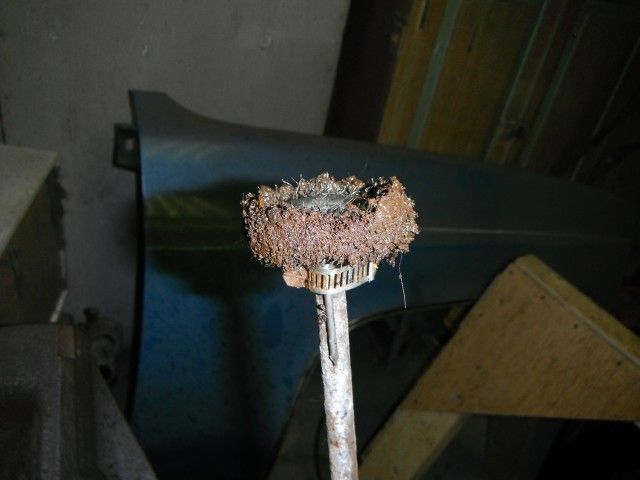
More WD-40 and I was still pulling out a ton of scmutz. The left side here was worse. It was so full of dirt I couldn't get the brush all the way thru.
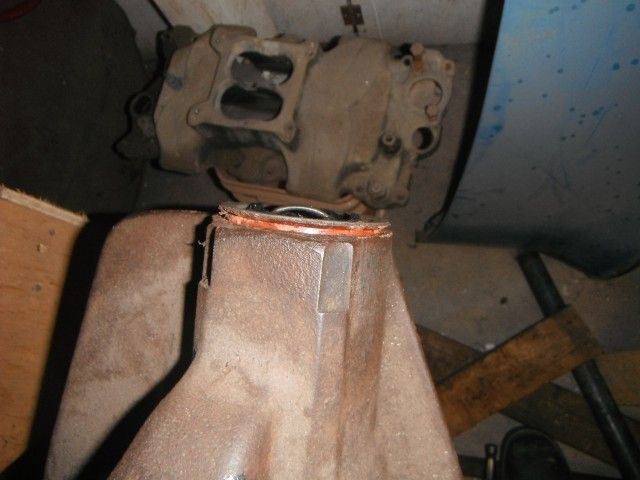
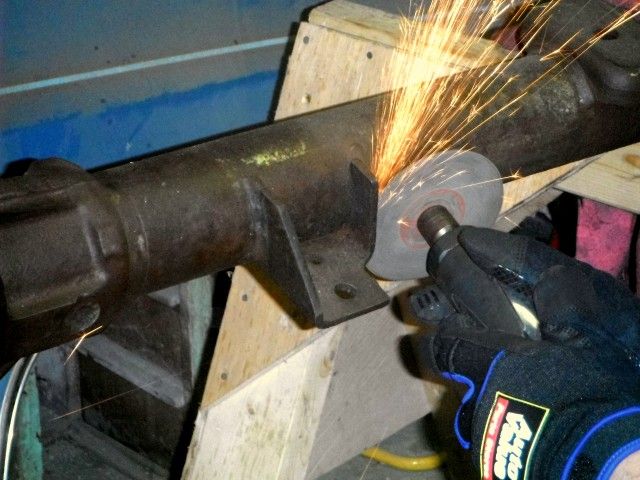
I left the tubes to soak some more and test fitted the new bracket for the steering shocks. This bracket will put the shocks ahead of the tie rod.

Althou the original shock mount did not interfere, I decided to remove it for a cleaner look. A cut-off wheel made short work of the welds.
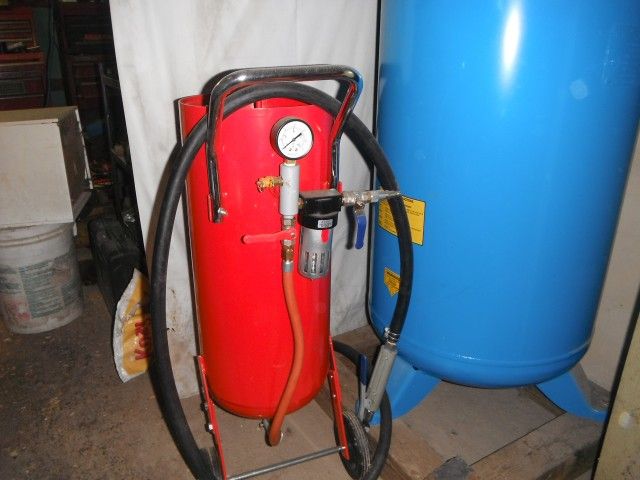
I bought a new sandblaster and it's all full of media and ready to go. I will wait for warmer weather and by then I should have my paint in. In the meantime I will clean up the axle tubes more and file down a ton of welding splatter that seems to be all over the place.
Thanks for looking in, Les