Yesterday was both exciting and challenging. The mailman showed up with both the LED bulbs and the sequencing kit a couple days ahead of schedule! It took a while to install all the bulbs. I discovered the holes for the larger bulbs (the blinkers) were too tight, and I couldnt turn the corner inside the casting to insert the bulbs in the end plates. So I had to hand hold each casting and bore out the hole a bit bigger, without hitting the inside curve of the chrome with the drill bit. It took about an hour to get them all resized, with no damage to anything! All the big bulbs went in easily after that, and each was tested after installation.
The little bulbs (parking lights) went right in with no extra effort, although I did snap the rim off of one. I thought it seemed loose and it wasnt so I over tightened it and broke the rim. Another small bulb was DOA in the package, so that one will go back for replacement. Thankfully I bought a couple of spares just in case. With all the lights tested, I set everything up on the clean bench and proceeded to wire it all up for a quick test. That started in the early afternoon and ended near midnight, when I just gave up out of frustration. I figure Im as smart as the next guy, but the directions make very little sense, at least for what Im trying to do. There was also a wiring diagram for a switch, but it showed how the switch was set to produce a result, but didnt include any information about which wires went to any of the actual terminals.
After trying just about every combination of connections imaginable, I eventually discovered the green control wires needed to join with the red module wire, along with the #1 lamp power wire, and those three need to connect to the turn signal wire. Once that was sorted out the sequencer started working perfectly. I quickly wrote down my own instructions so I can repeat the process once everything is installed in the hood. I took a short video to show them running. This is the second attempt, which turned out much clearer than the first. The earlier attempt just showed a big streak of light that looked more like a continuous strobe light!
http://www.youtube.com/watch?v=9fiI0...ature=youtu.be
Its actually 54 degrees outside today and nearly 60 in the garage with no heat, so Ill be double checking final fit this afternoon. Cutting will start either tonight or tomorrow morning.
Ive got the harness routing all sorted out. If I dont run into any surprises, I should be able to wrap this up in one or two days depending on how long it takes to cut the holes.
Also the new black metalflake gear shift knob showed up today. Unfortunately it isnt pretty enough to make the cut, so it will be added to the gear shift knob collection and the blue knob will remain in the truck:
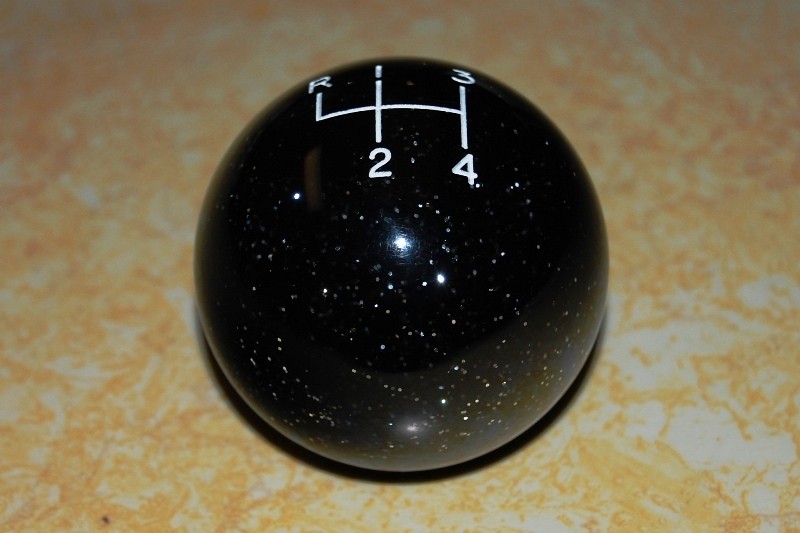
The color isnt black enough, its more of a dark gray, and it just doesnt pop being completely opaque. There is no transparency at all so it just doesnt have the luster of the blue ones or the red knob my son has. Im not all that disappointed as you never know what theyll look like until they show up. As they advertise, no two are alike. Besides, a grown man just cant have too many shift knobs!