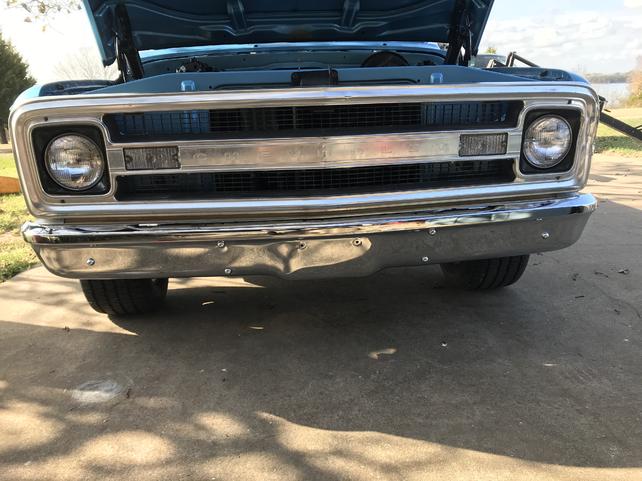
FYI the repop bumper is 1/16 thinner than the original, and the OER bumper hardware has longer square retaining area so the bumper required some body shims on the outside bracket bolts to get the fasteners to engage. Here is the before and after. The originals driver side is slightly pushed up and has a creased/pinched area on the top and bottom of the inside bumper fasteners.

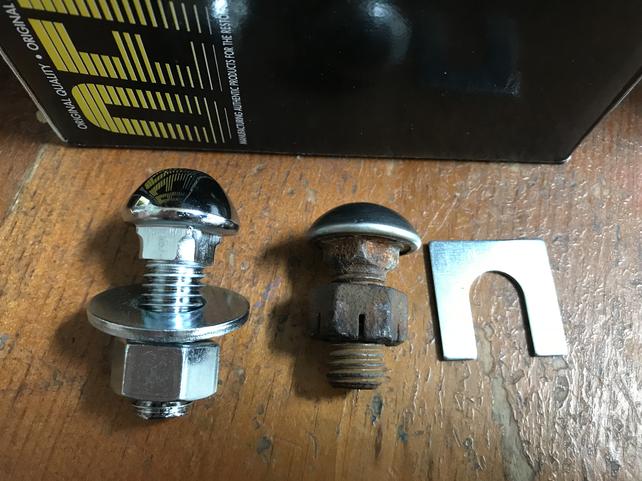
Here is the new bumper hardware compared to the original and the shim I used to fix it, took two shims on each side.
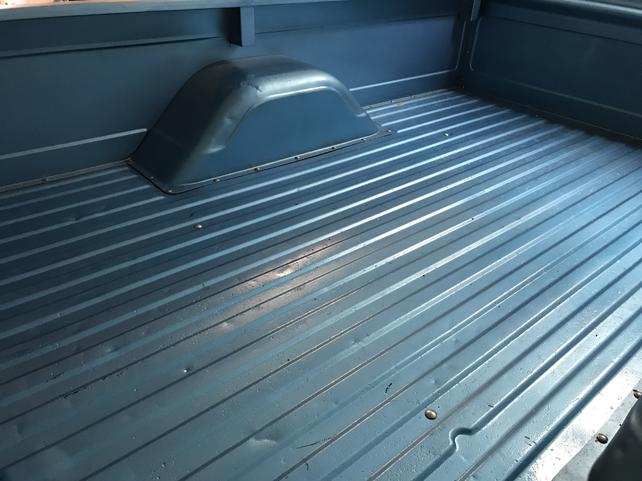
Also, the bed hardware kit didnt include flat washers so I had to use some I already had. I think the kit was for wood and steel beds because it had an undersized set of rounded head bolts that werent applicable. This kit did not include wheel well to bedside bolts, or front bed panel to bed side hardware. I keep all the original parts and fasteners, learn that lesson early with the Camaro, so I will chase the threads on the old fasteners and paint them black.