Quote:
Originally Posted by Racer2172

Nice build just read through the whole thread. I dig it.
|
Thanks!
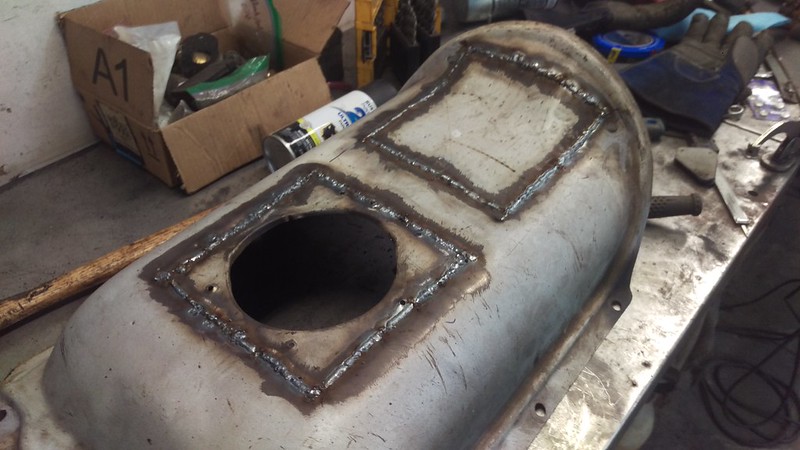
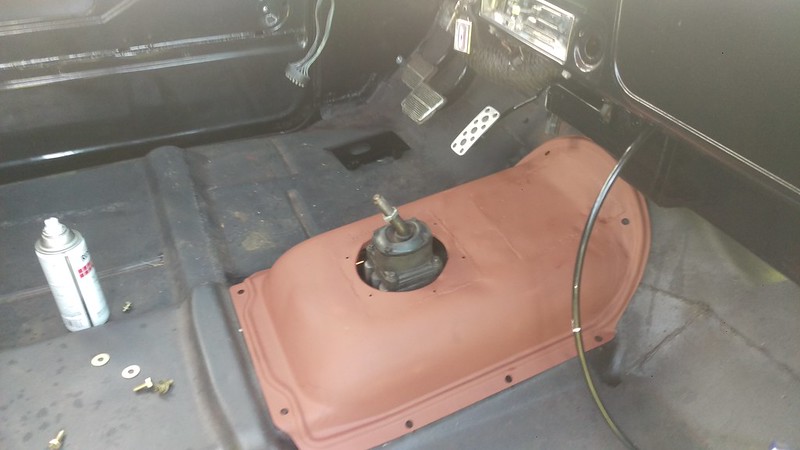
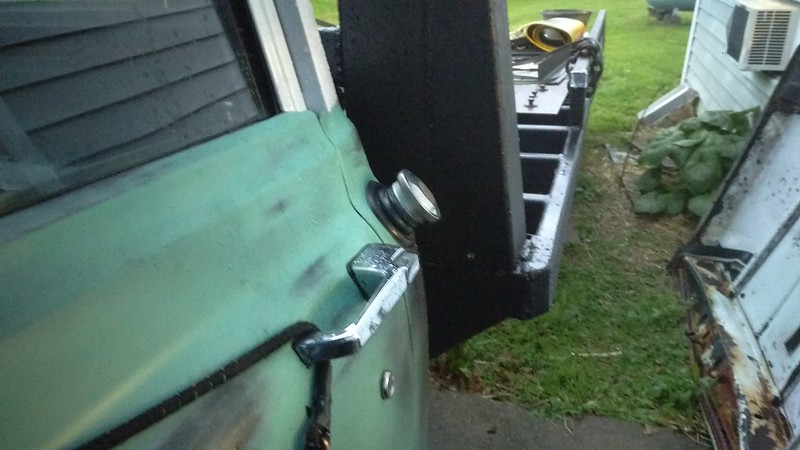
Well I moved the shifter hole the other day.
 IMAG2810
 by
jarrod vanwinkle, on Flickr
 IMAG2811
 by
jarrod vanwinkle, on Flickr
 IMAG2813
 by
jarrod vanwinkle, on Flickr
I'm going to have to move the air lines to the outside of the frame as the downpipe may melt them.
 IMAG2812
 by
jarrod vanwinkle, on Flickr
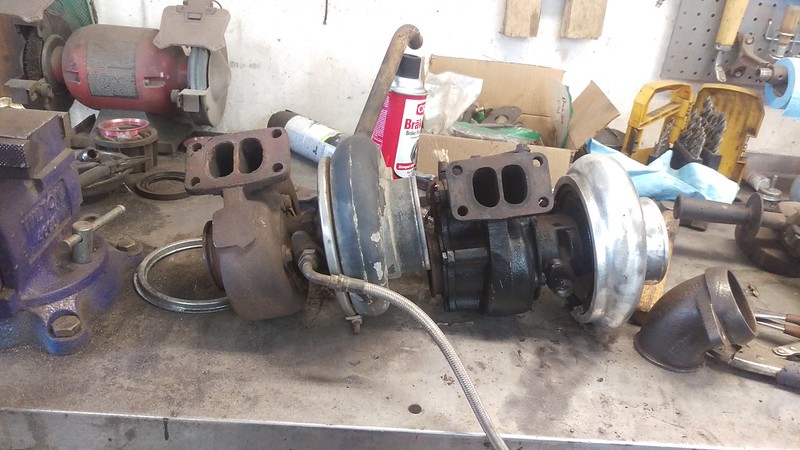
I went to fit the turbo, I have a hx35 I had bought for another project that didn't happen. I want to use the hx35 over the h1c as it will spool faster and make just a little more power through the power band. However the hx35 would not fit at all because the heater box was in the way. The h1 fit but I would not have been able to fit the downpipe.
The h1c on the right and the hx35 on the left you can see the exhaust housing is bigger on the hx35 do to the waist gate.
 IMAG2820
 by
jarrod vanwinkle, on Flickr
Here you can see the h1c installed and the downpipe would not clear the heater box.
 IMAG2816
 by
jarrod vanwinkle, on Flickr
 IMAG2817
 by
jarrod vanwinkle, on Flickr
 IMAG2818
 by
jarrod vanwinkle, on Flickr
I ended up flipping the exhaust manifold and now the turbo clears and I have plenty of room for the downpipe. However on the hx35 now the wastegate hits the heater box.
 IMAG2821
 by
jarrod vanwinkle, on Flickr
 IMAG2822
 by
jarrod vanwinkle, on Flickr
 IMAG2823
 by
jarrod vanwinkle, on Flickr
So I modified the wastegate bracket to clear the heater box. I only took one pic I forgot to take more of it finished.
 IMAG2824
 by
jarrod vanwinkle, on Flickr
I wire wheeled the exhaust housing and the center section on the hx35 and painted it with high temp paint. I believe it has already been rebuild as it has very little shaft play compared to the h1c, and the way it was painted it has been apart. I going to wait until the high temp nickel anti seize comes in before reassembling it as I broke one of the bolts on the exhaust housing and don't want to do that again when I do need to rebuild it.
 IMAG2832
 by
jarrod vanwinkle, on Flickr
 IMAG2833
 by
jarrod vanwinkle, on Flickr
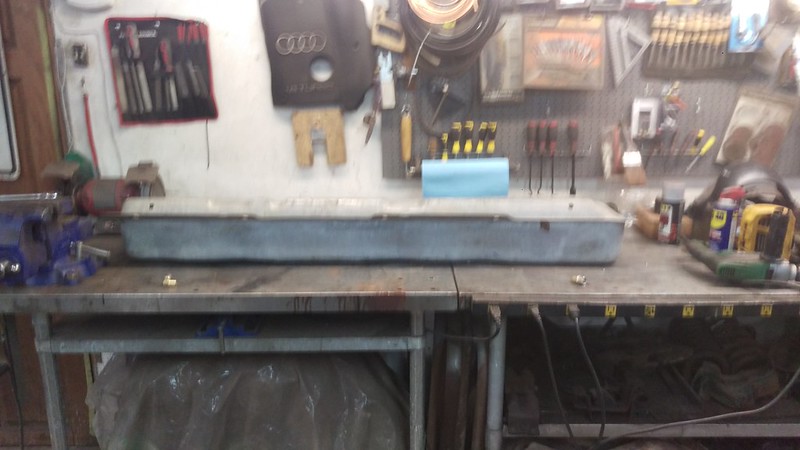
I am going to temporary install the stock fuel tank, as like most of the us I am a non esensial worker don't have the money to spend the the 40 gallon tank I am planning on running. But I would like to get it up and running as soon as possible. And it would nice to have a running project.
So I modified the stock fuel tank to a gravity fed tank, as 1 I did not have a return line and 2 I wanted to run a bigger fuel line to the pump for better flow and volume. I had some stainless 3/8 NPT weld on bungs left over from another build so I ordered a set of 1/2" Hose ID to 3/8" Male NPT 90s that will run to a aluminum 1/2 ID fuel line. it will go to a 1/2 ID T fitting to a 1/2 ID valve so I can manually shut the fuel off to the tank when I upgrade down the road.
 IMAG2825
 by
jarrod vanwinkle, on Flickr
I cut the old fuel sender that is now the return line off below the level sensor and I also cut three slits in the return to make it easier for the fuel to return to the tank when its full, or at least that was my thoughts on it.
 IMAG2826
 by
jarrod vanwinkle, on Flickr
 IMAG2827
 by
jarrod vanwinkle, on Flickr
I also painted the tank as it had some surface rust from sitting that I cleaned up and did not want it to come back.
 IMAG2828
 by
jarrod vanwinkle, on Flickr
 IMAG2829
 by
jarrod vanwinkle, on Flickr
 IMAG2830
 by
jarrod vanwinkle, on Flickr
The fuel lines will fit no problem.
 IMAG2831
 by
jarrod vanwinkle, on Flickr