Okay, back to the progress...
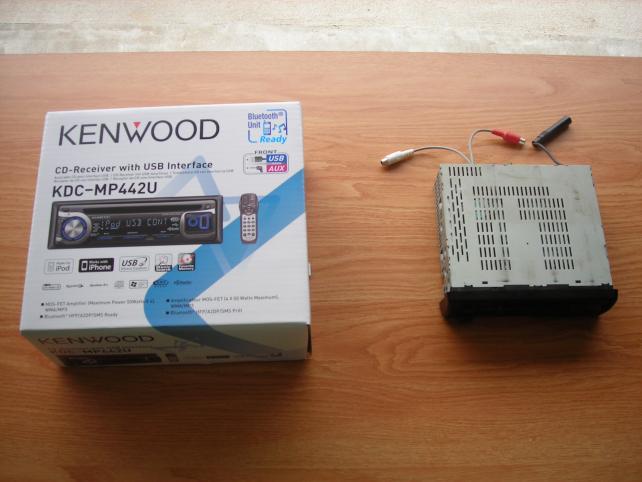
Since I haven't owned a tape for over 15 years, the old tape deck had to go. I finally located a headunit that would blend in with the color options and still provide the functionality I wanted. So I ended up purchasing the Kenwood KDC-MP442U.
During the installation, I ran into a few issues, but after breaking out the test light it was a breeze. Here's the connections anyone will need when hooking up an aftermarket radio, with being able to use the accessory switch on the ignition.
Before you begin installing any electrical device, disconnect your battery!!!
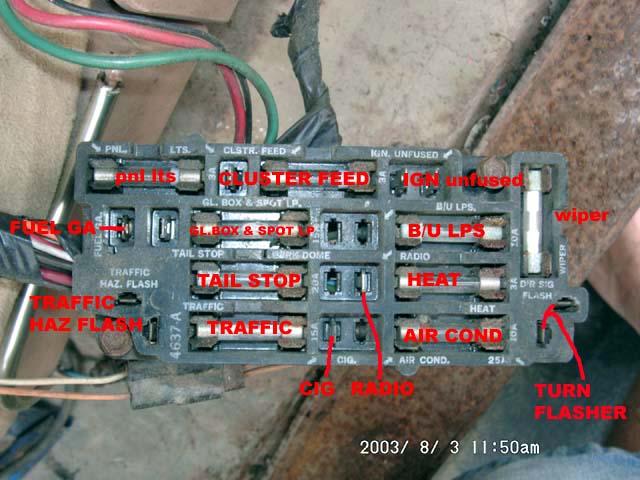
The following fusebox photo has been around the board a time or two, and I have lost track of who exactly labeled it. So thanks to that member!
 Yellow Wire
 (Constant Power Feed) - I tied the constant power wire into the secondary lead coming from the cigarette lighter. My cigarette lighter terminal had a splitter with an empty terminal. Since power from the battery is constantly on, I used this to power the memory functions of the radio.
Red Wire (Ignition Wire) - I tied this wire into the terminal marked radio. Initially I though I had an issue with radio terminal, but it turned out to be merely a bad fuse. By using this terminal you will be able to turn the radio off with the key, and be able to turn the ignition over to accessory function to power the radio.
Black Wire (Ground Wire) - This wire was tied into the chassis for a grounding point.
Orange/White Wire (Illumination Wire) -
This is not a required connection. If you don't mind having your headunit at full light display, then the unit will illuminate once power has been applied to the unit. However, if you would like to be able to control the dimming of your headunit when you turn on your headlights, you will need to connect this wire. I connected the illumination wire to the terminal marked "Cluster Feed."
Blue/White Wire (Power Control Wire) -
This is not a required connection. If you will be running an external amp, you
must make this connection. In the event you don't make this connection, when you switch your headunit over to the CD/Ipod/USB mode, your unit will automtically shutoff your amp. By connecting the blue/white wire the amp will automatically remain on when you swap to a function other than the tuner.
As far as audio connections, I used the pre-amp outputs to provide sound from the unit. In the future I will be making changes to this configuration and will update this thread to document those connections.
Now for some pics from the install... the old unit was actually longer than the new one, so when it was installed it wouldn't "seat" into the space correctly.
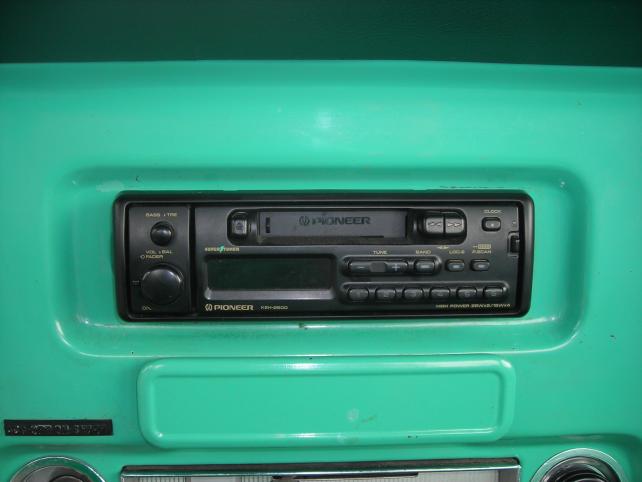
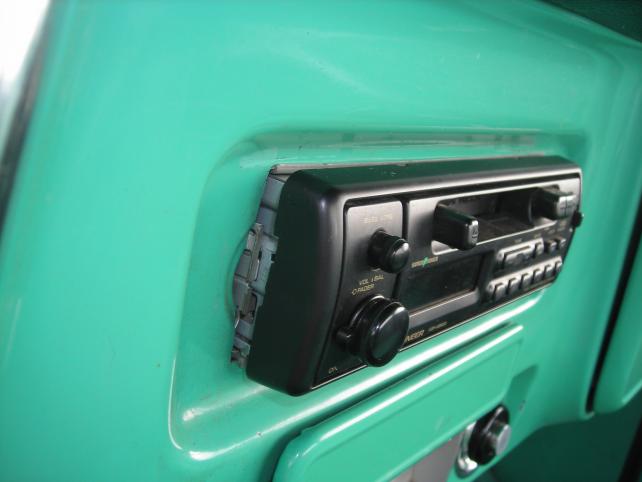
For some reason, I didn't get a comparison shot of the two units side by side, but it was about 1" shorter, if not an 1.5", than the old unit.