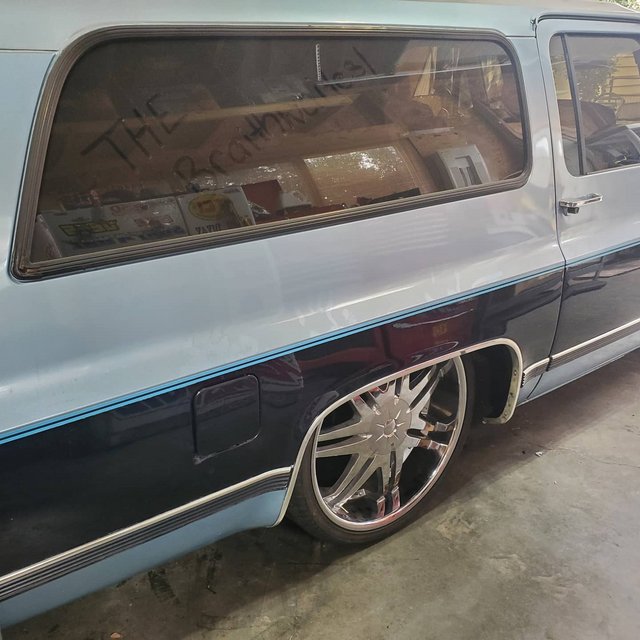
Made some progress over the last week. She is as low as it will go without cutting the rear floor.
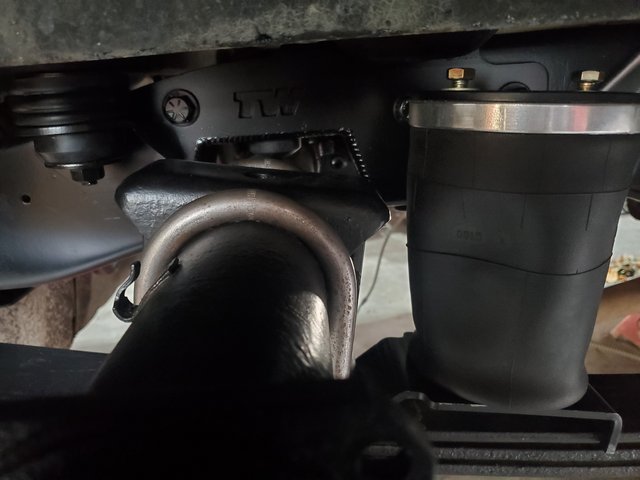
Basically have the rear suspension finished up, with the exception of waiting on a rear upper bag mount. Depending on the bags height after getting the upper mount installed, I might have to run a 1" spacer from Pro Performance that they have for the F9000 bags.


I lowered it with a flip kit, Belltech 6700 shackle (they say 1" but i say 1.5"), pulled overload and bottom leaf spring, and a 1" zero rate leaf spring from Offroad Design (1" block). I tried it without the 1" block, and the axle was about 3/4" away from the bump stop in the C-Notch.
Encountered some issues with the flip kit. The saddles/axle locators did not have the offset holes in them and the axle moved forward when installed. The bottom plate did have the offset hole, so in the end I just drilled a new hole in the axle bracket to match the one in the bottom plate I reached out to the manufacturer and took pictures showing them the issue. They let me know, that they use the offset ones with trucks, but when they mocked up a blazer the axle stayed centered without using offset holes and assumed Suburban would be the same. Long story short, I ended up yanking the 1" block, putting the flip kit using the center holes, took pictures, then drilled new holes to offset, took pictures and sent to vendor. (They are sending me replacements after observing the axle not centered. Then installed 1" block, then found brackets for air bag alignment were off so had to pull apart leaf springs again to adjust them, since they need to be between the leaf springs and lift block, I took apart the leaf springs about half a dozen times and took flip kit on/off even more before finally getting it all figured out. *Disclaimer, I never torqued the U-Bolts all the way during any of the mock up... just to the point of starting to snug up, everyone always talks about how once you torque it stretches the threads under tension, and to not reuse u-bolts, so i figured I would hold off on torquing all the way until everything is ready to go and functioning.
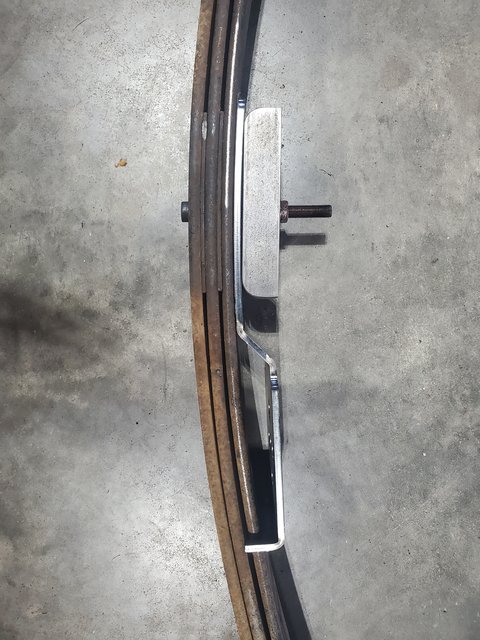
Since I went with the top 3 leaf springs, I had to find an alternative for the leaf springs clamps. Found 2.5" wide leaf springs clamps made by Pro Comp. They were quick and easy to install. The 1" zero rate springs from Offroad Design came with new pins as well, so that was handy.

I reached out to Tinworks Fabrication and asked if they would send me upper bag mounts they have for Firestone 9000 bags, but to send them without any holes drilled in the mounting portion of the bracket and Taylor agreed to help out. When I get the bracket, I will drill 3 holes to match the notch and share those holes after figuring out exact height and location of the bracket. I did have some upper bag mounts that came with the lower leaf spring bracket, but it would have required more holes to be drilled in the frame, and the width of it was a few inches wider than needed so decided to find a better solution and thankfully Tinworks Fab was able to help out.
From the beginning my plan was to get the axle tube sitting in the c-notch and then use the bags to lift it up a few inches for ride height. The goal has been from the very beginning, to get it as low as possible without cutting the floor. In planning this out, I read multiple posts that were full of misinformation in regards to lowering a suburban, the most common saying the diff will hit the floor with a flip kit and this is just plain false for a 1/2 suburban. If you have a 2500 with a 14 bolt differential this would be the case, as it is much larger pumpkin than the standard 10 bolt, so always grab a tape measure and check it out for yourself instead of believing what you might read or hear on the web. I measured before starting and determined that I should have about 3/8 of an inch clearance between the diff and bed, it turned out to be 1/8" clearance. When i measured initially I didn't have c-notch installed so i'm pretty happy how close it turned out. The tire/rim combo is 275/30r24, which according to the internet is 30.5" tall. When I measure it myself, they sit closer to 30" tall. With jackstands under the axle there was about 1/4" of room between the the inner tub and top of tire. The wheel i used to mock up and measure was not fully inflated so when I went and pulled the jack stands and put it on the ground with fully inflated tires, the tires were contacting the rear inner fender tubs. For now, I'm going to use this wheel combo, but the plan will be to switch to a 22" combo that measures around 28.5" tall in the future, allowing for the necessary tire/tub clearance and to get a little lower overall.
Here is a mock up picture of the leaf spring, I ended up moving he bag bracket closer to the block, and flipped the bolt over and the block as well, and used the offset holes in the block to match the 1 inch offset hole in the flip kit axle bracket. The zero rate springs from Offroad Design have 3 holes in them for centering or moving ahead/behind axle if you want.
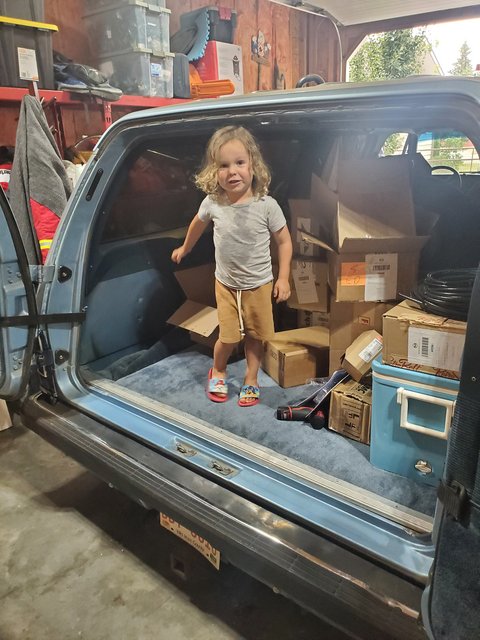
Here is my helper sorting out boxes of parts that need to be installed yet.
Clearance between the diff and the bed floor.

Will probably switch to a 25 gallon fuel tank. I have a few blazers that are parts vehicles parked out at my parents farm. Supposedly they are 25 gallon tanks vs the 40 gallon currently installed by factory.

Back on the ground for a few pictures. A 28.5" overall diameter tire will definitely looks better than this 30.5" combo.
I do like the tuck though!!