Now, where were we…..
I would love to tell you that normal service has been resumed but as I have a very loose grasp on my reality let alone yours lets just say I have a bit of an update.
After sorting out the things that needed to be done to ensure reliable and semi legal motoring I decided to just enjoy Woody (narf narf) and get to know him a little better.
So, after a number of miles I kept coming back to 3 things that were distracting from my basic motoring please.
Drum roll please, may I present those distractions:-
1. Win the Euro Millions roll over
2. Do something about the Comedy Gearing ™
3. Either equip Woody with a sail and rudder or attend to the door handle scraping handling.
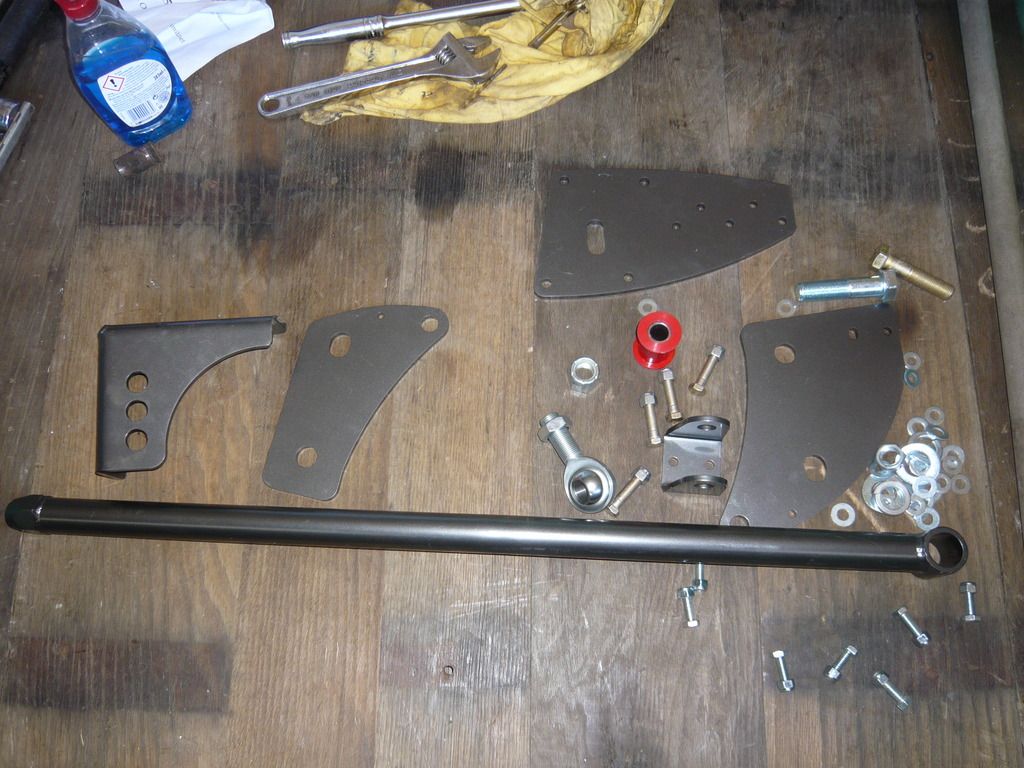
So, Euro Millions ticket purchased, I proceeded to look through the pile of boxes that accompanied the Woodster. Ah Ha! Boxes from the nice people at No Limits so option 3 it is!

Now, most people would have a wonderful staged photo of all the boxes to illustrate their purchase. However, this is me so this is all you are going to get. Please note Safety Wellies ™ and medium BFH
.
Decided to install the front roll bar first and after mocking it up in the correct position realised that I was going to have to remove my first rivets.
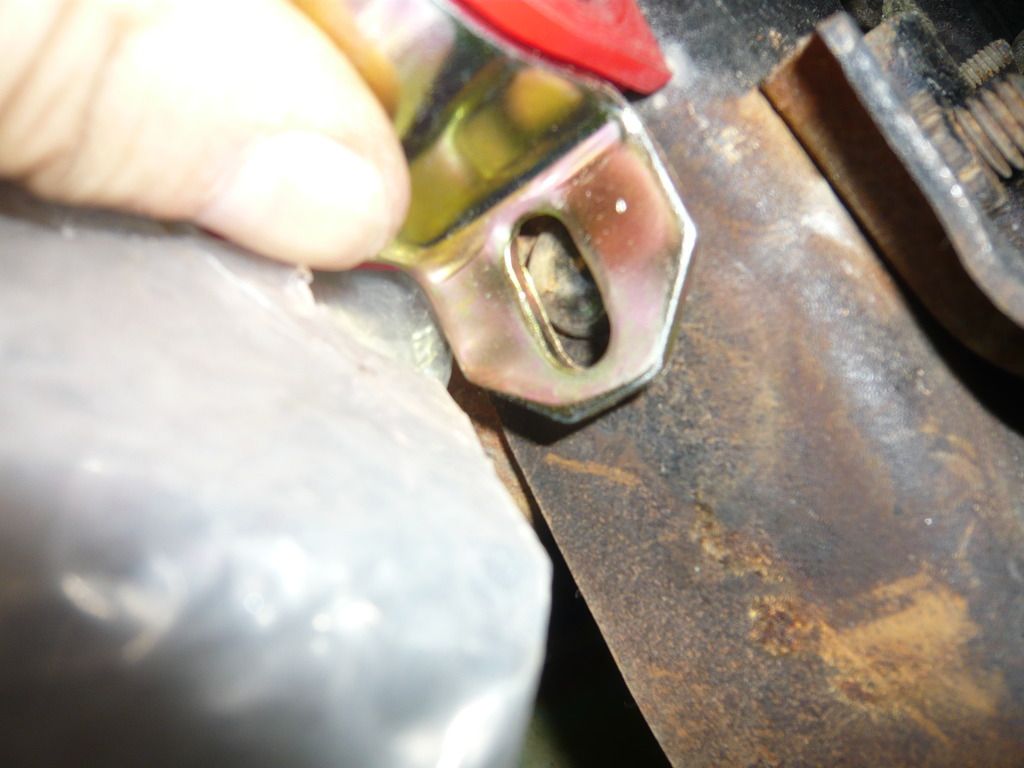
Now, after hearing how awful a job this was can’t say I was looking forward to it in any way. After a quick research I had my plan of attack.
1. Grind a cross in the head of the rivet
2. Use large chisel and medium BFH to remove head.
3. Centre punch and drill out body of rivet in 3 stages (small, bigger, biggest)
4. Use same large chisel and medium BFH to remove the back of the rivet.
Success! Took about 2-3 mins per side. Felt pretty cocky to be honest…
So rivets out I used 2 beer crates to hold up the bar whilst I put the drop links into the pre drilled holes in the lower A arms.
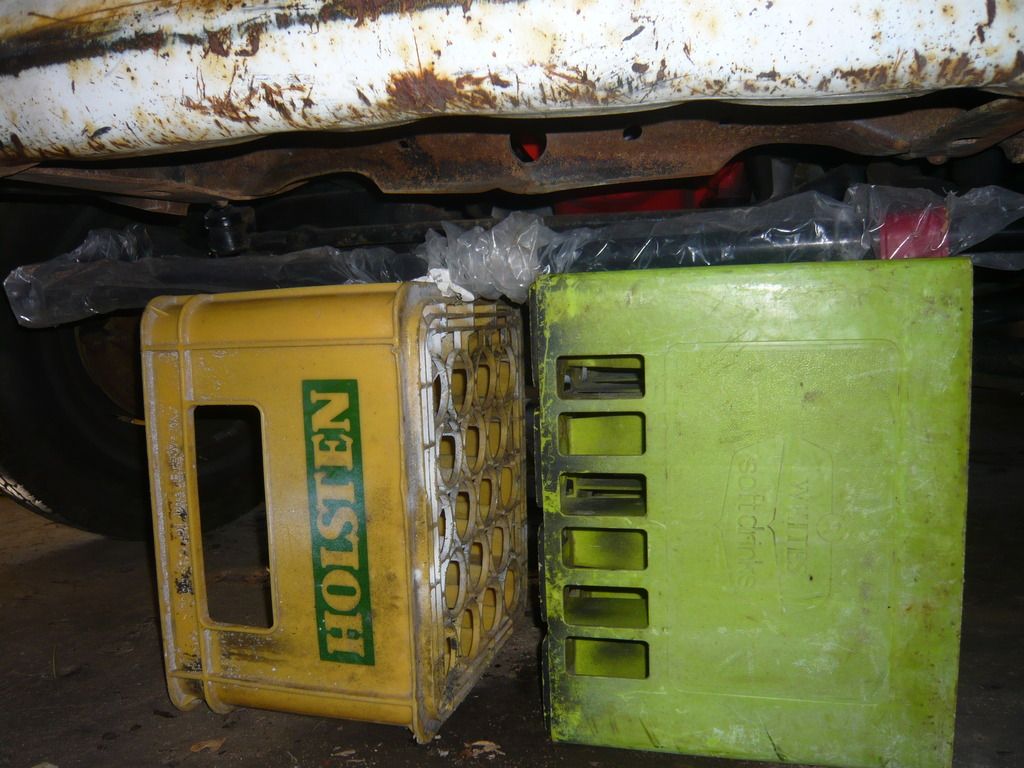
Rest assured that at no time have I ever swallowed Holsten….
Pushed the bar into place and marked out the required holes, drilled and all bolted into position. Had to enlarge the hole slightly in the roll bar for the bolts to seat fully but nothing that my trust drill couldnt handle
Pretty easy job if I am being honest, did notice that the rad cross member had obviously been used to pull it out of the container when it arrived, so that is a job to do in the not too distant future.
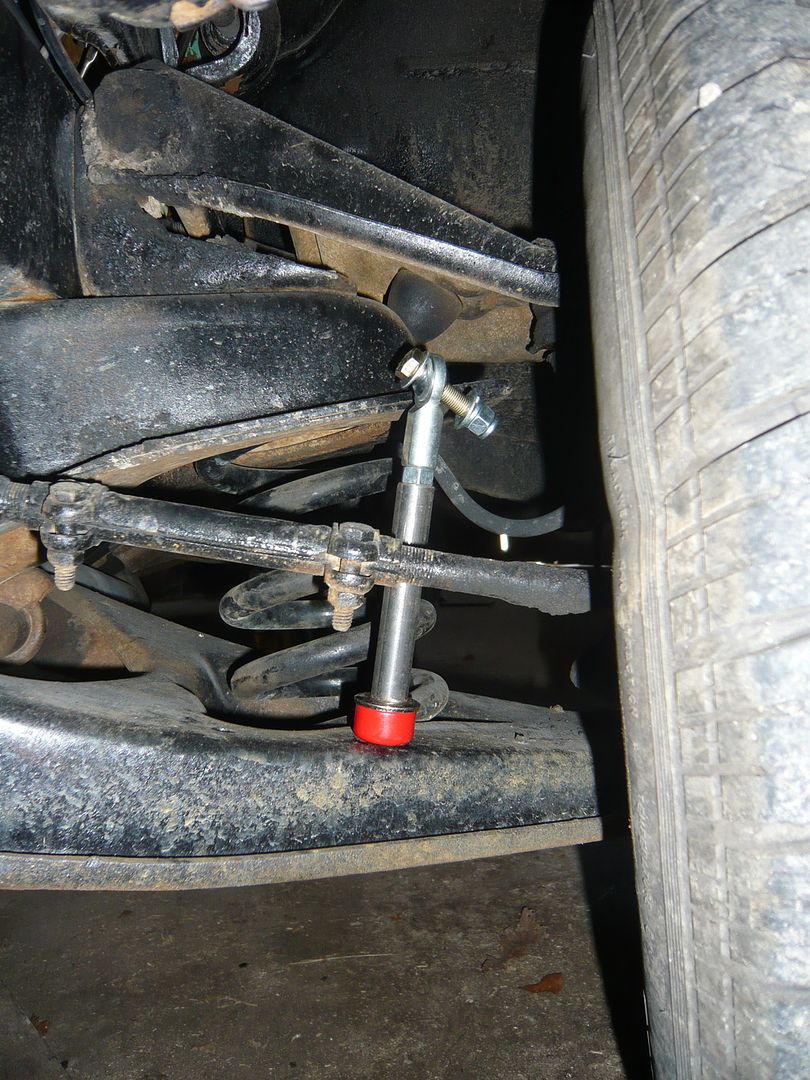
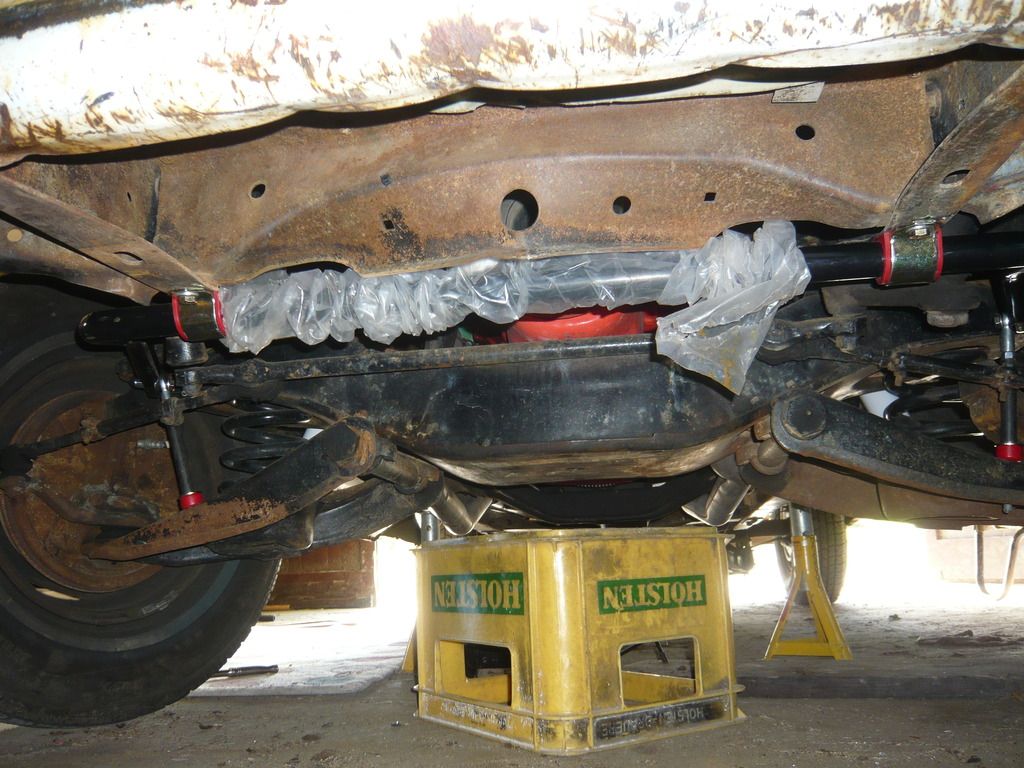
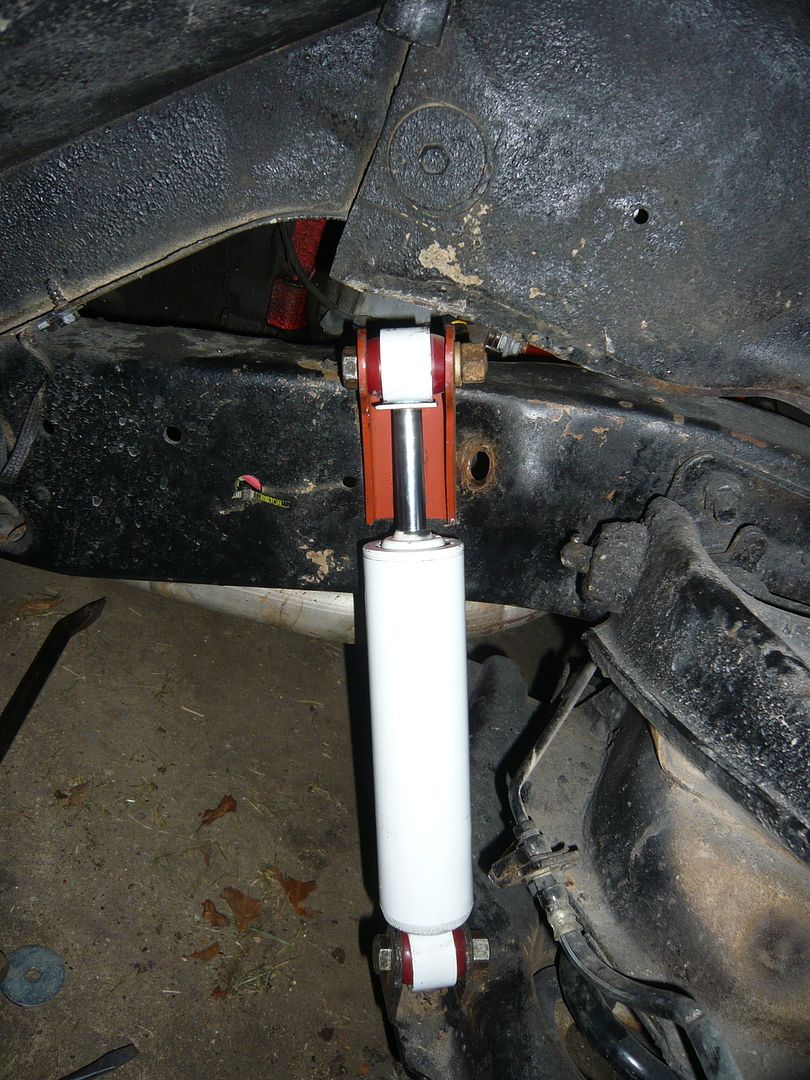
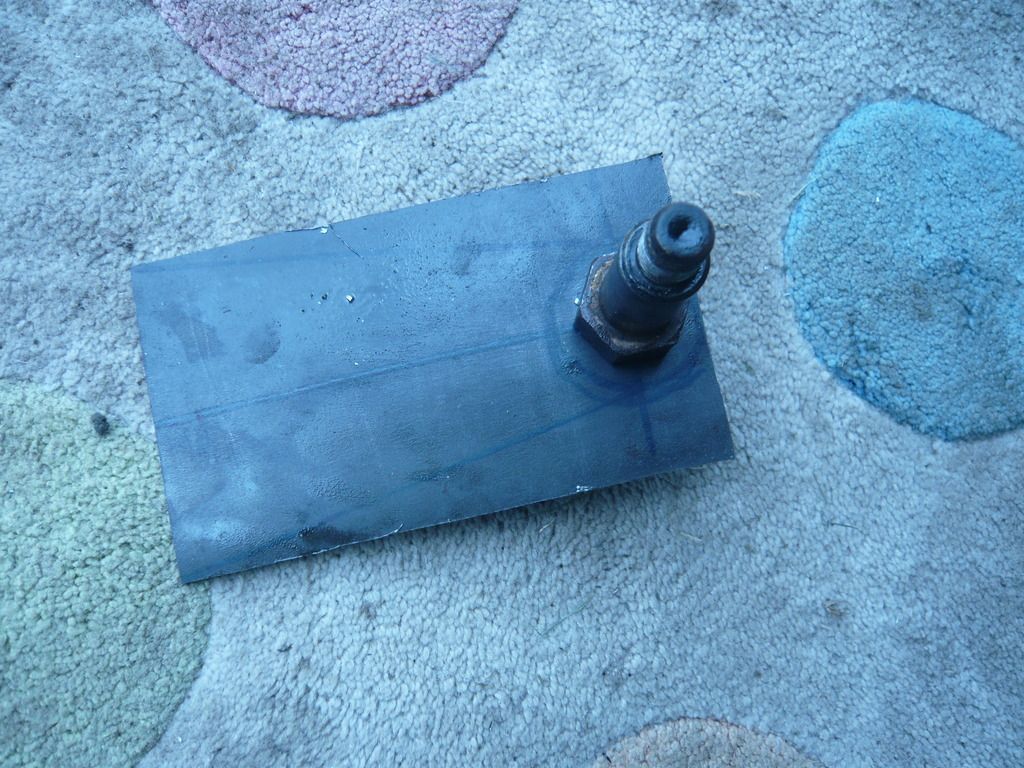
Next was to install the Doetsch shocks.
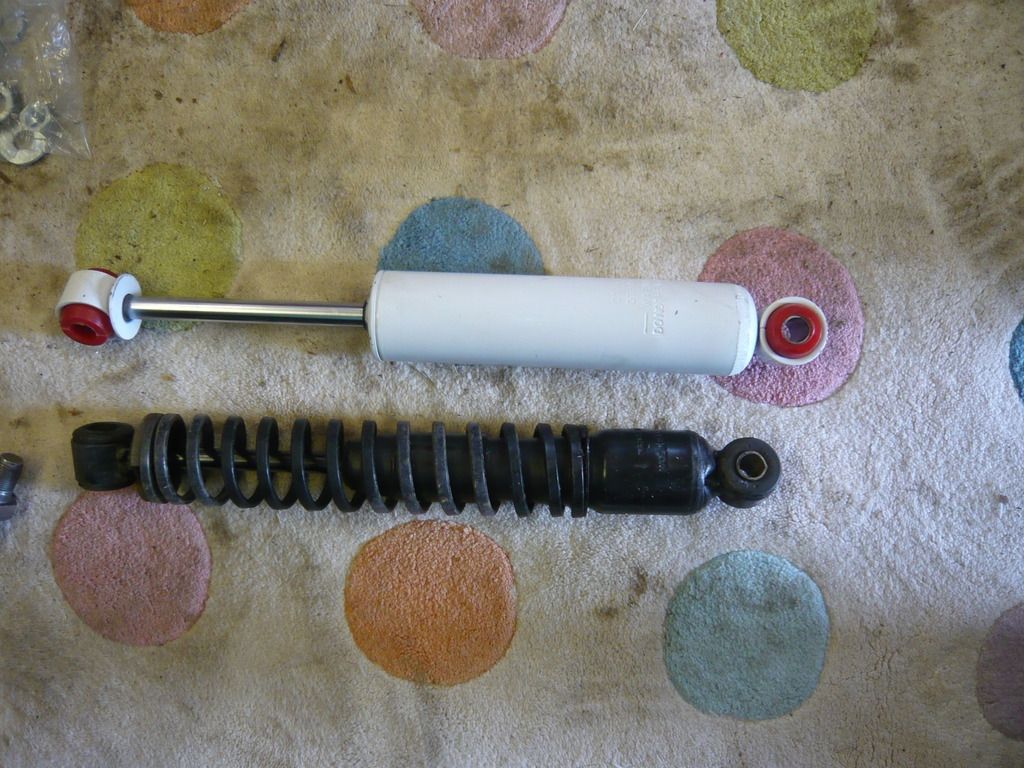
New vs Old
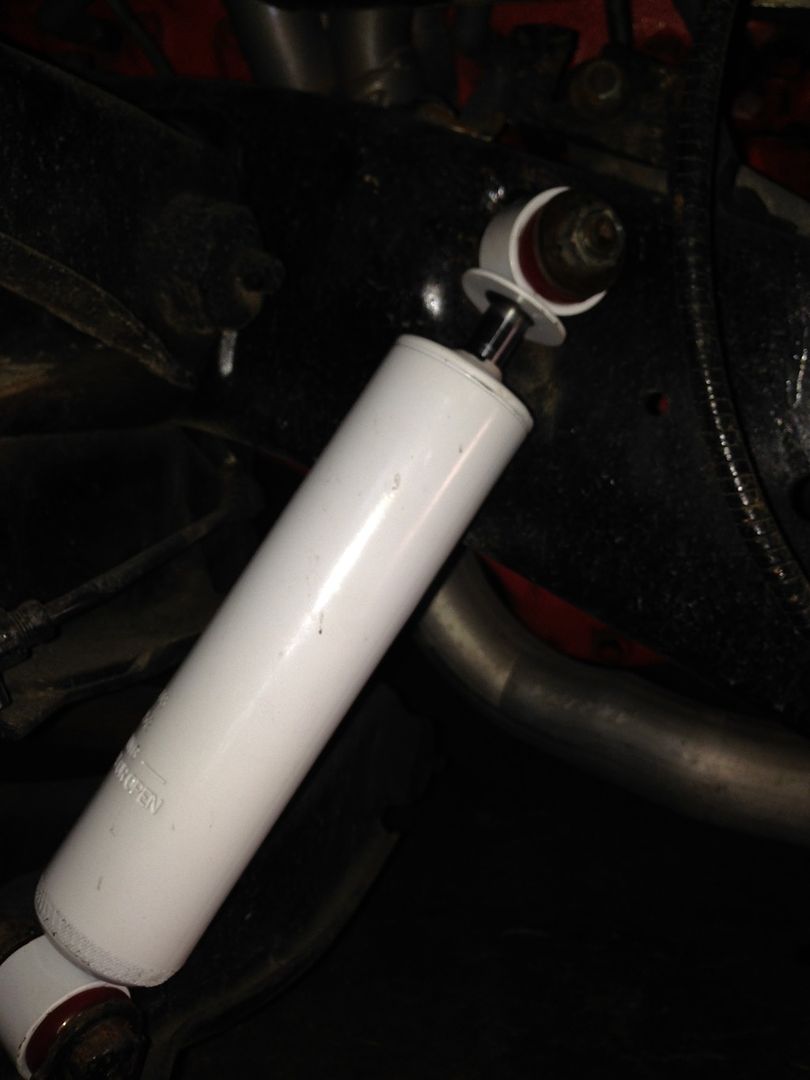
And installed…Mmm…Anybody spot the issue? Anyone? Anyone? Bueller?
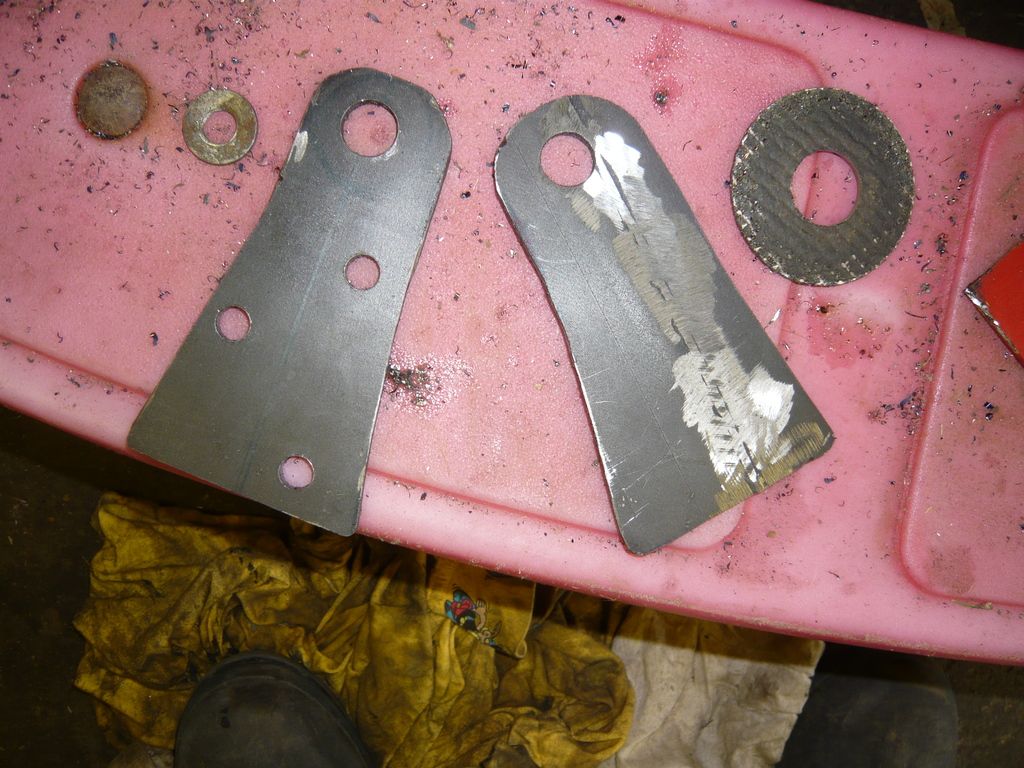
So, a quick measure up and a call to a few people resulted in a bit of box section that I then proceeded to turn into scrap…
Thankfully I had enough left over to try again. But this time I am decided to make it out of cardboard first.
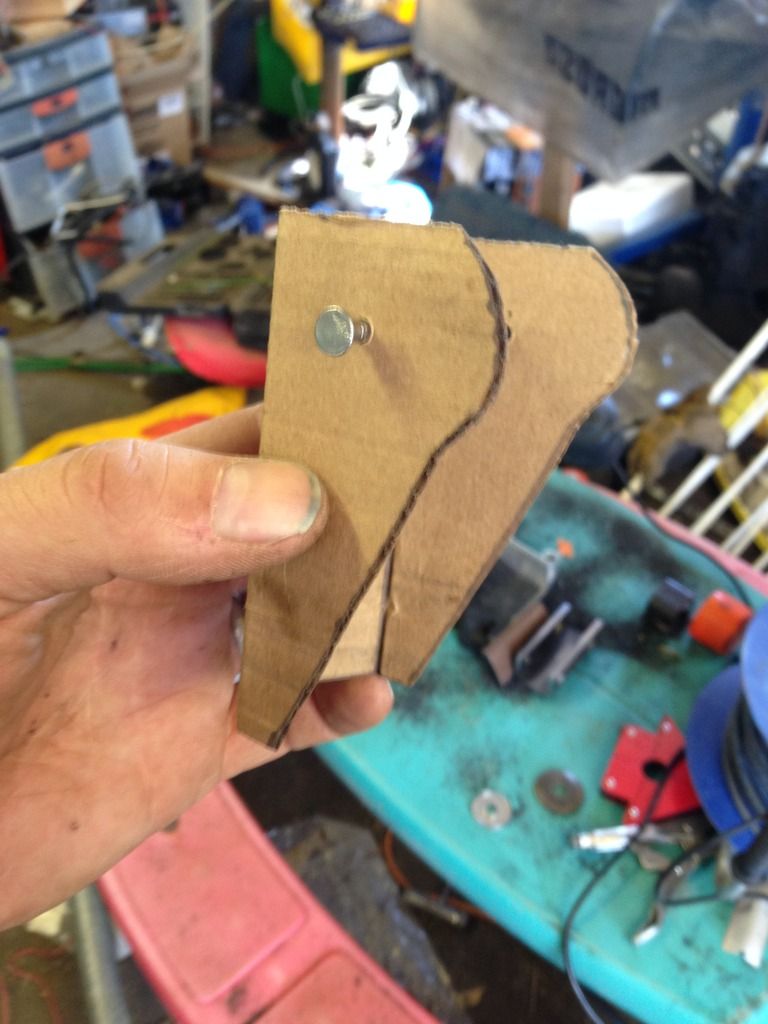
Do you know what, I am going to send this off to Blue Peter. If anything is worthy of a Blue Peter Badge it is this beauty. Hold on a second, just enjoying the moment again.
Arty shot.
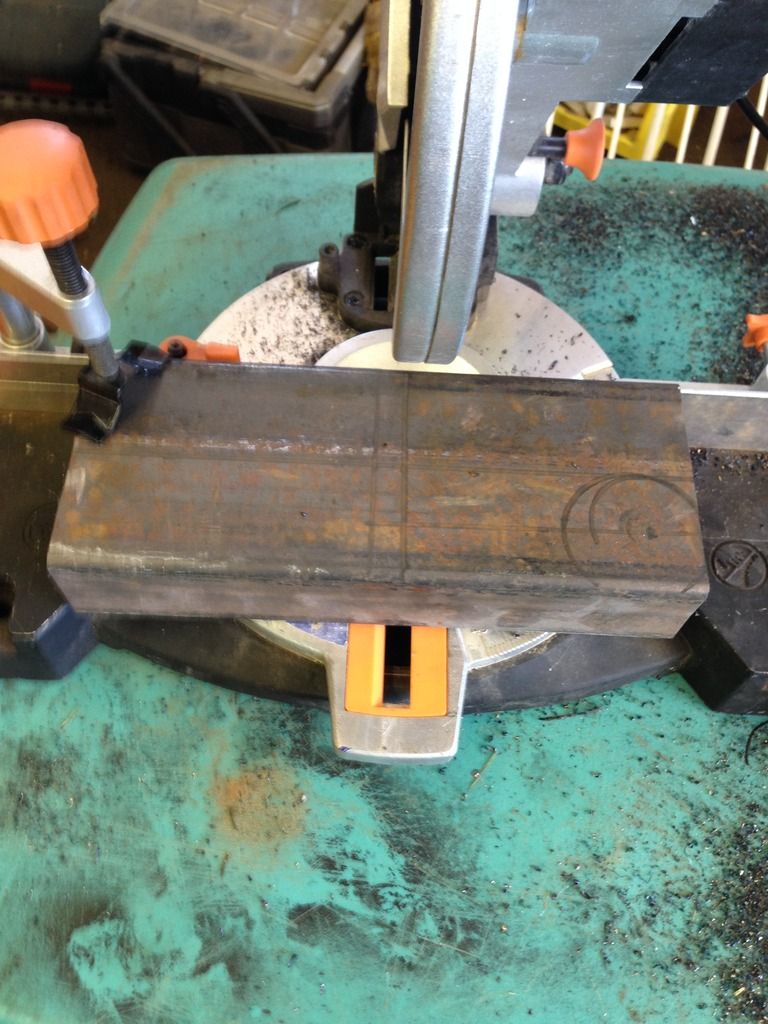
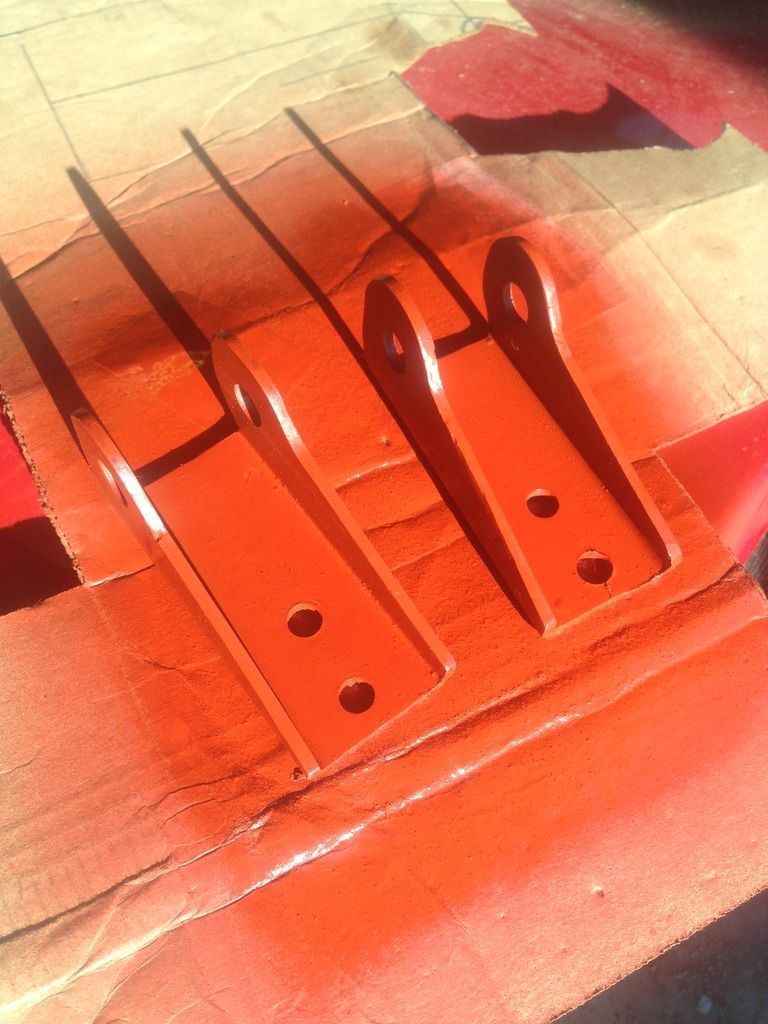
Transferred this template to the box steel, marked it out and made loads of noise with a grinder and drill.
Anyway, to cut a long story short….Success!
Reckon I have about 2 ½ - 3” of travel now, so around 5” at the wheel, quite pleased with this if you can’t tell.
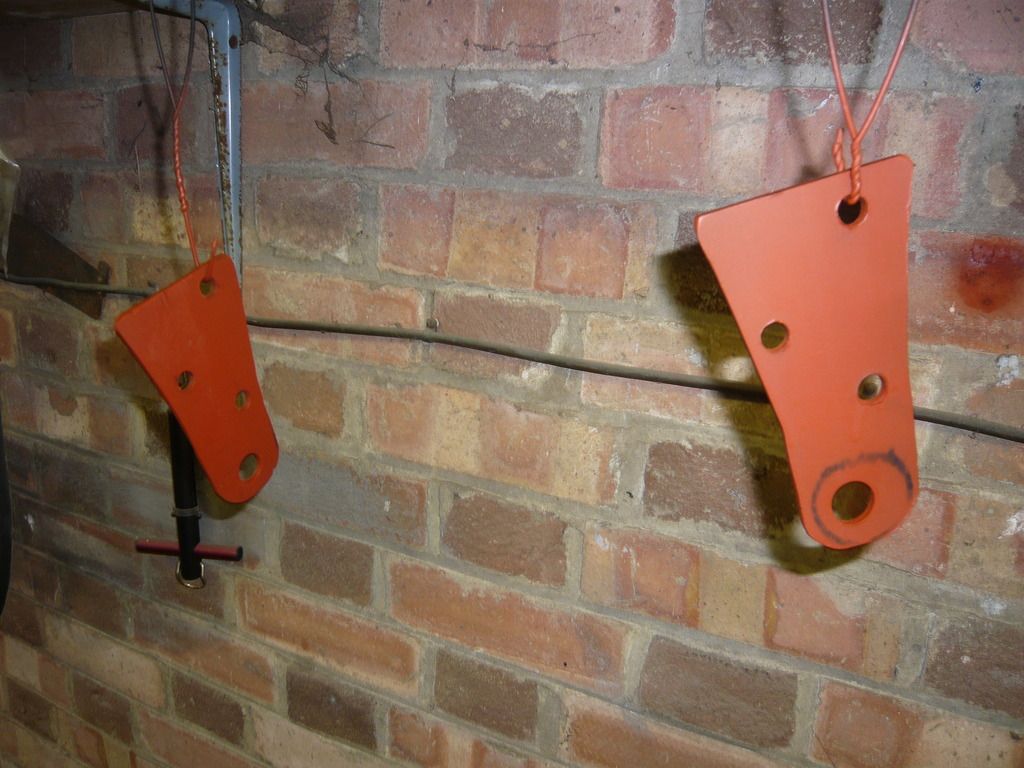
As I intend to modify the lower arms to move them forward to improve the caster angles and centre the wheels the brackets are bolted in. Will weld them during final assembly. (wow get me….)
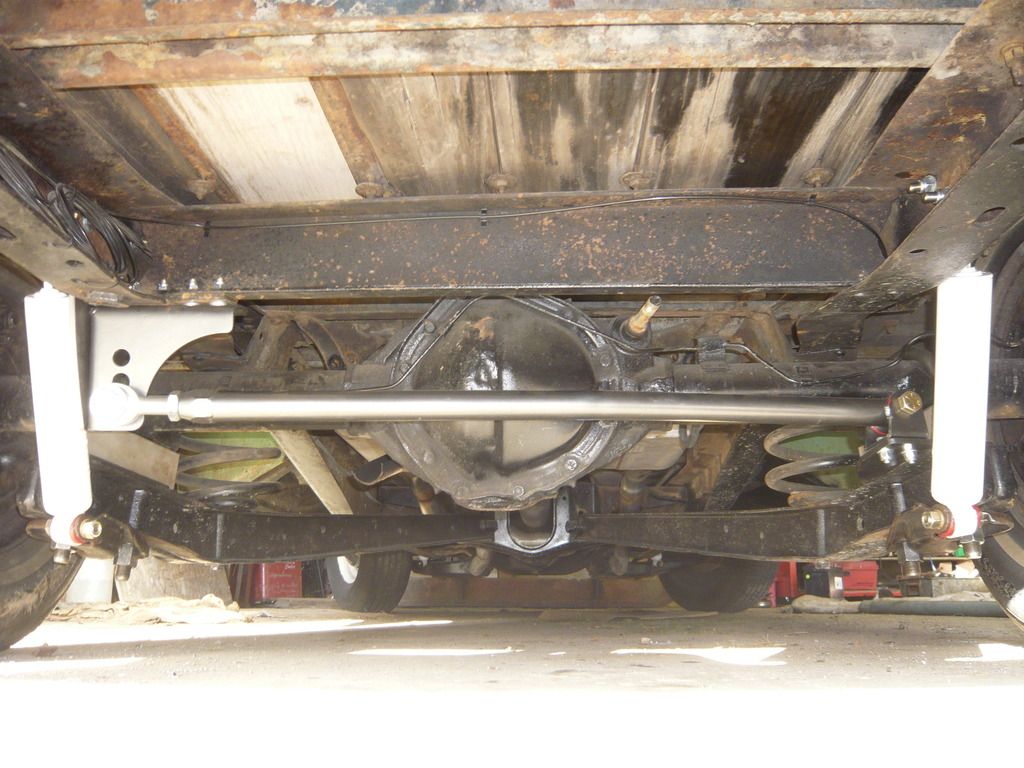
Next was a move to the rear to see what work had to be done to install the No Limits Panhard rod. Mmmmm…it is a nice piece of kit. Probably even nicer when I discovered that the bush on the old rod was completely missing…
So, buoyed by my success with the front rivets I used the same methodology on the 4 holding the old bar in place.
3 hours later….

Drill-4 Rivets – 1
Not a whole load of pictures of the install but sure there is one I can find of the end result.
Next little job was to replace the rather poor lowering blocks with the nice new shiny ones from Boris.
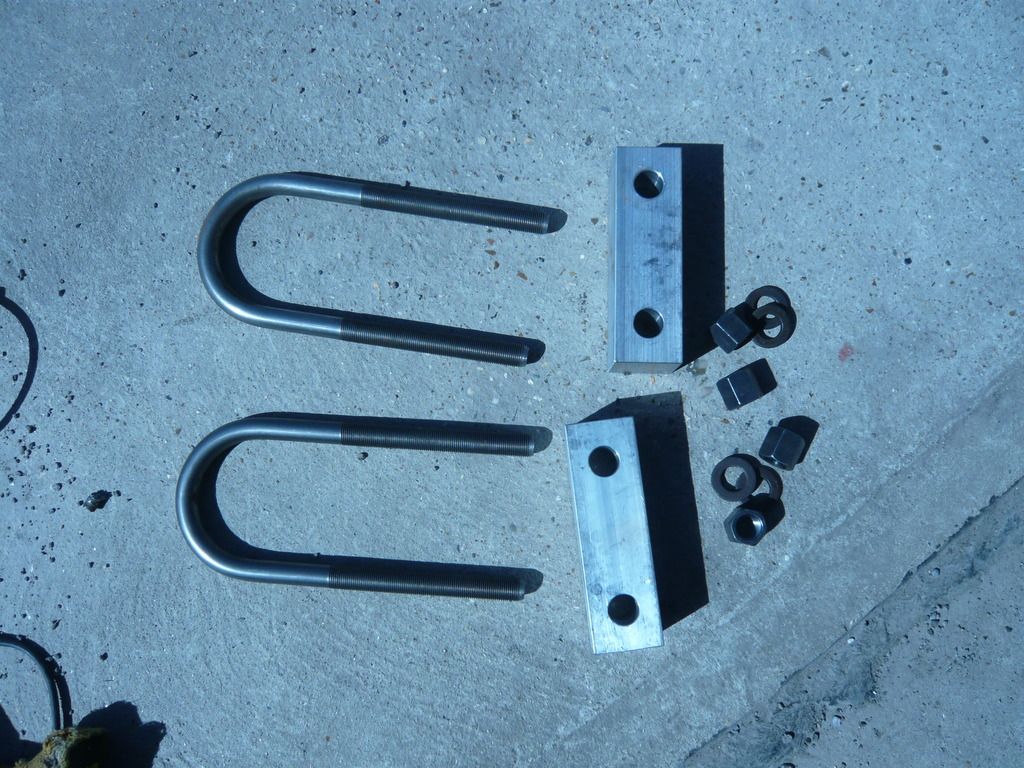
Well that is actually not the entire truth as I had to remove the ubolts to fit the brackets for the panhard rod and anti roll bar (sway bar) so whilst I was there…
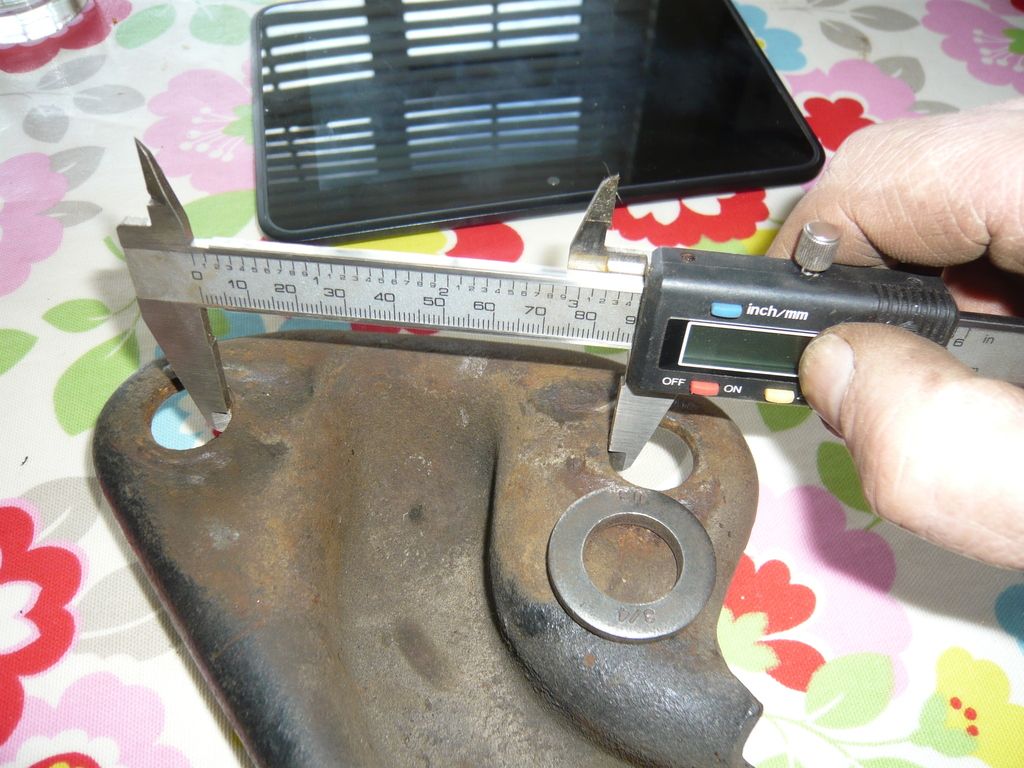
Also decided to move the shocks to the outside of the chassis after reading Mr Frizzle Frys write up.
So, quick bit of measuring, bit of drawing, bit more measuring and a few holes drilled I had the lower brackets reversed.
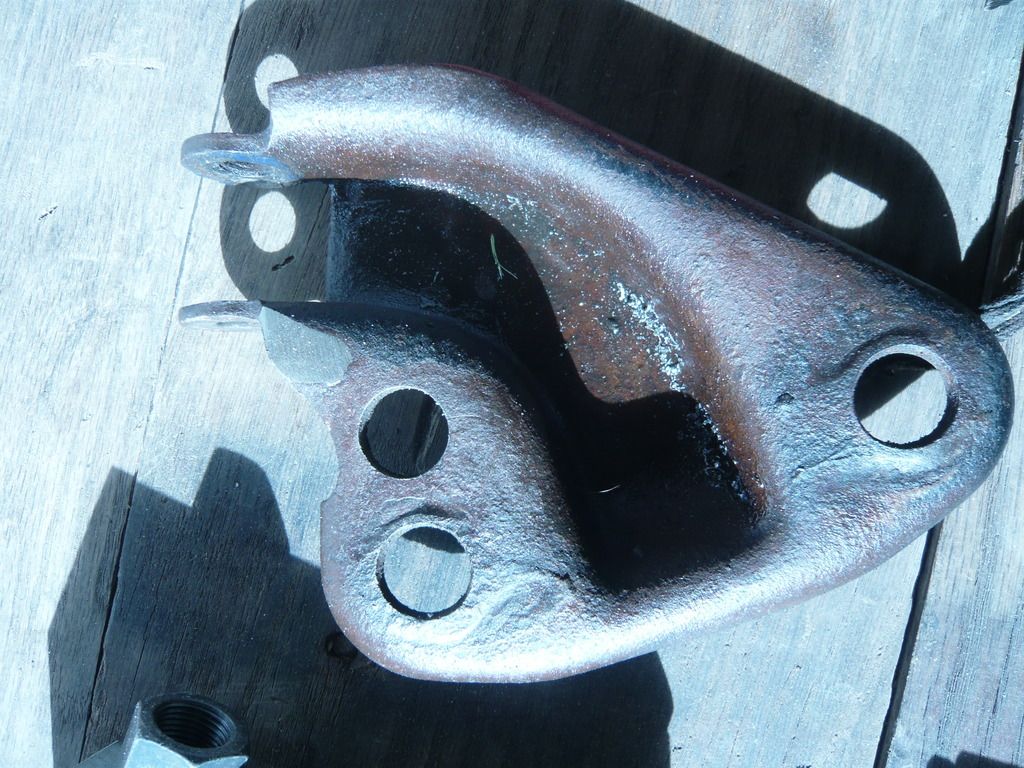
Now it was just a matter of fitting the rear shocks.Lots more measuring revealed that the Doetsch shocks from Rob would work better if the shock was mounted above the chassis rail. Now, remember the first set of bracket that I made? The scrap pair? Good.
Well they were just too small to be of any use for the rear shock mounts so had to cut up my last bit of box section to make up a mount.
Bit of careful measuring and came up with a design that would work with the old front upper shock mounts.
Cut, cut. Grind Grind, Drill Drill.
Oh yes and paint paint.
Couldn't mount the shocks straight up as the panhard bar mount was in the way but this is what I ended up with.
Will have to oval the holes in the lower sock mount as the bushes are under a little too much stress but that can wait until I take the bed off to fit the rear anti roll bar (sway bar) and paint the chassis and weld the brackets in.
Now the moment of truth, what does it drive like?
What a huge difference! The turn in is ‘modern’ even with the old steering box. Ride is less bouncy and a lot more confidence inspiring. Even managed a little Dorri, Dorri, Dorriftoo action at a roundabout. One down side is that I am going to have to do the brakes next as carrying a huge amount more speed into corners. Strangely the rear seems to have dropped by an inch after the new shocks (no the lowering blocks are the same size). Good job I have dropped spindles to go with disk upgrade.
Oh yes. Before I forget. This might have only taken 30 minutes to write but took me a solid 12 hours over the weekend. Felt like I had been at the gym for a weeks. And just because you have a rattle gun you don’t have to put it on max for every bolt you do up….
Lulu and Gizmo approve, but why my beautiful daughter insists on looking like Beaker from Muppet labs is beyond me…
So, on that Bombshell and until the next time…
Goodnight!
P.
