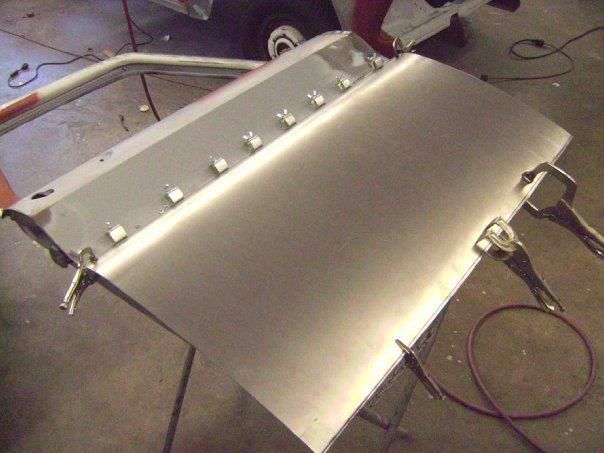
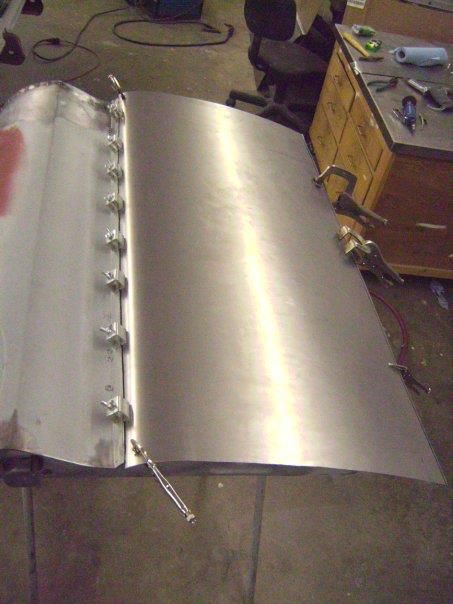
More metal work. I wish I had taken more pics of this step of the restoration. The panel gaps were horrible so I welded 1/8" welding rods to the edges of the doors and fenders to even out the gaps. I made a nylon "feeler guage" the thickness I wanted my gaps to be and added or subtracted metal to get the gaps dead even. I also spent alot of time making the panels fit flush with each other. I cut the fender braces and reshaped them to match the front of the door, the back of the cab was cut in the door jambs and pulled in or out to match the shape of the back of the doors. The fender extensions/cowl boxes were cut up and rearanged to fit flush with the hood, cowl, doors, and to have an even gap with the top of the fenders. The hood was narrowed 1/4" to line up flush with the sides of the cowl boxes. Once all the metalwork was reshaped, straightened, and aligned I skim coated across all of the seams and blocked everything as one piece (from hood, to cowl box, to door, etc.) to get the final shape from one panel to the next dead even. Then it was primed with high build 2k and blocked multible times until it was all mirror straight.
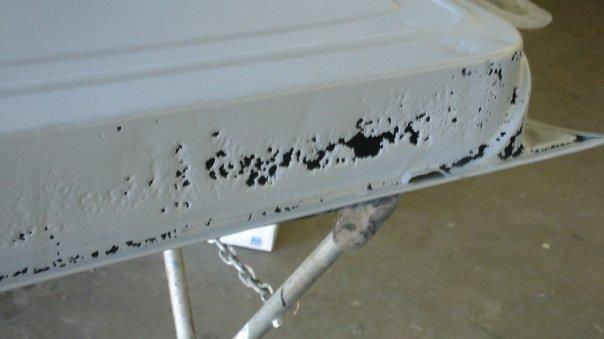
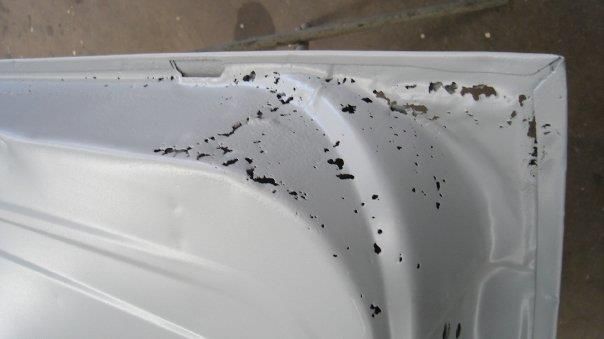
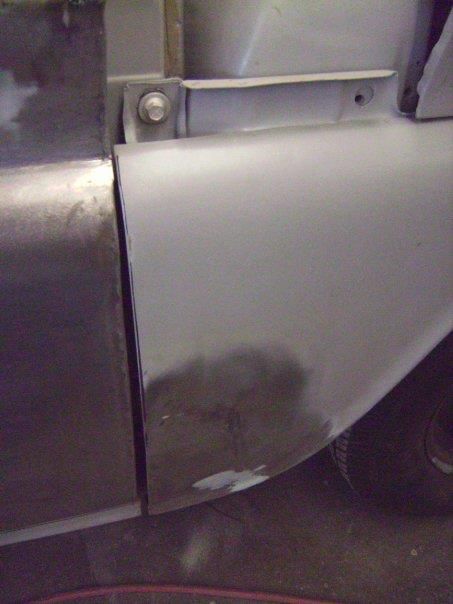
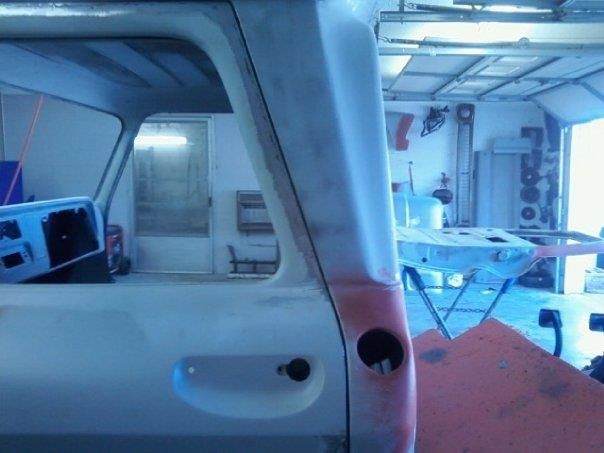
This is how bad the panel gaps were once the panels were aligned. I didn't align the panels by the gaps, but by their shape and body lines instead. Then I went back and added 1/8" welding rods to the edges to even out the gaps. The panels were also reshaped so they all be flush at the edges.
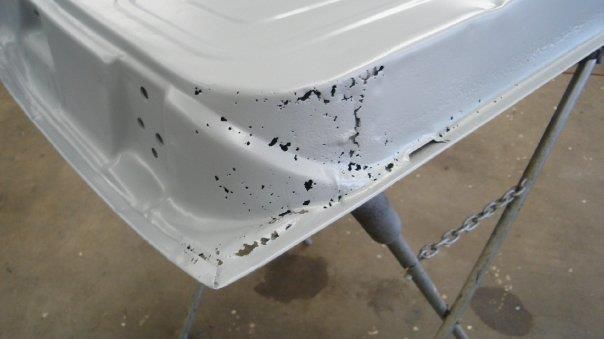
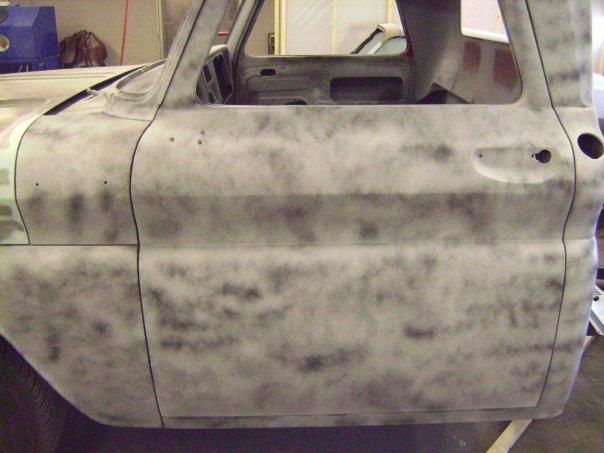
Door after welding 1/8" rods on and grinding to even out the gap.
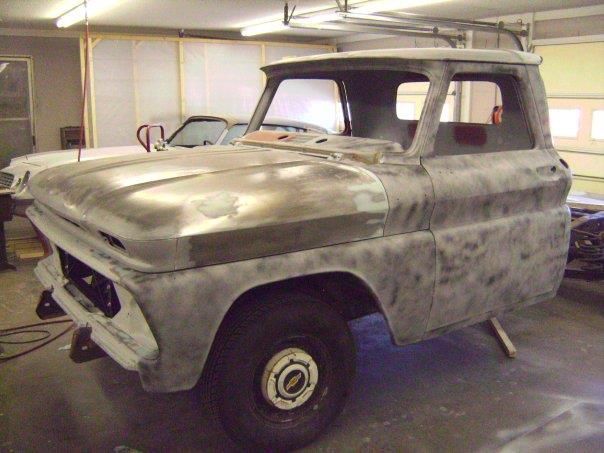
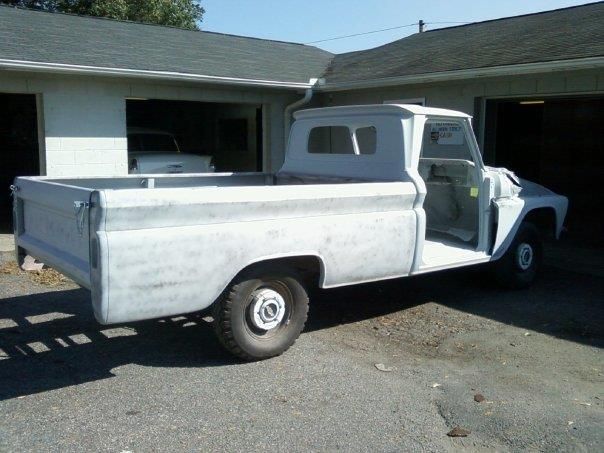
The body reassembled. I did all the bodywork and blocksanding with the truck together. Once the metalwork was done and the panels adjusted and shaped to match each other, the whole thing was skim coated and blocked as a whole, across the seams so the panels would have exactly the same shape from one panel to the next.
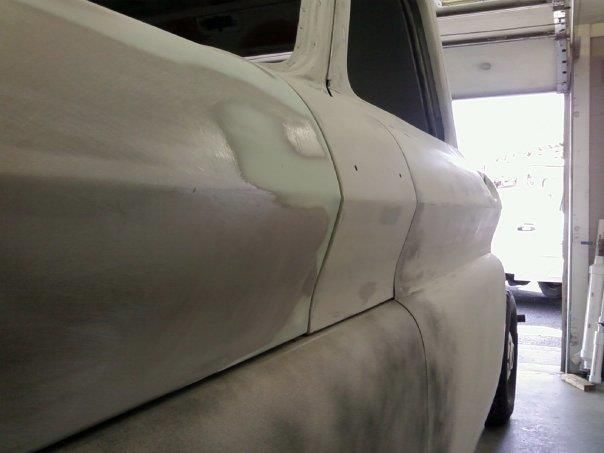
Final coat of primer, ready to wet sand and paint:

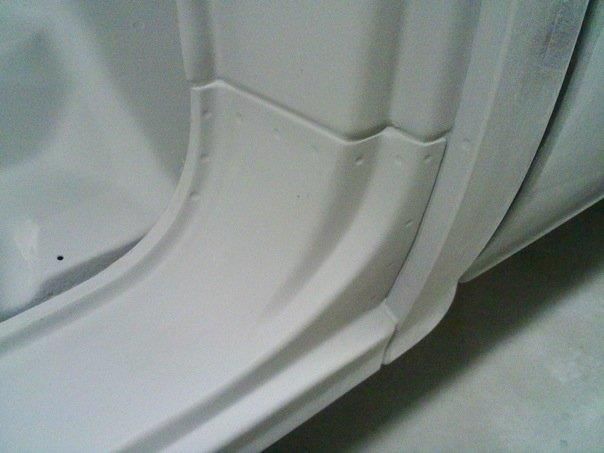
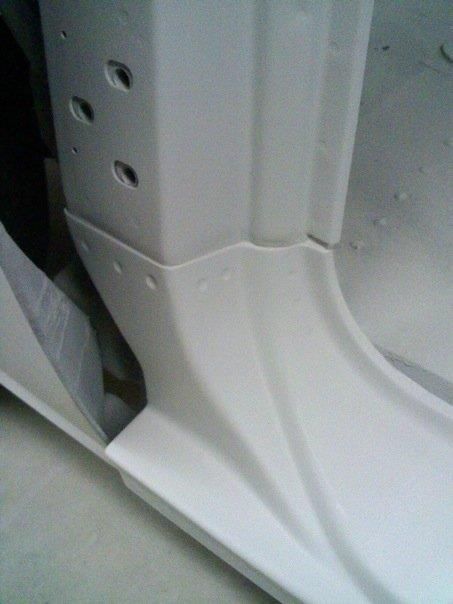
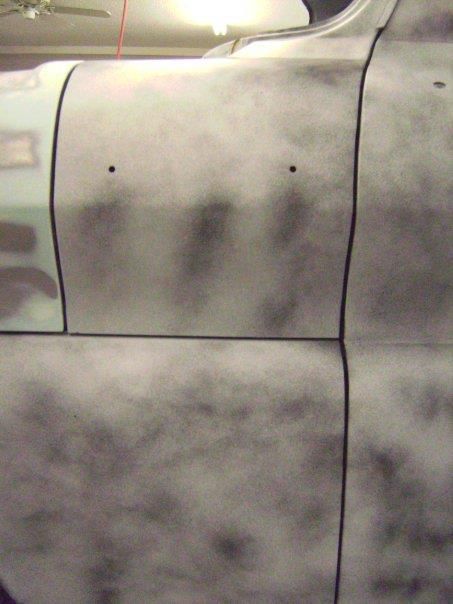
Everything I cut out and replaced was dimpled to replicate the original spot welds.