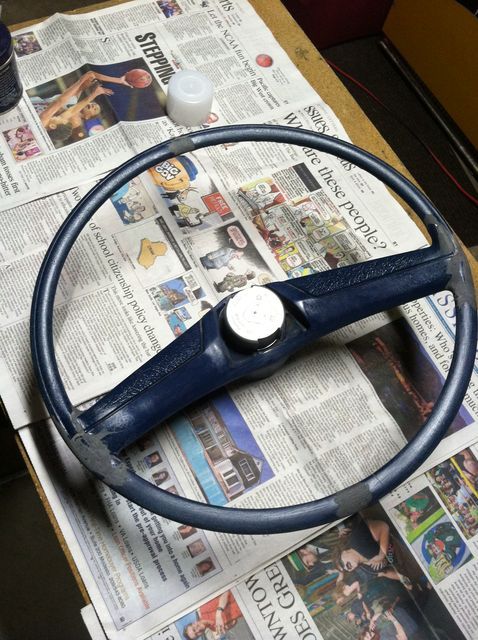
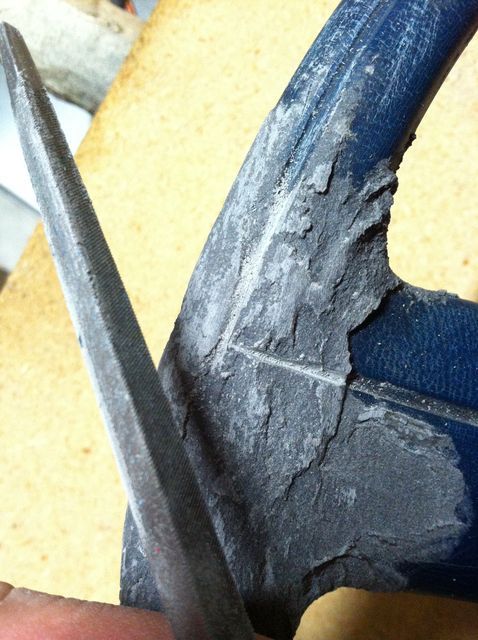
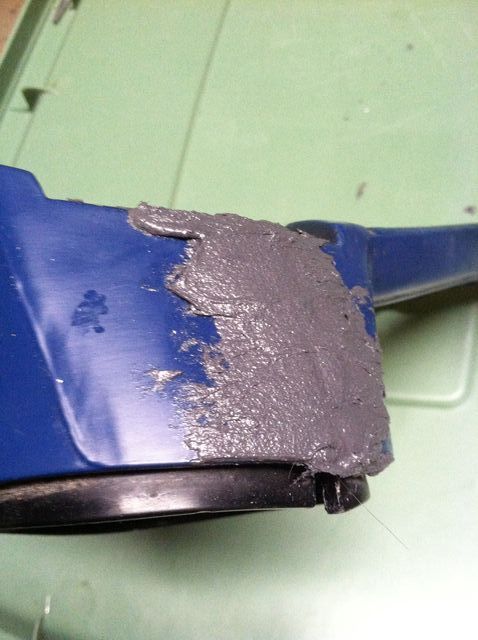
3: Got after mixing the solution together mind you I have some back ground as my father has shown me all his life and I've been able to watch him do wonders on some really nice cars including my own as far as bodywork/paint goes. ( Brownie points for when he reads my thread right here ) Also invested into a triangular file to get into those cracks first to get a clean surface for the mix to adhere to, I found the pointed end useful for digging the "trench" around the face of the wheel as mine was somewhat missing.
[IMG]
[/IMG]
[IMG]
[/IMG]
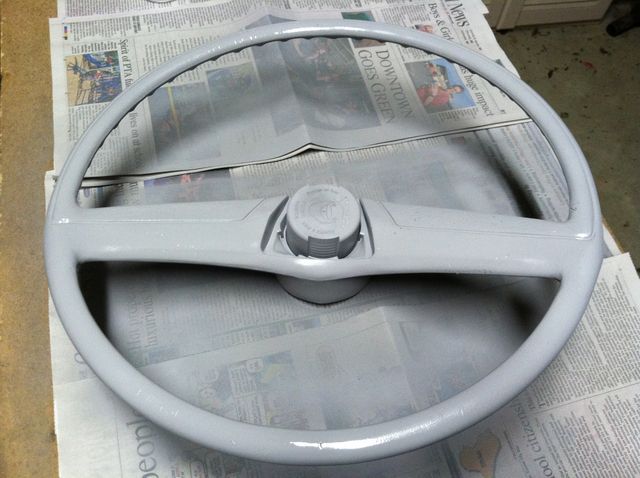
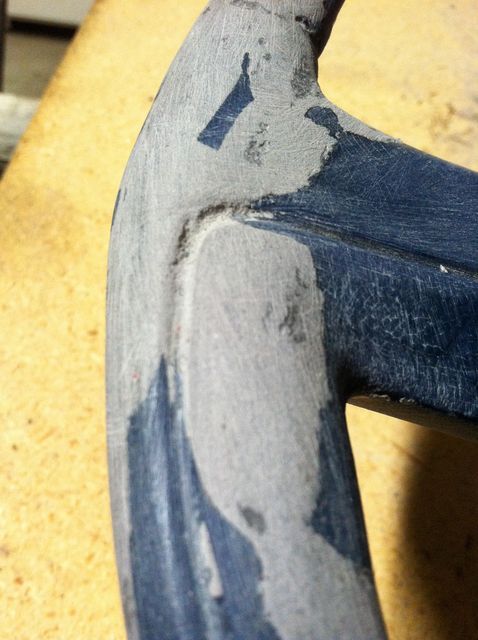
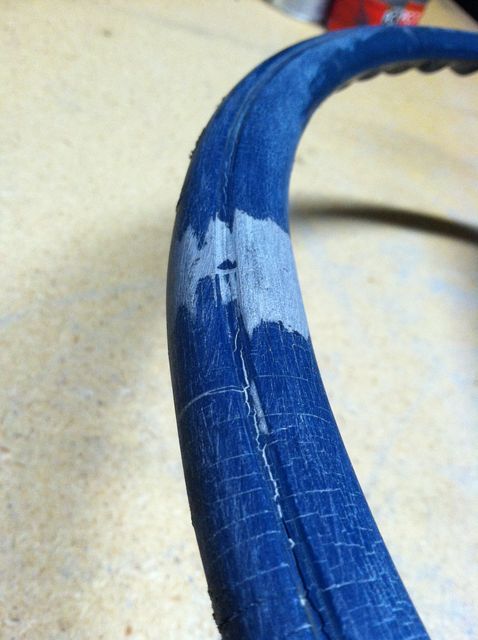
4. I would definitely advise AGAINST slabbing a ton on in one spot or else you'll create ALOT of unnecessary time sanding for yourself. Go light the first pass and do some rough sanding with 60-80 Grit and see where that puts you then finish it off with a second coat once the first round has been thoroughly checked. Mix in some 120-180 to find those fine-line cracks as you can see in the picture above.
[IMG]
[/IMG]
5. Finally you can see some progress slap a coat of the pre-prep can (step 3's picture) on there to help the adhesive and be sure to follow the drying directions as exactly as said to ensure the best possible surface for your paint to adhere to and then lay down some thin primer ( I used primer grey Rustoleum spray-able paint ) for your first coat come back the next day by very lightly sanding with a scotch brite course or fine pad (red or grey) then lay a more solid coat down and let that sit for the night or afternoon and check it after a few hours to see how it's handling the surface. (the preperation for paint stages are EXTREMELY CRUCIAL as my dad has always said you can lay down the best of product over anything but if it's prepared carelessly it will look exactly how it was prepared.. sloppy)